
To achieve flawless paint spraying, choose the right masking tapes designed for your surface, ensuring they stick well without damage. Press down firmly along edges, especially around curves and corners, using tools like a plastic card. Seal edges tightly to prevent paint bleed, then remove the tape slowly at a 45-degree angle once the paint sets. Mastering these techniques helps you get crisp, clean lines every time—keep going to reveal more expert tips and tricks.
Key Takeaways
- Select high-quality masking tapes suited for your surface type to ensure clean, crisp paint lines.
- Properly clean, dry, and lightly sand surfaces before applying tape to promote adhesion and prevent bleed-through.
- Press tape firmly along edges, using a squeegee or plastic card to seal and eliminate air pockets or gaps.
- Apply tape tightly at curves and corners, ensuring full contact to avoid paint seepage during spraying.
- Remove tape slowly at a 45-degree angle after paint dries to prevent damage and maintain sharp, flawless lines.
Selecting the Right Masking Materials for Your Project
Choosing the right masking materials is essential to achieving clean, professional results in your project. The type of masking materials you select impacts how well your paint job turns out and how easy the process is. Look for masking tapes designed specifically for painting; they should stick firmly without damaging surfaces or leaving residue. Consider the surface you’re working on—smooth surfaces need fine-line tape, while textured areas may require more flexible options. Your taping techniques also matter; properly applying masking materials ensures sharp, clean edges. Use low-tack tapes for delicate surfaces and high-tack for more durable areas. Additionally, selecting masking materials with appropriate adhesion levels can prevent paint bleed and ensure crisp lines. Proper surface preparation and selecting the right masking techniques further contribute to achieving a flawless finish. By selecting suitable masking materials and applying them carefully, you set the foundation for a flawless paint finish.
Preparing Surfaces for Effective Masking and Taping
Before you start masking, make sure the surface is clean and free of dust or grease. Lightly sand any rough areas to help the tape adhere better, then let the surface dry completely. Proper preparation guarantees your tape sticks securely and your finish looks sharp. Additionally, using natural materials techniques can reduce the risk of paint bleeding or peeling later on. Ensuring the surface is free of contaminants can also improve the performance of electric bikes during your project, preventing issues like uneven paint or adhesion failure. Incorporating techniques from gelato craftsmanship, like precise control and attention to detail, can also enhance your masking process by promoting cleaner lines and a more professional finish. Moreover, taking time for thorough preparation can mirror French press principles of careful extraction, leading to a smoother and more satisfactory painting result.
Surface Cleaning Methods
To make certain masking and taping adhere properly and last through the project, you need to start by thoroughly cleaning the surface. Proper paint preparation begins with removing dust, grease, and debris that can prevent adhesives from sticking. Use a suitable cleaner or degreaser, and ensure the surface is completely dry before proceeding. Surface inspections are essential—check for any contaminants or residues that might compromise adhesion. If you notice oils or residues, re-clean the area. Avoid using harsh chemicals that could damage the surface or leave residues. Once the surface is clean and inspected, it’s ready for masking and taping. Clean surfaces ensure a smooth, professional finish and help prevent paint bleeding or lifting, making your project easier and more successful. Additionally, incorporating professional cleaning methods can further enhance surface preparation and adhesion quality. Ensuring the surface is free of contaminants is a crucial step in achieving a flawless paint job. Proper surface preparation, including effective cleaning techniques, can significantly improve the longevity of your masking and taping efforts and prevent paint issues.
Surface Sanding Techniques
After thoroughly cleaning and inspecting the surface, the next step is to prepare it through sanding. Proper surface preparation is essential for a smooth, flawless paint finish. Use the right sanding techniques to remove any remaining imperfections, roughen the surface, and create a good bonding surface for the paint. Start with medium-grit sandpaper (around 180-220 grit) to even out the surface, then switch to finer grit (320-400 grit) for a smooth finish. Always sand in a consistent, circular or back-and-forth motion, applying light pressure. Be careful around edges and intricate areas, ensuring no oversanding occurs. After sanding, wipe the surface with a tack cloth to remove dust, ensuring a clean, ready-to-paint surface for ideal masking and taping results.
Proper Surface Drying
Ensuring the surface is thoroughly dry is essential for effective masking and taping because moisture can cause adhesives to fail or create uneven edges. Proper surface drying improves surface preparation and guarantees your masking material selection sticks firmly. Before applying tape or masking paper, check that the surface is free of water, dew, or residual cleaning agents. Moisture trapped under tape can cause peeling or bleeding during painting. To achieve ideal results:
- Use a clean, dry cloth to wipe down surfaces
- Allow adequate drying time after washing or cleaning
- Avoid painting in high humidity or damp conditions
- Be aware that financial considerations can impact the overall success of your project, so plan accordingly.
Additionally, ensuring the surface is completely dry helps prevent adhesive failure and guarantees a clean, sharp paint line. Proper ventilation and climate control during drying can further enhance the effectiveness of your preparation and prevent fire safety hazards related to residual moisture. Incorporating soil health principles, such as proper drying techniques, can also contribute to a more durable and professional finish.
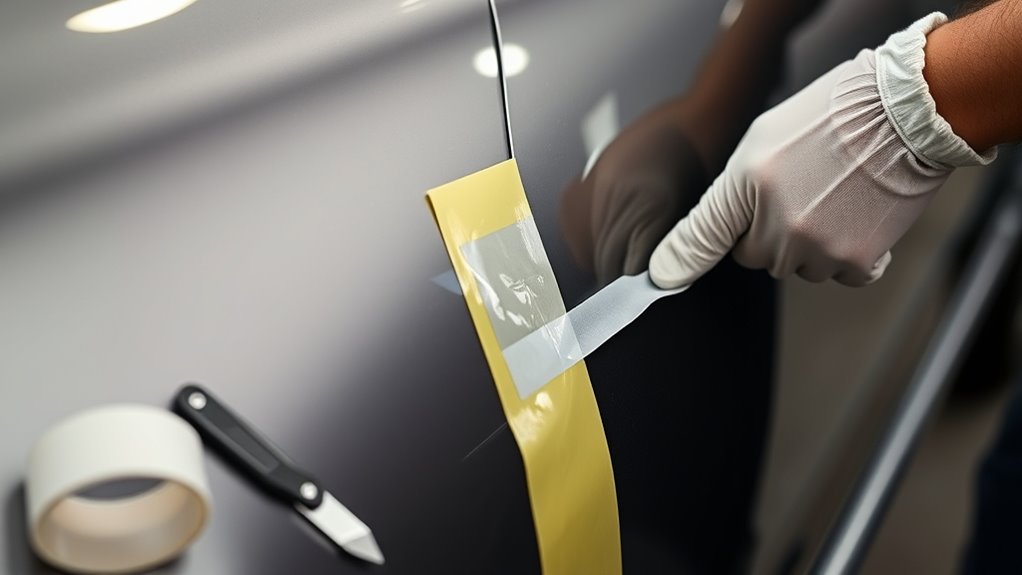
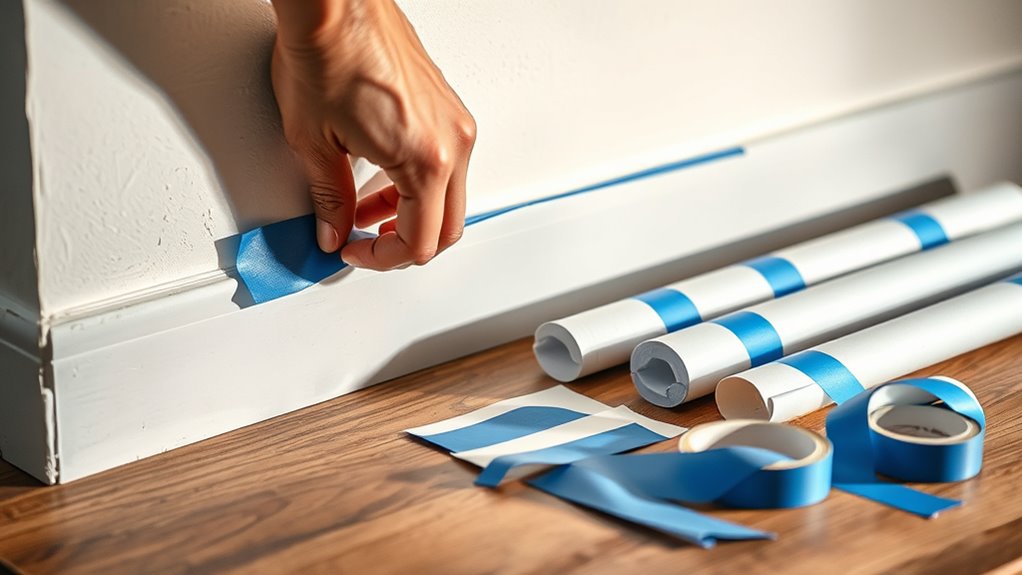
Properly Applying Painter’s Tape for Sharp Edges
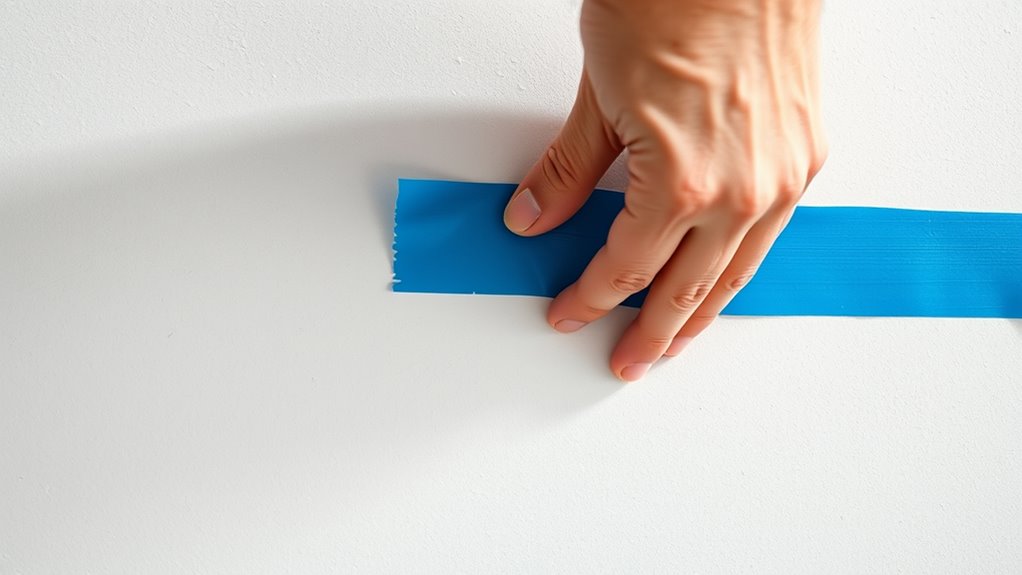
To get sharp paint lines, you need to place painter’s tape carefully along the edges you want to protect. Focus on precise tape placement to avoid gaps or overlaps that can cause bleed-through. Make sure to press down the edges firmly to seal them tightly, ensuring clean, crisp results.
Tape Placement Precision
Achieving sharp edges when taping is essential for professional-looking results, and proper tape placement plays a crucial role in this process. Accurate placement ensures clean lines and prevents paint bleed, making your work look polished. Focus on *edge sealing* by pressing down the tape firmly along the edges to prevent paint seepage. Good *tape adhesion* is key—apply the tape smoothly without wrinkles or gaps. To enhance precision:
- Use a plastic card or squeegee to press the tape firmly into surface contours
- Avoid stretching the tape, which can cause lifting or misalignment
- Double-check the tape’s edges for secure adhesion before painting
- Ensure the tape is properly sealed to prevent bleed and achieve crisp lines. Proper surface preparation is also vital, as it helps the tape adhere better and reduces the chances of paint bleeding underneath. Additionally, selecting the right type of tape compatible with your surface can improve adhesion quality and overall results. This careful attention to tape placement minimizes touch-ups and guarantees sharp, clean lines every time, especially when considering essential oils for improving your workspace environment.
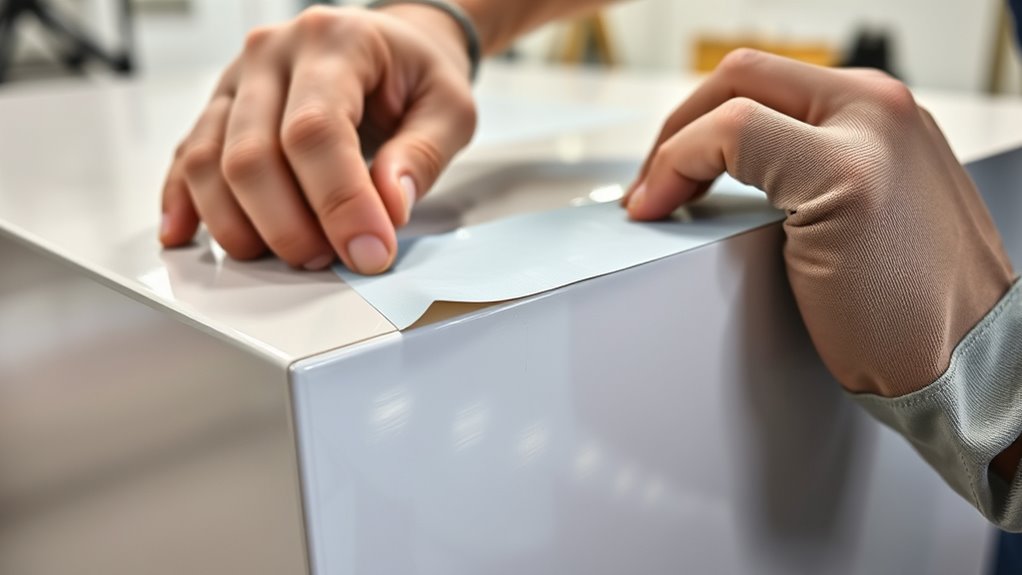
Sealing Edges Effectively
Sealing the edges of painter’s tape properly is essential for creating sharp, clean paint lines. To achieve this, press down firmly along the tape’s edges to ensure good edge sealing and prevent paint bleed. Use a tool like a putty knife or your fingernail to smooth out any air pockets or wrinkles, enhancing tape adhesion. When applying tape, make sure the edges are pressed tightly against the surface, especially at corners and curves. Proper edge sealing minimizes gaps where paint could seep through, resulting in crisp lines. Remember, strong tape adhesion is key; if the tape doesn’t stick well, even the best sealing efforts won’t prevent bleeding. Taking these steps ensures a flawless, professional finish with sharp, defined edges. Additionally, understanding the types of cookies used in online guides can help you manage your preferences for digital tools that assist with surface preparation and finishing techniques. For optimal results, consider selecting the right tape type suitable for the surface and paint type you are working with. Incorporating edge sealing techniques can further enhance the sharpness of your paint lines by providing a more secure seal and preventing any unintended paint seepage. Ensuring proper surface preparation also plays a crucial role in achieving a clean, professional look.
Techniques for Masking Large Areas and Curves
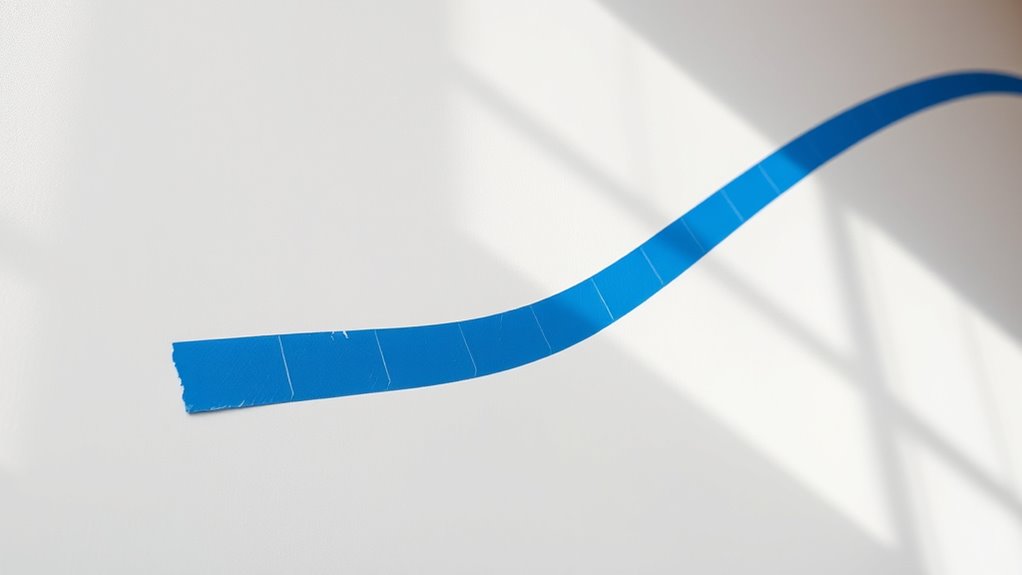
Masking large areas and curves requires careful preparation and the right techniques to guarantee clean, sharp lines. To achieve smooth results, focus on proper edge protection and precise curve masking. Use flexible masking tapes designed for curves to follow contours accurately, preventing paint bleed. When masking large surfaces, apply multiple overlapping layers for even coverage and secure edges firmly to avoid gaps. For curves, gently press the tape into the shape to maintain contact without wrinkling. Always keep tools sharp and clean for accurate cuts. Properly prepped surfaces and steady hands are essential. Remember, the key to flawless paint lines lies in meticulous masking, especially when dealing with complex shapes and large areas. Attention to detail ensures your finish looks professional and sharp.
Avoiding Bleed-Through and Ensuring Clean Lines
To prevent paint bleed-through and guarantee sharp, clean lines, preparation is essential. Start by applying edge sealing along your masking tape’s border to create a barrier that stops paint seepage. Make sure the surface beneath is clean and dry, and press down the tape firmly to secure it. When you’re ready to remove the tape, do so slowly and at a 45-degree angle to avoid lifting paint or creating jagged lines. Proper tape removal is critical for a crisp finish; rushing or pulling too quickly can ruin your work. If you notice any bleed-through, touch up with a fine brush after removing the tape. Taking these steps ensures your lines stay sharp and your project looks professional.
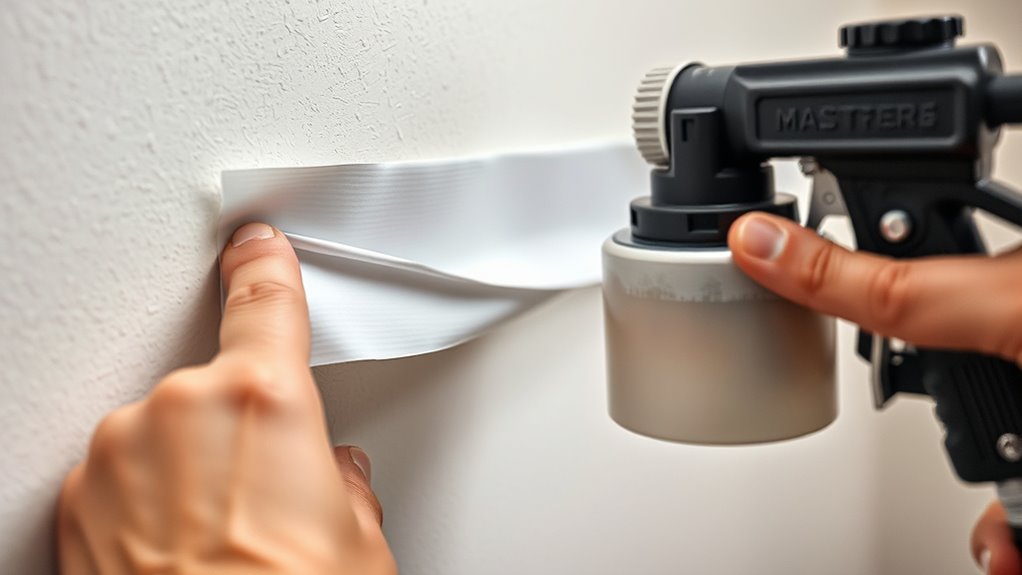
Using Masking Film and Drop Cloths Effectively

Choosing the right masking film and drop cloths is key to protecting surfaces efficiently. Make sure you place them carefully, covering all areas you want to shield from paint or debris. Secure them firmly to prevent slipping, and remove them gently to avoid smudges or damage.
Selecting Appropriate Materials
Selecting the right masking film and drop cloths is essential for protecting surfaces and achieving a clean finish. Choose a durable masking film that resists paint bleed-through and fits the area you’re covering. Use heavy-duty drop cloths for floors and furniture, ensuring they won’t shift or tear easily. Always apply masking tape along edges to secure the film and prevent overspray. Before painting, consider applying a surface primer to improve paint adhesion and coverage, especially on challenging surfaces.
- Use high-quality masking tape to secure films tightly
- Opt for heavy-duty drop cloths for maximum protection
- Select masking film that’s compatible with your surface primer and paint type
Proper Placement Techniques
Proper placement of masking film and drop cloths guarantees your painting project stays clean and professional-looking. To achieve this, carefully cover all surfaces you want to protect, ensuring edges are securely pressed down to prevent paint bleed. Use masking tape along the edges of the film to create a tight seal, offering effective edge protection. When working with areas exposed to solvents, choose drop cloths and masking films with high solvent resistance to prevent damage or leaks. Overlap materials where needed for complete coverage, and secure loose edges to avoid shifting during spraying. Proper placement minimizes cleanup and ensures a sharp, clean finish. Taking the time to position your protective coverings correctly makes your project safer, neater, and results in a flawless paint job.
Securing and Removing Safely
To guarantee your masking film and drop cloths stay securely in place during your painting project, you need to fasten them properly before starting. Confirm you select masking materials with compatible adhesives to avoid damage or residue when removing. Proper masking material storage keeps your supplies in good condition, preventing issues like peeling or tearing. When securing, press firmly along edges and corners to prevent slipping.
Remember these key tips:
- Check adhesive compatibility with surfaces to prevent damage.
- Use appropriate fasteners like painter’s tape for added security.
- Remove coverings carefully once painting is complete, peeling back slowly to avoid paint smudges or tears.
Following these guidelines ensures safe, clean removal and helps maintain your surfaces’ integrity.
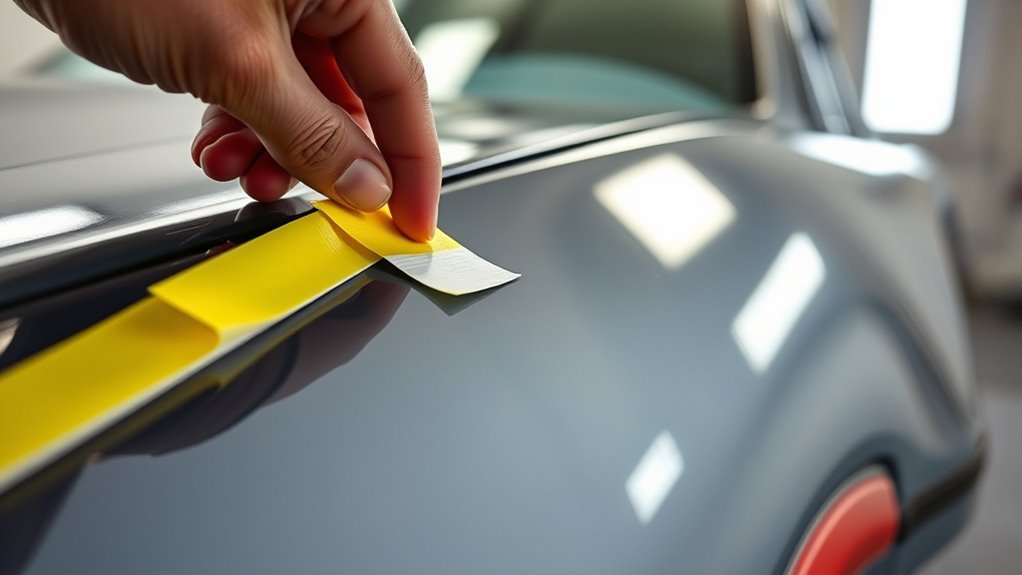
Removing Tape Without Damaging Fresh Paint
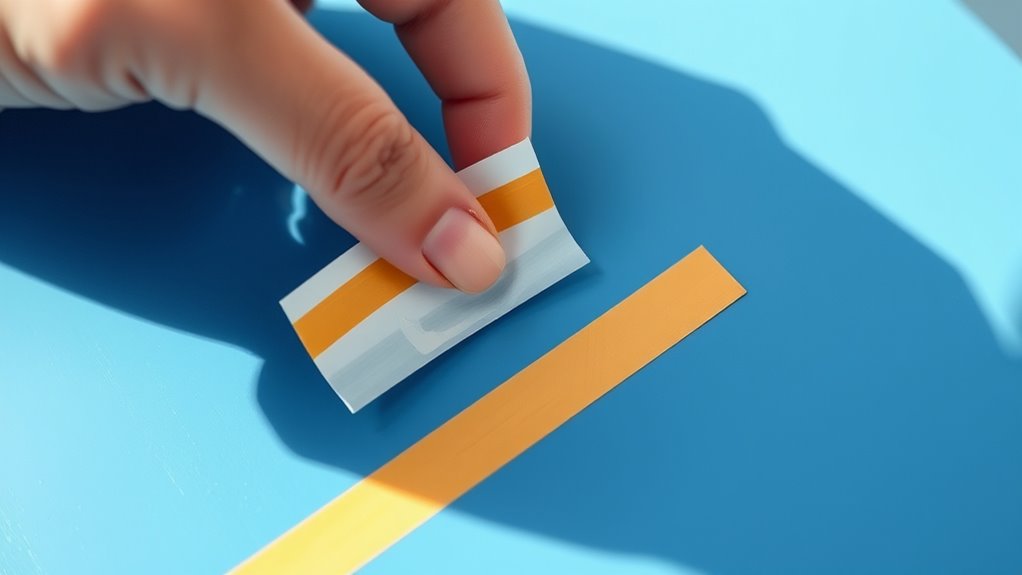
Removing tape from fresh paint requires careful timing and technique to avoid peeling or damaging your work. Wait until the paint feels firm but not fully cured—usually a few hours. When ready, use edge protection by pulling the tape back slowly at a 45-degree angle. This minimizes stress on the fresh paint and prevents jagged edges or peeling.
| Tip | Explanation |
|---|---|
| Use gentle force | Avoid ripping or pulling too quickly. |
| Pull at an angle | Keeps tension off the paint surface. |
| Tape removal timing | Wait until the paint is sufficiently dry but not hard. |
Proper tape removal guarantees clean lines and a flawless finish, preserving your work’s integrity.
Tips for Creating Perfect Masking Patterns and Designs
Achieving crisp, professional masking patterns begins with careful planning and precise application. To create flawless masks and creative designs, start by sketching your pattern beforehand, ensuring all lines are clean and accurate. Use high-quality masking tape that adheres well without bleeding. For intricate designs, consider using stencils or templates to maintain consistency.
Careful planning and quality tape are key to crisp, professional masking patterns.
- Plan your masking patterns carefully before applying tape
- Use precise, clean lines for complex designs
- Combine different masking techniques for creative effects
Troubleshooting Common Masking and Taping Issues

Despite careful planning, common masking and taping issues can still arise during your project. Masking mistakes, like uneven edges or paint bleed, often happen if tape isn’t applied smoothly or if surfaces aren’t clean. Taping dilemmas, such as tape peeling or lifting during spraying, can ruin your finish. To troubleshoot, double-check that you press down tape firmly to prevent gaps, and remove it promptly after painting to avoid peeling or smudges. Using high-quality tape suited for your surface reduces these problems. If paint bleeds, apply a thin layer of primer or sealant before masking. Addressing these issues early ensures sharp lines and a flawless finish, saving you time and frustration. Proper techniques and quick fixes help you avoid masking mistakes and taping dilemmas.
Maintaining and Reusing Masking Supplies for Future Projects
Properly maintaining your masking supplies guarantees they stay effective and ready for future projects. To maximize their lifespan, store reusable supplies properly in designated masking storage areas, preventing damage and dirt buildup. Clean tape and masking films after each use, removing paint residue and debris. Inspect supplies regularly for tears or wear, discarding damaged items promptly. Reusable supplies save you money and reduce waste when cared for correctly.
Proper mask supplies last longer with proper storage, cleaning, and regular inspection.
- Keep masking tapes and films in a dry, cool environment
- Label storage containers for easy access
- Follow manufacturer instructions for cleaning and reusing supplies
Frequently Asked Questions
How Do I Choose the Best Masking Technique for Intricate Designs?
When choosing the best masking technique for intricate designs, you need to focus on precision masking and the right masking tools. Start by evaluating the complexity of your design, then select fine-tipped tape or liquid mask for detailed edges. Use precision masking tools like craft knives and detail brushes to carefully cut and apply the masking materials. This approach helps you achieve sharp, clean lines and a professional finish on complex patterns.
What Are the Environmental Factors That Affect Masking Effectiveness?
Humidity control and temperature stability might seem unrelated to masking, but they considerably impact its effectiveness. High humidity can cause adhesives to weaken, leading to peeling or smudging. Temperature fluctuations can make tape lose adhesion or cause paint to bleed underneath. You need consistent environmental conditions to guarantee masking stays secure and clean. By maintaining stable temperature and controlling humidity, you get cleaner lines and flawless results every time.
Can Masking Materials Be Used on Textured or Uneven Surfaces?
You can use masking materials on textured or uneven surfaces, but surface adhesion is key. Choose tapes with strong masking durability and flexible backing to conform to irregularities. Properly cleaning the surface guarantees better adhesion, preventing peeling or lifting during painting. While some masking tapes work well on rough textures, always test a small area first to confirm the tape’s effectiveness and ensure it stays in place for a flawless finish.
How Long Can I Leave Masking Tape on Before It Damages the Paint?
Did you know that improper masking tape removal can cause up to 50% paint damage? You should remove masking tape within 24 hours to prevent damage and preserve paint adhesion. Leaving tape on longer risks peeling or lifting paint, especially on textured surfaces. To avoid this, check tape durability and remove it promptly, ideally within a day, to keep your paint job flawless and intact.
Are There Eco-Friendly Masking Options Available for Painting Projects?
You’re wondering if eco-friendly masking options exist for your painting projects. Luckily, biodegradable masking tapes break down naturally, reducing environmental impact. Reusable tape options are also available, allowing you to clean and use them multiple times, cutting waste. These sustainable choices help you maintain quality results while being eco-conscious. Always look for products labeled as biodegradable or reusable to assure you’re making an environmentally friendly decision during your painting process.
Conclusion
By mastering masking and taping techniques, you’ll transform your painting projects into works of art with sharp, professional edges. Think of your tools as your paint’s best friends—helping you create smooth lines and flawless finishes. With patience and practice, you’ll turn every surface into a canvas of perfection. So, gear up, stay precise, and let your creativity shine through, because with the right masking skills, your paint job will be nothing short of spectacular.

Franz came aboard the Paint Sprayer Zone team with a background in both journalism and home renovation. His articulate writing style, combined with a passion for DIY projects, makes him an invaluable asset. Franz has a knack for breaking down technical jargon into easy-to-understand content, ensuring that even the most novice of readers can grasp the complexities of paint sprayers.