
To avoid overspray when masking a room for paint spraying, start by cleaning all surfaces thoroughly to guarantee good tape adhesion. Use painter’s tape with low adhesion on delicate areas and press it down firmly along edges to create a tight seal. Cover larger areas with plastic sheeting and tape down the edges. Keep the spray gun at a steady distance and maintain smooth, even strokes. Proper preparation and masking techniques make a big difference; keep going to learn more tips.
Key Takeaways
- Choose low-adhesion painter’s tape for delicate surfaces and to ensure clean removal without damaging paint.
- Thoroughly clean and dry surfaces before taping to improve adhesion and prevent paint bleed.
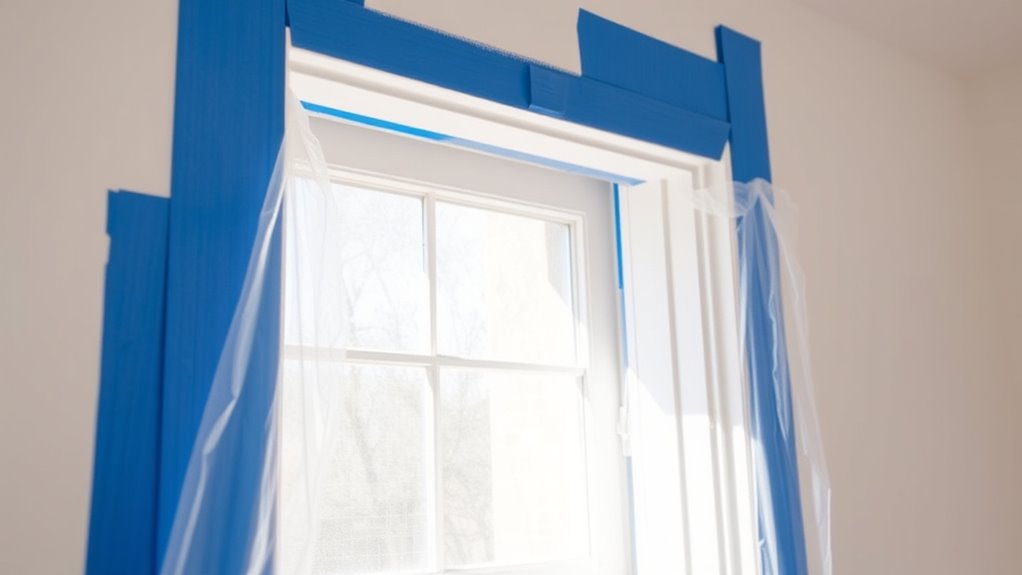
- Press tape down firmly along edges and corners to create a tight seal and prevent overspray.
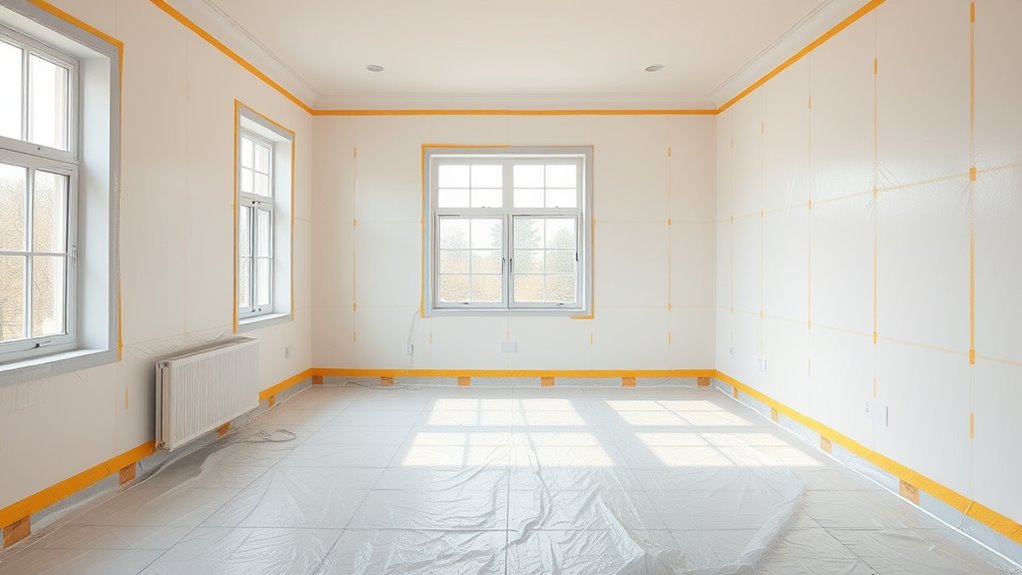
- Cover floors, furniture, and fixtures with drop cloths or plastic sheeting to protect against overspray.
- Remove tape while paint is still slightly tacky to avoid lifting fresh paint and ensure crisp lines.
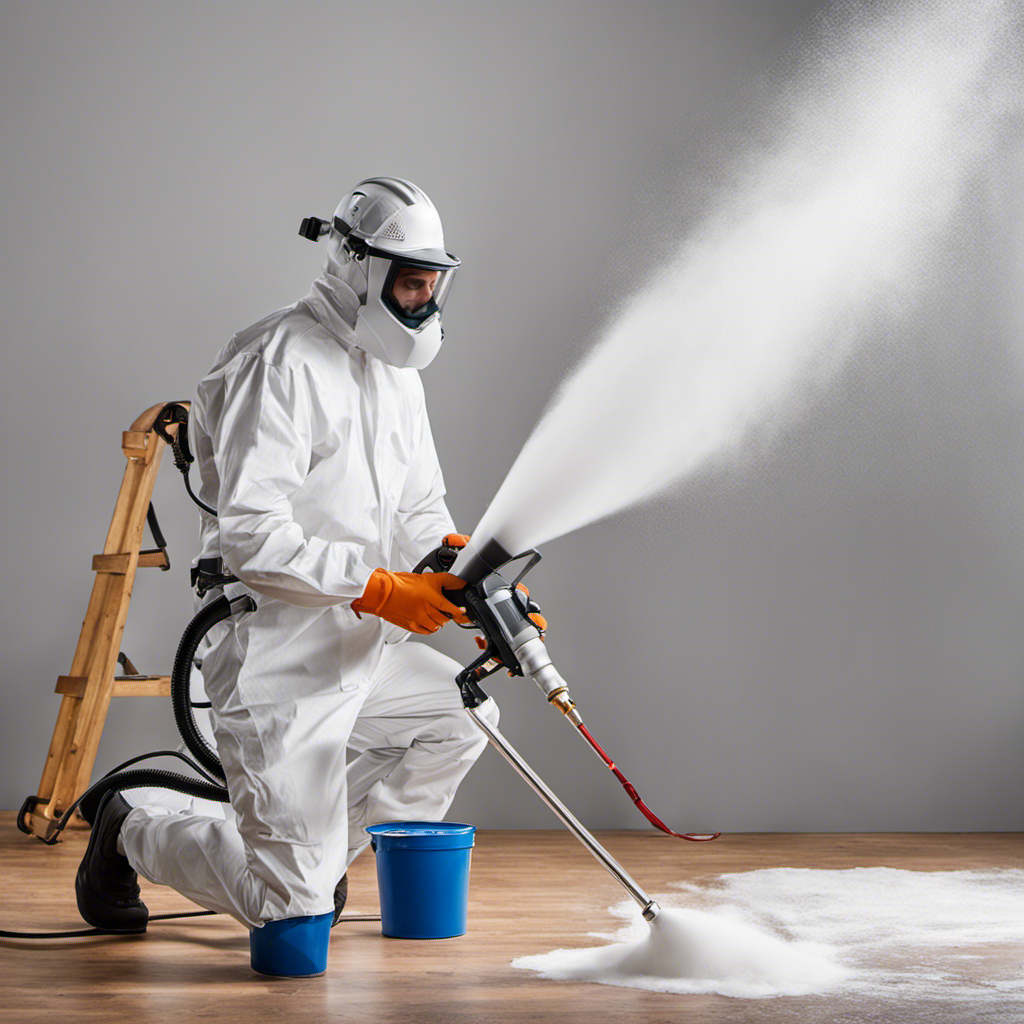
Masking a room properly is essential to achieving a clean, professional-looking paint job, especially when using spray equipment. Proper masking ensures that overspray doesn’t end up on surfaces you want to keep clean, saving you time and frustration during cleanup. The first step involves selecting the right types of masking tape. Different tapes are suited for various surfaces and conditions. For example, painter’s tape is designed to adhere gently yet firmly, preventing paint bleed and damage when removed. If you’re masking delicate surfaces like wallpaper or freshly painted areas, opt for painter’s tape with low adhesion to avoid tearing or leaving residue. For rougher surfaces or outdoor projects, you might need a more robust tape that offers a stronger hold and better resistance to weather. Using the correct tape type guarantees that your masking stays intact throughout the spraying process, preventing accidental overspray and ensuring clean lines.
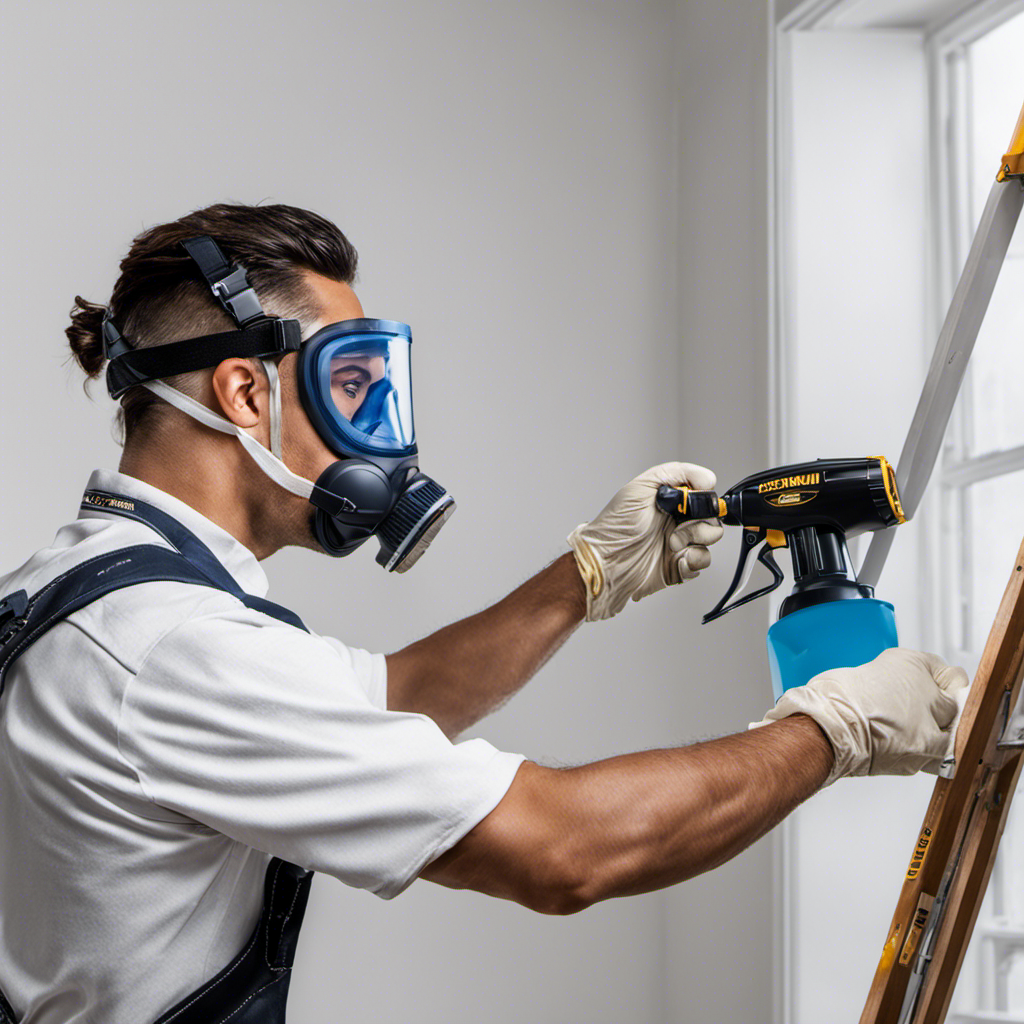
Once you have your masking tape selected, it’s vital to apply it carefully. Start by cleaning the surfaces to remove dust or grease, which can cause the tape to peel prematurely. Use a primer or a light sanding if needed, then press the tape down firmly along the edges you want to protect. Take your time to ensure the tape adheres smoothly without bubbles or wrinkles, as these imperfections can lead to paint bleeding or uneven lines. When masking around corners or intricate trim, use a steady hand and a putty knife to press the tape into tight spaces, creating a seamless barrier.
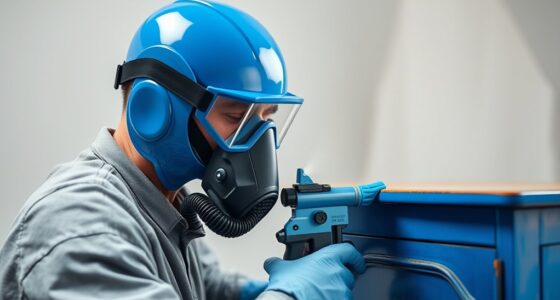
Incorporate spray painting techniques that complement your masking efforts. Maintain a consistent distance from the surface—usually around 10-12 inches—and use smooth, even strokes to avoid pooling or uneven coverage. Keep the spray nozzle moving steadily, and overlap each pass slightly to ensure full coverage. When switching between surfaces, lift the spray gun at a slight angle to prevent buildup of paint along the masked edges. Proper technique minimizes the risk of paint seeping under the tape and creating uneven lines. After completing your spraying, carefully remove the masking tape while the paint is still slightly tacky. Pull the tape back on itself slowly, rather than straight away from the surface, to avoid lifting fresh paint.
Frequently Asked Questions
How Long Does Masking Typically Take?
When considering how long masking takes, it varies based on room size and detail level. On average, masking duration can range from 30 minutes to a couple of hours. You’ll want to factor in prep time for taping, covering furniture, and protecting surfaces. Taking your time guarantees a clean paint job and minimizes overspray, so don’t rush. Proper prep makes all the difference in achieving professional results efficiently.
What Tools Are Best for Masking?
Imagine arming yourself with a painter’s shield and a scroll of masking paper, ready to safeguard your masterpiece. The best tools for masking include painter’s tape, which acts like a sturdy armor, and masking paper or plastic sheets, serving as a protective curtain. These tools help you create clean lines and prevent overspray. Use high-quality painter’s tape for edges and large sheets for floors and furniture to guarantee thorough coverage.
Can Masking Be Reused for Multiple Coats?
You can reuse masking for multiple coats if the masking tape has good durability and stays firmly in place. Reusable masking materials, like plastic sheeting or painter’s tape, are designed for multiple uses, saving you money and effort. Just guarantee you remove and inspect the masking carefully between coats; if it’s damaged or no longer adheres well, replace it to avoid mishaps during your painting project.
How Do I Prevent Paint Bleed-Through?
To prevent paint bleed-through, start with a high-quality primer application to block stains and previous paint. Make sure you apply the primer evenly and let it dry completely before painting. Use painter’s tape along edges to seal the masking and avoid gaps. If you notice bleed-through after the first coat, apply a second primer layer or a stain-blocking primer. Proper prep guarantees your topcoat stays clean and flawless.
Is Masking Necessary for Small Touch-Ups?
For small touch-ups, masking isn’t always necessary, but it can help achieve cleaner results. Proper surface preparation is key—clean the area and sand if needed. Use painter’s tape carefully around edges for precision, especially if you want crisp lines. While some painters skip masking on tiny spots, doing so reduces the chance of accidental splatters or uneven edges, ensuring your touch-up blends seamlessly with the surrounding paint using good painting techniques.
Conclusion
By properly masking your room, you create a barrier that keeps overspray at bay, ensuring a clean, professional finish. Think of it like a shield that protects your furniture and floors from unwanted paint. When you take the time to prepare thoroughly, you’re effectively visualizing your desired outcome—smooth, even coverage without mess. So, don’t rush the prep; it’s your best tool for achieving a flawless paint job and avoiding any costly touch-ups later.

Franz came aboard the Paint Sprayer Zone team with a background in both journalism and home renovation. His articulate writing style, combined with a passion for DIY projects, makes him an invaluable asset. Franz has a knack for breaking down technical jargon into easy-to-understand content, ensuring that even the most novice of readers can grasp the complexities of paint sprayers.