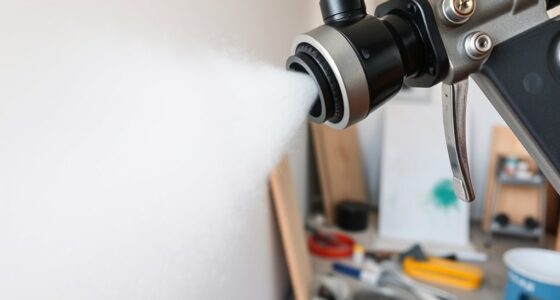

If your HVLP sprayer blows air but no paint comes out, the problem likely involves low or inconsistent pressure, nozzle clogs, or leaks in hoses and fittings. Check that your compressor is set to the right pressure and that all connections are tight. Clean or replace the nozzle if it’s blocked, and ensure your paint is properly thinned and strained. Addressing these common causes can restore proper spray, and more tips await if you keep exploring further.
Key Takeaways
- Check the compressor’s pressure and connections to ensure proper airflow and that it isn’t low or leaking.
- Clean or replace clogged nozzles and filters to prevent paint blockages.
- Thin and strain paint according to manufacturer instructions for smooth flow.
- Inspect all fittings and hoses for leaks or loose connections that can reduce pressure.
- Perform regular maintenance and, if unresolved, seek professional repair assistance.
If your HVLP sprayer isn’t painting as it should, it can be frustrating, but the issue is often fixable. One common cause is air compressor issues. Your sprayer relies on a steady, consistent air supply to atomize the paint properly. If your compressor isn’t delivering enough pressure or the airflow is inconsistent, it can cause the sprayer to blow air without releasing paint. Check the compressor’s pressure gauge; it should match the manufacturer’s recommended settings. Ensure the compressor tank isn’t low on air and that the hose connections are secure and free of leaks. Sometimes, the compressor’s filter or intake vents get clogged or dirty, restricting airflow. Cleaning or replacing these parts can restore proper pressure and airflow, resolving the problem.
Check your air compressor for proper pressure and leaks to ensure your HVLP sprayer works smoothly.
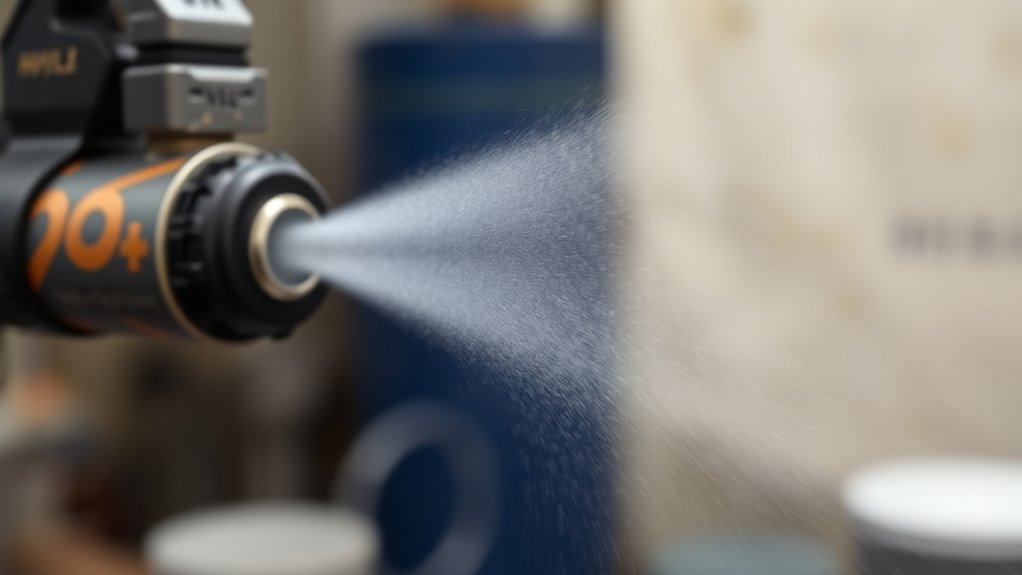
Another frequent culprit is nozzle clogging. Over time, paint can dry or thicken inside the nozzle, blocking the passage and preventing paint from flowing. When this happens, the sprayer continues to blow air but doesn’t dispense paint. Regular maintenance is key—disassemble the nozzle and clean it thoroughly with the appropriate solvent, ensuring all paint residues are removed. Use a brush or a needle to clear any stubborn blockages. If you notice the nozzle is damaged or worn, replacing it with a new one might be necessary for ideal spray performance. Always check that the nozzle size matches the type of paint you’re using, as an incompatible nozzle can also cause clogging or uneven spray patterns.
It’s also worth inspecting the paint itself. Thick or improperly mixed paint is more prone to clogging and can cause the sprayer to blow air without painting. Thin the paint according to the manufacturer’s instructions and strain it to remove lumps or debris before spraying. This simple step can prevent many nozzle blockages and ensure a smooth, even application.
Additionally, consider the use of proper spray techniques to avoid uneven paint flow and reduce the chances of clogging or other issues. Finally, ensure all connections are tight and secure, including the air hose, paint cup, and nozzle assembly. Leaks or loose fittings can reduce pressure and cause inconsistent spraying. Regularly inspecting and maintaining your equipment keeps it in top shape, helping you avoid these common issues. If you’ve checked all these factors and the sprayer still blows air without painting, it might be time to consult the manufacturer or a professional repair service. With a bit of troubleshooting, most of these issues are straightforward to fix, so you can get back to your project quickly and with minimal frustration.
Frequently Asked Questions
Can I Fix My HVLP Sprayer Myself?
Yes, you can fix your HVLP sprayer yourself with some DIY repairs. Start with troubleshooting tips like checking for clogs, cleaning filters, and inspecting hoses. Many issues are simple to resolve with basic tools and patience. Just guarantee you follow safety precautions, and refer to your sprayer’s manual for specific instructions. If problems persist, consider consulting a professional, but many fixes are manageable for DIY enthusiasts.
How Often Should I Clean My HVLP Sprayer?
Your HVLP sprayer is practically a painting superhero, so give it the care it warrants! You should clean it after every use to prevent clogs and guarantee top performance. Follow your maintenance routines and stick to a regular cleaning schedule—ideally, after each project or daily if you’re painting continuously. This keeps your sprayer running smoothly, extending its lifespan and making your painting projects flawless every time.
Is It Normal for the Sprayer to Leak Air?
Air leakage can be normal in some cases, but it often indicates a problem with your sprayer. During regular sprayer maintenance, check for worn or damaged seals and connections, as these are common causes of air leaks. If you notice persistent air leakage, address it promptly by replacing faulty parts or tightening fittings. Proper sprayer maintenance helps guarantee peak performance and prevents unnecessary air loss, keeping your painting projects smooth.
What Type of Paint Is Best for HVLP Sprayers?
You might think all paints work with HVLP sprayers, but that’s not true. To get the best results, choose paints with low viscosity because thick paint obstructs the nozzle. Opt for paints designed for spraying, like thinned latex or acrylics. Also, match your nozzle size to the paint’s viscosity—smaller nozzles for thinner paints and larger for thicker. This ensures smooth spraying without blockages or uneven coating.
How Do I Prevent Clogging in My Sprayer?
To prevent clogging in your sprayer, guarantee you use proper nozzle maintenance by cleaning it regularly and inspecting for wear. Additionally, employ effective paint filtration techniques by straining your paint before spraying to remove debris. This helps keep the nozzle clear and ensures a smooth spray. Always follow manufacturer guidelines for cleaning and filtering, and avoid overloading your sprayer to maintain peak performance and prevent clogs.
Conclusion
When your HVLP sprayer blows air but no paint, it’s like a song playing without its melody—you know it’s missing something essential. By checking the fluid supply, nozzle, and pressure settings, you can restore harmony to your project. Think of it as reigniting a spark that brings your work to life, transforming a frustrating gust into a smooth, vibrant flow. With patience and attention, you’ll paint with confidence, turning a simple tool into a conduit of your creativity.

Franz came aboard the Paint Sprayer Zone team with a background in both journalism and home renovation. His articulate writing style, combined with a passion for DIY projects, makes him an invaluable asset. Franz has a knack for breaking down technical jargon into easy-to-understand content, ensuring that even the most novice of readers can grasp the complexities of paint sprayers.