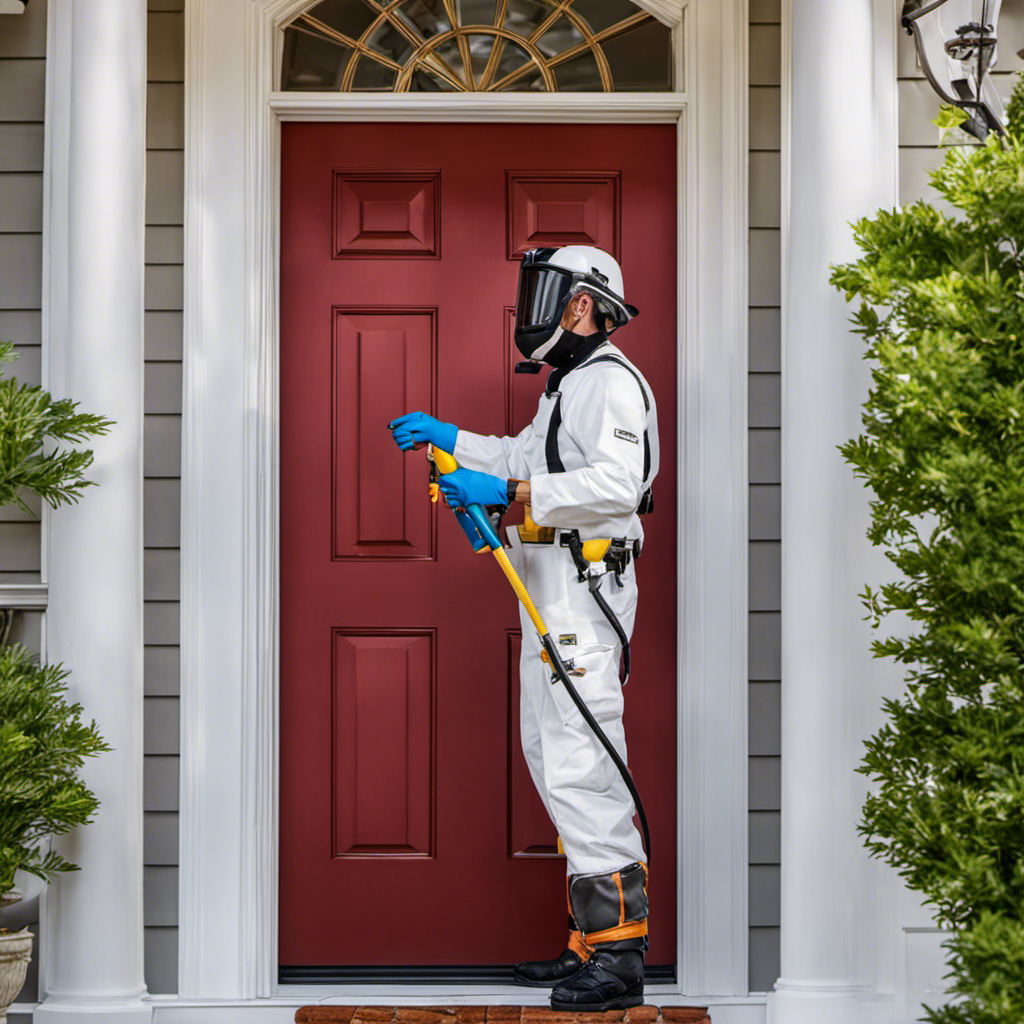
I have always desired to update the appearance of my front door, and I have finally discovered the ideal method to accomplish this: by utilizing an airless sprayer for spray painting.
In just a few simple steps, I’ll show you how to transform your front door into a stunning focal point for your home.
From selecting the right paint and equipment to preparing the surface and applying the perfect coat, I’ll guide you through each stage of the process.
Get ready to see your front door come to life like never before!
Key Takeaways
- Consider the overall aesthetic of your home and desired look when choosing paint colors for the front door.
- Compare different spray painting techniques, with airless sprayers being efficient and providing even coverage.
- Thoroughly clean the surface of the door using a mild detergent and water solution or a degreaser for stubborn stains.
- Select the right primer based on the material of the door and the type of paint being used.
Selecting the Right Paint and Equipment
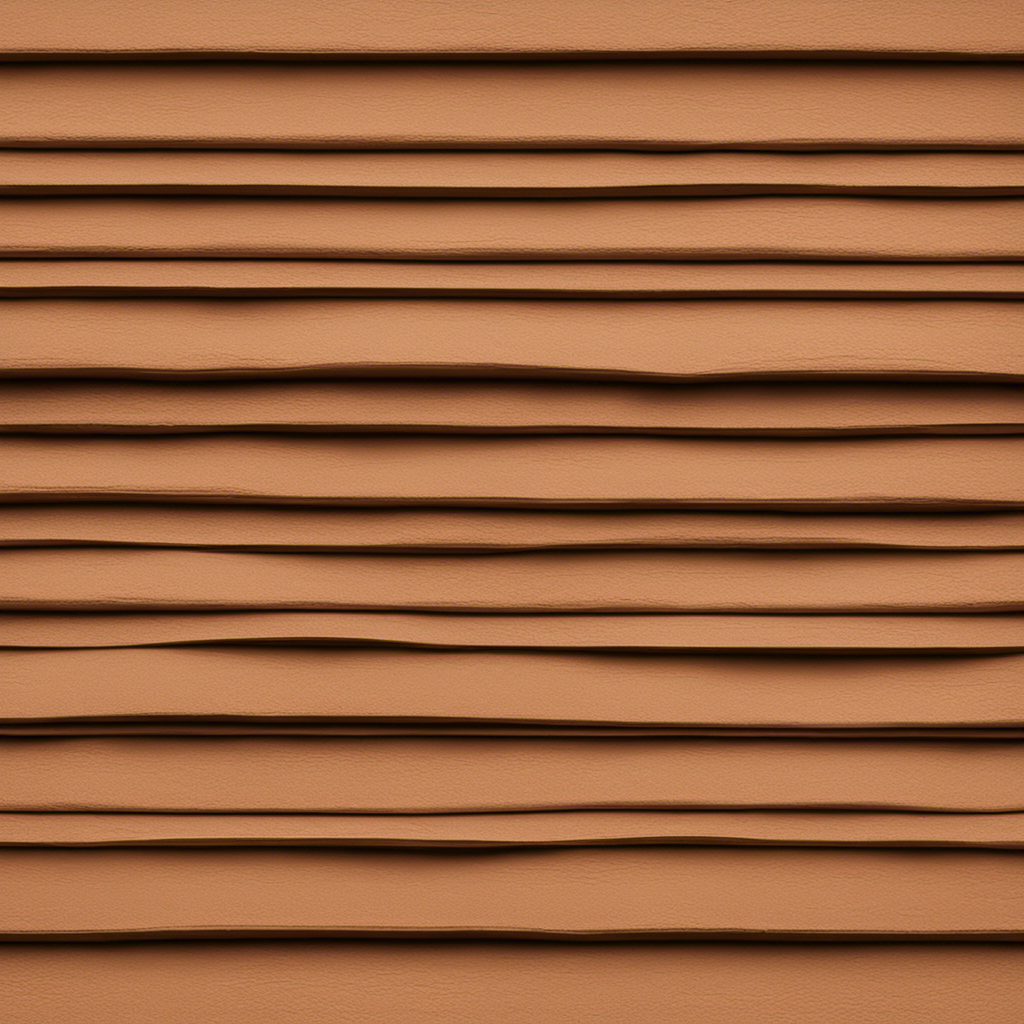
You’ll want to make sure you’re using the appropriate type of paint and equipment for the job. When selecting paint colors for your front door, consider the overall aesthetic of your home and the desired look you want to achieve. Take into account the color scheme of your exterior and any architectural features you want to highlight.
Once you’ve chosen the perfect paint color, it’s time to compare different spray painting techniques. Airless sprayers are a popular option for front door painting due to their efficiency and even coverage. They provide a smooth finish and allow for quick application.
Now that you have your paint and equipment sorted, it’s time to move on to preparing the front door for painting, ensuring a professional-looking result.
Preparing the Front Door for Painting
When it comes to preparing the front door for painting, there are two key points that need to be considered: surface cleaning techniques and choosing the right primer.
First, it is important to thoroughly clean the surface of the door to ensure proper adhesion of the paint. This can be done by using a mild detergent and water solution, or by using a degreaser for more stubborn stains.
Once the surface is clean, it is crucial to select the right primer based on the material of the door and the type of paint being used. A primer helps to create a smooth and even surface for the paint to adhere to, ensuring a long-lasting and professional finish.
Surface Cleaning Techniques
To ensure proper adhesion, it’s important to thoroughly clean the surface before spray painting the front door with an airless sprayer. Surface preparation techniques play a crucial role in achieving a smooth and long-lasting finish.
The first step is to remove any dirt, dust, or grime from the door using a mild detergent and water. Scrub the surface gently with a soft brush or sponge, paying special attention to corners and crevices. Rinse thoroughly and allow the door to dry completely before proceeding.
It’s essential to remove any existing paint or varnish that may be peeling or flaking. Use a paint scraper or sandpaper to smooth out any rough spots. By taking the time to properly clean the surface, you’ll create the ideal foundation for a flawless paint job.
Now, let’s move on to choosing the right primer for your front door.
Choosing the Right Primer
Before deciding on a primer, it’s important to consider the type of surface and the desired finish for your front door. Surface preparation techniques are crucial for achieving a smooth and long-lasting paint job.
Using a primer before painting offers several benefits. Firstly, it helps to seal the surface and create a uniform base for the paint. This ensures better adhesion and prevents peeling or cracking in the future. Secondly, primer helps to block stains and hide imperfections, giving your front door a flawless appearance. Additionally, it promotes durability and protects the surface from moisture, UV rays, and other environmental factors.
Now that we understand the importance of choosing the right primer, let’s move on to the next step: cleaning and sanding the surface.
Cleaning and Sanding the Surface
When it comes to painting a front door, surface preparation is crucial for achieving a smooth and long-lasting finish. In order to ensure proper adhesion of the paint, it is important to thoroughly clean the door before starting the painting process.
Additionally, sanding the surface can help to smooth out imperfections and create a more even surface for the paint to adhere to. Here are some cleaning techniques and sanding tips and tricks that can help you achieve professional-looking results.
Surface Preparation Importance
Proper surface preparation is crucial for achieving a smooth and long-lasting spray paint finish on your front door. By taking the time to prepare the surface correctly, you can ensure that the paint adheres properly and that the final result is flawless. There are several surface preparation techniques that can be used, depending on the condition of your door. These techniques include cleaning the surface, repairing any damage, and sanding to create a smooth and even surface.
To emphasize the importance of proper surface preparation, consider the following table:
| Surface Preparation Techniques | Importance |
|---|---|
| Cleaning | Removes dirt, grease, and grime, allowing the paint to adhere properly |
| Repairing | Fixes any cracks, holes, or imperfections in the surface |
| Sanding | Creates a smooth and even surface for the paint to adhere to |
Cleaning Techniques for Door
Using a mild detergent and warm water is an effective way to clean the surface of your front door before applying the paint. When it comes to cleaning products, make sure to choose ones that are safe for the material of your door. Avoid using harsh chemicals or abrasive cleaners as they can damage the surface.
Start by mixing the detergent with warm water and using a soft sponge or cloth to gently scrub the door. Pay attention to any dirt, dust, or grime buildup, especially in crevices and corners. Rinse the door thoroughly with clean water and allow it to dry completely before proceeding to the next step of sanding tips and tricks.
Transition: Now that the door is clean and dry, it’s time to move on to the important step of sanding.
Sanding Tips and Tricks
Now that the door is clean and dry, it’s time for you to start sanding. Make sure to use a fine-grit sandpaper for a smooth and even surface. Here are some sanding techniques and tools that will help you achieve the best results:
- Start by sanding the entire surface of the door in a circular motion. This will help remove any imperfections and create a better adhesion for the paint.
- Pay extra attention to the edges and corners of the door, as these areas tend to have more buildup and require more sanding.
- Use sanding blocks or sanding sponges to keep the sandpaper flat against the surface and prevent uneven sanding.
- For hard-to-reach areas, such as intricate designs or panels, consider using a small detail sander or sanding attachments for your power tools.
By following these sanding techniques and using the right sanding tools, you will ensure a smooth and even surface for your paint application.
Now, let’s move on to repairing any damaged areas on the door.
Repairing Any Damaged Areas
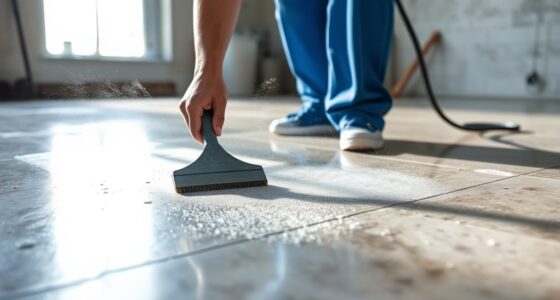
To fix any damaged areas, you’ll need to start by sanding down the surface of the front door. This will ensure a smooth and even base for the repair work.
Begin by using medium-grit sandpaper to gently remove any loose paint or rough patches.
Next, examine the door for any cracks or holes. To repair damaged surfaces, use a wood filler or putty knife to fill in these areas. Apply the filler in thin layers, allowing each layer to dry before adding more. Once the filler is completely dry, sand it down to create a seamless finish.
By addressing and repairing these damaged areas, you’ll be able to achieve a flawless result when spray painting your front door.
Now, let’s move on to masking off the surrounding areas to protect them from overspray.
Masking Off Surrounding Areas
When it comes to masking off surrounding areas before spray painting, it is important to use proper taping techniques to ensure clean lines and prevent paint from bleeding through. This involves using high-quality painter’s tape and taking the time to carefully apply it along the edges of the surfaces you want to protect.
Additionally, protecting adjacent surfaces from overspray is crucial to avoid any unwanted paint splatters or damage, so it is recommended to use drop cloths or plastic sheets to cover furniture, floors, and other nearby objects.
Proper Taping Techniques
First, make sure you’re using painter’s tape to properly mask off any areas on your front door that you don’t want to be sprayed. Here are some tips to help you achieve a clean and professional finish:
- Start by applying the tape along the edges of the areas you want to protect, such as windows, hardware, and trim.
- Press the tape firmly to ensure good adhesion and prevent paint bleed.
- To minimize paint drips, make sure the tape is securely in place and covers the entire area you want to protect.
When spraying, keep the sprayer at a consistent distance from the door to avoid uneven coverage and potential drips. Once you’ve finished painting, carefully remove the tape while the paint is still wet to prevent it from sticking to the door and leaving residue.
By following these taping techniques, you can achieve a professional-looking paint job while minimizing paint drips and ensuring easy removal of tape residue.
Now, let’s move on to protecting adjacent surfaces without compromising the quality of your paint job.
Protecting Adjacent Surfaces
Make sure you’re using drop cloths to protect nearby floors and furniture from any potential overspray. This is an essential step in minimizing paint splatters and protecting your flooring. Here’s a table to help you choose the right type of drop cloth for your project:
| Type of Drop Cloth | Material | Features |
|---|---|---|
| Canvas | Heavy-duty fabric | Durable and reusable |
| Plastic | Polyethylene | Waterproof and lightweight |
| Paper | Kraft paper | Disposable and affordable |
When selecting a drop cloth, consider the size of your front door and the amount of space you need to cover. Covering any areas that could be affected by overspray will save you time and effort in cleaning up later. Now that you have protected your adjacent surfaces, let’s move on to minimizing the effects of overspray without compromising the quality of your paint job.
Minimizing Overspray Effects
To minimize the effects of overspray, it’s important to properly adjust the settings on your sprayer. Here are some techniques that can help in minimizing overspray and preventing paint drift:
-
Adjust the pressure: Lowering the pressure on your sprayer can help reduce overspray. Start with a lower pressure setting and gradually increase it until you achieve the desired coverage without excessive overspray.
-
Use a smaller spray tip: Using a smaller spray tip can also help in minimizing overspray. A smaller tip creates a narrower spray pattern, reducing the chances of paint drifting onto unintended surfaces.
By implementing these techniques, you can effectively minimize overspray and achieve a more precise and controlled painting process.
Now, let’s transition into the next section about setting up the airless sprayer.
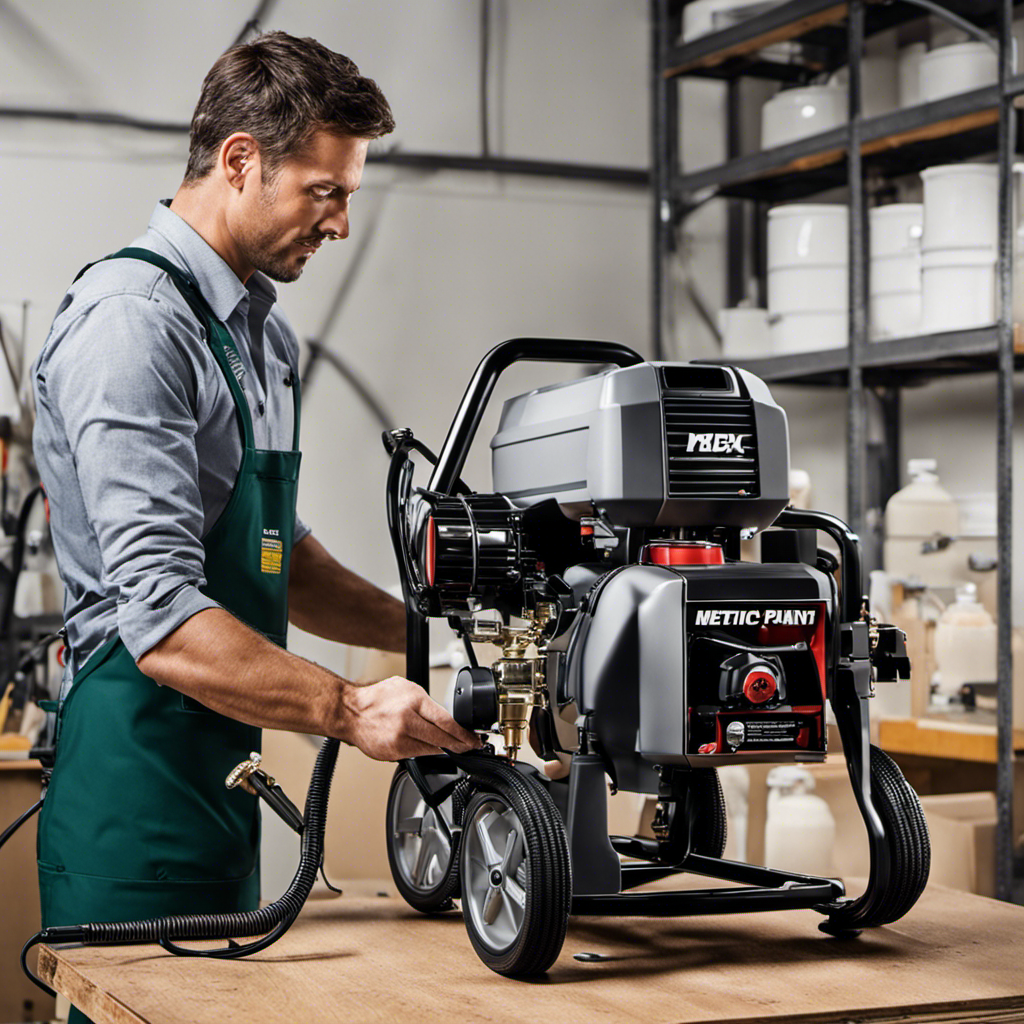
Setting Up the Airless Sprayer
Once you’ve gathered all the necessary materials, it’s time to set up the airless sprayer for painting your front door.
Before starting, it’s crucial to understand the importance of surface preparation. A well-prepared surface ensures better adhesion and a smoother finish.
Begin by thoroughly cleaning the door using a mild detergent and water. Remove any dirt, grease, or old paint using a scrub brush or sponge. Rinse the door with clean water and allow it to dry completely.
Once the door is clean, assemble the airless sprayer according to the manufacturer’s instructions. This typically involves attaching the spray gun, hose, and ensuring the proper settings for pressure and spray pattern.
With the airless sprayer set up, you’re ready to move on to applying the primer coat, ensuring a solid foundation for the paint to adhere to.
Applying the Primer Coat
Before you begin applying the primer coat, ensure that the surface of the door is clean and dry. Surface preparation is of utmost importance to achieve a smooth and long-lasting finish. Here are a few key steps to follow:
-
Clean the surface: Use a mild detergent and water to remove any dirt, grease, or debris from the door. Rinse it thoroughly and let it dry completely.
-
Repair damaged areas: Inspect the door for any cracks, holes, or imperfections. Use a wood filler to repair these areas and sand them smooth once dry.
By properly preparing the surface, you create a solid foundation for the primer coat to adhere to and ensure better adhesion for the subsequent paint coat(s).
Now let’s move on to applying the paint coat(s) to complete the transformation of your front door.
Applying the Paint Coat(s
Now that the surface is properly prepared, you’re ready to start applying the paint coat(s) to your front door. To achieve a smooth finish, it’s important to use proper paint drying techniques.
Begin by applying a thin and even coat of paint, making sure to cover the entire surface. Start at the top and work your way down, using smooth, overlapping strokes.
Allow the first coat to dry completely before applying additional coats. This will prevent the paint from running or sagging. Depending on the type of paint you’re using, you may need to apply two or three coats for full coverage.
Once the final coat is applied, allow the paint to dry and cure according to the manufacturer’s instructions. This will ensure a durable and long-lasting finish.
In the next section, we will discuss the importance of drying and curing the paint for optimal results.
Drying and Curing the Paint
To achieve a durable and long-lasting finish, be sure to follow the manufacturer’s instructions for drying and curing the paint on your front door. Proper drying and curing are crucial in ensuring a professional-looking result. Here are some key points to keep in mind:
-
Allow sufficient drying time: The manufacturer’s instructions will provide guidance on how long the paint needs to dry between coats and before handling. Rushing this process can lead to smudges and imperfections.
-
Ensure proper ventilation: Adequate airflow is essential for the drying and curing process. Open windows or use fans to promote air circulation, helping the paint to dry evenly and reducing the risk of a sticky finish.
Cleaning and maintaining the airless sprayer is essential to prolong its lifespan and ensure optimal performance. Taking good care of your equipment will save you time and money in the long run, while also guaranteeing a smooth painting experience.
Cleaning and Maintaining the Airless Sprayer
It’s important to regularly clean and maintain your airless sprayer to ensure its longevity and optimal performance. One key area to focus on is cleaning the sprayer nozzle. Over time, paint residue can build up and clog the nozzle, leading to uneven spray patterns or even complete blockages.
To clean the nozzle, remove it from the sprayer and soak it in a cleaning solution. Use a small brush or toothpick to remove any stubborn residue.
Additionally, it’s crucial to troubleshoot common sprayer issues. For example, if the sprayer is not priming properly, check for any air leaks and ensure that all connections are tight. If the sprayer is not spraying evenly, check the nozzle for any clogs or obstructions.
Frequently Asked Questions
How Long Does It Take for the Primer Coat to Dry Before Applying the Paint Coat?
It typically takes about 1-2 hours for the primer coat to dry before applying the paint coat. It is important to use a paint that is compatible with an airless sprayer for the best results.
Can I Use Any Type of Paint for My Front Door, or Are There Specific Types That Work Better With an Airless Sprayer?
When using an airless sprayer, it’s important to choose the right type of paint. Certain paints, like latex or acrylic, work best with airless sprayers. Consider the viscosity and compatibility of the paint for optimal results.
How Do I Know if My Front Door Needs Any Repairs Before Painting?
Before painting, I always check my front door for any signs of damage. I go through a front door repair checklist that includes looking for cracks, rot, loose hinges, and peeling paint.
What Safety Precautions Should I Take When Using an Airless Sprayer?
To ensure safety when using an airless sprayer, it’s important to take precautions. Proper ventilation is key, as well as wearing protective goggles, gloves, and a mask. Always follow the manufacturer’s guidelines for safe operation.
Is It Necessary to Clean the Airless Sprayer After Every Use, or Can I Let the Paint Dry and Clean It Later?
I always clean my airless sprayer after every use. It’s important to prevent clogs and maintain its performance. Plus, the cleaning process is easy and quick, saving me time in the long run.
Conclusion
In conclusion, painting your front door with an airless sprayer is a quick and efficient way to give it a fresh new look. By following the steps outlined in this article, you can achieve professional-looking results.
Remember to choose the right paint and equipment, prepare the surface properly, and apply both the primer coat and paint coats evenly. Don’t forget to allow for drying and curing time, and make sure to clean and maintain your airless sprayer for future use.
Give your front door a makeover and make a bold statement with a beautifully painted finish.

Drenched in creativity and armed with a fountain pen, Isolde weaves words as gracefully as a painter strokes their canvas. A writer for Paint Sprayer Zone, her passion for colors, textures, and spaces finds a harmonious blend with her profound knowledge of painting tools and techniques.
Having grown up in a family of artists, Isolde’s tryst with paints began early. While her relatives expressed themselves on canvas, Isolde found her medium in words. She dedicated herself to chronicling the world of painting, understanding the nuances of each tool, and the artistry behind every spritz of a paint sprayer.