To paint stucco or brick walls with a sprayer, start by cleaning the surface thoroughly and repairing any cracks or holes. Protect nearby plants, furniture, and surfaces with painter’s tape and drop cloths. Choose a suitable textured surface paint and adjust your sprayer’s pressure for an even coat. Test your spray pattern first, then apply multiple light coats, maintaining a steady distance. Keep your equipment clean afterward. More tips await to help you achieve perfect results.
Key Takeaways
- Thoroughly clean and repair the stucco or brick surface, filling cracks and smoothing patches for optimal paint adhesion.
- Choose a textured-surface compatible sprayer and appropriate nozzle to ensure even coverage on stucco or brick.
- Mask surrounding areas, cover plants, and use drop cloths to protect from overspray before starting.
- Test spray on a hidden area to adjust pressure, nozzle, and distance for consistent application.
- Maintain steady, overlapping passes, keeping about 12 inches from the surface for uniform, professional results.
Gathering the Right Tools and Supplies
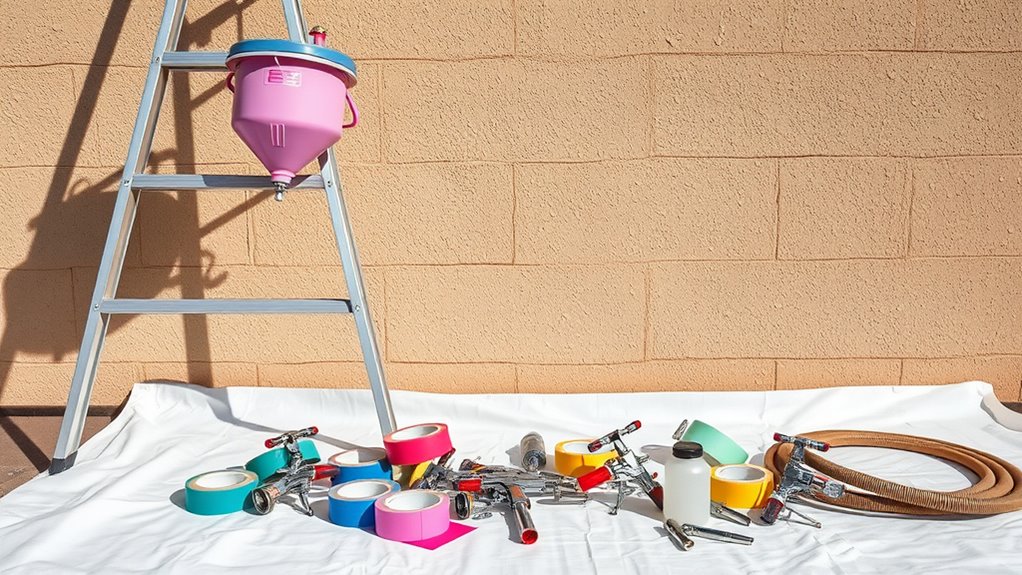
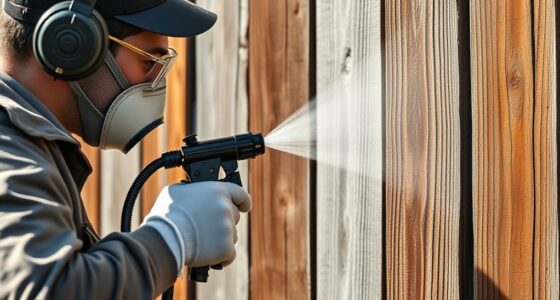
Before you begin spraying your stucco or brick walls, it’s essential to gather the right tools and supplies. Start with quality brushes to help refine edges and tackle tricky spots using proper brush techniques. These brushes are also useful for touch-ups after spraying. Next, focus on paint mixing—ensure your paint is thoroughly combined for consistent color and texture. Use a stir stick and follow manufacturer instructions for proper mixing. You’ll also need a durable paint sprayer compatible with textured surfaces, along with protective gear like masks, goggles, and gloves. Keep painter’s tape handy to protect adjacent areas. Having the right tools and supplies ready will make your job smoother, help you achieve an even finish, and confirm your spray application is efficient and effective. Additionally, understanding surface preparation is crucial for long-lasting results and a professional appearance. Incorporating knowledge of visual consistency can help in selecting the right equipment and techniques to ensure uniform coverage, especially considering the importance of AI-powered virtual reality in e-learning for immersive training. For optimal results, consider payment solutions that can streamline your project management and invoicing processes, ensuring a seamless workflow from start to finish. Also, understanding vehicle tuning options can inspire innovative ways to improve your project efficiency and outcomes.
Preparing the Surface for Painting
Before you start painting, make sure to clean the wall thoroughly to remove dirt and loose debris. Repair any cracks or chips to create a smooth surface, and cover nearby areas to protect them from overspray. Proper preparation guarantees a professional-looking finish and longer-lasting results. Additionally, understanding the contrast ratio process can help ensure your vehicle’s performance is optimized after maintenance. When working on textured surfaces like stucco or brick, using the right tuning techniques can also improve the durability and appearance of your paint job, especially if the surface has been previously treated or modified. Incorporating tuning modifications can further enhance the longevity and aesthetic appeal of your painted walls.
Clean the Wall Surface
To guarantee a smooth and durable paint job, you need to start by thoroughly cleaning the wall surface. Begin by removing surface contaminants like dirt, dust, and loose debris with a high-pressure water rinse or a stiff brush. This prepares the surface for better paint adhesion. Inspect the wall for mold or mildew; if you find any, use a mixture of water and mild detergent or a specialized mold removal solution to eliminate it completely. Allow the surface to dry completely before proceeding. Removing these impurities ensures a clean, stable base for your paint and prevents issues like peeling or uneven coverage later on. Proper cleaning is essential for a long-lasting, professional-looking finish. Additionally, understanding trust issues in relationships can remind you of the importance of a solid foundation—just as a clean surface is vital for paint, trust is crucial for lasting connections. Ensuring the wall is free of contaminants such as grease or wax can further improve paint adherence and longevity. Using the appropriate tools and equipment can also make the cleaning process more effective and efficient. Incorporating techniques to minimize pest infestations during cleaning can help maintain a pristine surface and prevent future damage.
Repair Surface Imperfections
After thoroughly cleaning the wall surface, take a close look for any cracks, holes, or other imperfections that could affect your paint job. Fill small holes with a suitable patching compound, then sand smooth to guarantee an even surface. For larger cracks, use a crack filler and feather the edges to blend seamlessly. When repairing textured areas, match the existing texture carefully to avoid uneven spots. Sand patched areas lightly for a smooth finish, and prime if necessary. Focus on texture matching and color blending, so repairs won’t stand out once painted. Visualize your wall as a blank canvas, ready for a flawless finish. Keep these steps in mind to guarantee your surface is perfectly prepared for a professional-looking paint job. Additionally, understanding surface preparation is crucial, as it directly impacts the adhesion and durability of your paint. Proper surface preparation, like shower base installation, ensures the longevity and quality of your finish. Being aware of the importance of cleaning techniques can further enhance the final appearance and longevity of your paintwork. Incorporating smart home device integration can also help monitor environmental conditions during painting for optimal results. Recognizing the benefits of organization and decluttering can simplify the process of preparing your space and ensure a more efficient project.
Protect Surrounding Areas
Protecting surrounding areas is a crucial step to guarantee your paint job looks clean and professional. Use masking techniques to cover windows, trim, and nearby surfaces, preventing unwanted overspray. Tape plastic sheeting or painter’s tape securely to create a barrier and ensure neat edges. Additionally, improving ventilation is essential for safety and better paint drying. Open windows and doors, or set up fans to direct airflow outward, reducing fumes and dust. Clear the area of furniture or cover it with drop cloths. Taking these precautions minimizes messes and enhances the quality of your work. Proper masking and ventilation make the entire painting process smoother, safer, and results in a clean, professional finish. Always remember to assess your workspace for potential hazards and ensure proper safety precautions are followed before starting to ensure a safe and efficient project.
Choosing the Appropriate Paint and Primer
Choosing the right paint and primer is crucial for achieving a durable and professional-looking finish on stucco or brick walls. You want to select products designed for textured surfaces, ensuring they adhere well and last against weather. When considering texture options, think about whether you prefer a smooth, semi-smooth, or heavily textured finish that complements your wall’s character. For color selection, choose hues that match your style and environment, keeping in mind that some colors may require more coats for even coverage. Look for primers that seal porous surfaces and block stains, providing a solid base for your paint. Remember, the right combination of texture options and color can dramatically enhance your wall’s appearance and durability.
Protecting Surrounding Areas and Landscaping
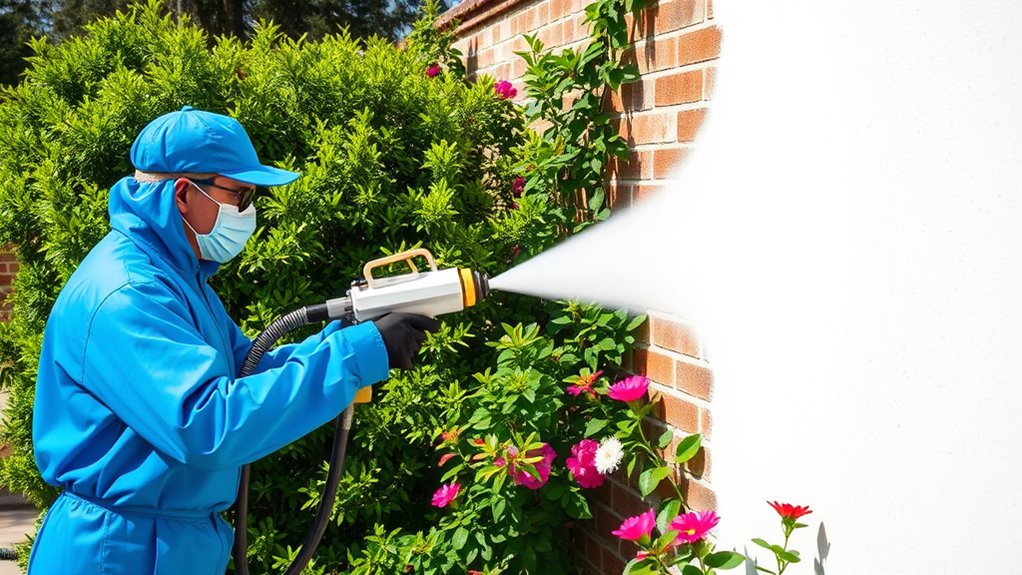
Before you start spraying, make sure to cover your plants and shrubs to safeguard them from paint overspray. Use drop cloths and painter’s tape to shield nearby surfaces and create clean lines. Clearing the area ensures your landscaping stays untouched and your work stays neat. Additionally, consider the surrounding environment to prevent any damage to outdoor elements, such as landscape features, during your painting project. Protecting your tiny house exterior and nearby structures is essential to maintain the overall aesthetic and integrity of your property. Incorporating proper preparation techniques can further enhance the effectiveness of your protective measures. Being aware of sound design techniques can also help you plan your work to minimize disruptions and ensure safety during your project. Moreover, understanding the diversification of investments in your financial planning can help you better appreciate the importance of safeguarding not only your investments but also your property during renovations.
Cover Plants and Shrubs
To prevent overspray from damaging your plants and shrubs, it’s essential to cover them thoroughly before you start spraying the stucco or brick walls. Proper plant protection guarantees your landscaping stays intact. Start by gently removing any loose leaves or debris. Use plastic sheeting or old blankets to cover larger shrubs, securing edges with painter’s tape. For smaller plants, plastic bags or towels work well. Adjust your sprinkler placement to avoid spray drift onto nearby greenery. Visualize your setup:
- Plastic sheets draped over bushes
- Towels wrapped around smaller plants
- Painter’s tape sealing plant edges
- Sprinkler heads directed away from foliage
- Tarps covering flower beds
This careful preparation helps keep your plants safe and your project smooth. Additionally, understanding city dynamics can help you plan your outdoor projects more effectively, ensuring minimal disruption to your landscape and surroundings.
Use Drop Cloths and Tape
Using drop cloths and painter’s tape is essential for protecting your surrounding areas and landscaping during the spraying process. Lay drop cloths over any nearby surfaces, plants, and walkways to catch overspray and avoid messes. Secure edges with painter’s tape to create clean lines and prevent paint from reaching unwanted areas. Tape around windows, doors, and trim to ensure sharp boundaries. Make sure the drop cloths are large enough to cover all surfaces that could be affected by overspray. Taking these precautions helps you work efficiently while keeping your property clean. It also minimizes the risk of accidentally damaging or staining nearby surfaces. Properly using drop cloths and painter’s tape makes your painting job neater, safer, and more professional-looking.
Clear Nearby Surfaces
Protecting your surrounding areas and landscaping is essential to prevent overspray from marring surfaces or damaging plants. Before you start, clear the area around your wall, especially delicate garden maintenance spots. Cover nearby plants, flower beds, and walkways with plastic sheeting or drop cloths. Move outdoor furniture and garden tools away to avoid accidental splatters. Pay close attention to the wall texture, as uneven surfaces can trap overspray, spreading paint where you don’t want it. Remember, quick preparation helps maintain a clean worksite and reduces cleanup time later. Keep these in mind:
- Cover flower beds and shrubs with plastic sheeting
- Move or shield outdoor furniture and tools
- Clear pathways and walkways of debris
- Use painter’s tape on adjacent surfaces
- Keep a spray shield handy for tricky spots
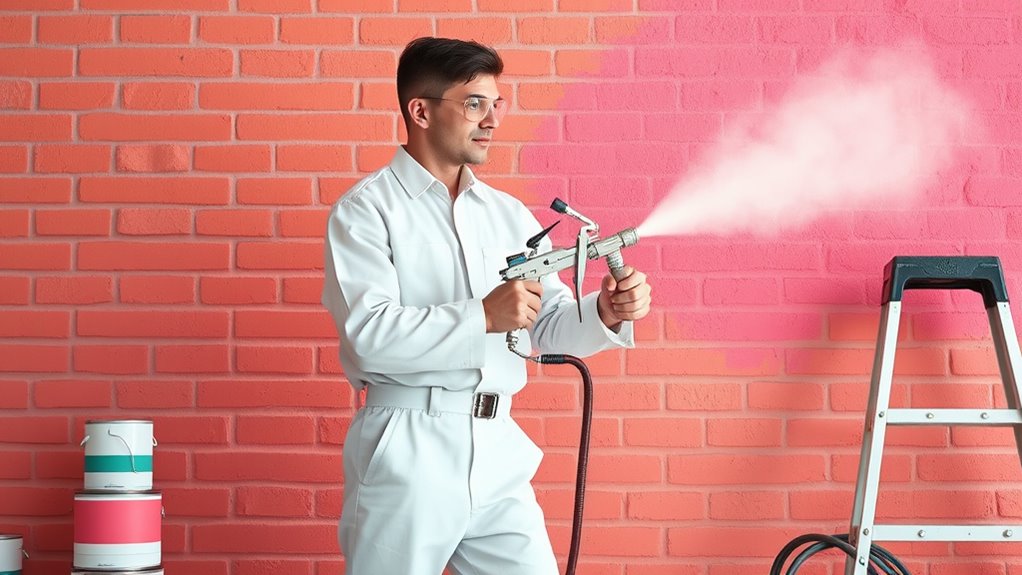
Setting Up and Testing Your Sprayer
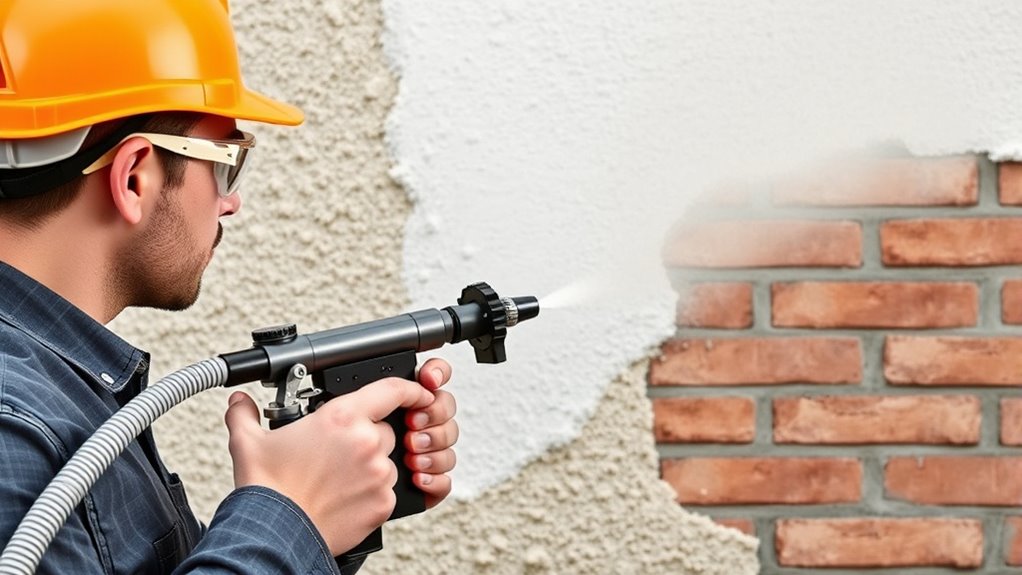
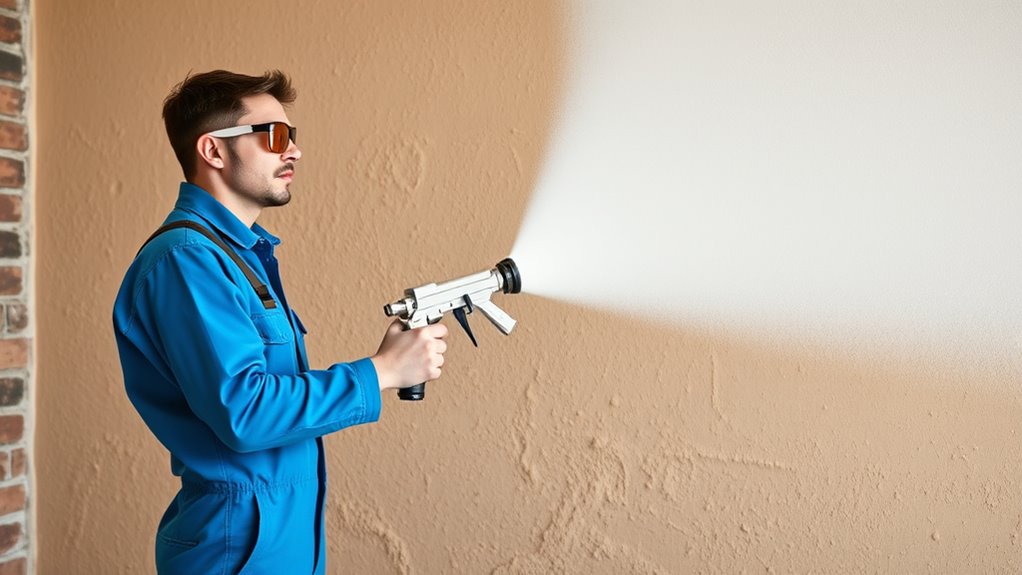
Before you start spraying, it is vital to set up and test your sprayer properly. Begin by making sure your sprayer is clean and all parts are securely attached. Focus on sprayer calibration to achieve even coverage; adjust the pressure settings according to the manufacturer’s instructions. Proper nozzle selection is essential—choose a nozzle size suited for textured surfaces like stucco or brick to prevent uneven application. Once assembled, do a test spray on a piece of scrap material or a hidden area of your wall. Check the spray pattern for consistency and adjust the pressure or nozzle if needed. This step helps you identify potential issues and guarantees your sprayer delivers an even coat, saving time and avoiding costly mistakes during the actual painting.
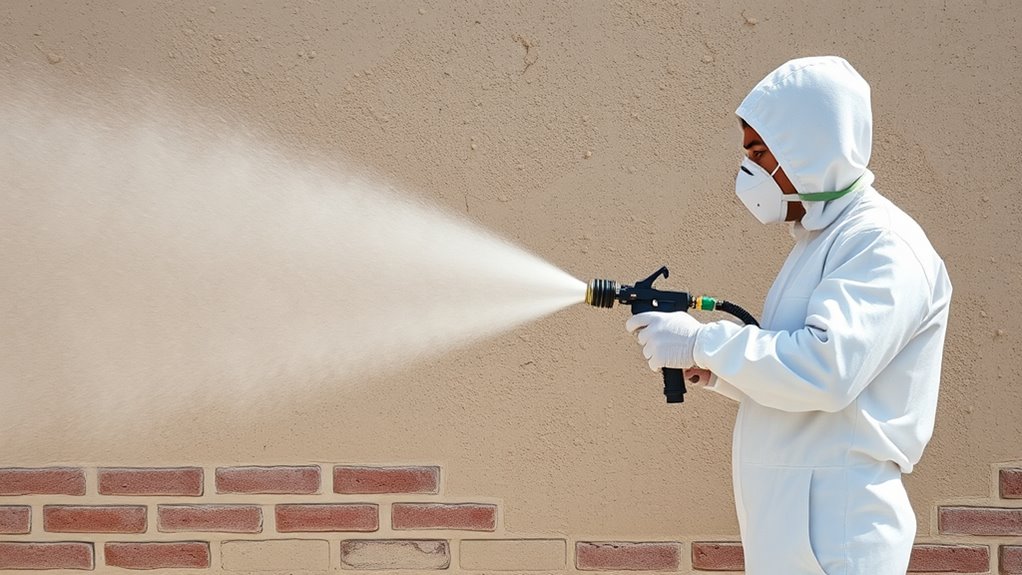
Applying the First Coat of Paint
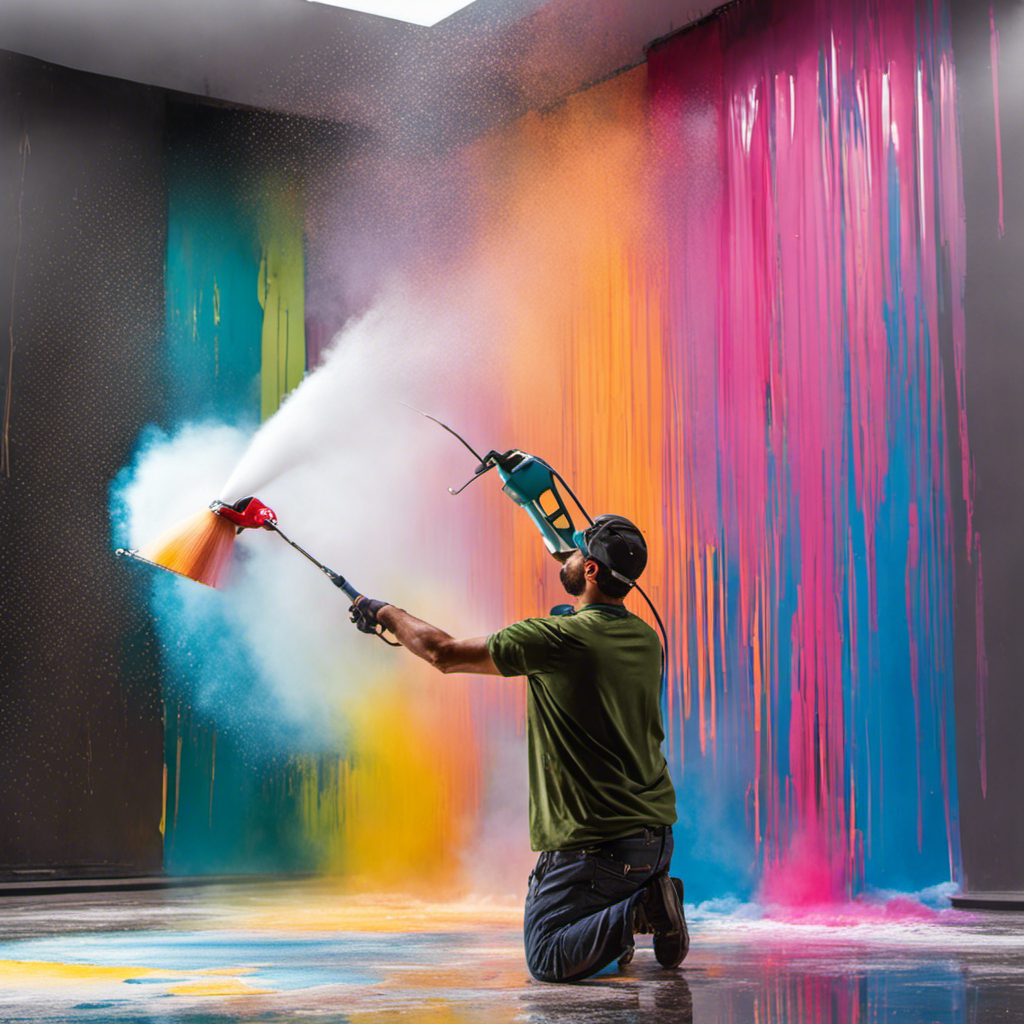
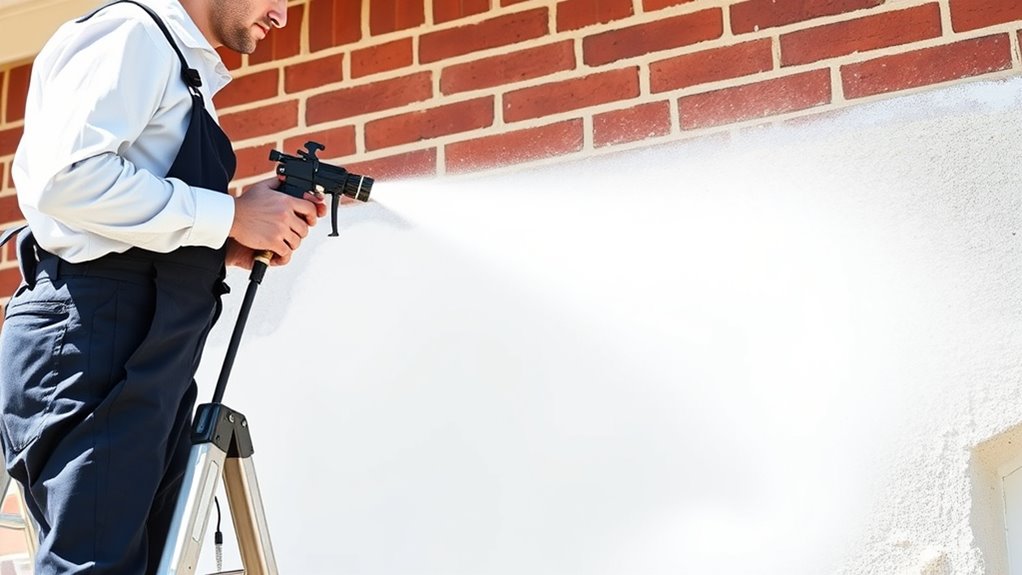
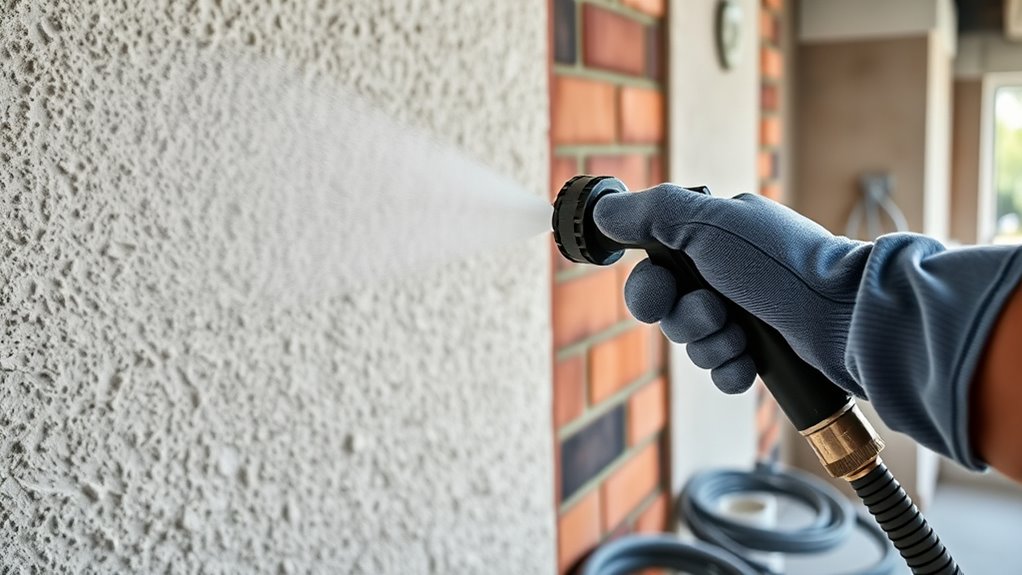
Once your sprayer is properly calibrated and tested, you can begin applying the first coat of paint. Maintain a consistent paint consistency to ensure smooth coverage and avoid drips. Use a steady spray technique, keeping the nozzle about 12 inches from the surface, and move in even, overlapping passes. Visualize your work as you go:
Begin painting with steady, overlapping strokes for a smooth, professional finish.
- A fine mist evenly covering textured stucco or brick
- Smooth, consistent layers building up without streaks
- An even flow of paint, avoiding heavy spots or thin patches
- Controlled, deliberate passes to prevent overspray
- A uniform coat that highlights surface details without pooling
Focusing on proper spray technique and paint consistency helps you achieve a professional-looking finish on your walls.
Applying Additional Coats and Achieving an Even Finish
After applying your first coat, it is essential to let it dry thoroughly before adding additional layers. Once dry, inspect the surface for even texture consistency; touch up any uneven spots to guarantee a uniform appearance. When applying subsequent coats, use a consistent spray technique to prevent streaks or missed areas that could compromise paint adhesion. Lightly sanding between coats can help create a smoother, more even finish and improve adhesion for the next layer. Be mindful of the spray pattern and maintain steady movement to avoid thick or thin spots. Multiple thin coats generally yield a better, more durable finish than one heavy coat. Patience and attention to detail will help you achieve a professional-looking, even, and lasting paint job on your stucco or brick walls.
Cleaning and Maintaining Your Sprayer After Use
Properly cleaning your sprayer immediately after use guarantees it stays in good working condition and prevents clogs or paint buildup. First, flush the system with water or solvent, depending on the paint type. Next, disassemble the nozzle and spray tip, inspecting for paint residue. Use a brush to scrub nozzle selection components, ensuring no blockages remain. Check the sprayer calibration settings to confirm they haven’t shifted during cleaning. Store parts in a safe place, avoiding damage. Visualize yourself:
- Rinsing the paint reservoir thoroughly
- Removing and cleaning the nozzle and spray tip
- Clearing any dried paint from internal parts
- Adjusting the sprayer calibration for next use
- Storing components in a dry, organized container
Regular maintenance keeps your sprayer efficient, prolongs its lifespan, and guarantees consistent spray quality.
Frequently Asked Questions
How Do I Prevent Overspray on Nearby Surfaces?
To prevent overspray on nearby surfaces, you should use effective masking techniques like painter’s tape and drop cloths to cover anything you don’t want painted. Consider environmental considerations, such as wind, by choosing a calm day or working indoors if possible. Keep your sprayer at the right distance and use a controlled, steady motion to minimize overspray, ensuring your workspace stays clean and protected.
What Is the Best Way to Choose the Right Spray Tip?
When choosing the right spray tip, focus on spray tip selection and nozzle compatibility. You want a tip that matches your project’s needs, considering the material’s texture and thickness. Check the manufacturer’s recommendations and confirm the nozzle is compatible with your sprayer. A properly selected spray tip helps achieve even coverage and minimizes overspray, making your painting process smoother and more efficient.
How Can I Fix Uneven Paint Application?
Imagine trying to paint with a shaky hand—your brush techniques suffer, and so does your finish. To fix uneven paint application, start by checking your paint consistency; it should be smooth and fluid. Use consistent spray techniques, maintaining even distance and speed. If streaks appear, adjust your spray tip or practice on scrap before continuing. Proper preparation and steady movement guarantee a uniform coat, just like a steady hand ensures a perfect stroke.
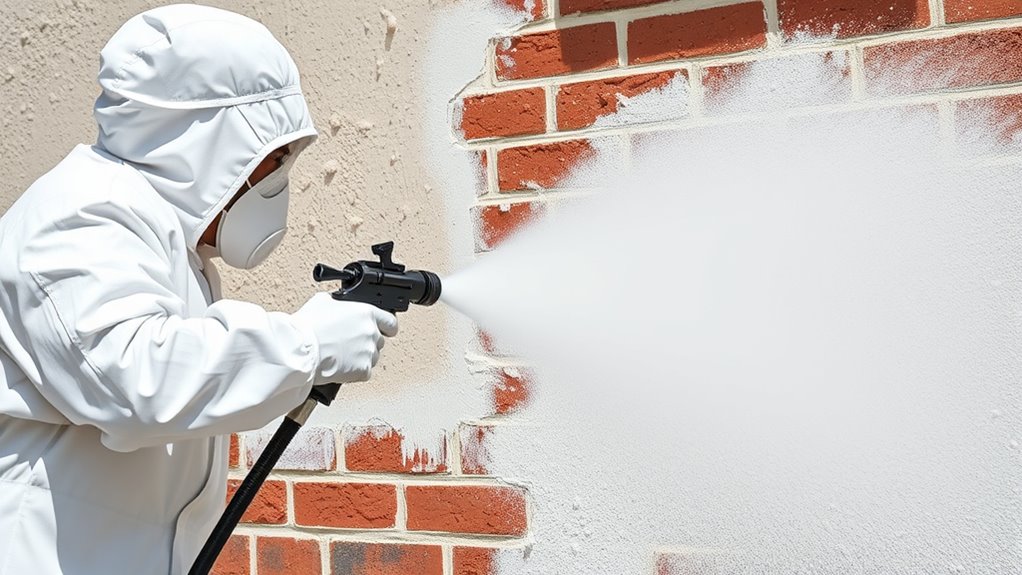
What Safety Precautions Should I Take During Spraying?
When spraying, you need to prioritize safety by wearing protective gear like goggles, masks, and gloves to prevent inhaling fumes or getting paint on your skin. Guarantee your ventilation setup is effective, opening windows and using fans to disperse fumes. Keep the work area clear of obstacles, and follow manufacturer instructions carefully. These precautions help protect you from hazards and ensure a safe, smooth painting process.
How Do I Store Leftover Paint Safely?
You might think leftover paint isn’t a big deal, but storing it properly guarantees you can reuse your chosen paint color and finish later. Always seal the lid tightly, clean the rim first, and store the container upright in a cool, dry place away from sunlight. Label the paint with the color and finish, so you know what’s inside, and keep it out of reach of children or pets for safety.
Conclusion
With the right tools and techniques, painting stucco or brick walls with a sprayer becomes a manageable task. Think of your sprayer as a magic wand that transforms your walls into a fresh canvas. Just be patient, follow each step carefully, and you’ll achieve a smooth, professional finish. Before you know it, your space will shine brighter than a diamond—proof that your effort paid off and your walls are now true works of art.

A seasoned painter with over 15 years in the industry, Mike transitioned from hands-on painting projects to the digital world of paint sprayers. His extensive experience gives him a unique perspective on what users truly need when it comes to painting tools. As the Editor in Chief of Paint Sprayer Zone, Mike ensures that every piece of content not only provides value but also reflects the realities of painting — the challenges, the joys, and the intricate details.