To get a professional-looking fence with a sprayer, keep a steady 45-degree angle and hold the nozzle 6-12 inches from the surface for even coverage. Move smoothly with overlapping passes to prevent streaks. Adjust your spray pressure for control—higher for wide areas, lower for details. Maintain a consistent speed to avoid drips, and check your equipment regularly for peak results. Keep going to discover more tips that will make your project a breeze.
Key Takeaways
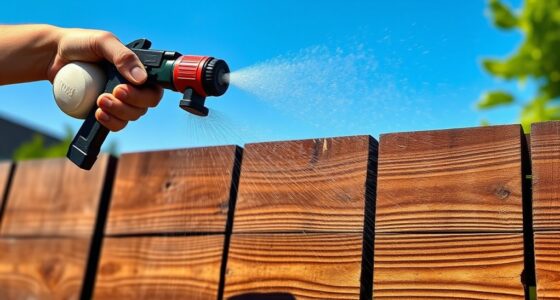
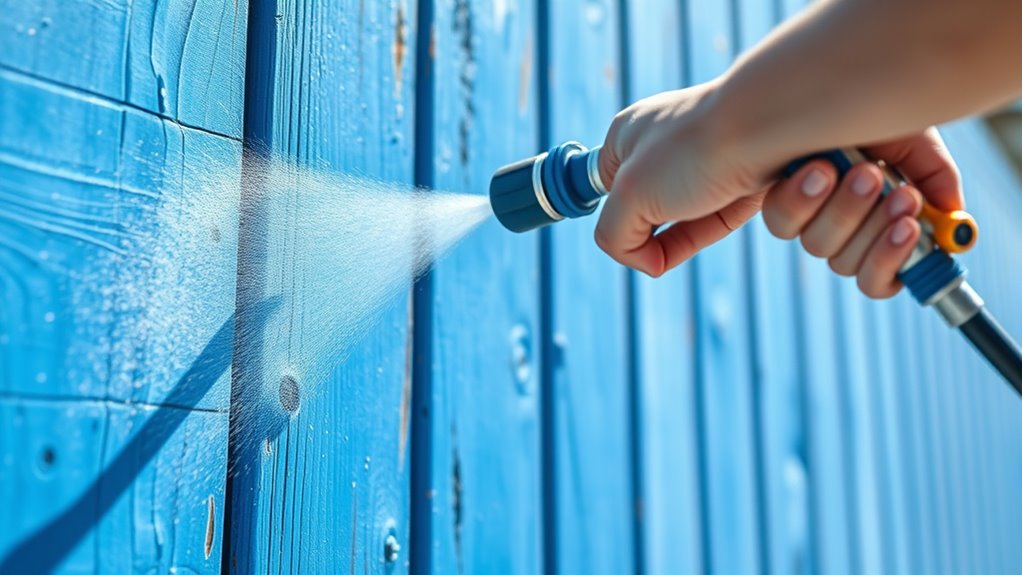
- Maintain a steady 45-degree spray angle and 6-12 inch distance for even coverage and smooth finish.
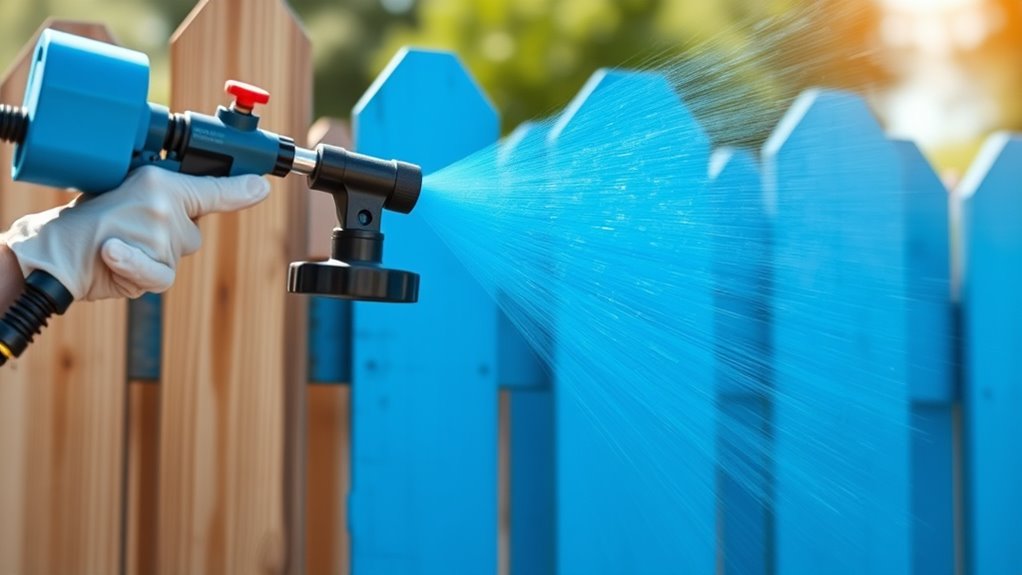
- Use overlapping passes and consistent motion to ensure uniform paint application.
- Adjust spray pressure: higher for speed, lower for detail work, to control overspray and precision.
- Regularly clean and check equipment to prevent clogs and optimize spray performance.
- Practice on scrap surfaces to refine angle, pressure, and speed for efficient, high-quality fence painting.
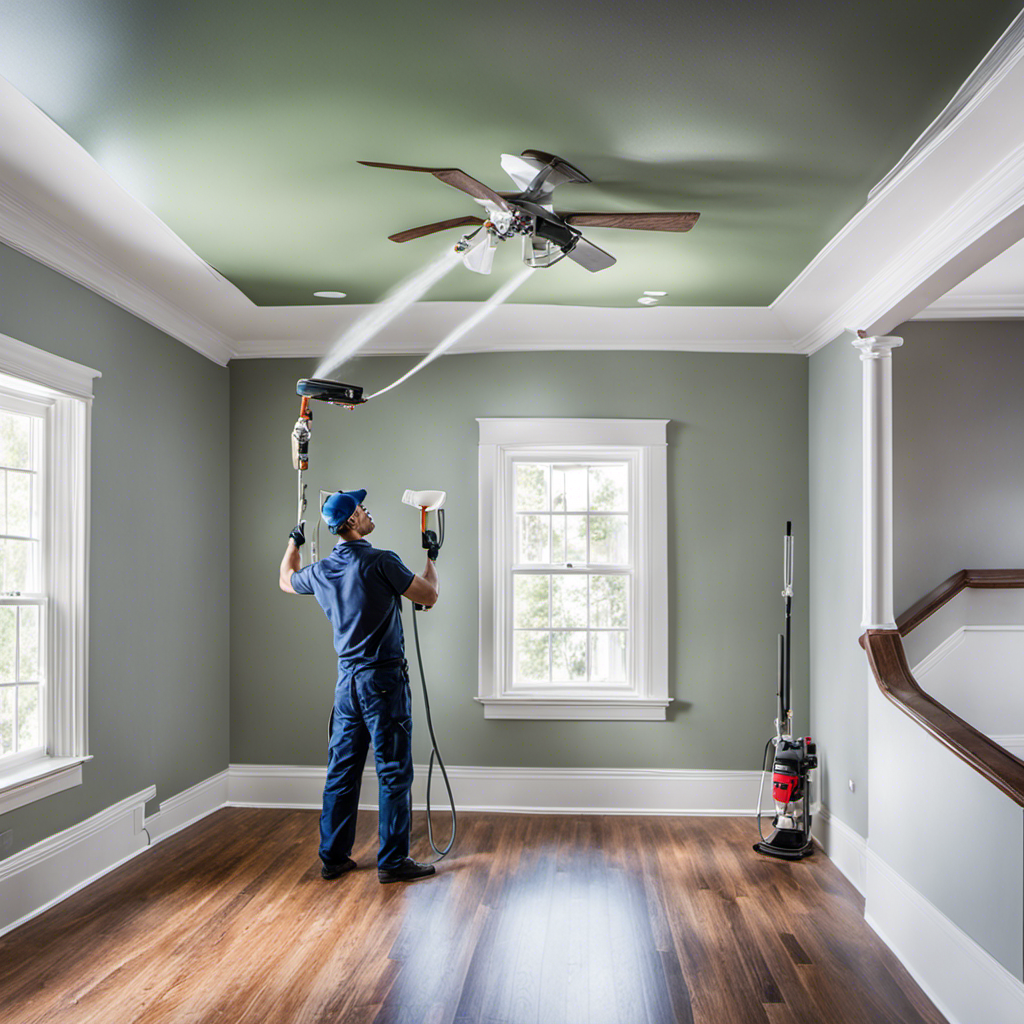
Painting your fence with a sprayer is one of the quickest and most efficient ways to achieve a smooth, even finish. To get the best results, you need to pay attention to your sprayer maintenance and understand proper paint mixing techniques. Regularly cleaning your sprayer after each use prevents clogs and guarantees it operates smoothly during your project. Before starting, check hoses, nozzles, and filters, and replace any worn parts. A well-maintained sprayer delivers consistent spray patterns and prevents uneven application, saving you time and frustration. Proper sprayer maintenance also extends the life of your equipment, making future projects easier.
Regular sprayer maintenance ensures smooth operation and even paint application for a flawless fence finish.
When it comes to paint mixing, you want to achieve a uniform consistency. Stir the paint thoroughly and, if necessary, strain it to remove lumps or debris. Adding a paint conditioner or thinning the paint slightly with water or a compatible additive helps achieve a smooth, sprayable consistency. Proper paint mixing techniques are essential because thick or uneven paint can clog the sprayer or cause splattering. Keep a paint stir stick nearby and mix regularly during your project to maintain consistency. This ensures your coat is smooth and even, without drips or uneven coverage. Additionally, using sensory toys or simple tools like a paint stir stick can help children develop fine motor skills as they assist with mixing.
Using your sprayer at the right angles is equally important. Hold the spray gun at a consistent 45-degree angle to the fence surface, and maintain a steady distance—usually about 6 to 12 inches—between the nozzle and the wood. Moving the sprayer in smooth, overlapping passes prevents streaks and guarantees uniform coverage. When working on edges or detailed areas, switch to a smaller nozzle or a more precise setting, but keep the spray even. Remember, the key to a flawless finish is consistent motion and proper angle. Avoid stopping in one spot too long, as this can cause drips or runs.
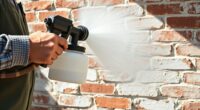
Adjusting your spray angle and pressure allows you to adapt to different fence surfaces and paint types. Higher pressure covers more area quickly but can lead to overspray, while lower pressure offers more control for detailed sections. Practice on a scrap piece or a hidden section of the fence before starting your main work. This helps you get comfortable with your sprayer’s settings and improves your technique. Properly managing these adjustments can also prevent overspray, which is especially important in outdoor settings to reduce waste and mess.
Frequently Asked Questions
What Types of Paint Are Best for Fence Sprayers?
You should use latex or acrylic paint for fence sprayers because they offer excellent paint compatibility and dry quickly. These paints provide a smooth finish and are easy to apply evenly with a sprayer. For better finish durability, choose high-quality, exterior-grade paints designed for outdoor use. They resist weathering and fading, guaranteeing your fence looks great longer. Always check the manufacturer’s recommendations to ensure compatibility with your sprayer.
How Do I Prevent Overspray During Fence Painting?
Think of overspray as a runaway train—you want to keep it on track. To prevent this, use proper masking techniques to cover areas you don’t want painted. Adjust your sprayer settings for a controlled spray pattern, reducing the risk of overspray. Keep a steady hand, maintain consistent distance, and practice on scrap before starting. These steps help you paint efficiently and keep your fence looking sharp without mess.
Can I Use a Sprayer on Weathered or Old Fences?
Yes, you can use a sprayer on weathered or old fences, but proper fence prep is essential to guarantee good adhesion and a smooth finish. Clean the fence thoroughly, remove loose paint or rot, and sand rough areas. Always prioritize sprayer safety by wearing protective gear and following manufacturer instructions. This prep helps the new coat adhere better and prevents overspray, making your project safer and more effective.
What’s the Recommended Maintenance for a Fence Sprayer?
You should follow a maintenance checklist for your fence sprayer, including cleaning the nozzle, hose, and filters after each use to prevent clogs. Regularly inspect for leaks and wear, replacing worn parts promptly. Troubleshooting tips include checking the pressure settings and ensuring proper paint viscosity. Proper maintenance keeps your sprayer working efficiently, extends its lifespan, and guarantees smooth, even fence painting every time.
How Do I Achieve a Uniform Finish on Textured Fences?
Achieve a uniform finish on textured fences by mimicking a painter’s gentle touch, like a brush gliding across canvas. Use consistent paint, ensuring your paint consistency isn’t too thick or thin. Employ smooth, overlapping strokes with your sprayer, maintaining a steady speed and proper angle. Adjust your spray pattern as needed, and keep your technique even, so the textured surface gets even coverage without drips or missed spots.
Conclusion
With the right sprayer technique, you can quickly transform your fence with smooth, even coverage. Remember to adjust your angle for those tricky spots and keep your movements steady for the best results. Think about how much easier and more efficient your project can be when you master these tips. Are you ready to save time and achieve a professional-looking fence that’ll impress everyone? Grab your sprayer and get started—you’ll be glad you did!

Franz came aboard the Paint Sprayer Zone team with a background in both journalism and home renovation. His articulate writing style, combined with a passion for DIY projects, makes him an invaluable asset. Franz has a knack for breaking down technical jargon into easy-to-understand content, ensuring that even the most novice of readers can grasp the complexities of paint sprayers.