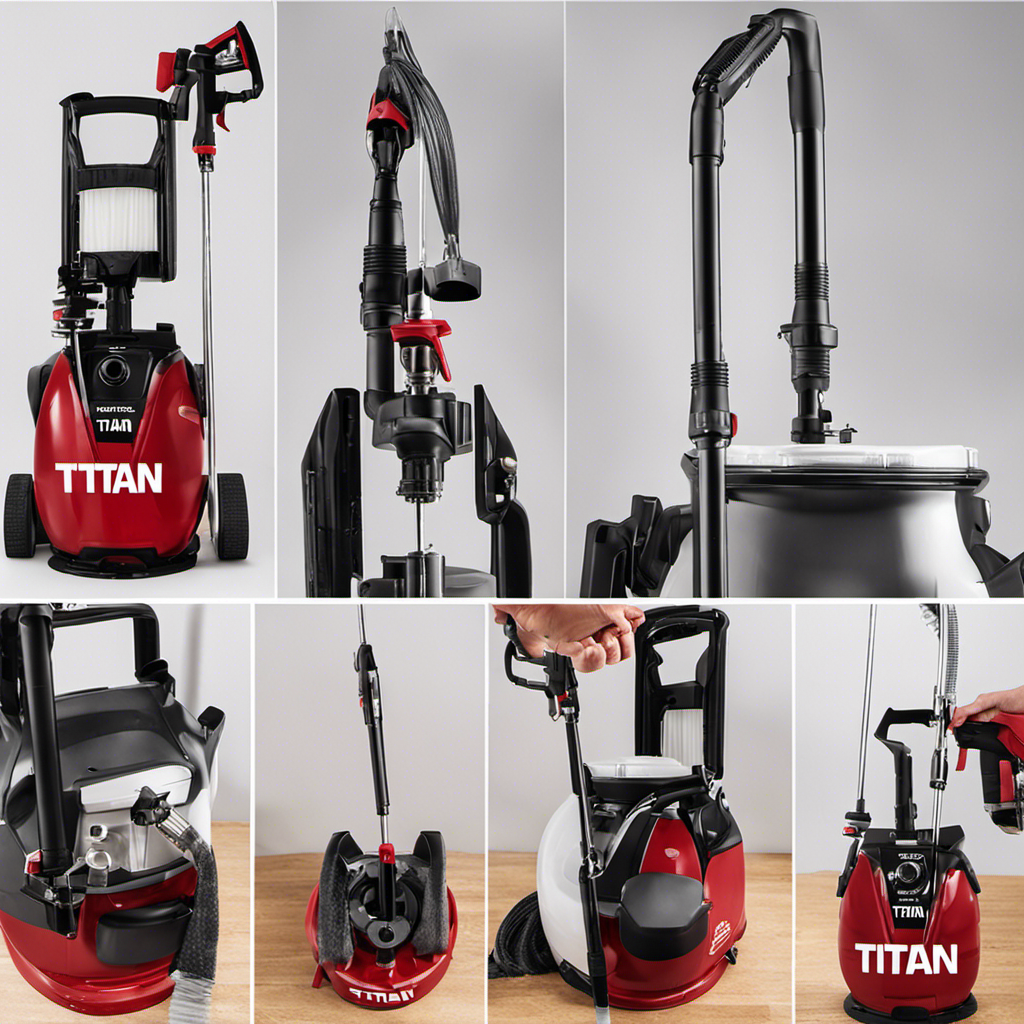
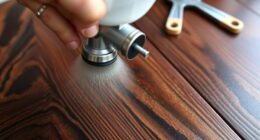
Maintaining and cleaning your Titan airless paint sprayer is essential to keep it working effectively. This guide provides simple steps to help you keep your sprayer in good condition.
By gathering the necessary cleaning supplies and disconnecting the sprayer from the power source, users can begin the process.
From emptying and wiping down the sprayer to disassembling and cleaning its components, every step is explained in detail.
With a thorough flushing of the system and proper reassembly, users can test and store their sprayer with confidence.
Key Takeaways
- Gather the necessary cleaning supplies: a bucket of warm, soapy water, a soft brush or sponge, a cleaning solution specifically formulated for paint sprayers, and a clean cloth or rag.
- Disconnect the sprayer from the power source: unplug the device and refer to the manufacturer’s instructions for specific cleaning guidelines. Avoid using harsh chemicals or solvents that could damage the sprayer’s components. Wear protective gloves and goggles.
- Empty any remaining paint from the sprayer: use a clean container to empty the paint and flush the sprayer’s reservoir with water or a recommended solvent. Remove and clean any filters in the sprayer. Wipe down the sprayer’s exterior surfaces, removing any paint residue.
- Disassemble the sprayer components: remove the spray tip and guard, gun filter and housing, and unscrew the fluid section from the main body to expose the piston and packings. Check for worn or damaged O-rings or gaskets and inspect the suction tube for debris.
Gather the Necessary Cleaning Supplies
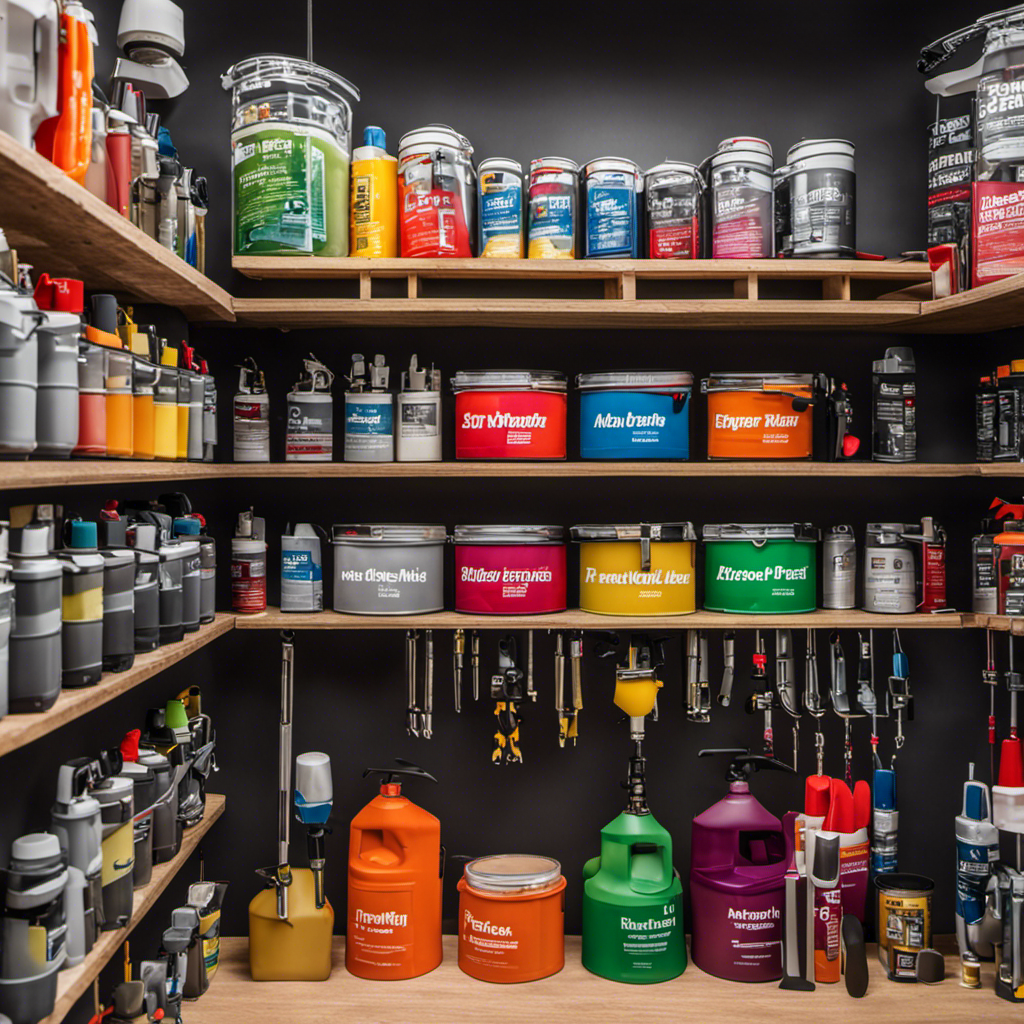
The user should gather the necessary cleaning supplies to properly clean their Titan airless paint sprayer. These supplies include a bucket of warm, soapy water, a soft brush or sponge, a cleaning solution specifically formulated for paint sprayers, and a clean cloth or rag.
It is important to have these cleaning supplies on hand before beginning the cleaning process to ensure that the sprayer is thoroughly cleaned and maintained. By using the proper cleaning techniques and utilizing these supplies, the user can effectively remove any paint residue or debris from the sprayer, ensuring optimal performance and longevity.
Cleaning the sprayer regularly and using the appropriate cleaning supplies will help to prevent clogs, improve paint flow, and extend the life of the sprayer.
Disconnect the Sprayer From the Power Source
To disconnect the sprayer from the power source, the user should unplug the device and follow the manufacturer’s instructions for cleaning guidelines. It is important to prioritize safety during the cleaning process. Wear protective gloves and goggles to prevent any potential accidents. Avoid using harsh chemicals or solvents that could damage the sprayer’s components. Instead, opt for cleaning solution alternatives that are specifically formulated for paint sprayers. These alternatives are designed to effectively remove paint residue without causing harm to the sprayer. By following these safety precautions and using the appropriate cleaning solutions, users can ensure that their sprayer remains in good condition and ready for future use. Table: Cleaning Solution Alternatives | Safety Precautions during Cleaning | – Water and mild soap mixture | – Wear protective gloves and goggles – Avoid using harsh chemicals or solvents – Follow manufacturer’s cleaning guidelines – Use cleaning solutions specifically formulated for paint sprayers
Emptying and Wiping Down the Sprayer
After disconnecting the sprayer from the power source, the user should empty any remaining paint from the device and flush the reservoir with water or a recommended solvent. This step is crucial in cleaning techniques and is an essential maintenance tip for maintaining the sprayer’s performance and longevity.
By emptying the paint and flushing the reservoir, any leftover paint or debris is effectively removed, preventing clogs or blockages in the system. Use a clean container to empty the paint and ensure that all filters are cleaned and free from any residue.
Wipe down the exterior surfaces of the sprayer, removing any paint residue that may have accumulated. By following these steps, the sprayer is ready for disassembling and cleaning the individual components.
Disassembling the Sprayer Components
Once disconnected from the power source, the user can proceed with disassembling the sprayer components. This involves removing the spray tip and guard, gun filter and housing, and unscrewing the fluid section from the main body.
Cleaning solution alternatives for the sprayer components include using a specialized cleaning solution formulated for paint sprayers or a mixture of warm soapy water and paint thinner or mineral spirits. These cleaning solutions effectively break down paint residue and ensure thorough cleaning of the components.
To aid in the disassembly and cleaning process, the user can utilize cleaning tools and accessories. These include a soft brush or sponge, a clean cloth or rag, and a toothbrush for scrubbing filters and screens. These tools help remove paint or debris from the components and ensure a deep and effective cleaning.
Cleaning the Filters and Screens
The user can easily clean the filters and screens of their Titan airless paint sprayer by following a simple cleaning technique.
First, they should remove the filters and screens from the sprayer.
Then, they can rinse them under warm water to remove any paint or debris.
After rinsing, the filters and screens should be gently scrubbed with a soft brush or toothbrush to ensure a thorough cleaning.
This cleaning technique is essential for maintaining the performance and longevity of the sprayer.
By regularly cleaning the filters and screens, the user can prevent clogs and ensure that their sprayer consistently delivers high-quality paint application.
Incorporating these maintenance tips into their cleaning routine will help the user keep their Titan airless paint sprayer in optimal condition.
Inspecting O-rings and Gaskets
Inspecting the O-rings and gaskets is crucial to ensure the proper functioning and longevity of the sprayer. These components play a vital role in maintaining a tight seal and preventing leaks. Regular inspection and maintenance of the O-rings and gaskets can help avoid potential issues and ensure smooth operation of the sprayer. It is important to look for signs of wear, such as cracks, tears, or deformation. Additionally, checking for proper alignment and lubrication of the O-rings and gaskets is essential. Troubleshooting O-ring and gasket issues involves replacing worn or damaged components and ensuring they are correctly installed. By incorporating this step into the regular maintenance routine, users can prevent unnecessary downtime and maximize the lifespan of their sprayer.
| Importance of Inspecting O-rings and Gaskets |
|---|
| – Prevents leaks and ensures a tight seal |
| – Maintains proper functioning of the sprayer |
| – Extends the lifespan of the sprayer |
| – Avoids unnecessary downtime and repairs |
| – Maximizes efficiency and performance |
Checking the Suction Tube for Debris
Checking for any debris in the suction tube is essential to ensure proper paint flow and prevent clogs in the sprayer. The suction tube is responsible for drawing paint from the container into the sprayer, so any debris or blockage can disrupt the paint flow and cause nozzle clogs.
To inspect the suction tube, follow these steps:
- Disconnect the sprayer from the power source and remove the suction tube from the sprayer.
- Inspect the tube for any paint residue or debris that may have accumulated.
- Use a soft brush or cloth to gently remove any obstructions from the tube.
- Rinse the tube with water or a recommended solvent to ensure it is clean and free from any remaining debris.
- Reattach the suction tube to the sprayer, ensuring a secure connection.
Flushing the System With Cleaning Solution
To flush the system with a cleaning solution, the user needs to detach the paint container and attach a bucket or container filled with the cleaning solution to the sprayer. This step is crucial for maintaining the sprayer’s performance and prolonging its lifespan. Cleaning solution effectiveness is key in removing any paint residue and ensuring the sprayer is ready for future use. While there are alternative cleaning methods, using a specifically formulated cleaning solution is recommended for optimal results. This solution is designed to break down and remove any stubborn paint particles that may have clogged the sprayer’s components. By following this step, users can ensure that their sprayer is clean, preventing any potential issues or malfunctions during their next painting project.
| Cleaning Solution Effectiveness | Alternative Cleaning Methods |
|---|---|
| Ensures thorough cleaning | Using only water |
| Breaks down stubborn paint | Using solvents |
| Removes clogs and residue | Manual scrubbing |
| Prevents future issues | Using abrasive materials |
Detaching the Paint Container
The user can detach the paint container from the sprayer by carefully unscrewing it from the main body. They should ensure that it is securely detached before proceeding with the cleaning process.
Once the paint container is removed, the user has several options for cleaning solution alternatives. They can choose to use a mixture of warm, soapy water, a cleaning solution specifically formulated for paint sprayers, or a recommended solvent.
Cleaning tips for hard to reach areas include using a soft brush or sponge to scrub the interior surfaces. It is important to ensure that all paint residue is removed.
Additionally, the user should pay attention to any filters or screens that may need cleaning. These can easily become clogged with paint.
Attaching a Bucket or Container With Cleaning Solution
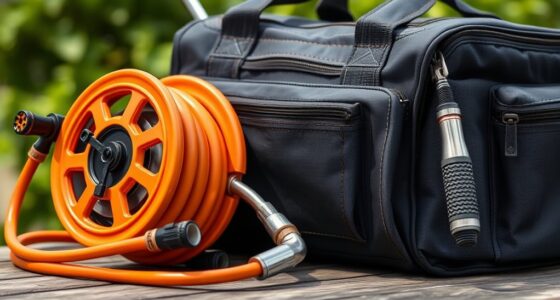
After detaching the paint container, the user can attach a bucket or container filled with the recommended cleaning solution to the sprayer for flushing the system. This step is crucial for maintaining the proper functioning of the sprayer and preventing clogs in the nozzle.
It is recommended to use alternative cleaning solutions specifically formulated for paint sprayers, as they are designed to effectively remove paint residue without causing damage to the sprayer’s components. These solutions typically contain paint thinner or mineral spirits mixed with water.
Turning on the Sprayer and Allowing the Cleaning Solution to Circulate
Turning on the sprayer, the user should allow the cleaning solution to circulate through the system, effectively flushing out any remaining paint or debris. This step is crucial to ensure that the sprayer is thoroughly cleaned and ready for future use.
Regular maintenance of a paint sprayer is important to prevent issues and prolong its lifespan. By following these easy steps, users can troubleshoot common issues and maintain optimal performance.
Regular cleaning prevents clogs and ensures a smooth paint flow. It also helps identify any worn or damaged parts that may need replacement.
Flushing the System With Water
To flush the system with water, the user should detach the paint container and attach a bucket or container filled with water to the sprayer. This step is crucial in removing any remaining cleaning solution and ensuring a clean system for the next use.
It is important to note that using plain water is a viable alternative to a cleaning solution, especially if the sprayer has been thoroughly cleaned and flushed in previous steps. However, if a cleaning solution is preferred, make sure to use one specifically formulated for paint sprayers to avoid any potential damage to the sprayer’s components.
Additionally, to maintain a Titan airless paint sprayer, it is recommended to clean the sprayer after each use, inspect and replace any worn or damaged parts, and store the sprayer in a clean and dry place away from flammable materials or heat sources.
Following these tips will help ensure the longevity and optimal performance of the Titan airless paint sprayer.
Cleaning the Spray Gun and Nozzle
The user should detach the spray gun and nozzle from the sprayer. They should then soak them in warm, soapy water and scrub away any paint residue. After that, they should inspect them for clogs or damage. This step is crucial for maintaining spray gun performance and troubleshooting any issues that may arise.
Here are some tips to ensure a thorough cleaning process:
- Use a soft brush or sponge to remove paint residue from the gun and nozzle.
- Rinse them thoroughly under warm water to ensure all soap and debris are removed.
- Inspect the nozzle for any clogs or blockages and use a nozzle cleaning tool if necessary.
- Check the gun for any signs of damage, such as worn-out seals or loose fittings.
- Adjust the pressure settings or consult the manufacturer’s instructions if any issues persist.
Reassembling the Sprayer Components
After soaking the spray gun and nozzle in warm, soapy water and scrubbing away paint residue, the user should then proceed to reassemble the various components of the sprayer.
Reassembling the sprayer components requires careful attention to detail and following proper techniques. Start by inserting the piston rod into the main housing and aligning the pump cylinder. Attach the prime/spray valve and connect the suction tube. Finally, reattach the spray gun.
It is important to ensure that all components are properly secured and tightened to prevent any leaks or malfunctions. During the reassembly process, it is recommended to inspect all O-rings and gaskets for any signs of wear or damage and replace them if necessary.
Troubleshooting tips for reassembly include checking for any loose or missing parts and ensuring that all connections are secure. By following these reassembling techniques and troubleshooting tips, the user can successfully put the sprayer back together and ensure its proper functioning.
Testing and Storing the Sprayer
Once the sprayer has been reassembled, the user should connect it to a power source, fill the paint container with water, adjust the pressure settings, and observe the spray pattern to test its proper functioning. This step is crucial in ensuring that the sprayer is working correctly before storing it.
To achieve optimal results, the user should employ the following testing techniques:
- Check for consistent spray pattern: The spray pattern should be even and uniform, without any irregularities or blotches.
- Assess the pressure settings: The pressure should be set at the recommended level for the desired paint application.
- Evaluate the spray coverage: The sprayer should provide adequate coverage without any areas missed or oversprayed.
- Verify proper paint flow: The paint should flow smoothly and evenly through the sprayer without any clogs or interruptions.
- Ensure proper atomization: The paint particles should be finely atomized, resulting in a smooth and professional finish.
After testing, it is essential to follow proper storage methods to prolong the sprayer’s lifespan. Store the sprayer in a clean and dry place, away from heat sources or flammable materials. Cover it with a cloth or plastic bag to protect it from dust and debris. Regularly inspect hoses, fittings, and seals for wear or damage and replace any worn-out parts.
Frequently Asked Questions
How Often Should I Clean My Titan Airless Paint Sprayer?
Regular maintenance of a Titan Airless Paint Sprayer involves cleaning it after each use to ensure optimal performance. Cleaning techniques include disassembling the components, such as the spray tip, gun filter, and fluid section, and cleaning them with warm, soapy water.
The system should be flushed with a cleaning solution to remove any paint residue. It is recommended to clean the sprayer thoroughly and store it in a clean and dry place after each use to prolong its lifespan.
Can I Use a Different Cleaning Solution Instead of the One Specifically Formulated for Paint Sprayers?
Using a different cleaning solution instead of the one specifically formulated for paint sprayers may pose potential risks to the Titan Airless Paint Sprayer. The manufacturer’s instructions recommend using the designated cleaning solution to ensure proper maintenance and avoid damage to the sprayer’s components.
While there may be alternative methods for cleaning, it is important to follow the guidelines provided by the manufacturer to maintain the sprayer’s functionality and longevity.
What Should I Do if I Notice Clogs in the Spray Gun or Nozzle?
To troubleshoot clogs in the spray gun or nozzle, follow these cleaning tips.
First, detach the nozzle and gun and soak them in warm, soapy water. Then, scrub away any paint residue and rinse thoroughly.
Inspect for any clogs or damage and use a nozzle cleaning tool or adjust the pressure to troubleshoot issues.
Once satisfied, reassemble the spray gun and nozzle and test the sprayer for proper functioning.
How Do I Properly Store the Titan Airless Paint Sprayer to Prevent Damage?
To properly store the Titan airless paint sprayer and prevent damage, follow these steps.
First, clean the sprayer thoroughly using the recommended cleaning solution or alternative options. Troubleshoot any clogs in the spray gun or nozzle.
Perform regular maintenance tasks such as checking hoses, fittings, and seals for wear or damage.
Store the sprayer in a clean and dry place, away from flammable materials or heat sources. Cover it with a cloth or plastic bag to protect from dust and debris.
Are There Any Specific Maintenance Tasks I Should Perform on a Regular Basis to Keep My Sprayer in Good Condition?
Regular maintenance tasks for a Titan airless paint sprayer include lubricating the pump, cleaning the filters, and inspecting the spray gun.
Lubricating the pump helps ensure smooth operation and extends the lifespan of the sprayer.
Cleaning the filters prevents clogs and maintains optimal performance.
Inspecting the spray gun allows for early detection of any issues such as clogs or damage.
Conclusion
In conclusion, following these easy steps to clean your Titan airless paint sprayer will ensure its longevity and optimal performance.
By gathering the necessary supplies, disconnecting the sprayer, emptying and wiping it down, and then disassembling and cleaning the components, you can remove any paint or debris.
Flushing the system, cleaning the spray gun and nozzle, and reassembling the sprayer will guarantee proper functioning.
Finally, testing and storing the sprayer in a clean and dry place will preserve its quality.
Clean your Titan airless paint sprayer with care and keep it in top shape for all your painting needs.
Franz came aboard the Paint Sprayer Zone team with a background in both journalism and home renovation. His articulate writing style, combined with a passion for DIY projects, makes him an invaluable asset. Franz has a knack for breaking down technical jargon into easy-to-understand content, ensuring that even the most novice of readers can grasp the complexities of paint sprayers.
