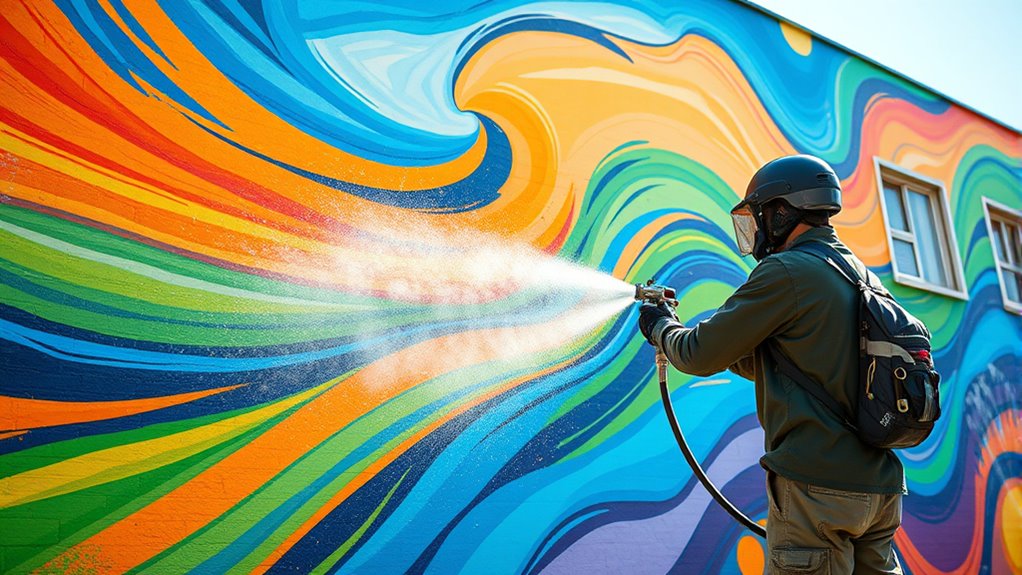
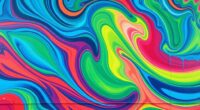
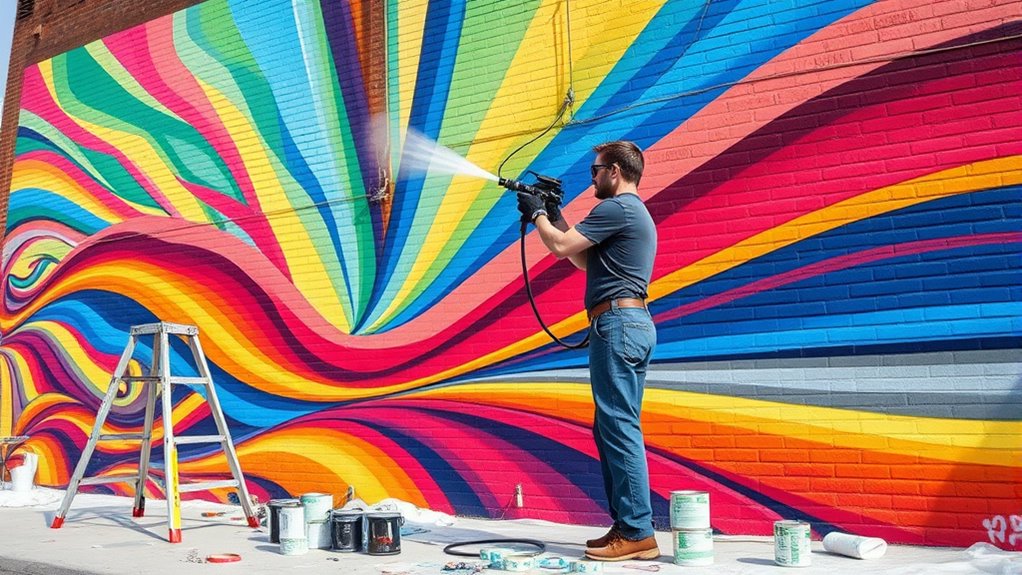
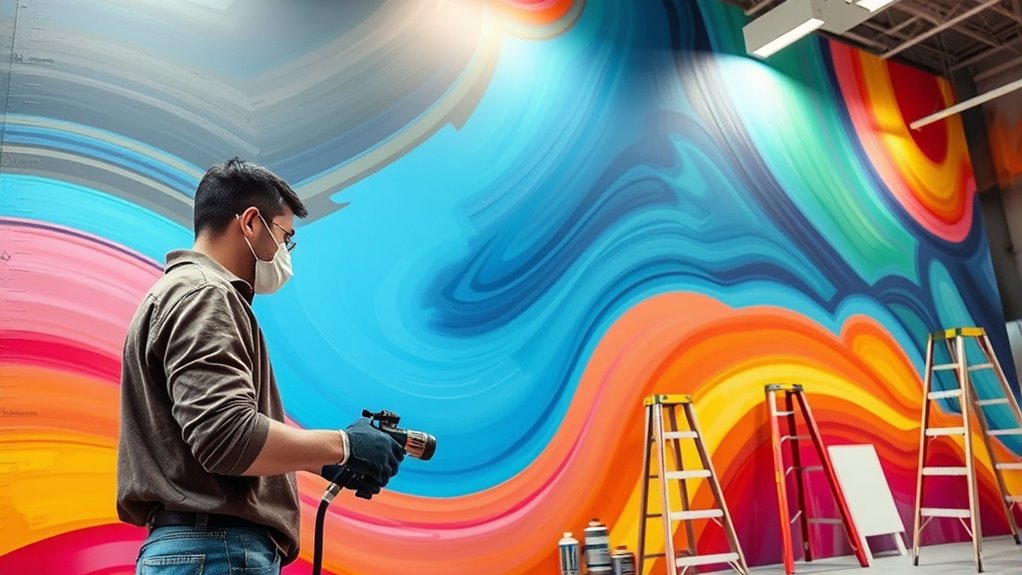
To tackle large murals with a paint sprayer, start by selecting versatile equipment with adjustable settings for different patterns and viscosities. Prepare your surface thoroughly with primer and make certain your workspace is clean, well-ventilated, and protected with drop cloths. Use smooth, overlapping strokes for even coverage and mask edges for sharp lines. Control overspray by adjusting spray distance and pressure, and keep your workflow steady for consistent results. Continue exploring these tips to perfect your mural project.
Key Takeaways
- Select a versatile, easy-to-maintain spray gun with adjustable settings for different spray patterns and viscosities.
- Properly prep the surface with primer and smooth textures for even coverage and sharp edges.
- Maintain consistent spray distance (6-12 inches) and overlapping strokes to ensure a flawless, streak-free mural.
- Mask edges and surrounding areas precisely to prevent overspray and reduce cleanup time.
- Regularly clean equipment and inspect the mural for touch-ups to achieve professional, long-lasting results.
Selecting the Right Paint Sprayer for Large-Scale Murals
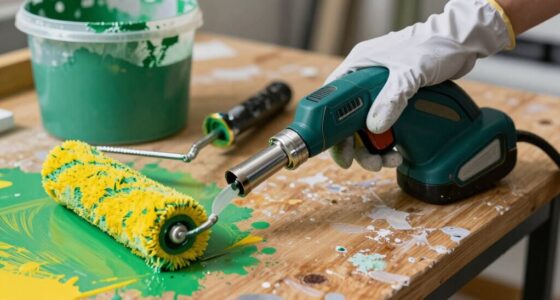
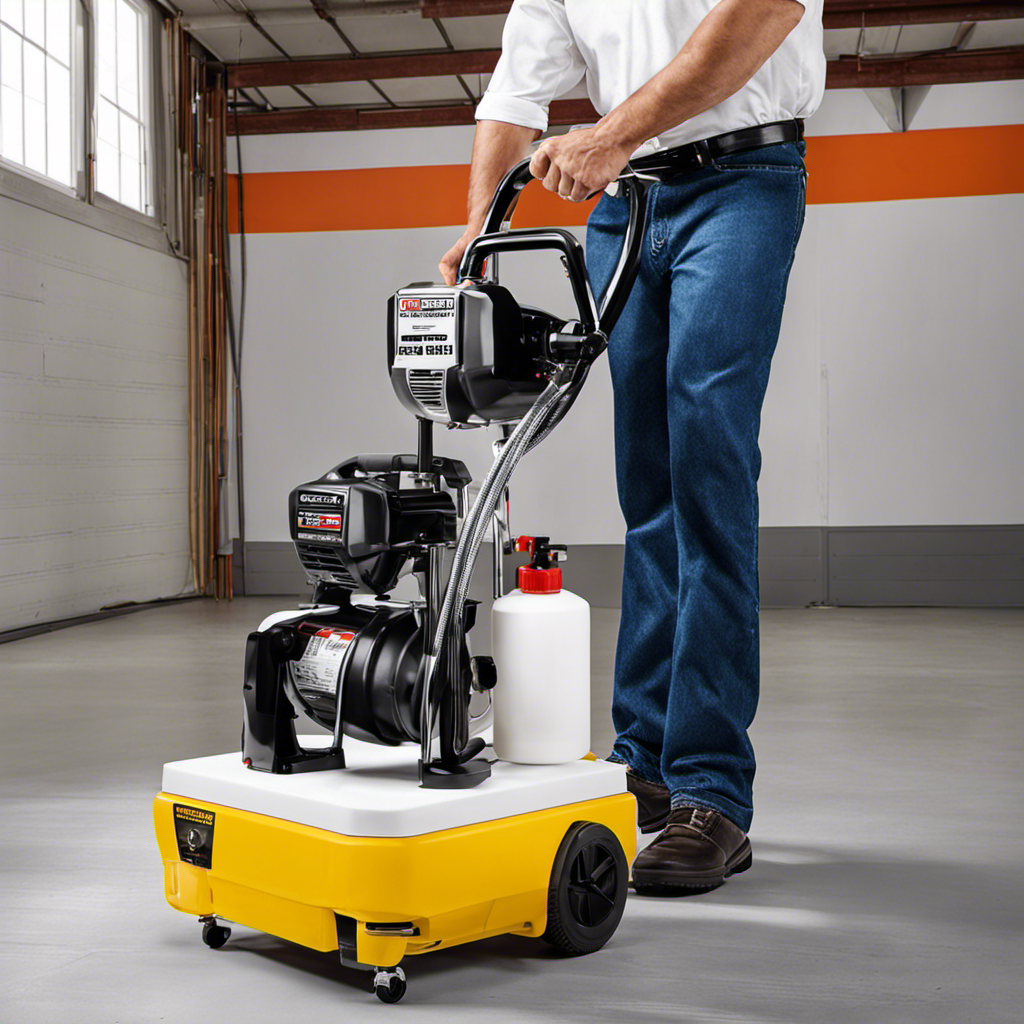
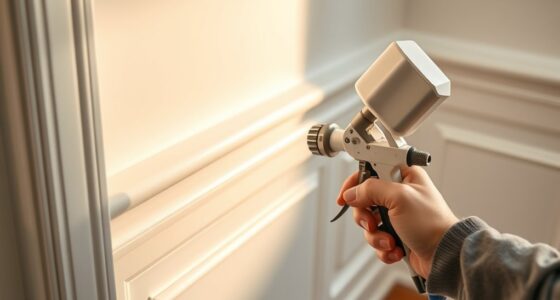
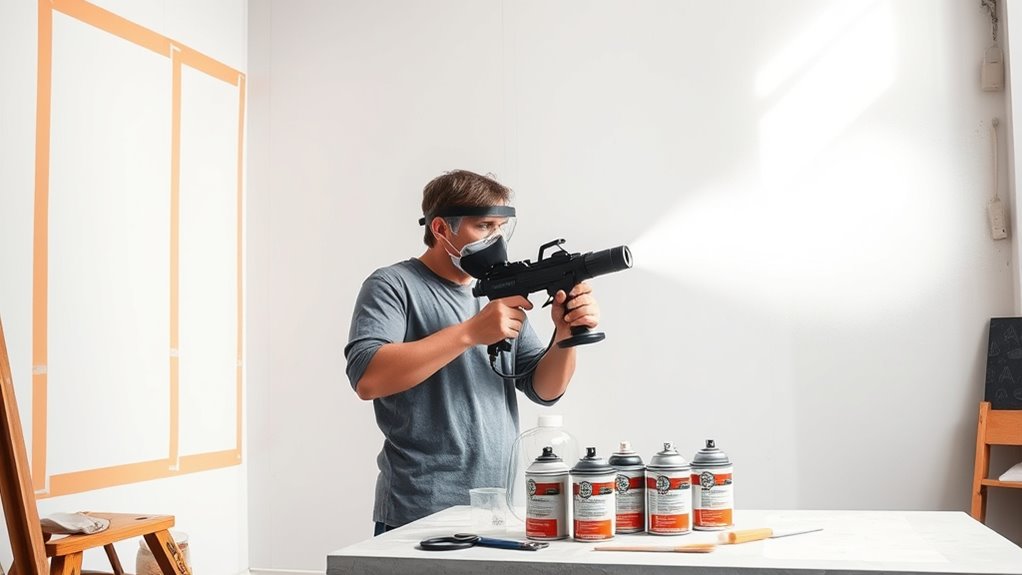
When choosing a paint sprayer for large-scale murals, it’s essential to take into account the type of project you’ll be tackling. A versatile sprayer with adjustable settings helps manage various spray patterns and paint viscosities. Look for models that facilitate easy brush maintenance, ensuring you can quickly clean parts after use to prevent clogs. This is especially important when switching between colors, as proper color mixing is vital for achieving consistent hues. Opt for a sprayer with a large paint reservoir to reduce refilling frequency, saving you time. Consider your experience level—more advanced models offer finer control but may require a learning curve. Selecting the right sprayer streamlines your workflow and guarantees professional-looking results for your mural. Additionally, understanding the performance tuning options available for different Hyundai models can help you optimize your vehicle’s capabilities for various driving conditions. Proper preparation and maintenance of your equipment can also prevent clogging issues, ensuring smooth operation throughout your project. For optimal results, familiarize yourself with finesse and control features that can help you achieve detailed artwork and smooth gradients. Incorporating proper technique can further enhance your painting efficiency and quality. Moreover, selecting equipment with ergonomic design can reduce fatigue during extended painting sessions, making your work more comfortable and precise.
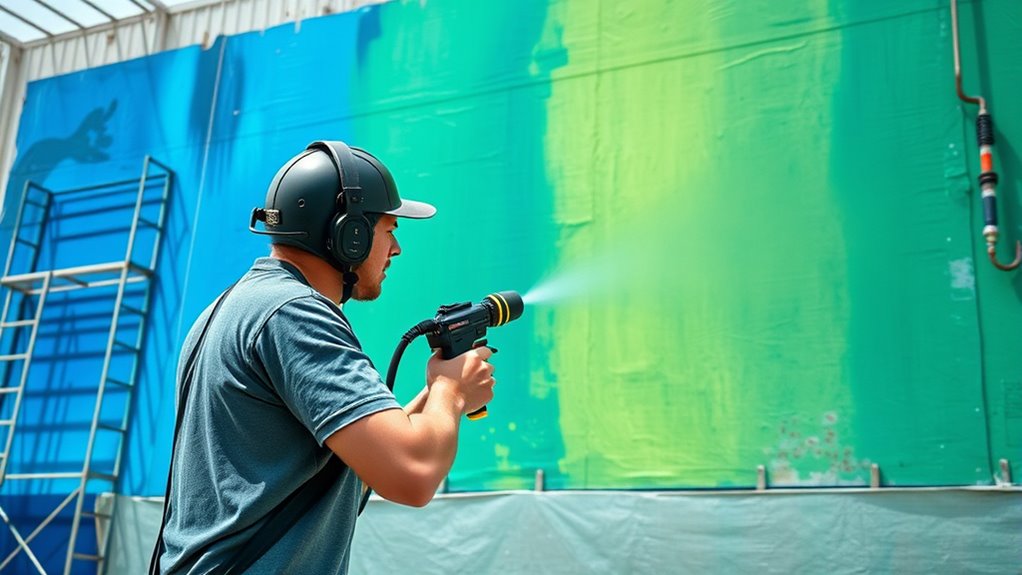
Preparing Your Workspace and Surface for Spray Painting
Before starting your mural project, you need to thoroughly prepare your workspace and surface to guarantee a smooth spray painting process. Ensure your workspace is clean, well-ventilated, and free of dust and debris that could interfere with spray application. Cover floors and nearby objects with drop cloths to protect them from overspray. Examine your surface’s texture; a smooth, even surface helps achieve clean lines, while rough textures may require additional priming or sanding. Consider lighting conditions—good lighting ensures you can see color variations and coverage clearly, preventing uneven application. Adjust your workspace lighting if necessary to avoid shadows or glare. Proper preparation minimizes errors and results in a professional-looking mural. Additionally, understanding hackathons can inspire innovative approaches and problem-solving techniques that enhance your creative process. Being aware of environmental considerations, such as minimizing overspray and waste, can further improve your project’s sustainability and finish quality. Moreover, inspecting your spray equipment, like ensuring the correct oil is used and filters are clean, can help prevent malfunctions during your project. Incorporating AI-powered tools for design visualization could also assist in planning your mural layout more efficiently.
Choosing the Best Paints and Primers for Vibrant Results
The quality of your paint can make a big difference in how vibrant your mural looks, so choose high-quality options. Using a good primer helps paint stick better and creates a smoother surface for colors to pop. Don’t skip these steps if you want professional-looking, lasting results. Additionally, selecting paints with strong encryption standards can help ensure your artwork remains protected from digital threats during your project. Ensuring proper air quality during painting can also improve paint adhesion and drying times, leading to a more consistent finish. Incorporating collaborative tools like the Études Architect App can streamline your project management and enhance your workflow. Remember that painting technique also plays a crucial role in achieving a professional finish and vibrant colors. Understanding the neurological aspects of dreaming can inspire innovative approaches to color blending and shading, enhancing the depth and vibrancy of your mural.
Paint Quality Matters
Choosing high-quality paints and primers is essential for achieving vibrant, long-lasting mural results. Good paints ensure smooth brush strokes and seamless color blending, which are vital for a professional look. Inferior paints may cause uneven coverage, fading, or streaks that ruin your mural’s impact. When selecting paints, consider durability, pigment richness, and finish type. Using the right primer helps the paint adhere better, preventing peeling and guaranteeing vibrant color retention. Proper surface preparation is also critical for optimal results. Here’s a quick comparison:
| Paint Type | Durability | Finish Options |
|---|---|---|
| Acrylic | High | Matte, gloss |
| Latex | Moderate | Satin, eggshell |
| Oil-based | Very durable | Semi-gloss, gloss |
| Chalk paint | Moderate | Matte |
| Specialty | Varies | Custom finish |
Invest in quality paints for a flawless mural that pops with vivid colors and smooth passages. Additionally, understanding paint application techniques can further enhance the final appearance of your mural. Incorporating color mixing skills can help you achieve custom shades and more dynamic visual effects, ensuring your artwork stands out. Moreover, selecting paints with UV resistance can help maintain vibrancy over time despite exposure to sunlight or other environmental factors.
Primer for Better Adhesion
Applying the right primer is essential because it creates a strong bond between your wall surface and the paint, ensuring better adhesion and a smoother finish. When selecting a primer, consider your wall type and the mural’s final look. Primer selection directly impacts adhesion improvement, helping paint stick better and last longer. For porous surfaces like drywall or plaster, choose a bonding primer that seals and prepares the surface. If you’re painting over glossy or painted walls, opt for a stain-blocking or bonding primer to enhance adhesion. Using a quality primer tailored to your project minimizes issues like peeling or uneven coverage. Remember, investing in the right primer sets a solid foundation, making your mural vibrant, durable, and professional-looking. Additionally, understanding the different beach destinations can inspire creative themes for your mural projects, and selecting the right paints and primers is crucial for achieving vibrant results. Incorporating high-quality colours and finishes can further enhance the final appearance and longevity of your artwork. For optimal results, consider the horsepower of electric dirt bikes when planning any power tools or equipment you might use for large-scale projects, as they can provide the necessary power for heavy-duty tasks.
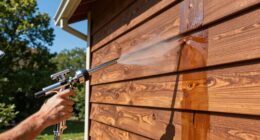
Techniques for Achieving Even Coverage and Crisp Lines
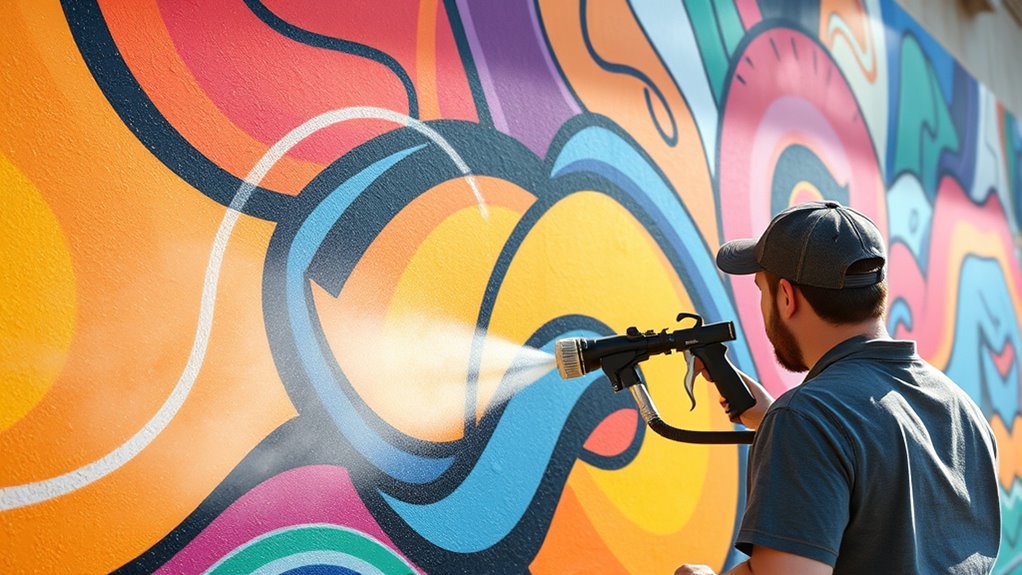
Achieving even coverage and crisp lines in your mural starts with proper preparation and technique. Use brush techniques to touch up edges and fill in tricky spots, ensuring smooth progressions between sprayed areas. Masking strategies are essential for sharp, clean lines—apply painter’s tape carefully along your design boundaries, pressing down firmly to prevent paint bleed. When spraying, maintain a consistent distance from the wall, typically 6-12 inches, and use smooth, overlapping strokes to avoid streaks or uneven layers. Keep your sprayer moving at a steady pace, and periodically check your work for gaps or drips. Combining precise masking with controlled spray techniques results in a professional-looking mural with crisp edges and even coverage, elevating your large art project to the next level. Incorporating clean and organized workspace practices can also help you achieve optimal results and maintain efficiency throughout your project. Additionally, choosing the right keto-friendly ingredients can inspire creative, low-carb meal ideas to keep your energy levels high during intensive painting sessions.
Managing Overspray and Protecting Surrounding Areas
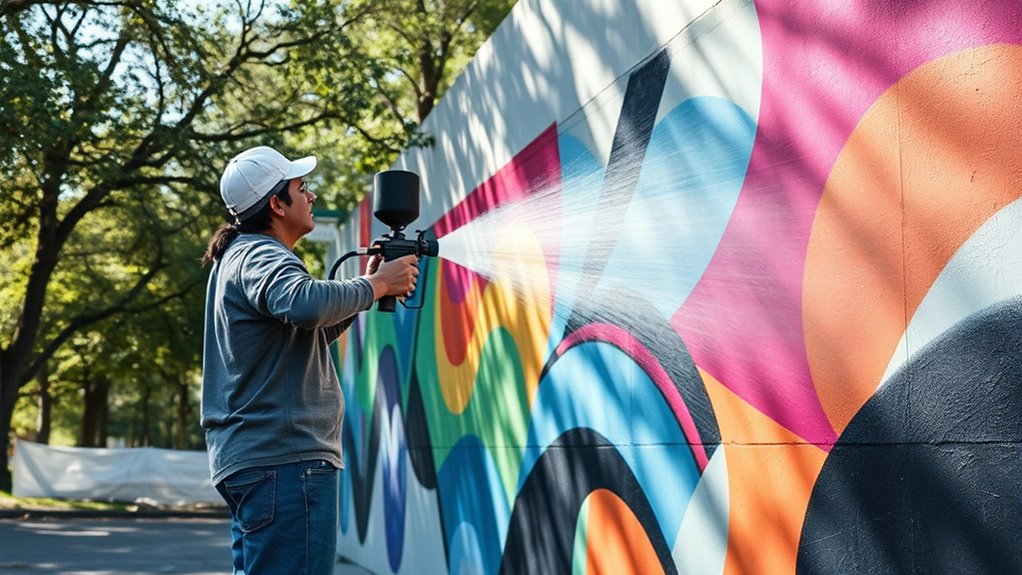
To prevent unwanted paint from reaching areas outside your mural, managing overspray is essential. Start by covering nearby floors and furniture with drop cloths to catch any stray spray. Use masking tape to secure drop cloths in place and create a barrier around the mural area. Carefully mask off edges, trim, and any surfaces you want to keep paint-free. Adjust your spray distance and pressure to minimize overspray, and keep the sprayer moving steadily. If you notice overspray on unintended surfaces, address it immediately with a damp cloth or appropriate cleaning solution. Taking these precautions guarantees your surrounding areas stay protected, and your mural remains crisp and professional-looking. Proper overspray management saves time on cleanup and preserves the quality of your work.
Tips for Speeding Up the Workflow and Maintaining Consistency
To speed up your mural workflow and keep the results consistent, start by streamlining your prep process so you’re ready to go faster. Use the same spraying techniques throughout to guarantee uniform coverage and avoid rework. Consistency and efficiency go hand in hand, making your project smoother and more professional.
Streamline Prep Process
Streamlining your prep process is essential for saving time and ensuring consistency across your mural. To do this effectively, focus on these key steps:
- Assess surface texture early, smoothing rough areas to prevent uneven spray application.
- Measure ambient lighting conditions so you can adjust your painting schedule or lighting setup for consistent color appearance.
- Mask off edges and surrounding areas precisely, reducing cleanup time later.
- Prepare all your paints, primers, and tools in advance, avoiding delays during the actual spraying.
Use Consistent Spraying Techniques
Maintaining consistent spraying techniques is essential for achieving smooth, even coverage and speeding up your workflow. To do this, focus on controlling your spray pattern, keeping it steady and uniform across the surface. Avoid sudden movements or changes in distance, which can cause uneven paint distribution. Think of your brush techniques—use smooth, overlapping strokes to mimic the spray’s consistency, ensuring each pass blends seamlessly. Keep a steady hand and maintain the same speed and angle to prevent streaks or drips. Regularly check your spray pattern and adjust your distance from the wall as needed. Practicing these habits will help you produce a professional finish faster and with less rework, making your mural project more efficient and visually cohesive.
Finishing Touches and Proper Cleanup After Painting
Once you’ve finished painting your mural, it’s vital to focus on finishing touches and cleanup to guarantee a professional look and preserve your work. Start with these steps:
- Touch-up procedures: Inspect your mural for uneven areas or missed spots, then carefully touch up with your sprayer or brush.
- Clean safety equipment: Remove and clean your safety gear, like masks and gloves, to keep them ready for future projects.
- Clean your sprayer: Follow manufacturer instructions to thoroughly clean your paint sprayer, preventing clogs or damage.
- Properly dispose of leftover paint: Seal and store unused paint for future touch-ups, or dispose of it responsibly according to local regulations.
These steps ensure your mural looks polished and your tools stay in excellent condition.
Frequently Asked Questions
How Do I Prevent Paint Clogging in My Sprayer During Long Projects?
To prevent paint clogging in your sprayer during long projects, you should regularly use a paint filter to catch debris before spraying. Additionally, make sure to clean the nozzle thoroughly after each use, especially if you notice any blockages. Frequent nozzle cleaning and filtering help maintain a smooth spray, reducing clogs and ensuring your large art project stays on track without interruptions.
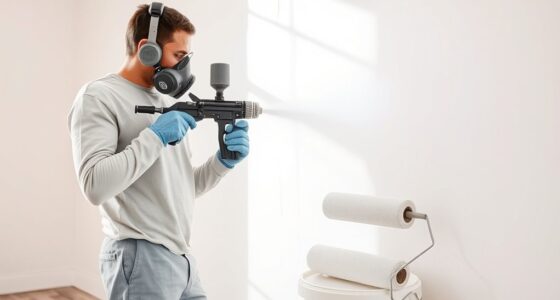
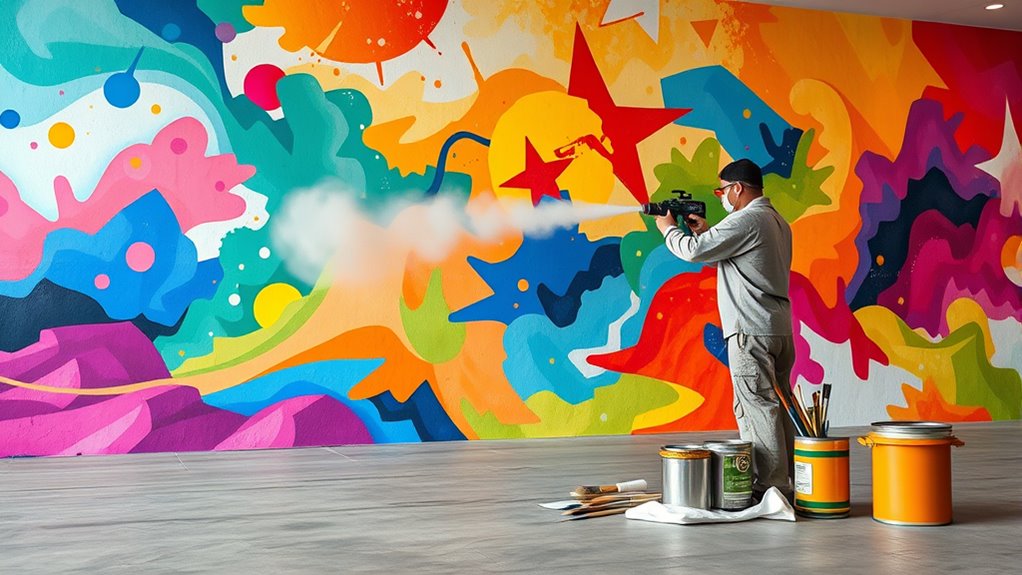
What Safety Gear Is Essential When Using a Paint Sprayer for Murals?
When using a paint sprayer for murals, you should always wear eye protection to prevent splashes from reaching your eyes. Respiratory masks are essential to safeguard against inhaling fumes and fine paint particles, especially during long projects. Additionally, consider gloves and protective clothing to keep your skin safe. Prioritizing safety gear ensures you work confidently and avoid health risks while creating your large art project.
Can I Use Latex Paint With a Spray Gun for Murals?
You might be wondering if you can use latex paint with a spray gun for murals. The answer is yes, but it depends on spray gun compatibility. Latex paint is water-based, so make certain your sprayer can handle it without clogging or damage. Thin the paint properly for a smooth application, and do a test spray first. When in doubt, check your sprayer’s instructions to avoid any headaches down the line.
How Do I Correct Mistakes or Uneven Areas After Spraying?
If you notice mistakes or uneven areas after spraying, you can fix them with touch-up techniques. Lightly sand the affected spots for smooth blending, then use a small brush to carefully blend the paint into surrounding areas. For larger imperfections, employ blending methods like feathering edges to create a seamless look. Always work gradually, checking your work frequently to guarantee a professional finish.
What Are the Best Storage Practices for Leftover Mural Paint?
Oh, because everyone loves playing hide and seek with leftover paint, right? When it comes to paint storage, you want to keep your leftover paint sealed tightly in airtight containers to prevent drying out. Store them in a cool, dry place away from direct sunlight. Label each container clearly, so you know what’s inside, and always give the paint a good stir before reuse. Proper storage keeps your leftover paint fresh and ready for your next masterpiece!
Conclusion
Now that you’re armed with spray guns and a splash of confidence, go ahead—turn that blank wall into a masterpiece. Just remember, even Picasso had to clean up afterward, and nobody wants paint in their hair or on their shoes. So, embrace the chaos, enjoy the process, and maybe even impress your neighbors—just don’t forget to wear your mask and keep the overspray to a minimum. Happy spraying, artist!

Franz came aboard the Paint Sprayer Zone team with a background in both journalism and home renovation. His articulate writing style, combined with a passion for DIY projects, makes him an invaluable asset. Franz has a knack for breaking down technical jargon into easy-to-understand content, ensuring that even the most novice of readers can grasp the complexities of paint sprayers.