
To achieve a factory-like finish with a paint sprayer during your DIY furniture makeover, start by selecting the right furniture piece and preparing your workspace, ensuring it’s clean, clutter-free, and well-ventilated. Use high-quality paint, and set up your sprayer correctly by testing and adjusting pressure and spray pattern. Apply the paint in smooth, overlapping passes for even coverage, building thin coats. Proper drying and finishing will give you a sleek, professional look—if you keep going, you’ll master this technique effortlessly.
Key Takeaways
- Properly calibrate the sprayer by adjusting pressure and nozzle size based on paint viscosity for even application.
- Perform test sprays on scrap material to ensure consistent pattern and coverage before applying to furniture.
- Maintain steady, overlapping passes at a consistent distance (6-12 inches) to achieve a smooth, factory-like finish.
- Thin paint if necessary and strain it to prevent clogs, ensuring a smooth, clog-free spraying process.
- Apply multiple thin coats rather than one thick layer, allowing proper drying between coats for durability.
Selecting the Right Furniture Piece and Preparing Your Workspace
Choosing the right furniture piece is crucial for a successful makeover, so start by evaluating what needs updating and selecting items that fit your space and style. Consider upholstery options that align with your desired look—whether you want a fresh, modern fabric or vintage-inspired textiles. If the piece has outdated or damaged hardware, plan for hardware replacement to instantly elevate its appearance. Before you begin, prepare your workspace by clearing clutter and setting up a well-ventilated area with all necessary tools nearby. Protect surfaces with drop cloths, and organize supplies for easy access. Proper preparation ensures a smoother painting process and helps you achieve a professional finish. Incorporating rustic decor and natural materials can also enhance the overall farmhouse aesthetic of your furniture. Understanding the importance of color accuracy in your project helps in selecting the right paint shades and finishes. Paying attention to paint application techniques can make a significant difference in achieving a seamless factory finish. Additionally, practicing space management techniques can help you create an efficient workflow and prevent unnecessary delays during your project. Selecting the right furniture and getting your workspace ready sets the foundation for a successful DIY furniture makeover.
Choosing the Perfect Paint and Supplies for a Smooth Finish
Before you start painting, make sure to properly prepare your surface to guarantee a smooth finish. Choosing the right paint type and color can make a big difference in the final look, so consider your furniture’s material and the room’s lighting. With the right supplies and prep work, your makeover will turn out professional and long-lasting. Additionally, selecting a suitable airless paint sprayer can significantly improve application consistency and efficiency for a flawless result.
Surface Preparation Tips
To achieve a smooth, professional-looking finish on your furniture makeover, selecting the right paint and supplies is essential. Start by examining the grain pattern of your furniture; understanding it helps you choose the appropriate tools and techniques. Before painting, use wood filler to repair any dents or cracks, ensuring a flawless surface. Sand the surface thoroughly to smooth out rough spots and open the grain for better paint adhesion. Remove dust with a tack cloth to prevent particles from settling into the finish. Proper surface preparation creates an even, durable base for your paint sprayer. Additionally, consider cleaning and replacing filters on your air tools to maintain optimal performance and finish quality. Taking the time to address these details minimizes imperfections and results in a sleek, factory-like finish that lasts. Understanding the importance of surface preparation can significantly improve your painting results and ensure a long-lasting, professional appearance.
Ideal Paint Selection
Ever wonder how to pick the best paint for a flawless furniture makeover? Your goal is to achieve a smooth, factory-like finish, so choosing the right paint is essential. Start with color matching—select a hue that complements your space and personal style. Test small samples to make sure the color looks good once applied. Next, prioritize paint durability; furniture faces daily wear and tear, so opt for high-quality, durable paint designed for furniture or cabinetry. Consider the finish—matte, satin, or semi-gloss—based on your desired look and ease of cleaning. Using the right supplies, like a compatible primer and the perfect paint type, guarantees your paint job not only looks great but lasts for years. Proper selection makes all the difference in achieving a professional, factory-quality finish. Additionally, understanding personality traits can help you stay patient and persistent throughout your DIY project, ensuring a successful transformation. Incorporating knowledge about Glycolic Acid benefits can even inspire you to incorporate skin-friendly techniques into your project prep, such as proper surface cleaning and preparation, to ensure a smooth application. Moreover, choosing the appropriate paint storage methods can help maintain the quality of your supplies over time. To further enhance your project, consider the benefits of specialized paints designed specifically for different furniture surfaces, which can improve adhesion and finish quality. Recognizing the importance of surface preparation can significantly impact the final outcome and longevity of your furniture finish.
Preparing Your Furniture: Cleaning, Sanding, and Priming
Before you start painting, it’s crucial to clean your furniture thoroughly to remove dirt and grease. Then, use proper sanding techniques to smooth the surface and create good paint adhesion. Proper priming methods can significantly improve the durability and appearance of your finish. Proper priming techniques ensure better paint adherence and longer-lasting results. Finally, apply a primer to guarantee your new finish lasts and looks flawless. Incorporating pressure relief techniques can also help you achieve a more even and professional-looking finish. Additionally, understanding tuning options for related vehicle modifications can inspire innovative approaches to your DIY projects. Proper celebrity lifestyle insights can offer creative inspiration for customizing your furniture to match your personal style.
Surface Cleaning Techniques
Cleaning the surface thoroughly is essential before you start any furniture makeover. Begin by removing dust with a tack cloth or vacuum with a brush attachment to guarantee no particles remain. Next, focus on stain removal by using a mild cleaner or a mixture of water and vinegar; gently scrub any spots or marks. Pay attention to crevices and detailed areas, as dust and stains tend to hide there. Wiping the surface with a damp cloth afterward to eliminate residue. Allow the furniture to dry completely before moving on to sanding or priming. Proper cleaning not only improves adhesion but also results in a smoother, more professional-looking finish. Taking the time to thoroughly clean sets a solid foundation for your paint sprayer project, especially since surface preparation plays a crucial role in preventing future issues with the finish. Additionally, understanding how industry transformations influence material choices can help you select the most durable paints and finishes for your furniture. Being aware of electric power capabilities can also guide you in choosing the right tools and equipment for your project. Incorporating creative storytelling into your project description can inspire others to undertake their own furniture makeovers with confidence. For optimal results, consider how material compatibility impacts the longevity and appearance of your painted furniture.
Proper Sanding Methods
Sanding is a crucial step in preparing your furniture for a makeover, as it creates a smooth surface that helps paint or primer adhere properly. To achieve the best results, follow the grain direction with your sanding tools, which prevents scratches and uneven surfaces. Use a medium-grit sandpaper to remove old finish and a finer grit for a smooth finish. Hand sanding works well for detailed areas, while an orbital sander speeds up large flat surfaces. Always sand along the grain to avoid gouging or damaging the wood. Be gentle on delicate or intricate parts to prevent removing too much material. Proper sanding ensures a clean, even base, making your paint sprayer application look flawless and professional. Additionally, using the right sanding techniques can help prevent surface imperfections that might affect the final finish. Incorporating proper sanding methods also minimizes the need for additional touch-ups later in the project.
Furthermore, selecting the correct sanding grit for each phase of the project helps achieve a professional-quality finish.
Setting Up Your Paint Sprayer for Optimal Results
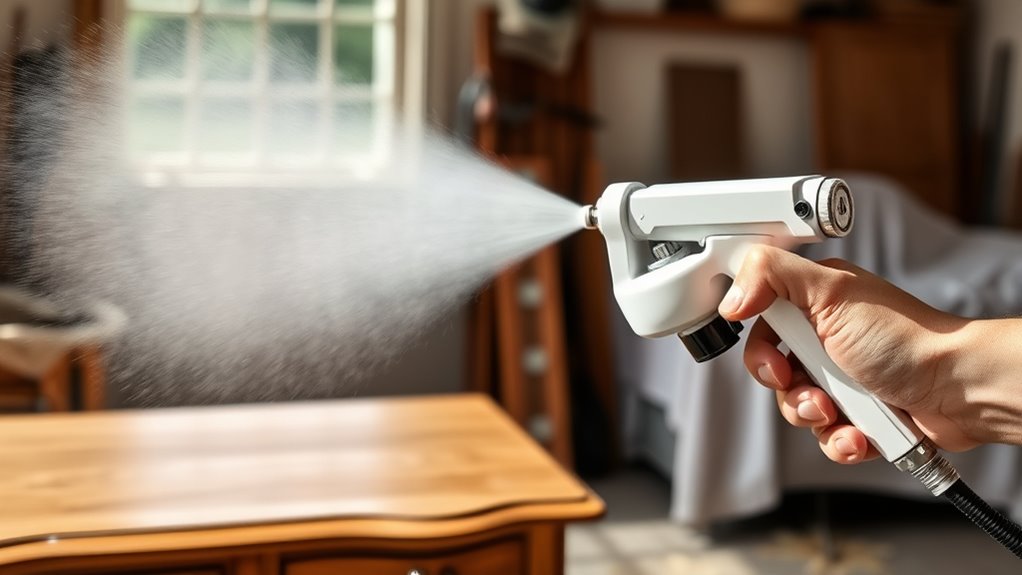
To achieve smooth, even coverage when using your paint sprayer, it’s essential to set it up correctly from the start. Begin by calibrating your sprayer to match the paint’s viscosity—thinner paints may need a higher fluid setting, while thicker paints require adjustments to prevent runs. Check the manufacturer’s guidelines for recommended settings and perform a quick test spray on scrap material to ensure proper atomization. Adjust the pressure and nozzle size as needed for a consistent spray pattern. Make sure the paint is properly mixed and strained to avoid clogs, and double-check that all connections are secure. Proper setup guarantees a professional-looking finish and minimizes the need for touch-ups later.
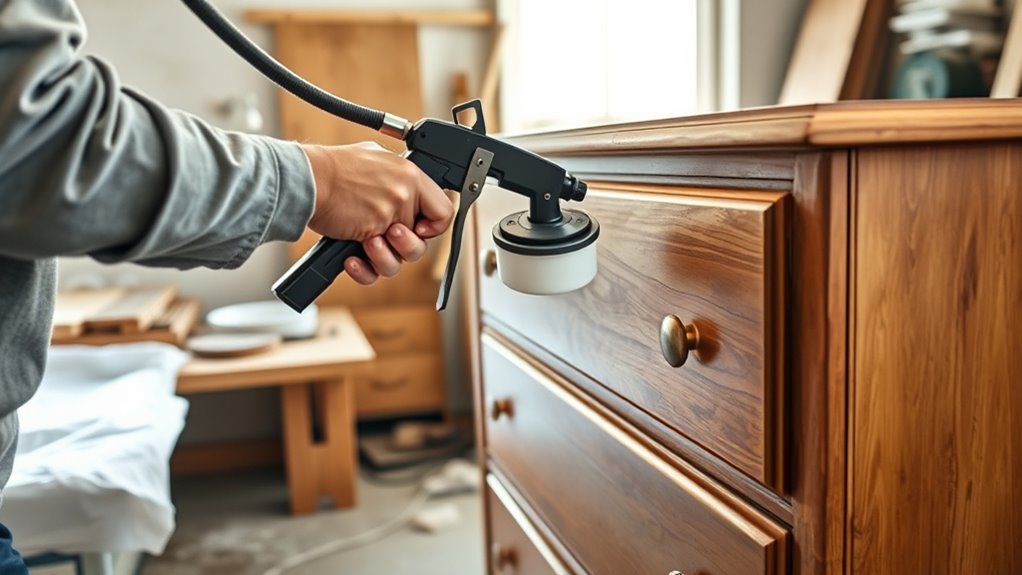
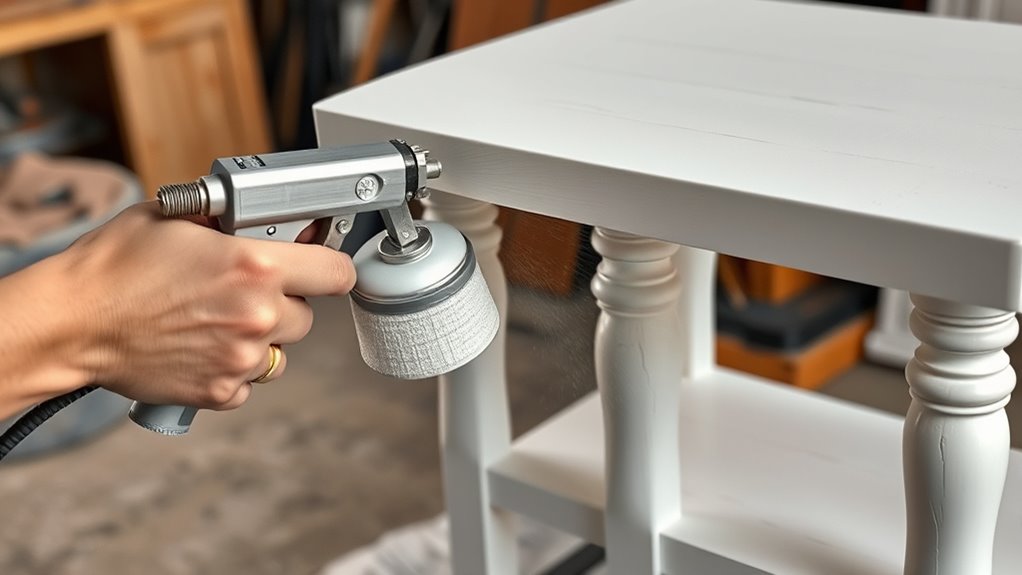
Applying Paint With the Sprayer: Techniques for a Flawless Coat

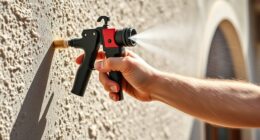
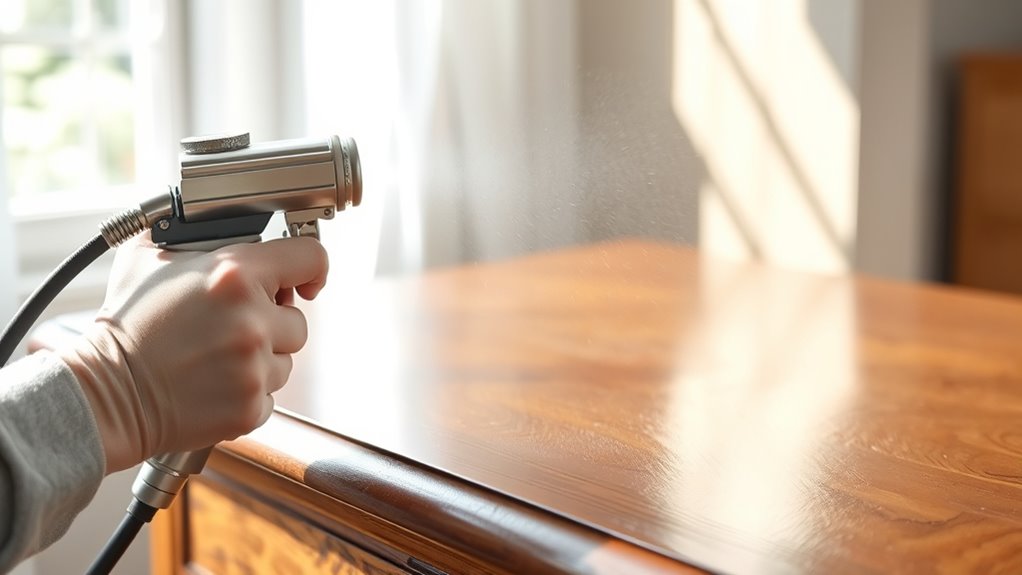
Once you’ve prepared your sprayer correctly, applying paint with steady, overlapping passes is key to achieving a flawless coat. Use consistent spray patterns—vertical, horizontal, or circular—depending on the surface and your comfort. Maintain a steady distance from the furniture, typically 6-12 inches, to ensure even coverage. Instead of relying solely on brush techniques, focus on smooth, continuous motions with the sprayer to avoid drips and uneven layers. Keep your hand moving smoothly, and don’t stop in one spot for too long. Refrain from over-spraying; instead, build up thin coats with multiple passes. This approach helps prevent runs and ensures a professional, factory-like finish, leaving your furniture looking flawless and beautifully coated.
Finishing Touches: Drying, Curing, and Adding Protective Layers
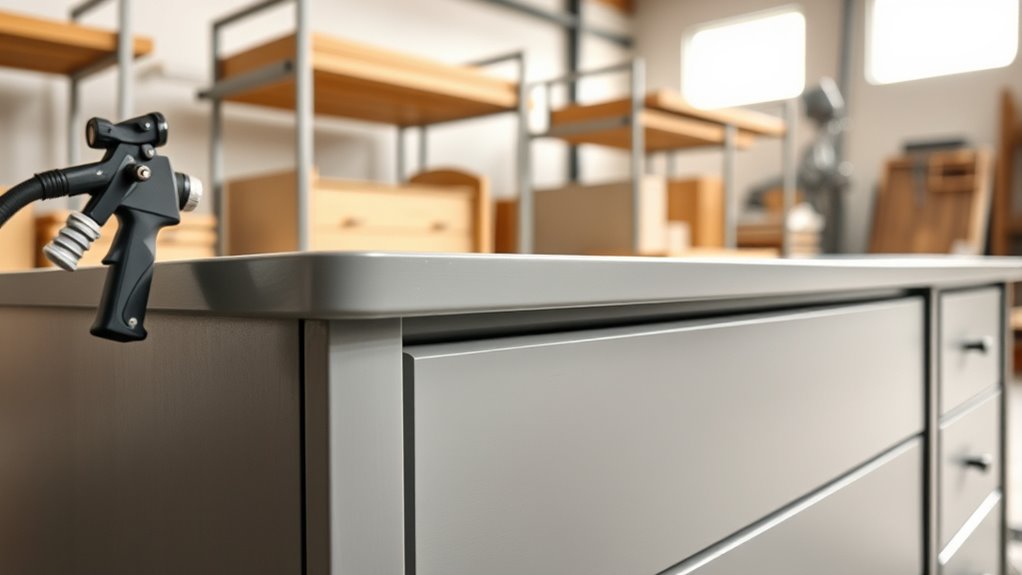
After applying your final coat of paint with a sprayer, the next vital step is to let your furniture dry thoroughly. The drying process ensures the paint hardens properly, preventing smudges or damage. Once dry, it’s essential to cure the finish, allowing the paint to reach maximum durability. Applying a protective coating, like a clear sealant, enhances longevity and resists scratches. Use the following table to understand the significance of each step:
| Step | Purpose |
|---|---|
| Drying Process | Evaporates solvents, sets the paint in place |
| Curing | Strengthens the finish, improves durability |
| Protective Layer | Shields surface from moisture, stains, and wear |
Completing these steps guarantees a professional, factory-like finish that lasts.
Tips for Maintaining and Touching Up Your Newly Transformed Furniture
Maintaining and touching up your newly transformed furniture keeps it looking fresh and extends its lifespan. Regularly check your brush maintenance to guarantee your tools stay in good condition, which makes touch-ups smoother and more precise. When minor scratches or chips appear, focus on color matching carefully; bring a sample or use a color-matching app to find the closest shade. Apply paint or touch-up products sparingly to blend seamlessly with the existing finish. Keep your furniture clean by dusting regularly with a soft cloth to prevent dirt buildup that can damage the paint. Store leftover paint properly for future touch-ups, and always test your color match on a hidden area first. Proper upkeep enhances the durability and appearance of your DIY furniture project.
Frequently Asked Questions
How Do I Troubleshoot Uneven Paint Spray Patterns?
If you notice uneven paint spray patterns, start by checking your paint flow adjustments; make sure they’re set correctly for smooth application. Also, inspect the nozzle for clogs—clean it thoroughly to prevent uneven spraying. Keep the spray gun at a consistent distance from the surface and move steadily. Regularly adjusting paint flow and preventing nozzle clogs help achieve a professional, even finish with your paint sprayer.
Can I Use a Paint Sprayer Outdoors for Furniture?
Yes, you can use a paint sprayer outdoors for furniture, but you need to take into account weather conditions. Outdoor painting works best on a dry, mild day with low wind to prevent overspray and uneven coating. Avoid painting in direct sunlight or rain, as weather considerations impact the finish’s durability. Plan your project for ideal outdoor conditions, and always follow safety guidelines for outdoor use of your paint sprayer.
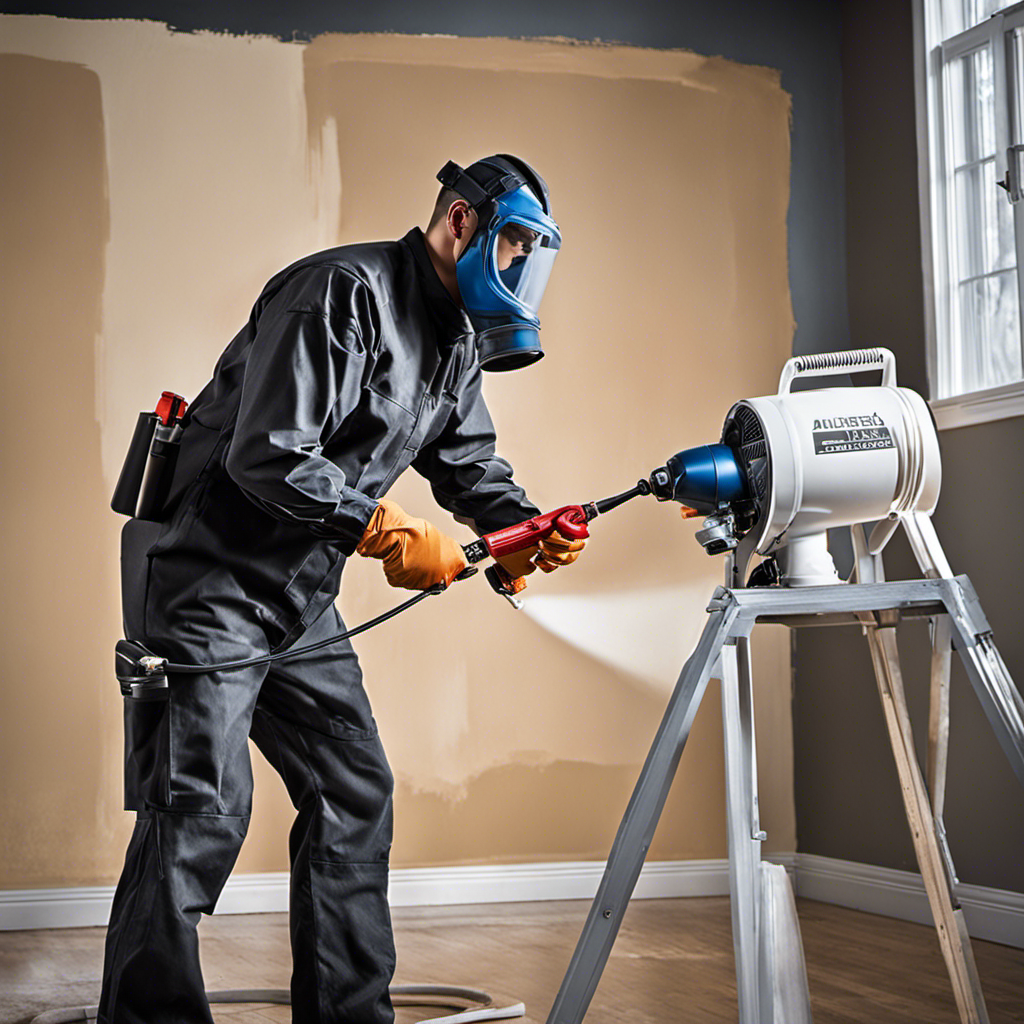
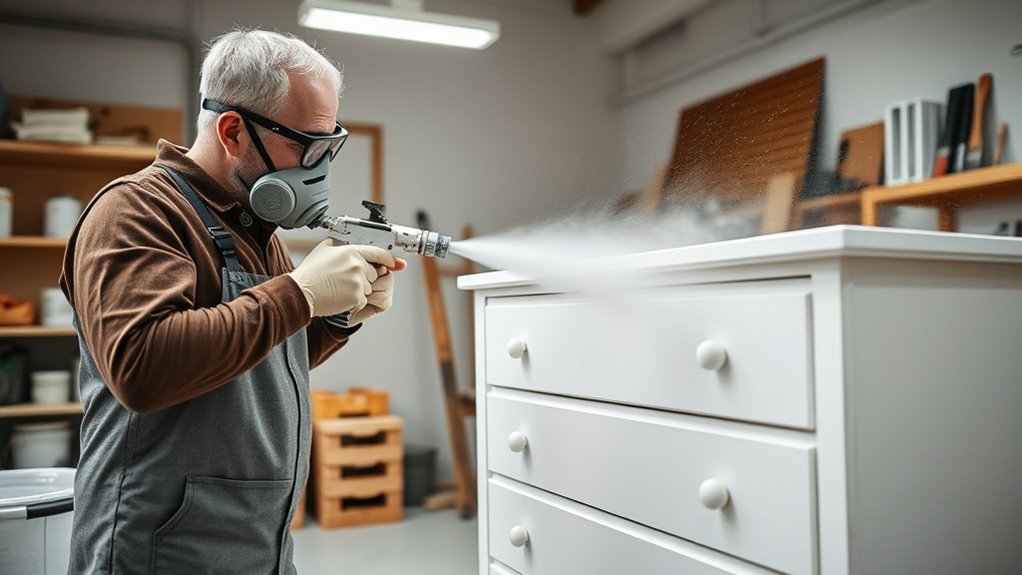
What Safety Gear Is Recommended During Spraying?
Did you know that improper protection during spraying can cause health issues? You should always wear protective gear, including a mask or respirator, goggles, and gloves. Guarantee proper ventilation in your workspace to avoid inhaling fumes and overspray. Using these safety measures reduces health risks, especially when working outdoors, where wind can carry particles. Prioritize safety by wearing protective gear and maintaining good ventilation during any spray painting project.
How Do I Prevent Drips and Runs When Spraying?
To prevent drips and runs when spraying, you should adjust your paint nozzle for a smooth spray and keep a consistent spray distance from the surface, typically 6-12 inches. Move your sprayer in steady, overlapping strokes, avoiding lingering in one spot. Keep the spray light and even, and don’t overload the nozzle with paint. Practice on scrap material first to master your technique and achieve a flawless, factory-like finish.
Is It Possible to Spray Multiple Colors on One Piece?
Yes, you can spray multiple colors on one piece by using proper color blending and a careful spray technique. To achieve clean gradations, work with light coats and keep a consistent distance from the surface. Mask off areas where you don’t want color overlap, and blend edges gently. This approach helps you create a professional, multi-colored finish that’s smooth and seamless, giving your furniture a custom, eye-catching look.
Conclusion
With patience, precision, and a passion for perfection, your furniture transformation becomes a fulfilling feat. Embrace the effort, enjoy the process, and admire your craftsmanship. Every spray, stroke, and step sharpens your skills, showcasing your dedication and daring. Remember, the true transformation isn’t just in the finish but in your newfound confidence. Keep creating, keep customizing, and let your furniture reflect your flair—because with focus and faith, fabulous furniture is forever within your reach.

Franz came aboard the Paint Sprayer Zone team with a background in both journalism and home renovation. His articulate writing style, combined with a passion for DIY projects, makes him an invaluable asset. Franz has a knack for breaking down technical jargon into easy-to-understand content, ensuring that even the most novice of readers can grasp the complexities of paint sprayers.