
To get a flawless finish, avoid common paint sprayer mistakes like skipping surface prep, which leads to uneven paint and peeling. Use correct spray techniques and settings to prevent drips and uneven coats. Don’t overload or underload your sprayer, as both cause application issues. Remember to clean and maintain your equipment regularly to guarantee consistent results. Stay on top of these tips, and you’ll master your sprayer for professional-looking projects.
Key Takeaways
- Properly clean and sand surfaces before spraying to ensure adhesion and a smooth finish.
- Adjust spray angle, nozzle size, and pressure settings for consistent, even coats.
- Avoid overloading or underloading the sprayer; fill only to recommended levels for steady flow.
- Regularly clean and maintain equipment to prevent clogs and ensure optimal performance.
- Check surface conditions and equipment status throughout the project to prevent defects and waste.
Not Preparing the Surface Properly
Before you start spraying, it’s vital to prepare the surface properly, because skipping this step can lead to uneven coverage and poor paint adhesion. Surface preparation ensures the surface is clean, smooth, and free of dust, grease, or old paint, which can interfere with the spray. Take time to sand rough spots and wipe down the area with a damp cloth or a suitable cleaner. Properly prepared surfaces allow the paint to adhere evenly, reducing drips and peeling later on. Additionally, self watering plant pots often feature a reservoir system that promotes healthy root growth by maintaining consistent moisture, which is an important concept for maintaining the integrity of your project surface. This understanding of automation in business underscores the importance of streamlining processes to ensure quality results. Remember, a well-prepared surface creates a solid foundation for your spray job, resulting in a smooth, professional-looking finish with better durability. Neglecting this step causes paint to bubble or peel prematurely, wasting time and material. Proper surface condition is also essential for achieving optimal paint adhesion, which directly impacts the longevity of your paint job. Ensuring your surface is free of contaminants and properly sanded can also help prevent paint defects such as bubbling or uneven texture, further enhancing your results.
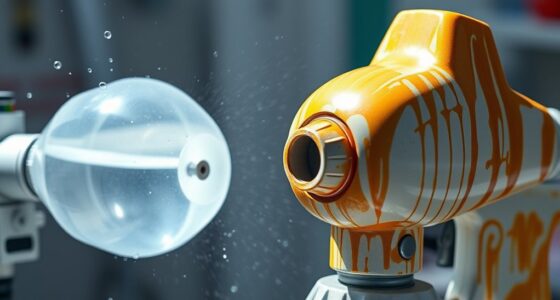
Incorrect Spray Technique and Settings
Using the wrong spray technique or incorrect settings can quickly ruin your paint job. If you don’t adjust your spray angle or nozzle size properly, you’ll end up with uneven coverage, drips, or overspray. To avoid this, keep your spray angle consistent—typically between 30° and 60°—for smooth, even coats. Choose a nozzle size suited to your project; smaller nozzles produce finer spray, ideal for detail work, while larger nozzles cover more area faster. Here’s a quick guide:
| Spray Technique | Best Practice |
|---|---|
| Spray angle | Maintain 30°–60° for even coverage |
| Nozzle size | Use smaller for detail, larger for broad surfaces |
Mastering these settings guarantees a professional finish. Proper exfoliation with glycolic acid can also improve the overall appearance of your skin, making it easier to achieve a smooth, flawless surface for painting or other projects. Additionally, understanding the science of sound healing can inspire more mindful and effective techniques in your creative or wellness routines. Being aware of electric power generation options, like bike generators, can also enhance your understanding of sustainable practices during DIY projects. For example, tuning your equipment or vehicle, such as the Kia Forte 2023 Tuning, can benefit from precise adjustments similar to those needed for optimal spray application.
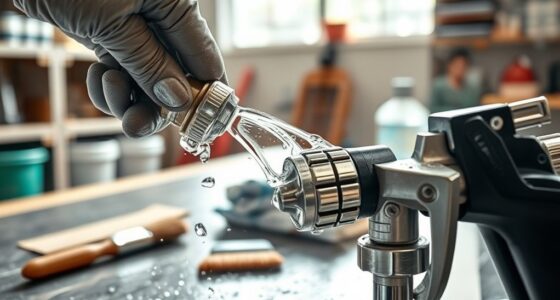
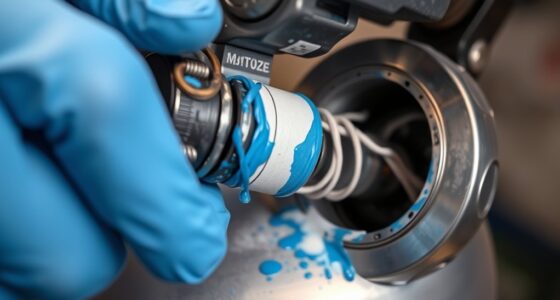
Overloading or Underloading the Paint Sprayer
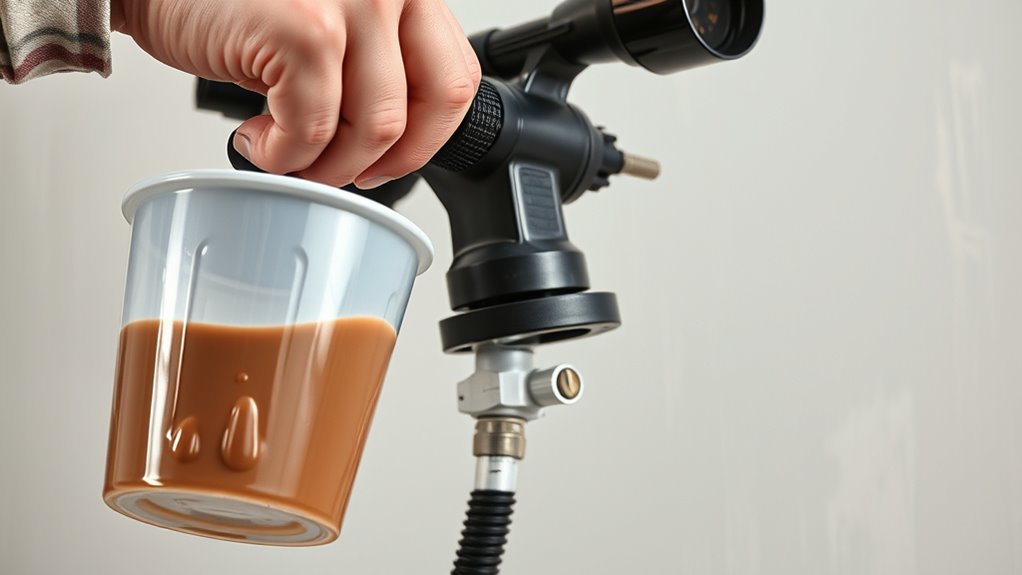
Overloading or underloading your paint sprayer can lead to uneven application and messes. When you overfill the paint container, you risk spills, drips, and a higher chance of nozzle clogging due to excess paint. Conversely, underloading causes inconsistent spray patterns and frequent refills, disrupting your workflow. To avoid these issues, keep these tips in mind:
- Fill the paint container only to the recommended level.
- Never overfill to prevent nozzle clogs.
- Check for smooth, steady flow before starting.
- Refill in small amounts rather than full loads.
- Mix paint thoroughly for consistent consistency.
- Proper loading is crucial for efficient operation and achieving a professional finish. Additionally, understanding the application timing can help you optimize your spraying process for better results. Proper loading also helps maintain the paint flow and reduces the likelihood of splattering or uneven coverage. Ensuring the correct paint viscosity is equally important for smooth operation and a high-quality finish. Proper loading ensures smooth operation, reduces nozzle clogging, and results in a cleaner, more professional finish. Always follow your sprayer’s capacity guidelines for ideal results.
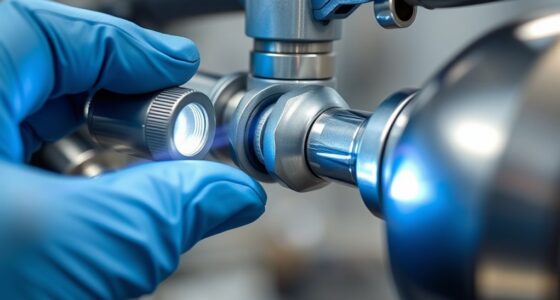
Failing to Maintain and Clean the Equipment
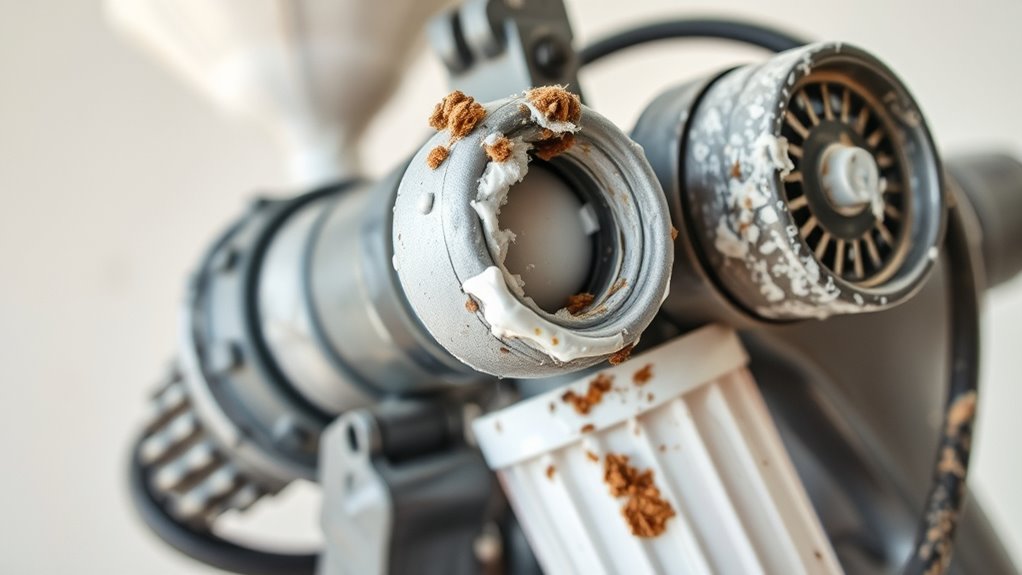
Neglecting regular maintenance and cleaning can quickly turn a smooth painting job into a frustrating ordeal. If you skip cleaning your paint sprayer after use, leftover paint can clog the nozzles and reduce performance. Regular equipment lubrication is essential to keep moving parts functioning smoothly and prevent wear. Additionally, proper storage best practices help avoid rust and damage; always clean the entire unit thoroughly and store it in a dry, protected area. When you overlook these steps, you risk costly repairs and uneven spray patterns. Make it a habit to clean your sprayer immediately after each session, lubricate moving parts as recommended by the manufacturer, and follow storage guidelines to prolong your equipment’s lifespan and guarantee ideal performance for every project. Routine maintenance can also help prevent unexpected breakdowns and extend the life of your sprayer. Incorporating proper cleaning techniques ensures that no residual paint or debris causes future issues, and understanding equipment longevity can motivate you to stay diligent with upkeep. Performing regular inspections and addressing minor issues early can significantly improve your sprayer’s performance over time.
Frequently Asked Questions
How Do I Choose the Right Type of Paint for My Sprayer?
To choose the right paint for your sprayer, consider its compatibility with different types of paint. Check the sprayer’s specifications for recommended paint consistency, ensuring it’s not too thick or thin. Use a strainers if needed to avoid clogging. Matching the paint to your sprayer’s capabilities helps you achieve a smooth, even finish without issues like leaks or uneven spraying. Always follow the manufacturer’s guidelines for best results.
What Safety Precautions Should I Take When Using a Paint Sprayer?
When using a paint sprayer, you should prioritize safety by wearing protective gear like masks, goggles, and gloves to prevent inhalation and skin contact. Make certain your ventilation setup is proper, working in a well-ventilated area or using fans to disperse fumes. Always read the manufacturer’s instructions, keep a fire extinguisher nearby, and avoid spraying near open flames. These precautions help protect you and ensure a safe, efficient project.
How Do I Troubleshoot Uneven Spray Patterns?
To troubleshoot uneven spray patterns, check your sprayer nozzle for clogs or damage, and clean or replace it if needed. Make sure your paint consistency isn’t too thick or thin; proper thinning guarantees a smooth flow. Also, adjust the pressure settings and maintain an even distance from the surface. These steps help you achieve a consistent, even spray and improve your painting results.
Can I Use My Paint Sprayer for Stained or Sealed Surfaces?
Think of your paint sprayer as a magic wand, but it’s picky about what surfaces it can charm. You can use it on stained or sealed surfaces if you guarantee proper surface preparation and check paint compatibility. Sand glossy areas lightly and clean thoroughly to let the paint grip. Always verify that your stain or sealer is compatible with your sprayer’s paint to avoid clogs and uneven finishes.
How Long Should I Wait Between Coats for Optimal Results?
You should wait at least 24 hours between coats for ideal results, but drying time can vary based on temperature and humidity. Proper surface preparation ensures better adhesion and a smoother finish, so make sure the surface is clean and dry before applying the next coat. Rushing the process can lead to peeling or uneven coverage, so patience is key to achieving a professional-looking paint job.
Conclusion
Avoiding common paint sprayer mistakes can save you time, money, and frustration. Properly preparing your surface, using the right technique, and maintaining your equipment are vital steps. Remarkably, studies show that consistent maintenance can extend your sprayer’s lifespan greatly. So, take the time to do it right—your finished project will look better, last longer, and you’ll enjoy the process more. Remember, a little prep goes a long way in achieving professional results.

A seasoned painter with over 15 years in the industry, Mike transitioned from hands-on painting projects to the digital world of paint sprayers. His extensive experience gives him a unique perspective on what users truly need when it comes to painting tools. As the Editor in Chief of Paint Sprayer Zone, Mike ensures that every piece of content not only provides value but also reflects the realities of painting — the challenges, the joys, and the intricate details.