
To clean water-based paint from your sprayer, rinse immediately with warm water and use brushes to remove residue, ensuring all parts are disassembled and thoroughly scrubbed. For oil-based paints, use solvents like mineral spirits or paint thinner to dissolve and flush out dried paint, then clean with proper brushes. Always wear safety gear and work in a well-ventilated area. For detailed techniques, tools, and safety tips, continue exploring.
Key Takeaways
- Use warm water and soap to clean water-based paint sprayers immediately after use.
- For oil-based paints, apply mineral spirits or paint thinner to dissolve residues before cleaning.
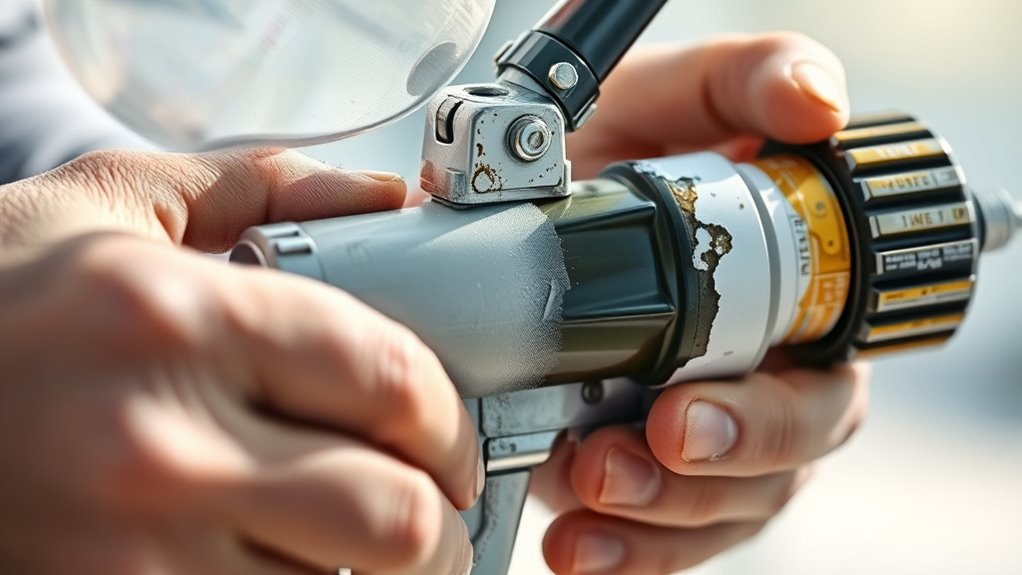
- Disassemble and thoroughly clean all parts, focusing on nozzles and tubes, after each painting session.
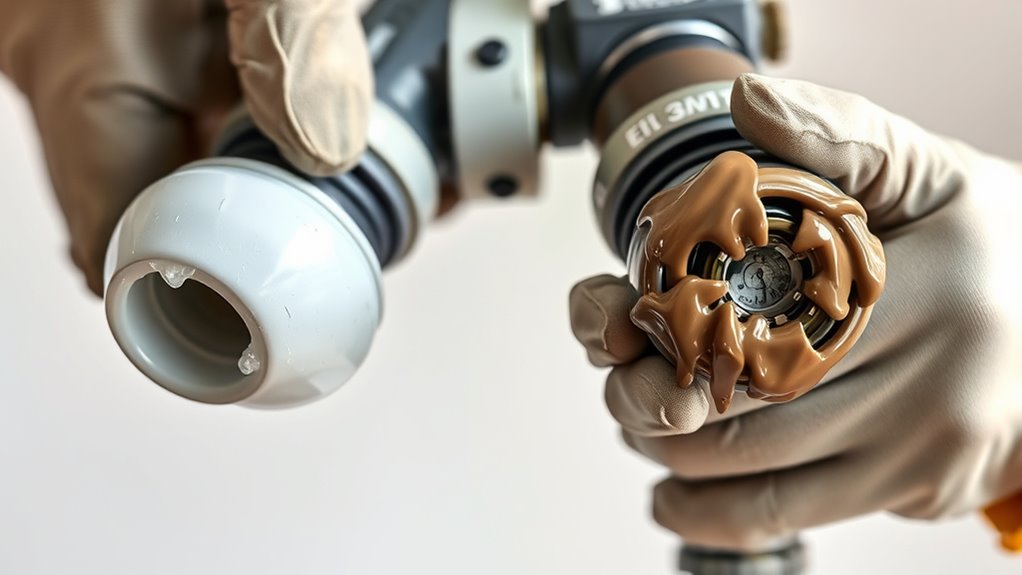
- Ensure workspace ventilation and wear appropriate protective gear during cleaning, especially with solvent use.
- Properly dispose of used solvents and store equipment in a dry, clean environment to maintain sprayer longevity.
Understanding the Composition of Water-Based and Oil-Based Paints
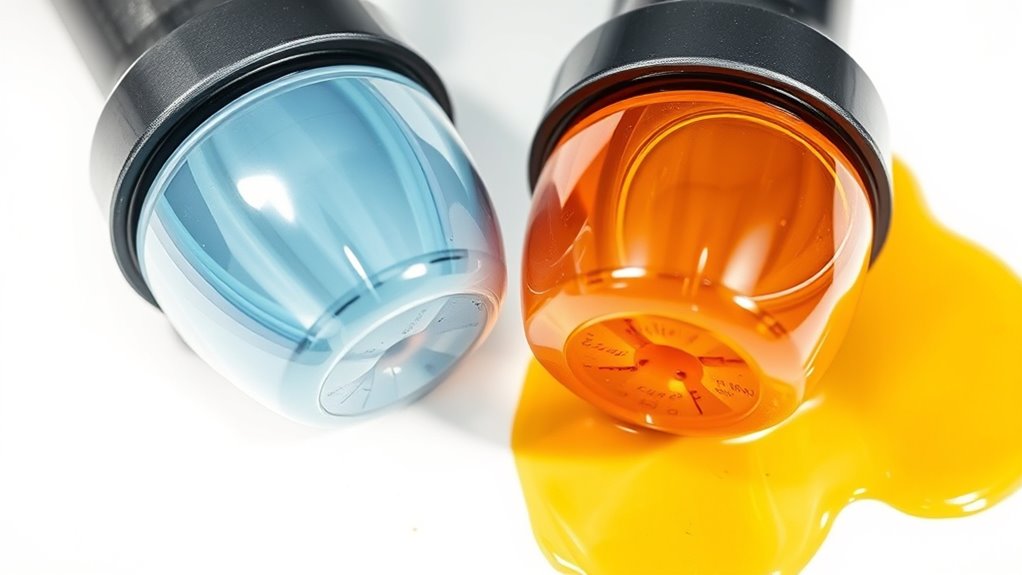
Understanding the composition of water-based and oil-based paints is essential for proper cleaning and maintenance of your sprayer. Water-based paints typically contain water as the solvent, along with paint additives that influence properties like drying times and flow. These additives help the paint cure faster and clean up easily with water. In contrast, oil-based paints use solvents like mineral spirits or turpentine, which extend drying times and require stronger solvents for cleanup. Knowing these differences helps you choose the right cleaning method and prevents equipment damage. Water-based paints are generally easier to clean and less toxic, while oil-based paints are more durable but need more careful handling. Additionally, the chemical composition of each type determines the specific cleaning agents needed, ensuring you maintain your sprayer properly and avoid issues down the line. Understanding paint solvents can help you select the most effective cleaning products and techniques. Being aware of the solvent properties involved can further assist in choosing appropriate cleaning methods and prevent damage to your equipment. Moreover, understanding the compatibility of cleaning agents with different paint types can improve cleaning efficiency and prolong the lifespan of your sprayer. Recognizing the cleaning process differences for each paint type can optimize maintenance routines and reduce cleanup time.
Safety Precautions Before Cleaning Your Sprayer
Before you start cleaning your sprayer, make sure you’re wearing proper protective gear like gloves and goggles. Confirm your workspace is well-ventilated to avoid inhaling fumes, especially when working with oil-based paints. Taking these safety steps helps protect you and makes the cleaning process safer and more effective. Additionally, understanding industry standards for safety precautions ensures you follow best practices during your project. If you are using a flat iron bike for transportation or work-related tasks near your painting area, ensure it is parked safely away from your workspace to prevent accidents. Being aware of AI security concerns can also help you stay informed about potential safety risks related to your equipment and environment. Moreover, following proper protective measures can minimize exposure to potentially harmful chemicals during cleaning. Staying educated about credit card security practices can further safeguard your personal information during any online transaction or equipment setup.
Proper Protective Equipment
To guarantee your safety while cleaning your sprayer, you must wear the proper protective equipment. Safety gear such as gloves, goggles, and a respirator protect you from harmful chemicals and fumes. Protective gear prevents skin irritation and eye injuries caused by paint and cleaning solvents. Make sure your gloves are chemical-resistant, and your goggles fit snugly to prevent splashes from reaching your eyes. A respirator with the appropriate filter ensures you don’t inhale fumes or dust particles. Always double-check that your safety gear is in good condition before starting. Wearing the right safety gear minimizes health risks and keeps you focused on the task without worry. Prioritizing your safety with proper protective equipment is essential for a safe and effective cleaning process. Additionally, understanding the Air Purifier Maintenance can help reduce airborne contaminants during your cleaning routine. Implementing proper safety protocols can further enhance your protection and ensure a safer work environment.
Ventilation and Workspace
Ensuring proper ventilation and a suitable workspace is essential for safe and effective sprayer cleaning. Good air circulation helps disperse fumes, reducing inhalation risks, especially when cleaning oil-based paints. Organize your workspace to keep tools, cleaning supplies, and waste containers separate, minimizing clutter and accidents. Adequate airflow can be maintained with exhaust fans or open windows. Choose a well-ventilated area with minimal distractions to focus on safety protocols. Proper color accuracy in your workspace can also improve visibility during cleaning procedures.
Cleaning Techniques for Water-Based Paints
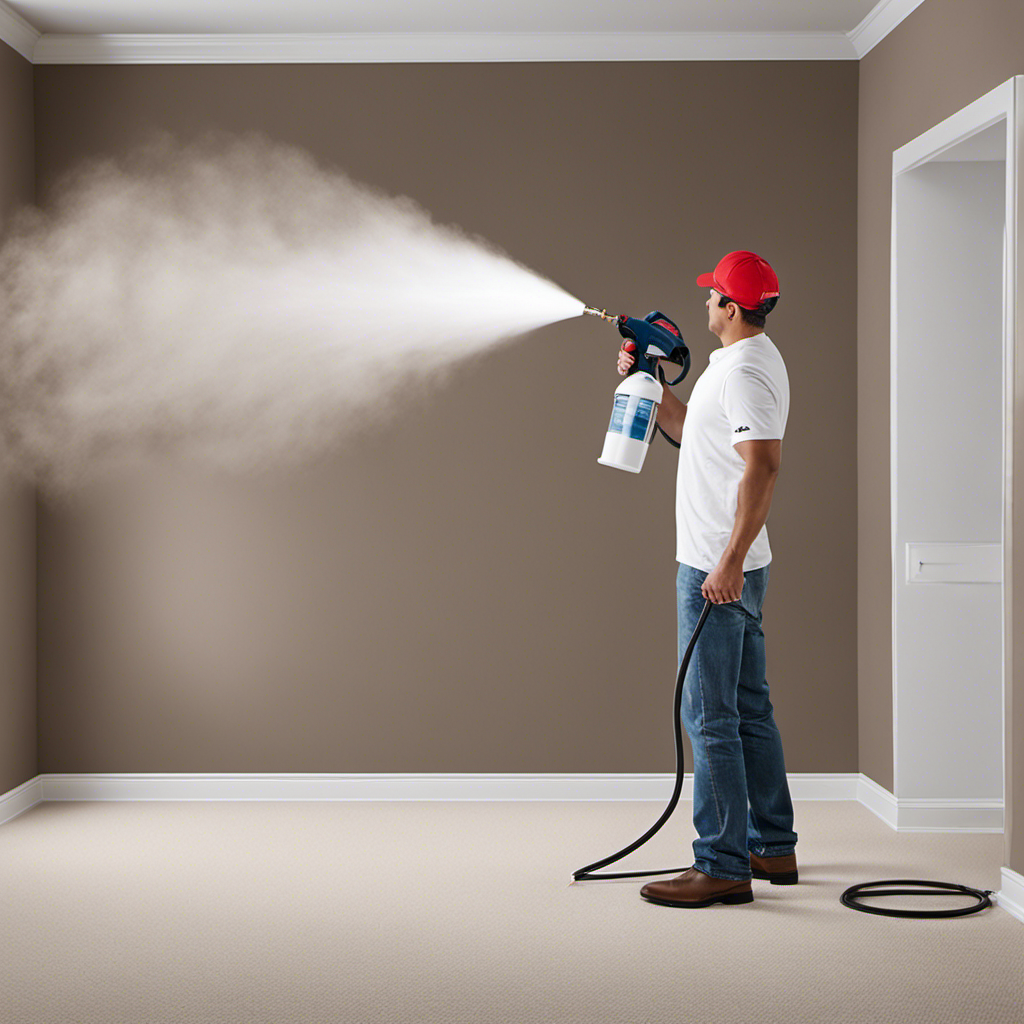
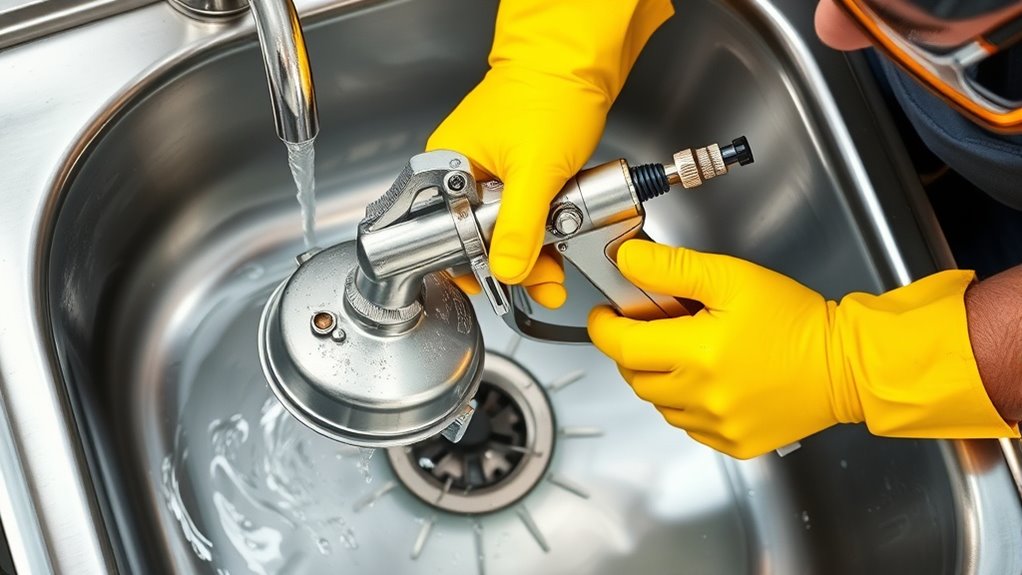
Cleaning water-based paints from your sprayer is straightforward if you act promptly. Start by rinsing the sprayer with warm water immediately after use to prevent paint from drying inside. Next, disassemble the parts, paying close attention to the nozzle and tube, which are prone to paint buildup. This prevents clogs and ensures smooth operation later. Additionally, using an appropriate cleaning solvent can help dissolve residual paint more effectively. Proper cleaning techniques prevent damage and extend the lifespan of your equipment. Regular maintenance also aligns with the importance of machine safety by avoiding unnecessary wear and tear. Furthermore, maintaining a consistent cleaning routine can improve the overall performance of your sprayer. Additionally, the use of automated cleaning systems can streamline this process for frequent painters. Finally, use a brush or sponge to scrub any remaining paint, especially around the paint chamber and color mixing areas. This prevents clogs and ensures smooth operation later. Remember, paint drying can cause blockages, so timely cleaning is essential. Regular maintenance preserves spray pattern and nozzle quality, reducing the need for deep cleaning later. Always rinse thoroughly to remove residual paint, keeping your sprayer ready for your next project.
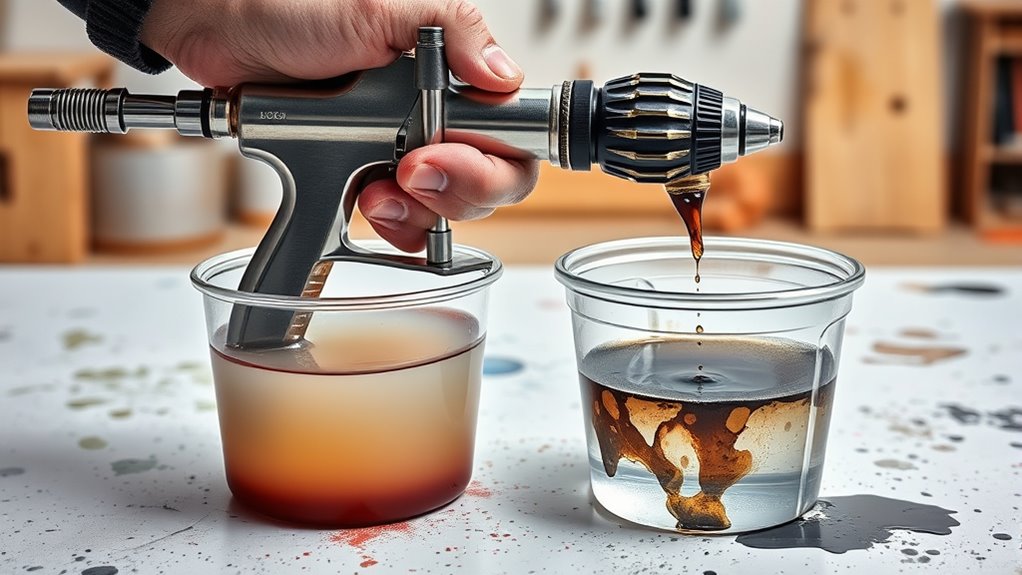
Cleaning Methods for Oil-Based Paints
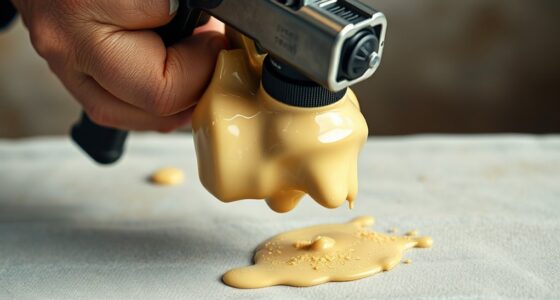
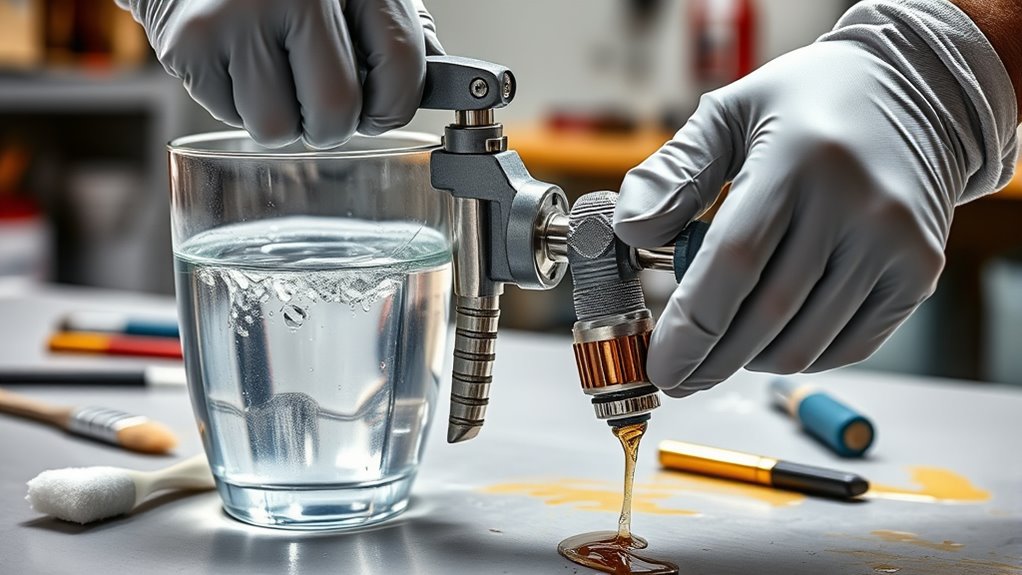
After cleaning water-based paints, switching to oil-based paints requires a different approach to keep your sprayer in top condition. Oil-based paints tend to be thicker, so you need to pay attention to paint thickness to prevent clogging. Before starting, ensure the paint isn’t too thick; if it is, thin it appropriately with the recommended solvents. When cleaning, use a solvent like mineral spirits or paint thinner to break down the oil-based residue. Run the solvent through the sprayer to clear out paint and avoid nozzle clogging. Disassemble parts if necessary to clean hard-to-reach areas. Rinse thoroughly with clean solvent afterward, and verify all components are dry before storage. Proper cleaning prevents buildup, maintains spray quality, and keeps your equipment functioning smoothly. Additionally, understanding affiliate disclosure policies can help you make informed decisions when purchasing cleaning supplies. Incorporating proper cleaning techniques is essential for extending the life of your sprayer and ensuring optimal performance.
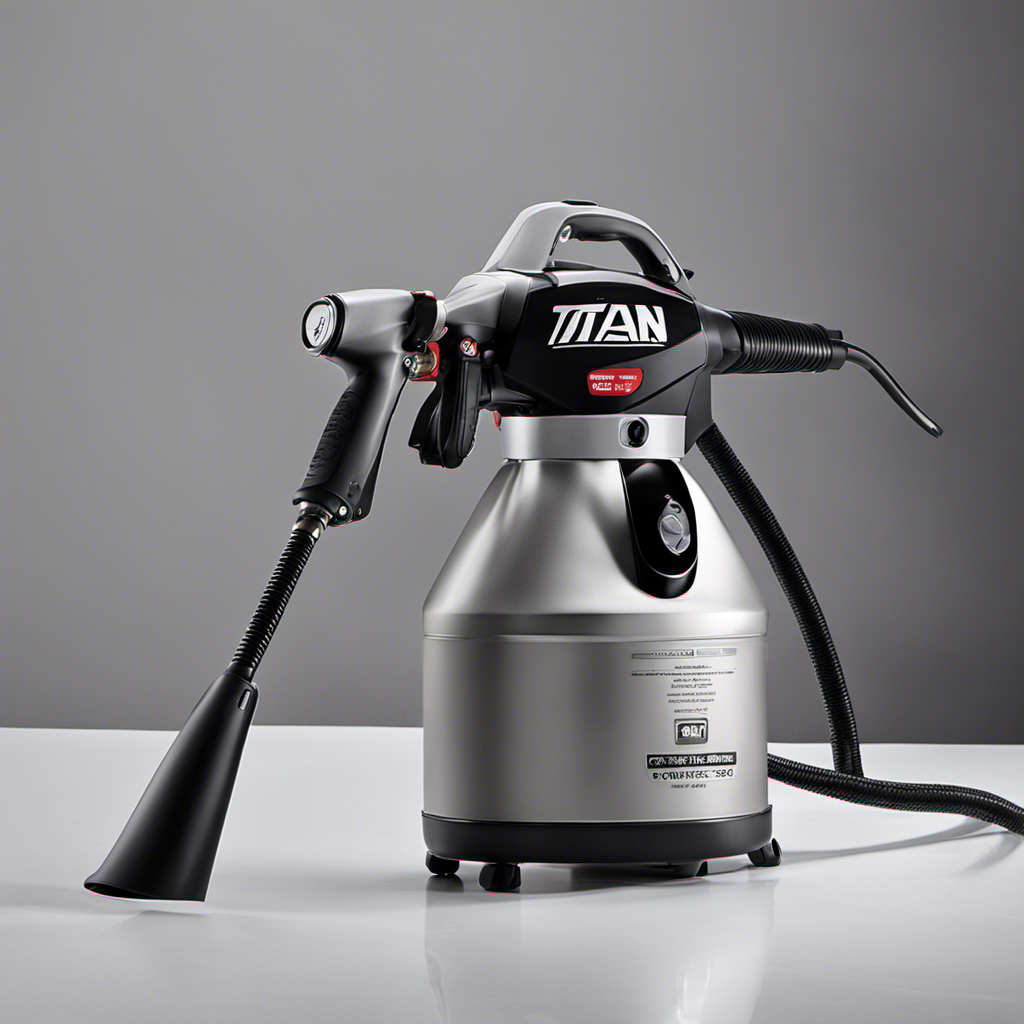
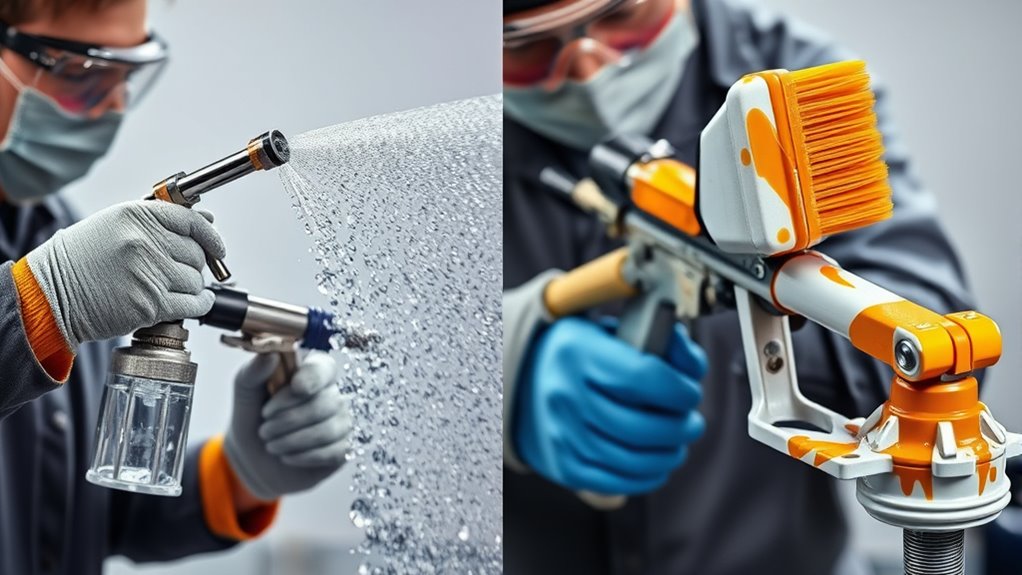
Tools and Solvents Needed for Effective Cleaning
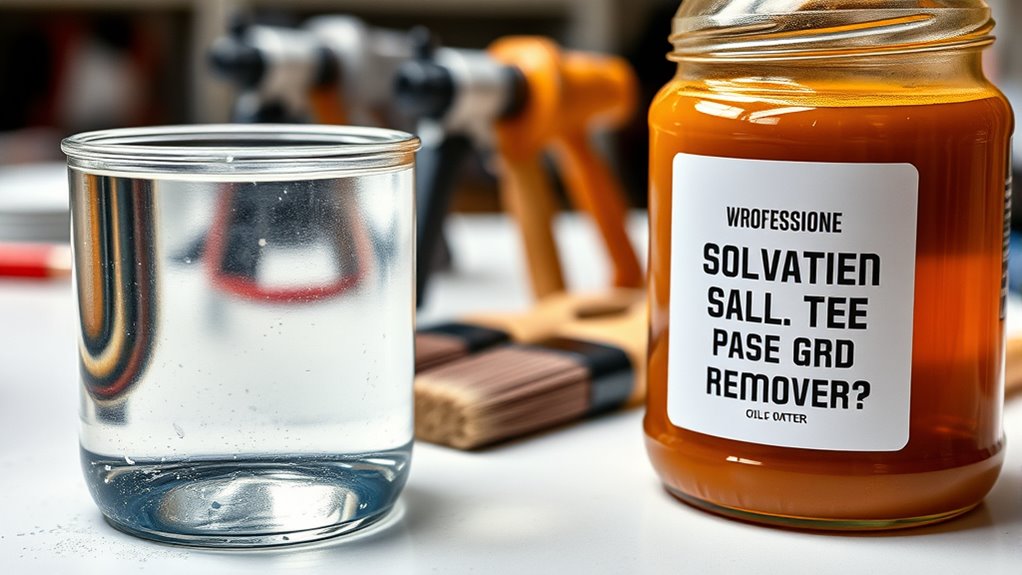
To effectively clean your sprayer after using oil-based paints, you’ll need the right tools and solvents on hand. First, gather high-quality solvent like mineral spirits or paint thinner to break down the paint and reduce environmental impact. Second, use a cleaning brush or spray gun cleaner to remove stubborn residues and guarantee proper paint sprayer calibration for future use. Third, have protective gloves and safety goggles ready to keep yourself safe during cleaning. Proper disposal of used solvents is essential to minimize environmental impact. These tools and solvents help assure a thorough clean and maintain ideal sprayer performance. Using the right products also prevents clogs and extends your equipment’s lifespan, making your cleaning process more efficient and eco-conscious. Additionally, understanding the mechanics of different brewing methods can help you better maintain your equipment and prevent issues before they arise. Being aware of paint composition can inform your choice of solvents and cleaning techniques for different types of paint residues. Incorporating environmentally friendly solvents and proper disposal techniques can further reduce your ecological footprint during cleanup. Regular maintenance and cleaning with appropriate products can also improve the overall performance and longevity of your sprayer.
Troubleshooting Common Cleaning Challenges
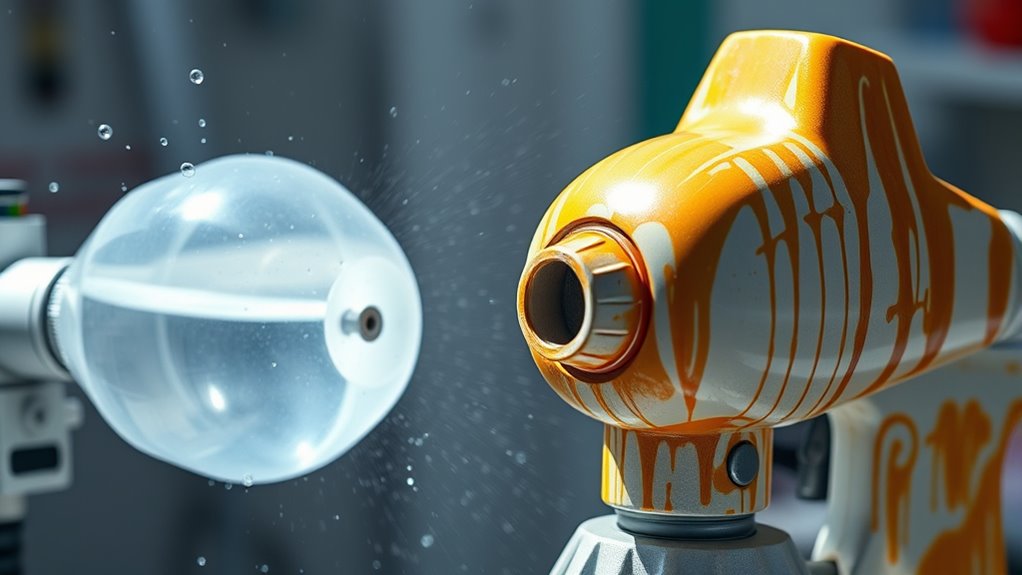
Even with the right tools and solvents, you might still encounter common cleaning challenges that can hinder your efforts. One issue is inconsistent paint flow caused by incorrect sprayer calibration, which can leave residue or clog the nozzle. Additionally, paint consistency plays a vital role; if the paint is too thick, cleaning becomes harder, and leftover buildup can occur. To troubleshoot, check your sprayer’s calibration to guarantee even pressure and spray pattern. If paint is thick, thin it properly according to manufacturer instructions before cleaning. For stubborn residue, use appropriate solvents and scrub gently. Regularly inspecting your sprayer during cleaning helps identify problem areas early. Proper paint formulation and mixing techniques can also significantly reduce these issues. Using high-quality paints can also help minimize residue and clogging, ensuring smoother operation. Addressing these challenges promptly keeps your sprayer in top shape and ensures efficient future use. Incorporating proper maintenance practices can further prevent ongoing problems and extend the lifespan of your equipment.
Tips for Maintaining Your Sprayer After Cleaning
To keep your sprayer in top shape, it is crucial to follow proper storage techniques and stick to a regular maintenance schedule. Doing so prevents clogs and prolongs the life of your equipment. Let’s explore some effective tips to maintain your sprayer after cleaning.
Proper Storage Techniques
Proper storage of your sprayer after cleaning is essential to keep it in top condition and ready for your next project. Good paint storage and sprayer preservation prevent clogs and damage. To guarantee ideal care, follow these tips:
- Store your sprayer in a cool, dry place away from direct sunlight to prevent deterioration.
- Ensure all parts are thoroughly dry before reassembling to avoid rust and mold.
- Lubricate moving parts lightly to maintain smooth operation and protect against corrosion.
Regular Maintenance Schedule
Establishing a regular maintenance schedule is key to keeping your sprayer functioning smoothly and extending its lifespan. After cleaning, inspect the equipment for paint drying or buildup that could clog nozzles or affect performance. Regularly check and replace worn seals and filters to prevent leaks and maintain consistent spray patterns. Consistent maintenance also involves calibrating your sprayer to ensure even paint application, especially after cleaning or switching paint types. Promptly address any signs of wear or clogging to avoid more significant issues down the line. Cleaning and maintaining your sprayer regularly helps prevent paint drying inside the system, which can impair spray quality. By sticking to a scheduled routine, you keep your sprayer in top shape, ensuring reliable performance project after project.
When to Seek Professional Assistance
If you notice persistent clogs, stubborn paint residue, or difficulty cleaning your sprayer despite multiple attempts, it’s time to contemplate professional help. Professional servicing can address complex issues that DIY methods can’t resolve. Consider seeking assistance if:
- The sprayer continues to clog after thorough cleaning, indicating internal damage or buildup.
- You experience ongoing leaks or mechanical issues that hinder operation.
- You need emergency repairs to get back on schedule quickly, especially during a project deadline.
In these cases, professional servicing ensures proper repairs and thorough cleaning, preventing further damage. Don’t risk damaging your equipment or prolonging your project; reaching out for expert help guarantees ideal performance and longevity of your sprayer.
Frequently Asked Questions
How Long Should I Wait Before Cleaning After Painting?
You should wait until the paint has dried enough for the surface to be touch-dry, typically 1-2 hours for water-based and 24 hours for oil-based paints. This drying time guarantees the paint’s surface is ready for cleaning and prevents damage. Rushing cleaning too soon can smudge or ruin your work. Always check the manufacturer’s guidelines for specific drying times and surface readiness before starting to clean your sprayer.
Can I Reuse Cleaning Solvents for Multiple Cleaning Sessions?
Imagine you’re about to clean your sprayer, and you wonder if those solvents can be reused. Reusable solvents might seem convenient, but beware—over time, they collect paint residues that reduce their effectiveness. If you plan to reuse them, verify proper solvent disposal and strain out debris. Using fresh solvents periodically guarantees thorough cleaning. Always follow safety guidelines, and don’t risk damage by reusing solvents past their prime.
What Are the Environmental Impacts of Cleaning With Solvents?
When you use solvents for cleaning, consider their environmental impact. Traditional solvents can release hazardous chemicals, affecting air and water quality. To reduce this, opt for eco-friendly solvents that break down more safely. Always follow proper hazardous waste disposal guidelines to prevent pollution. Your choices make a difference—using environmentally conscious cleaning options helps protect ecosystems and public health, ensuring you’re doing your part to minimize environmental harm.
Is It Necessary to Disassemble the Sprayer for Thorough Cleaning?
You might wonder if disassembly importance is necessary for thorough cleaning. For best results, you should disassemble your sprayer, especially if you notice paint buildup or clogs. This allows you to clean all parts thoroughly, preventing paint from drying and causing damage. Skipping disassembly risks leaving residual paint that could clog the system later. So, taking the time for disassembly ensures your sprayer stays in top shape and functions smoothly.
How Can I Prevent Paint Clogs in the Nozzle During Cleaning?
Imagine you’re painting a room when suddenly, paint clogs your nozzle. To prevent this, you need proper nozzle maintenance and solvent selection. Regularly clear debris and dried paint from the nozzle tip, and choose the right solvent—water for water-based paints or mineral spirits for oil-based. Rinsing your sprayer thoroughly after each use keeps the nozzle clear, reducing clogs and ensuring smooth, consistent spray every time.
Conclusion
Now that you know how to clean water-based and oil-based paints, you can confidently protect your sprayer, prolong its life, and guarantee flawless finishes. Keep your tools sharp, your solvents ready, and your safety gear on. Remember, thorough cleaning is your shield against clogs, damage, and costly repairs. With each careful wipe and rinse, you’re nurturing your sprayer’s health, preserving its performance, and painting future projects with precision and ease.

A seasoned painter with over 15 years in the industry, Mike transitioned from hands-on painting projects to the digital world of paint sprayers. His extensive experience gives him a unique perspective on what users truly need when it comes to painting tools. As the Editor in Chief of Paint Sprayer Zone, Mike ensures that every piece of content not only provides value but also reflects the realities of painting — the challenges, the joys, and the intricate details.