
To choose the right paint sprayer tip, consider your project’s surface, size, and detail needs. Match the tip size to your paint’s viscosity—thicker paints need larger tips, while thinner paints require smaller ones. Select a pattern shape—round, flat, or fan—to suit the area you’re covering. Make sure your sprayer is compatible and properly maintained for best results. Keep these tips in mind, and you’ll be ready to optimize your spray application.
Key Takeaways
- Match the spray pattern shape (round, flat, fan) to your surface area and project size.
- Select tip size based on paint viscosity and desired detail; larger tips for thick paints, smaller for fine work.
- Consider surface material and texture; rough surfaces need broader spray patterns and larger tips.
- Ensure spray gun compatibility and proper maintenance to prevent clogs and ensure consistent application.
- Adjust spray pressure and technique in conjunction with tip selection for optimal coverage and finish quality.
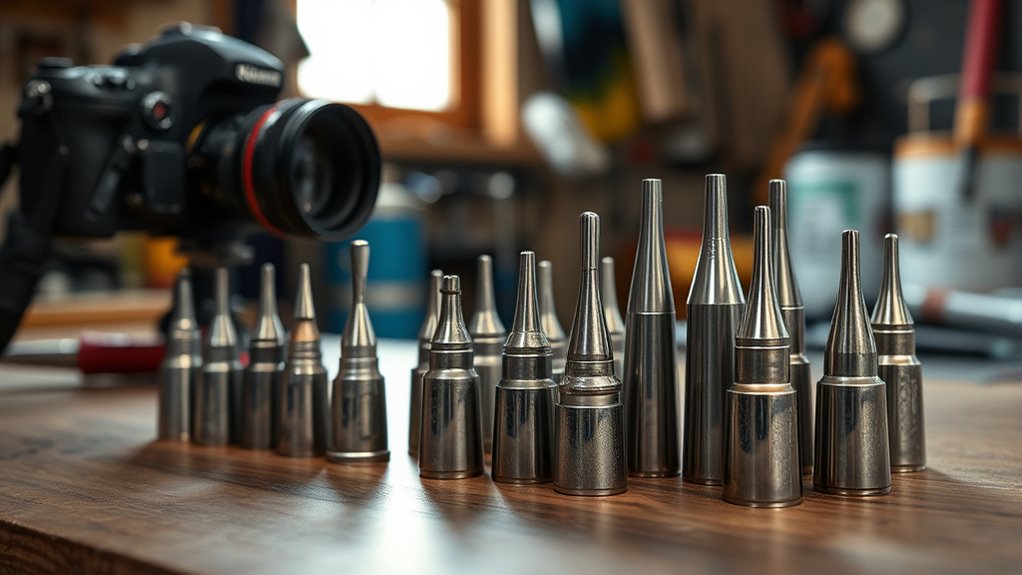
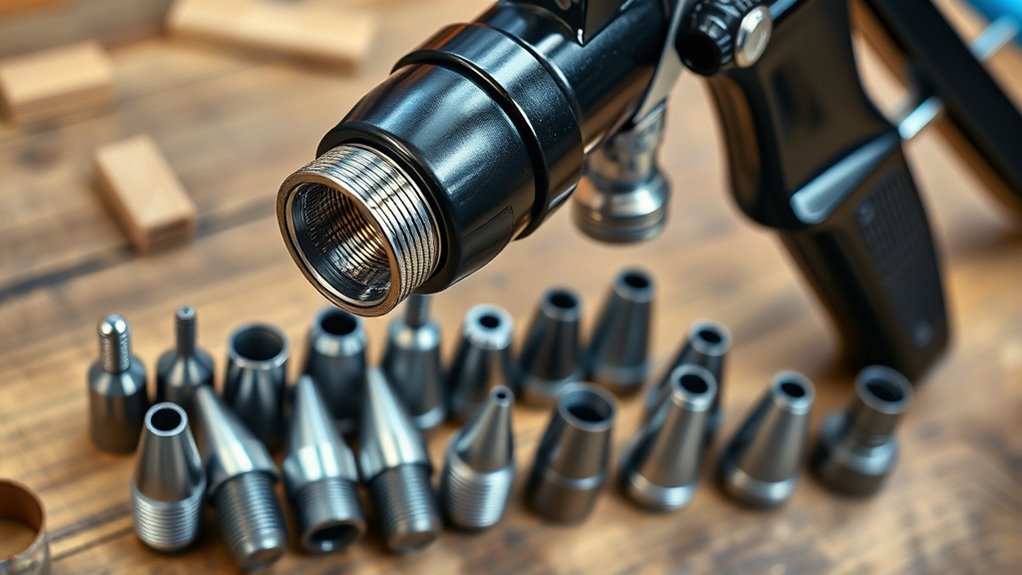
Understanding Different Types of Paint Sprayer Tips
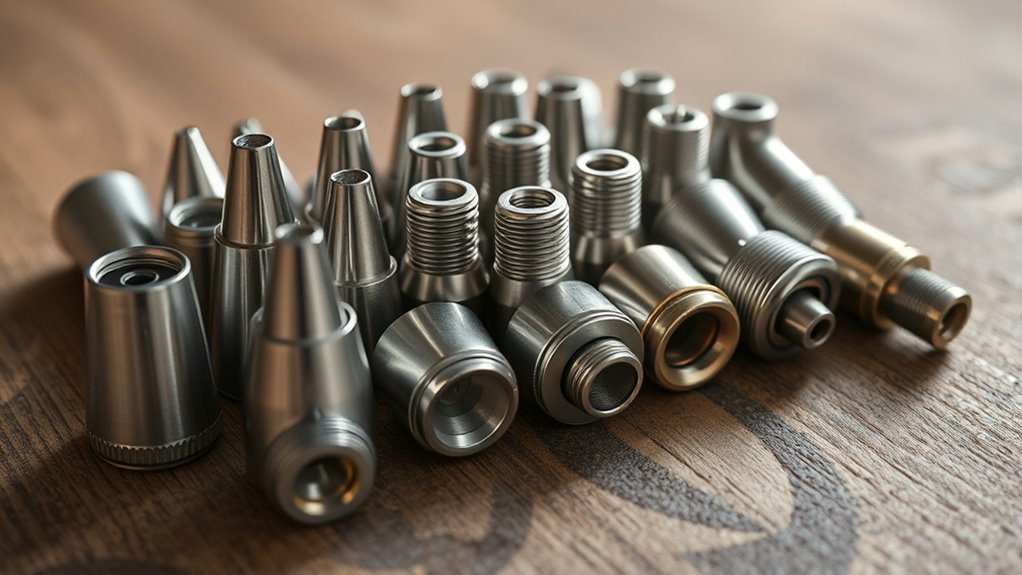
Understanding the different types of paint sprayer tips is essential for achieving the best results. Your choice impacts how the paint is atomized and how evenly it covers surfaces. Different tips produce various spray patterns, such as round, flat, or fan-shaped, which influence your brush techniques and overall finish. Environmental conditions like wind, humidity, and temperature also affect how the paint sprays and dries. For example, in high humidity, you’ll want a tip that minimizes overspray and uneven coverage. By understanding these tip types, you can adapt your techniques to suit your environment, ensuring a smooth, professional-looking application. Selecting the right tip helps you control paint flow and coverage, making your project more efficient and successful. Additionally, Kia Tuning options such as engine and suspension upgrades can complement your vehicle’s performance and aesthetics. Knowing about protective styling benefits of different techniques can also help you make informed choices for your project. Considering the specific spray pattern of each tip can further optimize your application process and achieve the desired finish. Recognizing the importance of proper maintenance of your spray tips can extend their lifespan and maintain consistent results over time.
Matching Tip Size to Your Project Needs

Choosing the right tip size is essential for efficient and high-quality painting. It impacts how well your paint covers, the finish quality, and how much paint you use. To match the tip size to your project, consider your paint thickness and spray distance. Thicker paint needs a larger tip to prevent clogging, while thinner paint requires a smaller tip for a smooth finish. Adjusting spray distance also affects coverage—closer spray enhances detail, while farther spray covers larger areas quickly. Using the correct tip size can also help prevent clogging and ensure consistent application which is vital for achieving a professional finish. Additionally, understanding paint viscosity and how it interacts with spray techniques can further improve your results. Proper spray technique involves adjusting your spray pattern and speed to match the project requirements. For example, using the right air pressure can optimize atomization and paint transfer efficiency. Keep in mind that spray pattern adjustment can also influence the overall quality of your work. Here are key points to keep in mind:
Choosing the right tip size ensures smooth coverage and a professional finish tailored to your project needs.
- Use larger tips for thick, viscous paints
- Opt for smaller tips for fine detail work
- Increase spray distance for broader coverage
- Decrease spray distance for precision
- Match tip size to paint consistency and project scale
Considering the Surface Material and Texture
Your surface’s texture and material play a big role in choosing the right sprayer tip. Rough or textured surfaces require a different approach than smooth ones to guarantee even coverage. Consider the material’s compatibility to avoid damaging the surface or ending up with an uneven finish. Incorporating rustic decor elements can also influence the choice of tip, as textured and aged surfaces may need more precise application techniques. Additionally, understanding surface preparation ensures optimal paint adhesion and a professional-looking result. Recognizing the importance of attention in creative practice can further enhance the application process, especially when working with diverse surface types. Being aware of digital literacy programs can also be beneficial, as they often include guidance on using modern tools and techniques for better results.
Surface Texture Variations
Surface texture markedly influences the type of spray tip you should select because rough or uneven surfaces require different techniques than smooth ones. For textured surfaces, you might need a broader spray fan or a larger tip to guarantee even coverage. Consider how brush techniques can complement spraying, especially in tricky areas. Environmental conditions, like humidity or wind, can also affect how the paint adheres to uneven surfaces. Additionally, using the appropriate juice cleanse options can aid in preparing your body for better painting results. Proper surface preparation and understanding AI security vulnerabilities are crucial for achieving a flawless finish. Selecting the correct paint sprayer tip based on surface texture can significantly enhance your project outcomes. Use wider spray tips for heavily textured areas. Adjust pressure for better atomization on rough surfaces. Maintain consistent distance to avoid uneven coating. Incorporate brush techniques for detail work. Monitor environmental conditions to prevent issues like runs or uneven drying. Being aware of clutter and organization can help keep your workspace efficient and safe during your project. For optimal results, consider paint viscosity to ensure proper flow and coverage across different textures.
Material Compatibility Factors
Material compatibility plays a crucial role in selecting the right paint sprayer tip because different surfaces and their textures absorb paint differently. Knowing your surface material helps you choose a tip that applies paint evenly without excess overspray, which can impact air quality and increase environmental impact. For example, rough or porous surfaces may require a larger tip to prevent paint buildup, reducing airborne particles and minimizing fumes. Smooth surfaces need finer tips for a sleek finish. Using incompatible tips can cause over-spraying, contributing to VOC emissions and unnecessary waste. Additionally, understanding material properties ensures that you select the most efficient and environmentally friendly options for your project. Considering environmental impact also guides you toward eco-conscious choices that reduce waste and fumes. Selecting the appropriate sprayer tip based on the surface material helps optimize paint coverage and minimizes environmental footprint. Proper material compatibility ultimately leads to a cleaner, safer, and more sustainable painting process. Incorporating advanced spray technology can further improve application precision and reduce material waste, enhancing overall sustainability.
Selecting the Right Spray Pattern for Your Application
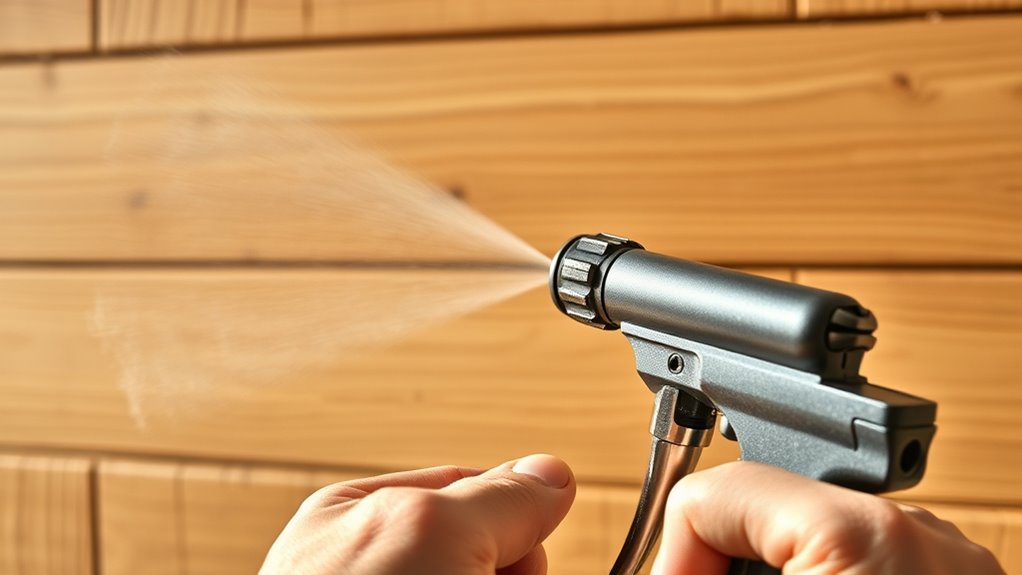
Choosing the right spray pattern is essential to achieving a smooth, uniform finish. Your choice impacts coverage, speed, and quality. Consider the shape and size of your project when selecting a pattern. For detailed work or tight spaces, a narrow circular pattern works best. For large surfaces, a wide fan pattern speeds up the process. Remember to adapt your brush techniques to complement your spray pattern, ensuring even application. Proper spray booth setup also helps maintain consistent results by controlling overspray and airflow. Additionally, understanding the Vetted electric bike conversion kits can inspire you to explore efficient tools that enhance your project experience. Keep these points in mind:
- Match pattern shape to surface area
- Use narrow patterns for detail work
- Opt for wide patterns for large areas
- Adjust spray booth airflow for uniform coatings
- Combine with proper brush techniques for best results
Utilizing the correct spray pattern can significantly improve the efficiency of your project and result in a professional-quality finish every time.
Assessing Paint Viscosity and Compatibility

Before starting to spray, it’s crucial to assess your paint’s viscosity and tip compatibility. Paint viscosity affects how smoothly the paint flows through your sprayer, impacting finish quality. Thicker paints may require thinning, while too-thin paints can cause overspray. To check viscosity, use a flow cup or follow manufacturer guidelines. Ensure your chosen tip matches your paint’s viscosity to prevent clogs or uneven coverage. Use this table to compare tip types and paint consistency:
| Paint Viscosity | Tip Compatibility | Recommended Tip Size |
|---|---|---|
| Thin | Fine spray tips | 0.013–0.015 inch |
| Medium | Standard tips | 0.017–0.021 inch |
| Thick | Larger tips | 0.023+ inch |
| Very thick | Special tips | 0.025+ inch |
| Varnish/Sealer | Fine tips | 0.010–0.013 inch |
Matching paint viscosity to tip compatibility ensures a smooth, even application.
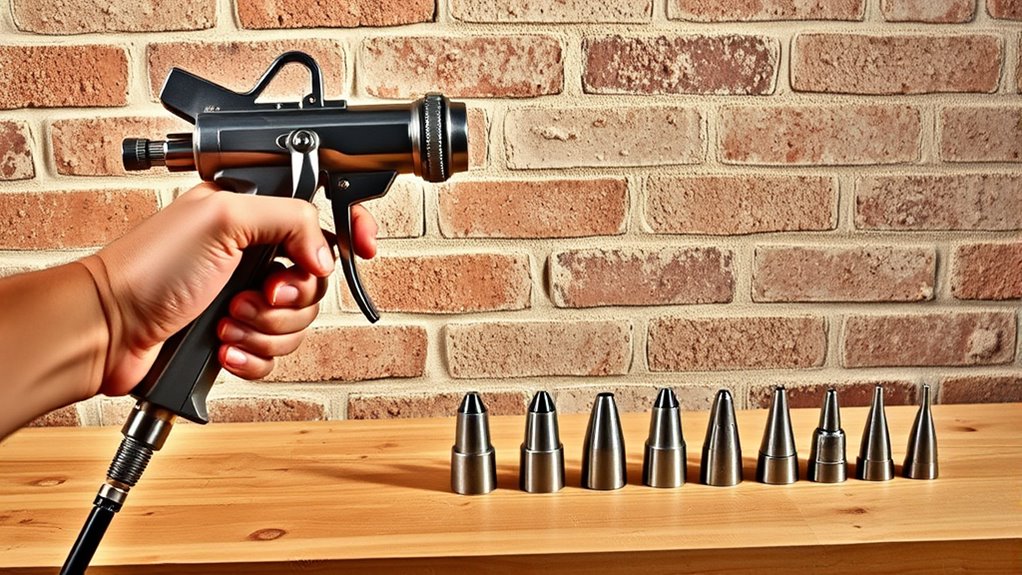
Evaluating the Spray Gun and Tip Compatibility
Ensuring your spray gun and tip are compatible is essential for achieving ideal results. When they work together properly, you’ll get a smooth, even coat that matches your desired paint consistency. To evaluate compatibility, check the spray pressure recommended for your tip and ensure your gun can handle it. Also, verify that the tip size suits your project’s needs—too large or small can affect spray pattern quality. Consider the following:
- Match the tip size to your paint viscosity
- Confirm the spray pressure range of your gun
- Ensure the tip fits your spray gun model
- Check if the spray pattern aligns with your project
- Test the setup with a small spray to observe the spray pattern
These steps help optimize performance and prevent issues like uneven coverage or paint waste.
Tips for Maintaining and Changing Your Spray Tips

Keeping your spray tips clean guarantees they work effectively and last longer. When tips become worn or damaged, replacing them promptly prevents uneven spraying and imperfections. Regular maintenance keeps your projects smooth and saves you time and money.
Cleaning Spray Tips Properly
Properly cleaning your spray tips is essential to maintain their performance and extend their lifespan. Regular proper cleaning prevents clogs and ensures consistent spray patterns. To do this effectively, disassemble the tip and soak it in solvent or cleaner suited for your paint type. Use a soft brush or needle to remove any dried paint or debris. Always rinse thoroughly and dry completely before reassembling. Proper cleaning also helps you troubleshoot spray tips when issues arise, such as uneven spray or drips. Keep these tips in mind:
- Use appropriate cleaning solutions for your paint
- Avoid using harsh metal tools that can damage tips
- Check for clogs during cleaning
- Store tips in a clean, dry place
- Regularly inspect and replace worn parts
Consistent maintenance guarantees ideal spray performance every time.
Replacing Worn-Out Tips
Worn-out spray tips can considerably affect your painting quality, causing uneven coverage, drips, or overspray. Regularly inspecting your tips helps identify wear, such as clogging or deformation. When replacing a tip, make sure the paint is cleaned and stored properly to prevent damage. Always follow safety precautions like wearing gloves and eye protection. Before changing the tip, turn off the sprayer and depressurize the system. Handle new tips carefully, avoiding contact with the spray end to prevent dirt or damage. Proper paint storage keeps tips in good condition, extending their lifespan. Use the table below to guide you through the replacement process:
| Step | Action |
|---|---|
| Turn off sprayer | Disconnect power and depressurize. |
| Remove worn tip | Unscrew and clean the area. |
| Install new tip | Securely tighten, then test spray. |
Frequently Asked Questions
How Do I Prevent Overspray With Different Tips?
To prevent overspray, you should focus on spray pattern control by adjusting your sprayer’s settings and using the correct tip size. Keep your distance consistent and practice steady, even strokes. Additionally, employ proper tip cleaning techniques after each use to avoid clogging or uneven spray, which can cause overspray. With these steps, you’ll achieve smoother coats and minimize waste, ensuring a more professional finish.
Can I Use One Tip for Multiple Projects?
You might think one tip works for all projects, but it’s not always true. Tip compatibility varies based on paint type and surface, so using the same tip can lead to uneven coverage or clogs. Always check if your tip is compatible with different paints and surfaces. Proper cleaning and maintenance are essential to keep it in good shape, ensuring it’s ready for multiple projects without compromising quality.
What Safety Precautions Should I Take When Changing Tips?
When changing sprayer tips, you should wear personal protective equipment like gloves and goggles to prevent injuries from paint or debris. Always turn off and unplug your sprayer before changing tips. Handle tips carefully to avoid splashes, and clean or dispose of old tips properly. Follow manufacturer instructions for proper disposal to stay safe and environmentally responsible. Taking these precautions guarantees your safety during the process.
How Do Environmental Conditions Affect Spray Tip Performance?
Environmental conditions profoundly influence spray tip performance. High humidity can cause the paint to thicken, leading to uneven spray and clogging, while low humidity helps achieve a smoother finish. Temperature effects also matter; excessive heat can cause paint to dry too quickly, affecting atomization, and cold temperatures can slow drying, resulting in runs or drips. Always check weather conditions before spraying to guarantee the best results and adjust your technique accordingly.
Are There Eco-Friendly or Low-Voc Tips Available?
Imagine a brushstroke of fresh, clean air—eco-friendly coatings and low VOC options make that possible. Yes, eco-friendly tips are available, designed to reduce harmful emissions while delivering smooth, professional finishes. These tips work with low VOC paints, helping you protect the environment without sacrificing quality. By choosing eco-conscious sprayer tips, you support healthier indoor air quality and a greener planet, all while achieving stunning results on your project.
Conclusion
Choosing the right paint sprayer tip can make all the difference in your project’s success. Did you know that using the correct tip can improve paint efficiency by up to 30%? By understanding your surface, paint type, and spray pattern, you’ll achieve professional results with less waste. Remember to regularly maintain your tips for peak performance. With the right choice, you’ll complete your project faster and with a flawless finish every time.

Franz came aboard the Paint Sprayer Zone team with a background in both journalism and home renovation. His articulate writing style, combined with a passion for DIY projects, makes him an invaluable asset. Franz has a knack for breaking down technical jargon into easy-to-understand content, ensuring that even the most novice of readers can grasp the complexities of paint sprayers.