Yes, you can use chalk paint or milk paint in a paint sprayer if you prepare and adjust the paints properly. Thin the paints with water or additives to achieve the right consistency, and make sure to select the suitable sprayer and nozzle size. Proper preparation, like stirring thoroughly and testing on scrap, helps ensure smooth, even coverage. Keep exploring for detailed tips on how to get professional results with these natural paints.
Key Takeaways
- Chalk paint can be used in sprayers if properly thinned for smooth application and avoiding clogging.
- Milk paint is suitable for spraying if it is diluted to the correct consistency and thoroughly mixed.
- Use sprayers with adjustable settings, such as HVLP, to achieve even coverage with chalk or milk paint.
- Proper preparation, including thinning and filtering, is essential to prevent nozzle clogging and ensure smooth spraying.
- Regular cleaning and maintenance of equipment help maintain spray quality when using these paints.
Understanding the Composition of Chalk and Milk Paints
Understanding what makes chalk and milk paints unique begins with their compositions. Chalk paint has a thick, creamy consistency that spreads easily, often requiring less prep work. Its paint consistency allows for smooth, matte finishes with minimal effort. Milk paint, on the other hand, contains natural ingredients like milk protein, lime, and pigment, giving it a slightly grainy texture. This affects the paint’s consistency, making it more fluid and sometimes requiring a primer for better adhesion. Drying time varies between the two: chalk paint typically dries quickly, often within 30 minutes to an hour, while milk paint can take longer to cure fully. Eco-friendly materials are also a consideration, as milk paint is often made from natural, sustainable ingredients that are safe for children and the environment. Additionally, understanding paint application techniques can help you achieve the desired finish when using these paints in a sprayer. For example, the texture of milk paint may require different spraying techniques compared to the smoothness of chalk paint to ensure an even coat. It is also important to consider the compatibility of these paints with different sprayer types to achieve optimal results.
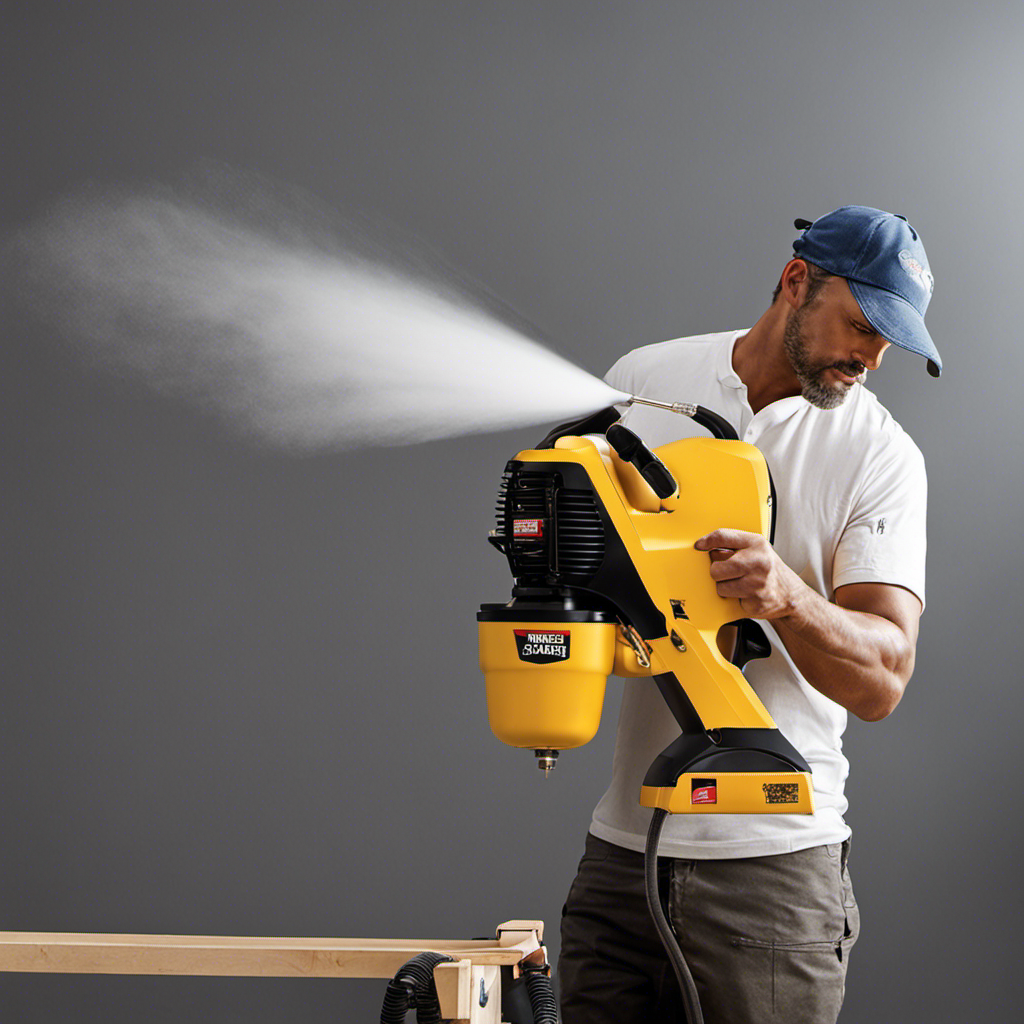
Types of Paint Sprayers Suitable for DIY Projects
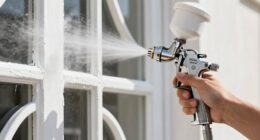
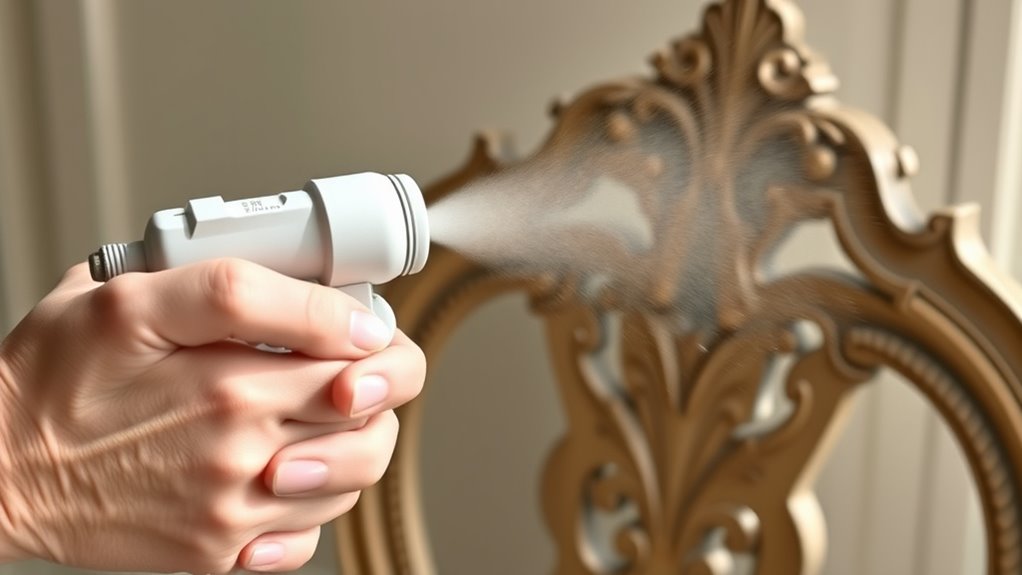
When selecting a paint sprayer for your DIY project, it’s important to take into account the type of paint you’ll be using and the scale of your project. For chalk and milk paints, consider sprayers with adjustable spray patterns to achieve even coverage on different surfaces. HVLP (High Volume Low Pressure) sprayers are ideal because they provide fine, controlled spray and reduce overspray. Look for sprayers with multiple brush types or nozzles, which allow you to customize flow and spray width for detailed or larger areas. Airless sprayers work well for bigger projects, offering fast coverage, but may require thinning the paint first. Choosing the right spray pattern and brush types guarantees a smooth finish and prevents clogs, making your DIY project easier and more professional-looking. Additionally, selecting a suitable nozzle size can help prevent clogging and ensure consistent application of thick paints like chalk and milk paint, especially since paint viscosity can vary depending on the formulation. Proper maintenance and cleaning of your sprayer after use also plays a crucial role in maintaining its performance and longevity. Regularly inspecting and cleaning your spray equipment will help avoid issues caused by clogged nozzles and ensure optimal results over time.
Preparing Chalk and Milk Paints for Spraying
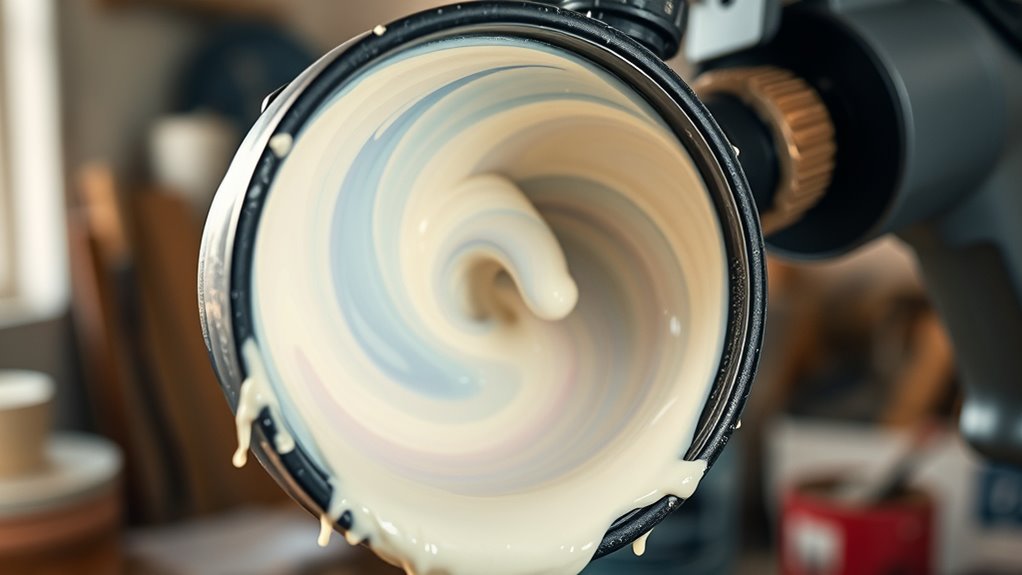
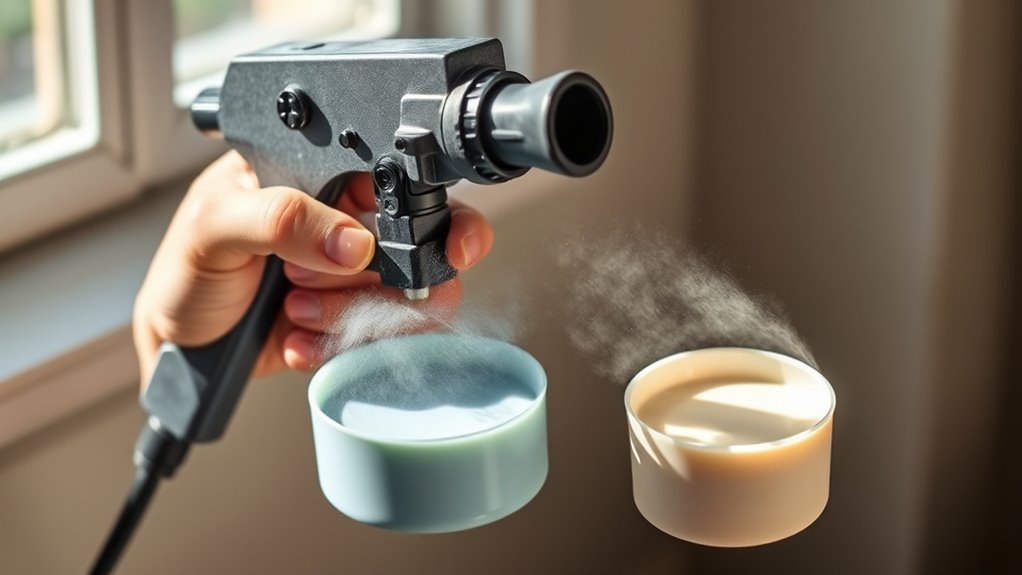
To guarantee your chalk and milk paints spray smoothly and evenly, you need to prepare them properly before starting. First, check the paint’s thickness; if it’s too thick, thin it with water or a suitable additive until it flows easily through your sprayer. You may need to adjust your brush techniques to ensure consistent mixing and prevent clumps. Stir the paint thoroughly, avoiding vigorous shaking that can introduce bubbles. Properly thinned paint minimizes clogging and uneven spray patterns. If you notice uneven consistency or brush marks, add small amounts of water gradually, testing spray performance after each adjustment. Keeping the paint at an ideal thickness and using gentle, consistent brush techniques during mixing will help you achieve a flawless finish. Additionally, monitoring the paint’s filtration level ensures it remains free of debris that could clog your sprayer. Paying attention to the paint’s viscosity can also improve spray results by maintaining a uniform flow. Regularly checking the paint’s consistency during preparation helps prevent issues during application and ensures a high-quality finish. Incorporating proper thinning techniques based on your paint type can further optimize spray performance. Moreover, understanding the compatibility with sprayers of your chosen paint prevents potential damage to your equipment and ensures optimal results.
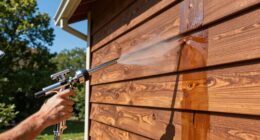
Techniques for Achieving Smooth Results With a Paint Sprayer
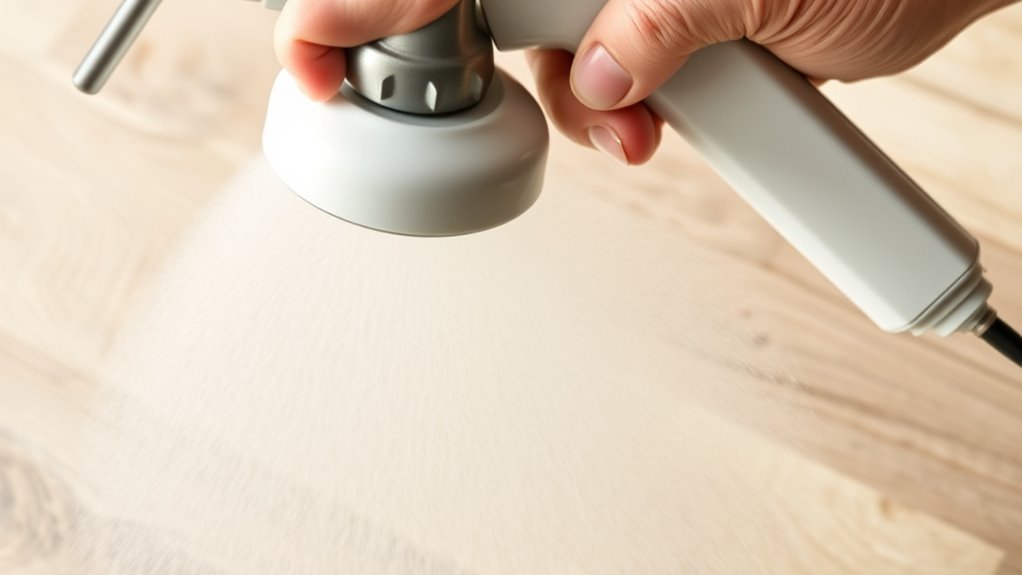
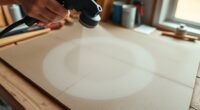
Achieving smooth, even coverage with a paint sprayer requires specific techniques to control the spray pattern and consistency. Start by practicing proper brush techniques to refine your hand movement and maintain a steady distance from the surface. Adjust your spray settings—such as pressure and nozzle size—to ensure a uniform spray pattern. Keep your movements consistent, overlapping each pass slightly to prevent streaks or uneven patches. Pause regularly to check your work and make spray adjustments as needed, especially when switching between surfaces or paint types. Maintaining a consistent speed and distance helps avoid drips and runs. Proper filtration and pump protection are essential for maintaining consistent paint flow and preventing clogs that can ruin a finish. Using the right spray tips and accessories also plays a crucial role in achieving a professional, smooth finish every time. Additionally, understanding the noise levels of your equipment can help you work more comfortably and avoid disturbing others nearby. With controlled brush techniques and precise spray adjustments, you’ll achieve a professional, smooth finish every time.
Common Challenges and How to Overcome Them
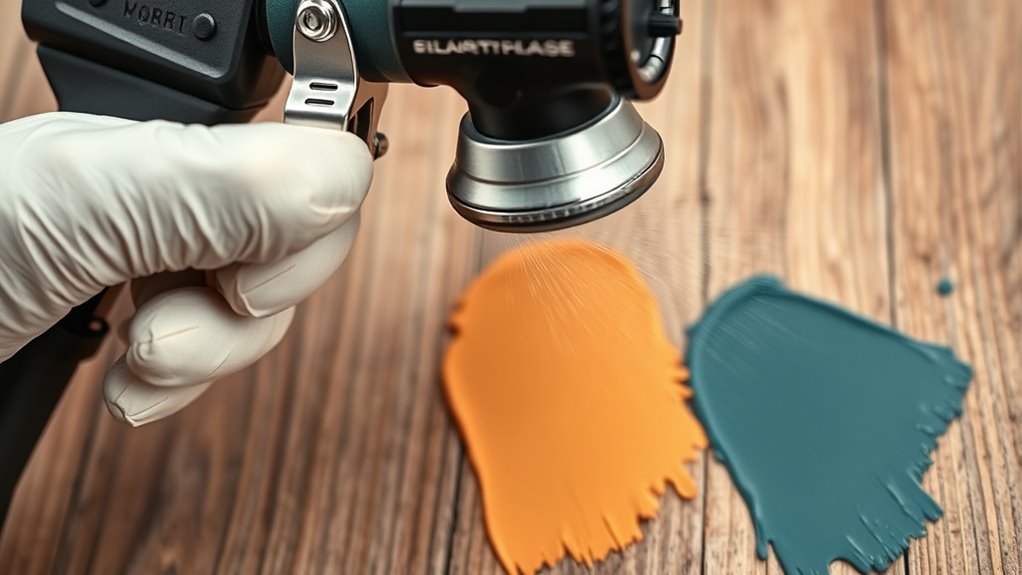
Common challenges with using a paint sprayer often stem from inconsistent application, which can lead to drips, streaks, or uneven coverage. One common issue is poor color adhesion, especially if the paint isn’t properly thinned or mixed. To improve adhesion, ensure the paint’s consistency matches the sprayer’s requirements. Another frequent problem is spray nozzle clogging, which causes uneven spray patterns and wasted material. To prevent this, regularly filter your paint and clean the nozzle during breaks. Adjusting your spray technique, such as maintaining a steady distance and consistent speed, also helps achieve even coverage. Proper preparation of the surface and understanding the properties of the paint, such as paint formulation, can further enhance application results. Additionally, being aware of the paint’s viscosity and how it interacts with different sprayer types can make a significant difference. Using the correct nozzle size for your paint can help reduce clogs and improve spray quality. Selecting the appropriate paint consistency for your sprayer is essential for smooth operation and a professional-looking finish. Being familiar with sprayer settings and adjusting them accordingly can also minimize issues and improve overall results. Addressing these challenges early guarantees a smoother application process and a professional-looking finish.
Tips for Cleaning and Maintaining Your Sprayer After Use
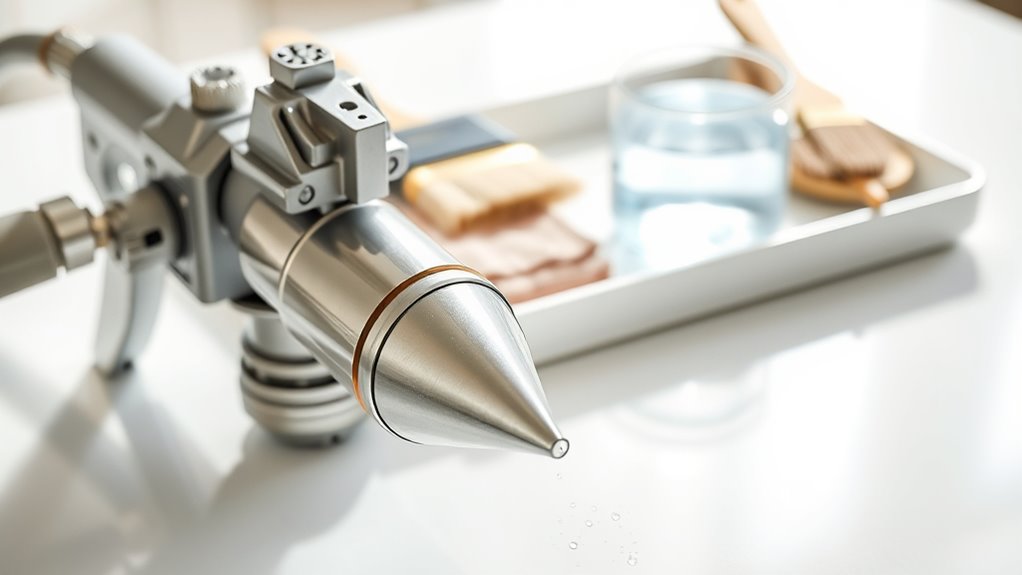
Proper cleaning and maintenance are essential to keep your paint sprayer functioning at its best and to extend its lifespan. After each use, thoroughly flush the sprayer with water or appropriate solvent, especially when using chalk or milk paint. Regularly check and perform brush maintenance to prevent clogs and ensure smooth spray patterns. Also, calibrate your sprayer periodically to maintain consistent coverage. Store your sprayer in a dry, protected place to prevent corrosion. Understanding the comparative advantage of proper maintenance can help you make more informed decisions about your equipment care. Additionally, being aware of the emotional support that comes with caring for your tools can make the maintenance process more rewarding and less stressful. Recognizing patterns in your maintenance routine can lead to better tool longevity and overall performance.
Frequently Asked Questions
Can Chalk or Milk Paint Clog My Spray Gun?
You might worry about chalk or milk paint clogging your spray gun, and that’s valid. These paints can be thicker and may cause paint sprayer clogging if not thinned properly. To prevent issues, you should always do regular spray gun maintenance, including cleaning the nozzle and filters thoroughly after each use. Proper preparation guarantees smooth spraying and avoids frustrating clogging problems, making your painting project much easier.
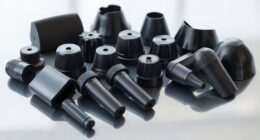
Are There Specific Nozzle Sizes Recommended for These Paints?
When using a paint sprayer, you should consider nozzle compatibility for chalk and milk paints to achieve ideal spray consistency. Generally, a larger nozzle size, such as 517 or 519, works best because these paints tend to be thicker. Using the correct nozzle size ensures smooth application, prevents clogging, and delivers a professional finish. Always check your paint sprayer’s recommendations and test on a small surface to fine-tune your setup.
How Long Does Chalk or Milk Paint Take to Dry After Spraying?
Drying time for chalk or milk paint after spraying varies based on environmental factors like humidity, temperature, and airflow. Typically, you can expect it to dry within 1 to 2 hours to touch, but full curing might take 24 to 48 hours. High humidity slows down drying, while good ventilation accelerates it. Always check your specific paint’s instructions for best results and ideal drying conditions.
Can I Mix Chalk or Milk Paint With Other Finishes in the Sprayer?
Imagine you’re trying to create a unique finish by mixing chalk paint with a clear sealant in your sprayer. Compatibility concerns arise because chalk and milk paints often have different formulations, which can cause clumping or uneven coverage. To avoid this, use proper mixing techniques like thinning and testing small batches first. Always check manufacturer guidelines to verify your paints are compatible, preventing costly mistakes and achieving a smooth, professional finish.
Is It Necessary to Dilute Chalk or Milk Paint Before Spraying?
You need to dilute chalk or milk paint before spraying to guarantee proper paint consistency and spray preparation. Thick or chunky paint can clog your sprayer or cause uneven coverage. Add water gradually, mixing thoroughly until the paint reaches a smooth, fluid consistency similar to milk or thin pancake batter. This step prevents clogs, improves flow, and results in a professional finish, making your spraying process smoother and more effective.
Conclusion
So, yes, you can absolutely spray chalk or milk paint—if you don’t mind a bit of extra prep and occasional clogging. After all, who doesn’t love a good DIY challenge? Just remember, the real art isn’t in the spray, but in overcoming the quirks along the way. So grab your sprayer, embrace the mess, and enjoy the oddly satisfying journey of transforming your furniture—one surprisingly stubborn coat at a time.

Franz came aboard the Paint Sprayer Zone team with a background in both journalism and home renovation. His articulate writing style, combined with a passion for DIY projects, makes him an invaluable asset. Franz has a knack for breaking down technical jargon into easy-to-understand content, ensuring that even the most novice of readers can grasp the complexities of paint sprayers.