
To achieve a professional finish with advanced paint spraying, select the right equipment like HVLP or airless sprayers and guarantee proper surface prep by cleaning, repairing, and sanding. Master your spray technique by maintaining steady motion, consistent distance, and thin coats, while managing overspray with masking and proper equipment settings. Regularly clean and maintain your tools to prevent issues. If you explore further, you’ll discover techniques that elevate your spraying skills to true mastery.
Key Takeaways
- Select and maintain appropriate spray equipment, ensuring proper cleaning, adjustments, and testing for optimal performance.
- Prepare surfaces thoroughly by cleaning, repairing imperfections, and controlling environmental factors for superior adhesion.
- Master consistent spray techniques, including proper distance, overlap, and thin layers, to achieve a smooth, high-quality finish.
- Use proper application timing, inspect spray patterns, and apply multiple light coats to ensure even coverage and durability.
- Incorporate accurate masking, controlled movements, and equipment maintenance to minimize overspray and enhance overall precision.
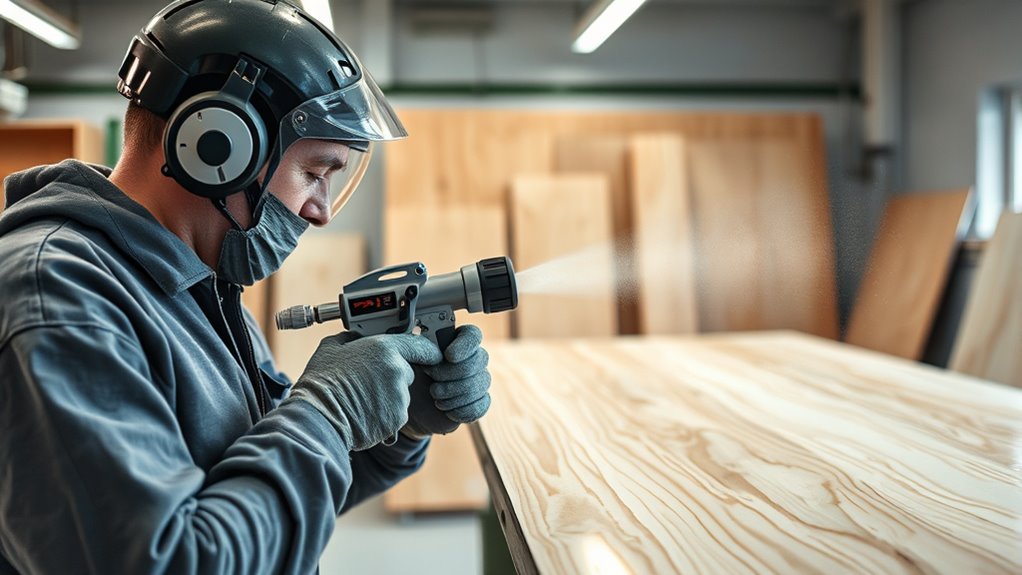
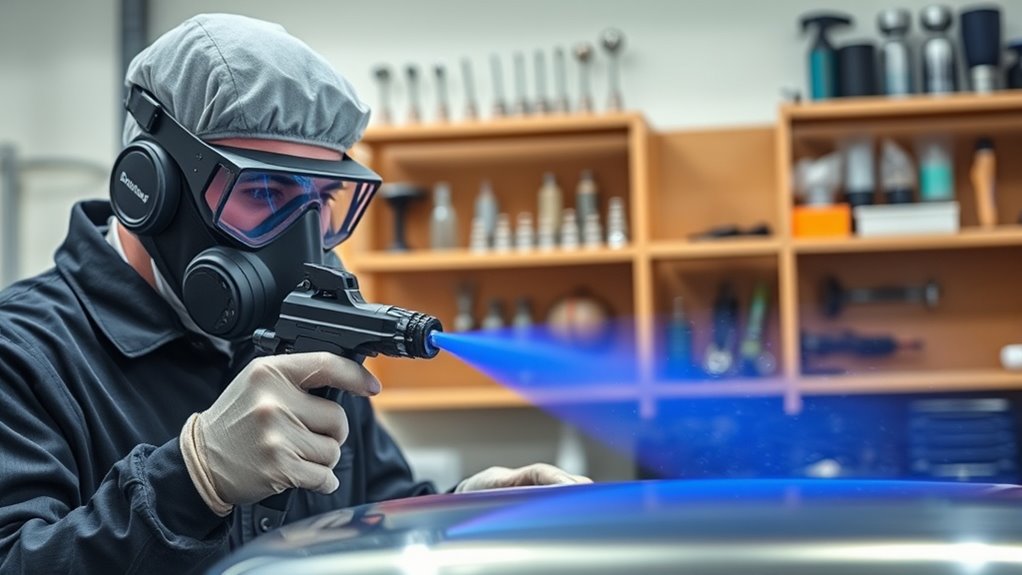
Selecting and Preparing the Right Spray Equipment
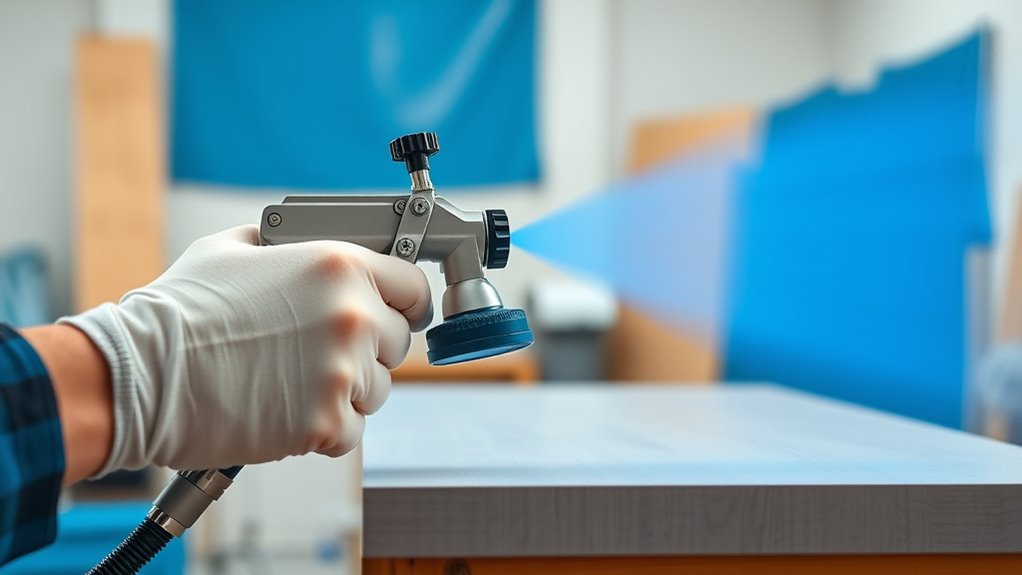
Choosing the right spray equipment is essential for achieving a smooth, professional finish. Your choice of spray gun types directly impacts application quality, so understanding the differences is key. For example, HVLP guns are ideal for fine detail work and thin paints, while airless sprayers handle thicker paints and larger surfaces efficiently. You also need to factor in paint viscosity; thicker paints require more powerful equipment or proper thinning to guarantee smooth spraying without clogs or uneven coverage. Before starting, always check the manufacturer’s recommendations for paint viscosity and equipment compatibility. Proper preparation includes cleaning and adjusting your spray gun to match the material you’re using. Selecting suitable spray gun types and managing paint viscosity set the foundation for flawless, professional results. Additionally, understanding the importance of color accuracy can help ensure your finished project looks vibrant and true to the desired color scheme. Being aware of equipment maintenance also ensures consistent performance and prolongs the lifespan of your tools. For optimal results, consider techniques for proper spraying that can improve coverage and reduce overspray, leading to a more refined finish. Incorporating testing on scrap material can help fine-tune your settings before applying paint to the final surface.
Surface Preparation for Optimal Paint Adhesion
Before you start spraying, make sure the surface is clean and free of dust, grease, or oil. Remove any surface contaminants to guarantee the paint sticks properly. Also, repair any dents, scratches, or imperfections to create a smooth, even base for your paint. Paying attention to surface preparation techniques can also help fund your painting projects by reducing expenses elsewhere. Incorporating automation in industry can streamline your prep process, ensuring consistent quality and saving time. Understanding pinball machine weights can be useful when moving or installing large equipment, preventing damage or injury. Additionally, understanding the importance of surface smoothness can lead to a more professional-looking finish and reduce the need for additional coats.
Clean Surface Thoroughly
To guarantee your paint bonds properly, you must start by thoroughly cleaning the surface. Removing dirt, grease, and dust ensures best adhesion and prevents issues like peeling. Check for surface moisture, as excess humidity can compromise paint compatibility. If the surface is damp, dry it completely before painting. Here’s what to focus on:
- Remove loose debris and dust with a vacuum or brush.
- Wipe surfaces with a damp cloth to eliminate grease and grime.
- Allow the surface to dry completely, especially if moisture is present.
- Use a tack cloth to pick up any remaining particles. Proper surface preparation is essential for achieving a professional finish, especially when working with automotive paints like Honda tuning components. Additionally, verifying that the surface is free of contaminants helps ensure optimal paint adhesion, leading to a smoother and more durable coating. Proper surface preparation also involves understanding the environmental conditions, such as temperature and humidity, which can affect how well the paint cures and adheres. Incorporating climate control practices during preparation can further improve results and prevent issues related to humidity levels.
Remove Surface Contaminants
After thoroughly cleaning the surface, the next step is to remove any remaining surface contaminants that could hinder paint adhesion. Use chemical cleaners suited for your material, following manufacturer instructions carefully. Always wear protective gear—gloves, goggles, and masks—to safeguard against harmful fumes or splashes. Proper removal guarantees a clean, contaminant-free surface, promoting better paint bonding. Additionally, understanding the importance of asset diversification can be crucial when preparing surfaces for long-term finishes in professional painting projects. Paying attention to surface safety standards ensures the use of appropriate cleaning agents and techniques that minimize risks and enhance durability, especially when considering environmental factors like water exposure that can affect the finish’s longevity. Recognizing the significance of surface compatibility helps in selecting the right cleaning methods to prevent damage or corrosion.
Repair Surface Imperfections
Repairing surface imperfections is a vital step to guarantee your paint adheres smoothly and lasts longer. First, identify dents, scratches, or holes, then sand the area to create a smooth surface. Next, fill imperfections with the appropriate filler, ensuring it’s level with the surrounding surface. When color matching, mix paint carefully for seamless repair, avoiding noticeable differences. Here are key steps:
- Sand imperfections to smooth out rough edges.
- Use suitable filler and allow it to dry completely.
- Sand the filler for a seamless blend.
- Mix paint accurately for color matching before applying to ensure uniformity.
- Remember that fatherhood emphasizes care and attention to detail, which applies equally to surface preparation and finishing touches. Proper surface repair ensures optimal paint adhesion, and careful paint mixing guarantees your repairs blend seamlessly with the existing surface, giving your project a professional finish. Additionally, understanding the importance of surface preparation can drastically improve the durability of your paint job and overall results.
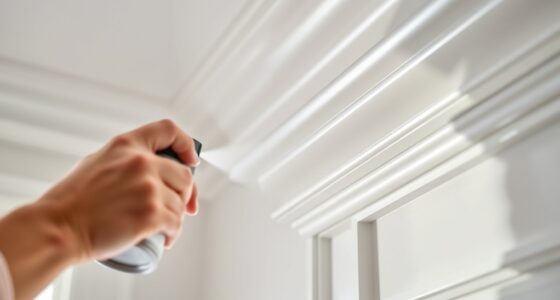
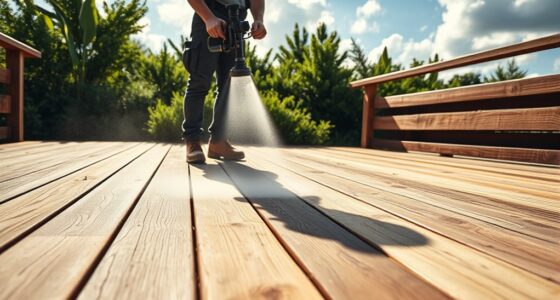
Mastering Spray Techniques for Even Coats
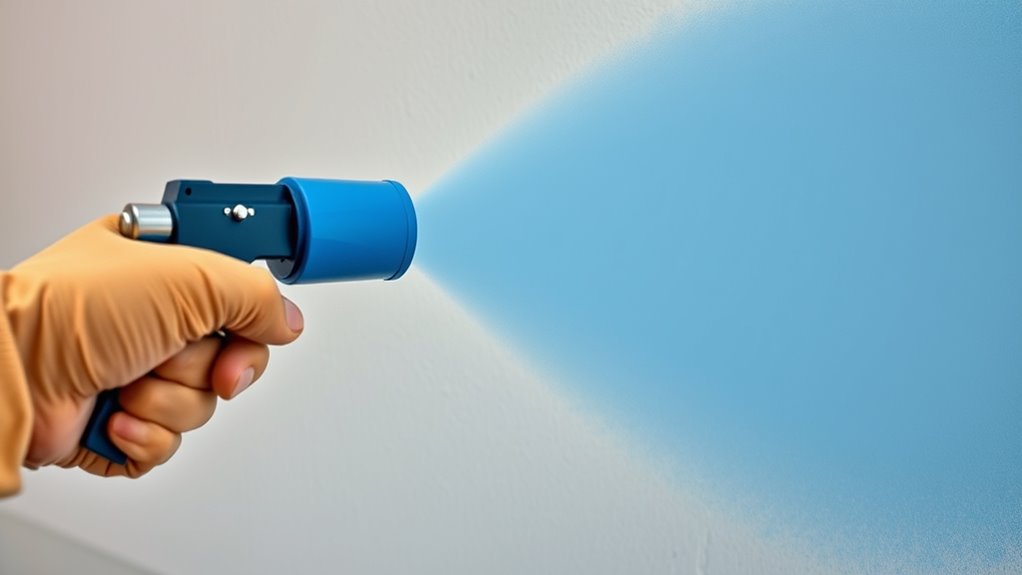
Achieving even coats when spray painting requires precise control and technique. You’ll want to start with a proper spray booth setup to control airflow and minimize dust. Maintaining consistent distance from the surface, typically 6-12 inches, helps ensure uniform coverage. Keep your spray gun at a steady speed, overlapping each pass by about 50% to prevent streaks. Focus on color matching by applying thin, even layers rather than heavy coats; this prevents runs and uneven textures. Practice your motion to develop a smooth, continuous spray pattern. Remember, patience is key—multiple light coats are better than one thick layer. Proper application timing can further enhance the final appearance by ensuring each layer adheres well and dries evenly. Additionally, understanding precise spray techniques allows for better control and superior results. Developing a good technique also involves adjusting spray pressure and nozzle settings to suit different surfaces and paints. Regularly inspecting and maintaining your equipment, such as filtering and pump protection, ensures consistent performance throughout your project. Incorporating powerful persuasive words into your instructions can motivate you to refine your skills further and achieve a professional finish.
Managing Overspray and Ensuring Precision
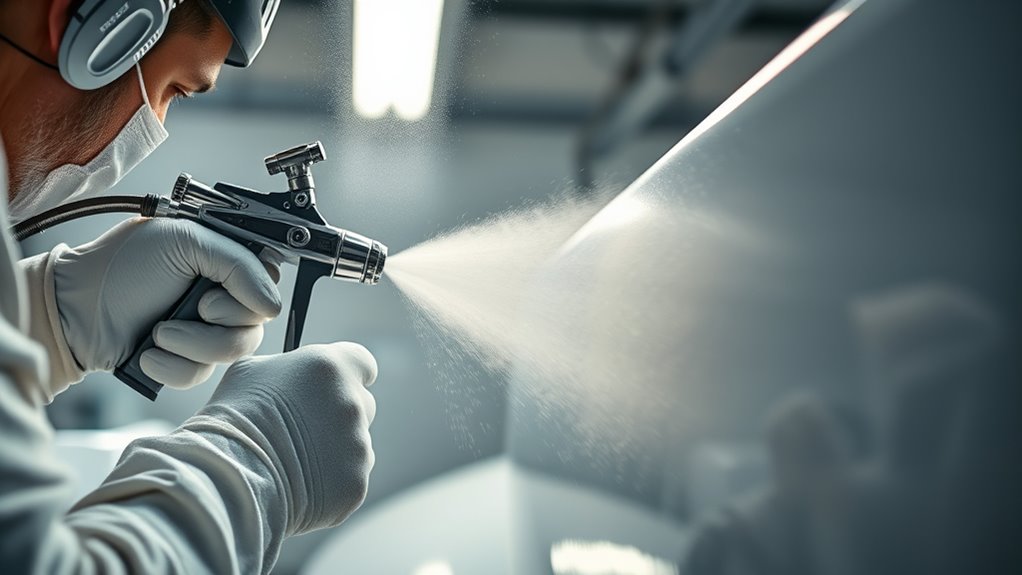
How can you prevent overspray from ruining your finish? Start by mastering precise brush techniques for touch-ups and details, reducing the need for excess spray. Next, carefully mix your paint to the right consistency; overly thick paint can lead to more overspray. Use masking tape and drop cloths to protect surrounding areas. Maintain a consistent distance and angle when spraying to improve accuracy. Adjust your spray gun settings for suitable atomization, minimizing mist. Keep your workspace clean and well-ventilated to control airflow that can cause overspray. Practice controlling your movements smoothly and steadily. Finally, always test your spray pattern on scrap material before starting, ensuring your paint mixing and technique deliver the precision you need.
Techniques for Achieving a Smooth, High-Quality Finish
Once you’ve minimized overspray and mastered precise spraying techniques, focusing on your application process becomes essential for a flawless finish. Use smooth, steady brush techniques to blend edges and prevent streaks. When applying multiple coats, pay attention to color blending by feathering the edges to create seamless transitions. Maintain consistent movement and speed to avoid uneven layers. Keep your spray gun at a steady distance to make certain an even coat and reduce texture irregularities. Properly preparing your surface and using thin, even coats will help you achieve a smooth, high-quality finish. Patience is key—allow each layer to dry thoroughly before applying the next. With careful technique and attention to detail, you’ll produce a professional, flawless surface every time.
Maintenance and Troubleshooting of Spray Equipment
Proper maintenance starts with regular cleaning of your spray equipment to prevent clogs and guarantee consistent results. When issues arise, quick troubleshooting can save time and keep projects on track. We’ll cover essential cleaning procedures and common tips to troubleshoot problems effectively.
Equipment Cleaning Procedures
Have you ever experienced spray equipment clogging or inconsistent paint application? Proper cleaning is essential to prevent issues like uneven brush strokes or color mixing errors. To keep your equipment in top shape, follow these steps:
- Flush the system with solvent or water immediately after use to remove residual paint.
- Disassemble the spray gun and clean all parts thoroughly, paying attention to nozzles and filters.
- Use a brush to scrub any stubborn paint buildup, ensuring smooth flow.
- Check and clean the paint cup and hoses regularly to avoid clogs and color mixing problems.
Consistent cleaning prevents buildup that causes uneven spray patterns and maintains a professional finish. Regular maintenance guarantees your spray equipment performs *ideal* and prolongs its lifespan.
Common Troubleshooting Tips
Are you unsure why your spray equipment isn’t performing as expected? Common issues often relate to inconsistent spray patterns or uneven paint color application. First, check the nozzle for clogs or dried paint, which can distort spray patterns and affect color consistency. Ensure the paint is properly thinned; thick paint can cause sputtering and uneven coverage. Adjust the spray pressure and distance from the surface to achieve smooth, even spray patterns. If the paint color appears inconsistent, inspect the fluid tip for wear or damage. Regularly clean and maintain your equipment to prevent buildup that affects performance. Troubleshooting these issues promptly helps maintain professional-quality results and prevents further damage to your spray tools.
Frequently Asked Questions
How Can I Adjust Spray Pressure for Different Paint Types?
When adjusting spray pressure, you need to consider the paint viscosity. Thicker paint requires higher spray pressure to atomize properly, while thinner paint needs lower pressure to prevent drips. Start by setting your sprayer to a medium pressure, then test on a scrap surface. Increase pressure for high-viscosity paints and decrease for low-viscosity ones. Always observe the spray pattern and make small adjustments for the best finish.
What Environmental Conditions Affect Spray Painting Results?
Environmental conditions are the canvas on which your spray painting masterpiece is painted. Poor air quality can cause contaminants to settle on your work, leading to uneven results. Ambient temperature influences drying times and paint adhesion—too hot or cold, and your finish suffers. Keep an eye on these factors to make certain your spray job remains flawless, as if guided by an invisible hand steering toward perfection.
How Do I Prevent Paint Clogging in the Nozzle?
To prevent paint clogging in the nozzle, you should focus on proper nozzle maintenance and paint filtration. Regularly clean your nozzle to remove buildup, and always filter your paint before spraying to catch debris. Using a fine mesh filter helps prevent clogs, and cleaning tools after each use guarantees smooth operation. These steps keep your spray tip clear, resulting in a professional finish without interruptions.
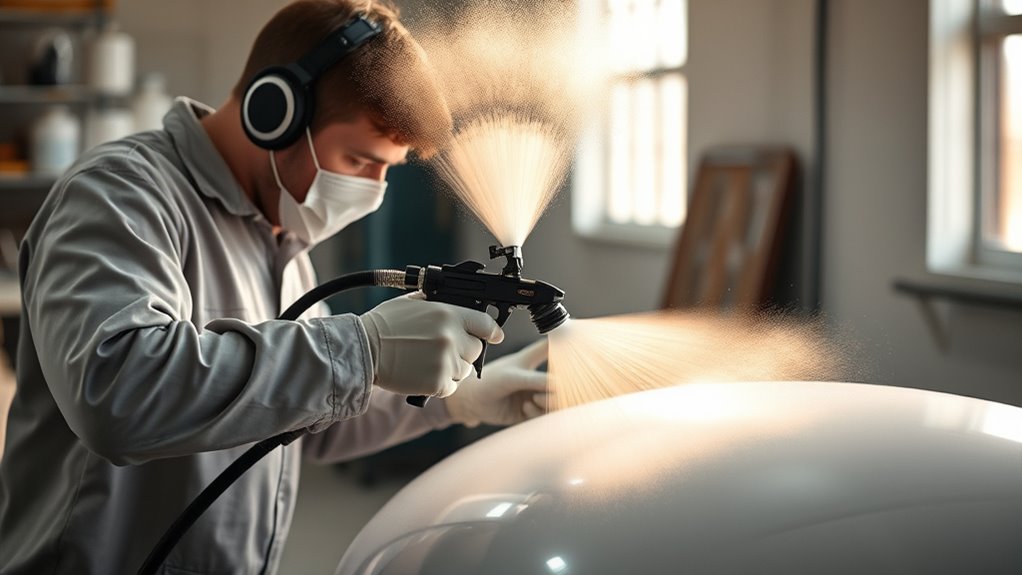
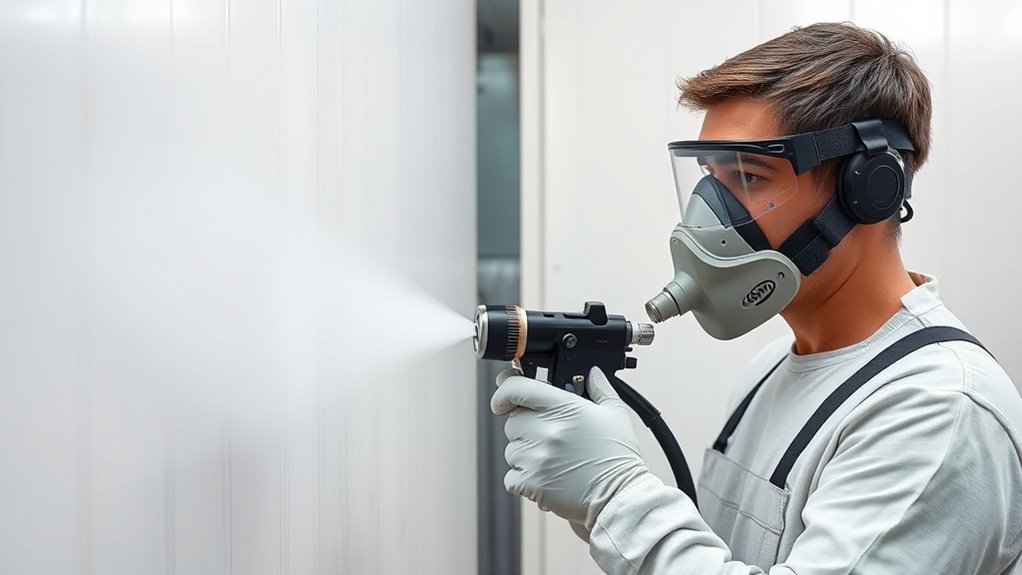
What Safety Precautions Are Essential During Advanced Spraying?
Did you know that improper safety measures can lead to health issues in over 30% of painters? When spraying, always wear proper personal protective equipment like masks, goggles, and gloves to shield yourself from harmful fumes and overspray. Guarantee adequate ventilation safety by working in well-ventilated areas or using exhaust systems. These precautions help protect your health and ensure a safe, professional spraying process.
How Long Should I Wait Between Coats for Best Results?
You should wait the recommended drying times between coats to guarantee the paint fully cures and adheres properly. Check the paint’s label for specific drying times, which can vary based on humidity and temperature. Make sure your paints are compatible; applying a second coat too soon can cause issues like peeling or uneven finish. Patience with drying times helps you achieve a smooth, professional-looking result.
Conclusion
With the right tools and techniques, your spray job transforms into a work of art, each stroke flowing smoothly like a gentle breeze across a calm lake. When you master surface prep, control overspray, and keep your equipment in top shape, you’ll achieve a flawless finish that gleams with professional perfection. Remember, patience and precision are your brushes—each careful step paints a picture of craftsmanship you can be proud of.

Franz came aboard the Paint Sprayer Zone team with a background in both journalism and home renovation. His articulate writing style, combined with a passion for DIY projects, makes him an invaluable asset. Franz has a knack for breaking down technical jargon into easy-to-understand content, ensuring that even the most novice of readers can grasp the complexities of paint sprayers.