
If your HVLP sprayer isn’t atomizing paint well, check the spray tip and nozzle for clogs or damage first. Make sure your paint has the right consistency and is properly thinned. Inspect the air supply, pressure settings, and connections for leaks or misalignment. Clean filters and internal parts regularly, and verify the spray pattern is properly adjusted. Continuing further will help you identify and fix more specific issues to improve spray performance.
Key Takeaways
- Check and clear the spray tip and nozzle for clogs or debris that can block proper atomization.
- Ensure the spray tip, air cap, and internal components are free from damage and correctly assembled.
- Verify the air pressure is set within the recommended range and the compressor supplies a consistent, clean airflow.
- Confirm the paint is properly thinned to the correct viscosity for smooth, even spray.
- Inspect hoses, seals, and filters for leaks or damage that may reduce airflow and impact atomization.
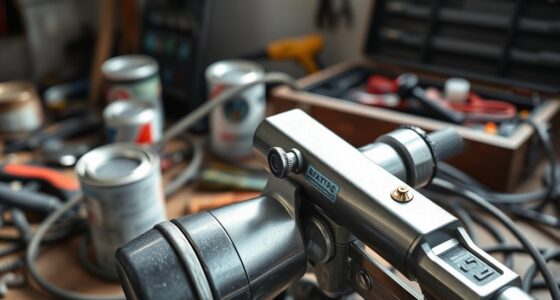
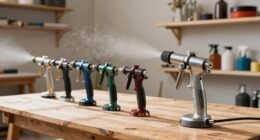
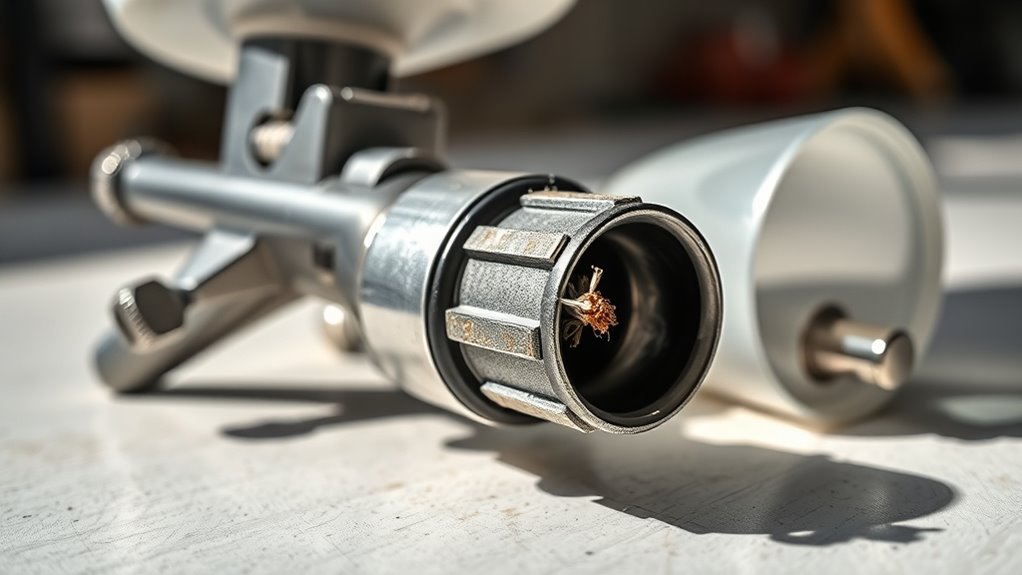
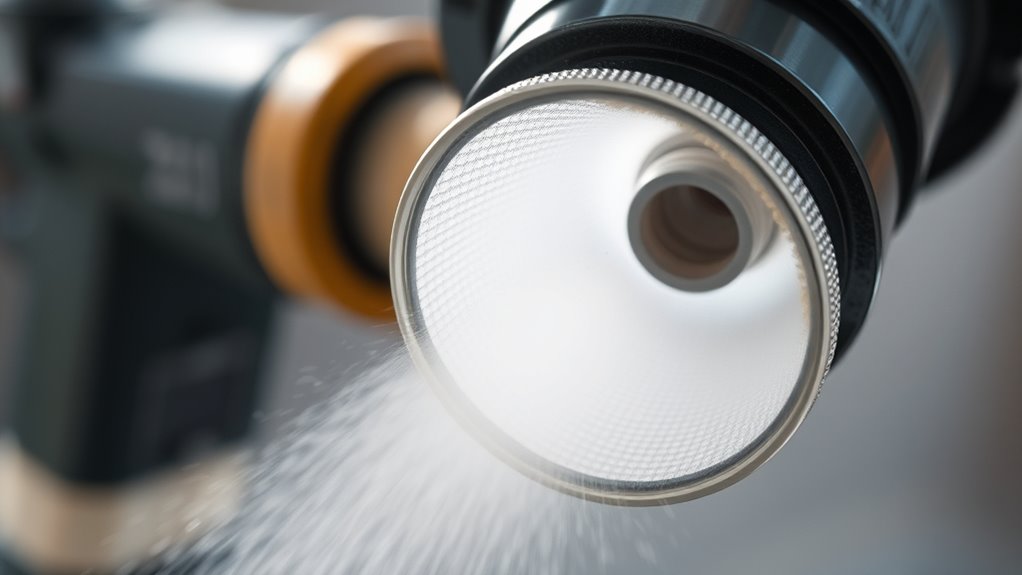
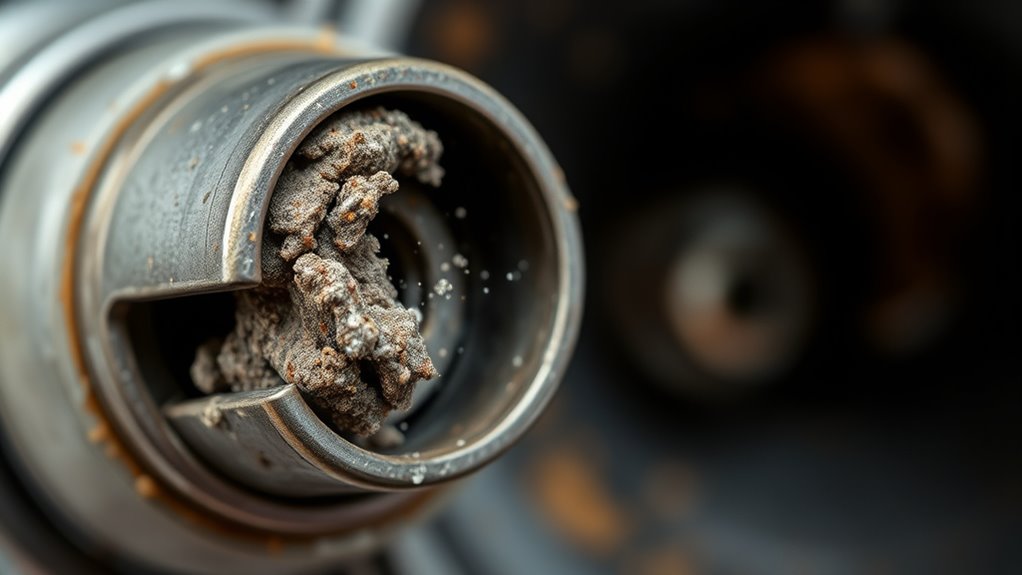
Check the Spray Tip and Nozzle for Clogs or Damage

Before using your HVLP sprayer, you should inspect the spray tip and nozzle for any clogs or damage. A clogged spray tip can restrict airflow, leading to poor atomization and uneven paint application. Remove the spray tip and examine it closely for any blockages or debris. If you notice a nozzle clog, gently clear it with a small brush or needle designed for this purpose. Check the spray tip for cracks, dents, or other signs of damage that could affect spray quality. Damaged or worn parts can cause inconsistent spraying or paint leaks. Ensuring the spray tip and nozzle are clean and intact helps maintain proper atomization and prevents paint from sputtering or failing to spray altogether. Regular inspection keeps your sprayer working smoothly. Additionally, inspecting the spray system regularly can help identify potential issues before they affect your work. Incorporating preventive maintenance into your routine can extend the lifespan of your equipment and ensure consistent performance. Performing these checks regularly can also help you identify signs of wear and tear, and inspecting the nozzle condition is crucial for optimal spray quality. Recognizing signs of component deterioration is essential for preventing spray malfunctions.
Inspect the Paint Consistency and Thinning Requirements
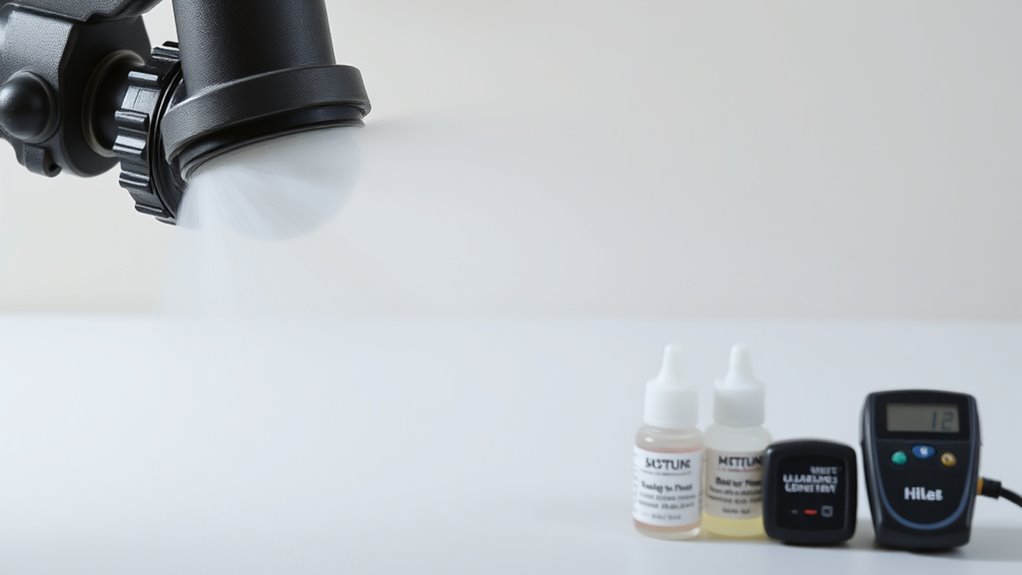
Ensuring the paint has the proper consistency is essential for achieving a smooth, even spray. Check the paint viscosity with a viscosity cup or follow the manufacturer’s guidelines. If the paint is too thick, it won’t atomize properly, leading to uneven coverage or clogging. Review the thinning requirements for your specific HVLP sprayer, as some paints need to be diluted more than others. Typically, thinning involves adding the right amount of thinner or water and mixing thoroughly. Always follow the recommended ratios—too little thinning can cause poor atomization, while too much may reduce adhesion. Adjust the paint’s viscosity until it flows smoothly and evenly through your sprayer, ensuring ideal atomization and a professional finish. Additionally, paint formulation can influence how well the paint atomizes, so choosing the right type for your project is important. Properly preparing the paint according to Honda Tuning standards can help optimize spray performance and achieve better results. Monitoring the paint consistency throughout your project can prevent issues related to improper atomization and ensure a high-quality finish.
Examine the Air Supply and Pressure Settings
Start by inspecting your air hose connections to make sure they’re secure and free of leaks. Then, check your pressure regulator and adjust it to the manufacturer’s recommended settings for proper atomization. Proper air supply and pressure are key to achieving a smooth, even spray. Additionally, ensure that your compressor’s air delivery quality meets the necessary standards for consistent performance. Regular maintenance of your compressor, including filter cleaning, can also improve air flow consistency and help prevent uneven paint application. Monitoring your pressure levels regularly ensures optimal spray performance and prevents issues with paint atomization. Incorporating proper maintenance routines can further enhance your sprayer’s efficiency and longevity. Moreover, staying aware of recent AI security developments can help you safeguard your equipment and data from emerging vulnerabilities.
Check Air Hose Connections
If your HVLP sprayer isn’t atomizing paint properly, the first step is to check the air hose connections to guarantee everything is secure and functioning correctly. Start by inspecting the air hose for any loose fittings, cracks, or damage. Connection issues often cause air leaks, reducing pressure and affecting spray quality. Ensure the hose is tightly connected to both the sprayer and the compressor or air source. Sometimes, a simple disconnect and reconnect can fix a loose connection. Also, verify that clamps or fittings are secure and not worn out. If you notice any damage to the air hose, replace it immediately. Properly secured and undamaged air hose connections are essential for consistent airflow and ideal atomization. Additionally, understanding air pressure settings and adjusting them correctly can significantly improve spray performance. Confirm that your air supply pressure matches the manufacturer’s recommendations to optimize atomization and paint flow. Proper airflow regulation is crucial for achieving a smooth and even paint finish, ensuring optimal paint atomization throughout the process.
Adjust Pressure Regulator
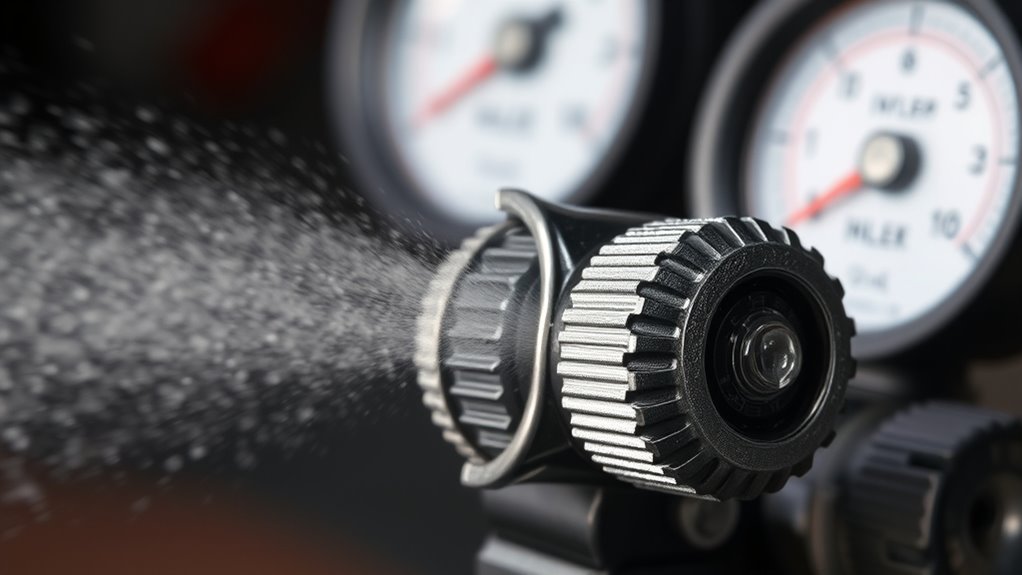
Adjusting the pressure regulator is essential for ideal paint atomization. You need to verify your pressure gauge shows the correct pressure for your HVLP sprayer. Start by checking the regulator adjustment—if pressure is too low, paint won’t atomize properly; if too high, overspray occurs. Use the gauge to set the pressure within the recommended range, usually between 10-15 PSI. Here’s a quick reference:
| Pressure Setting | Result |
|---|---|
| Too low | Poor atomization, drips |
| Correct range | Smooth, even spray |
| Too high | Overspray, paint run |
Adjust the regulator carefully, then test spray to confirm proper atomization. Proper pressure regulation ensures even coverage and a smooth finish. Regularly monitoring your air supply for leaks or blockages can prevent inconsistent spray patterns. Additionally, ensuring your air compressor operates correctly can help maintain consistent pressure and improve atomization.
Clean and Maintain the Sprayer Regularly
Regularly cleaning and maintaining your HVLP sprayer is essential to guarantee it continues to atomize paint effectively. Follow consistent cleaning routines after each use to prevent paint buildup that can clog nozzles and filters. Use appropriate cleaning solutions for the type of paint you’re spraying, and avoid rushing the process. Proper storage tips also help prolong your sprayer’s lifespan; store it in a dry, dust-free area, and ensure all parts are thoroughly dry before putting it away. Regular maintenance includes inspecting hoses and seals for wear and tear. Additionally, understanding maintenance and troubleshooting practices can help identify issues early and keep your sprayer functioning smoothly. Being aware of paint viscosity and adjusting your equipment accordingly can also significantly improve atomization. By staying diligent with cleaning routines and proper storage, you reduce the chances of blockages and malfunctions, ensuring your sprayer performs at its best every time you use it.
Verify Proper Assembly and Connections
Make sure all connections are tight and secure to prevent air leaks. Double-check that the spray gun, hose, and nozzle are assembled correctly according to the manufacturer’s instructions. Proper assembly and secure connections are essential for consistent atomization. Additionally, verifying that the proper tuning of your HVLP sprayer system is maintained can help ensure optimal paint delivery. Monitoring industry trends and adjusting your setup accordingly can also improve spray performance.
Check Connection Tightness
Even a small loose connection can cause your HVLP sprayer to stop atomizing paint properly. Check all connection points, including hoses, nozzles, and the power supply. Loose fittings can disrupt connection stability and reduce airflow or pressure, leading to inconsistent spray patterns. Ensure the power cord is securely plugged in and the outlet provides steady power. Inspect for any damaged or worn connectors that might be causing interruptions. Tighten fittings carefully without over-tightening, which can damage threads. A secure connection ensures proper airflow and consistent pressure, essential for ideal atomization. Remember, even minor looseness can affect spray quality, so double-check all connections before troubleshooting other issues. Proper connection tightness is key to restoring proper spray performance.
Confirm Correct Assembly
To guarantee your HVLP sprayer functions correctly, you need to verify that all components are assembled properly. Check that the paint cup is securely attached and that the spray tip is correctly installed. Ensure the air cap is aligned properly and tightened as needed. Confirm that the paint color is mixed thoroughly and that the nozzle isn’t clogged, which can affect atomization. Proper assembly is part of regular sprayer maintenance, helping prevent inconsistent spray patterns or paint clogging. If any parts are loose or misaligned, paint may not atomize well, leading to uneven coverage. Taking the time to double-check your sprayer’s setup can save you time and frustration, ensuring smooth, even application every time.
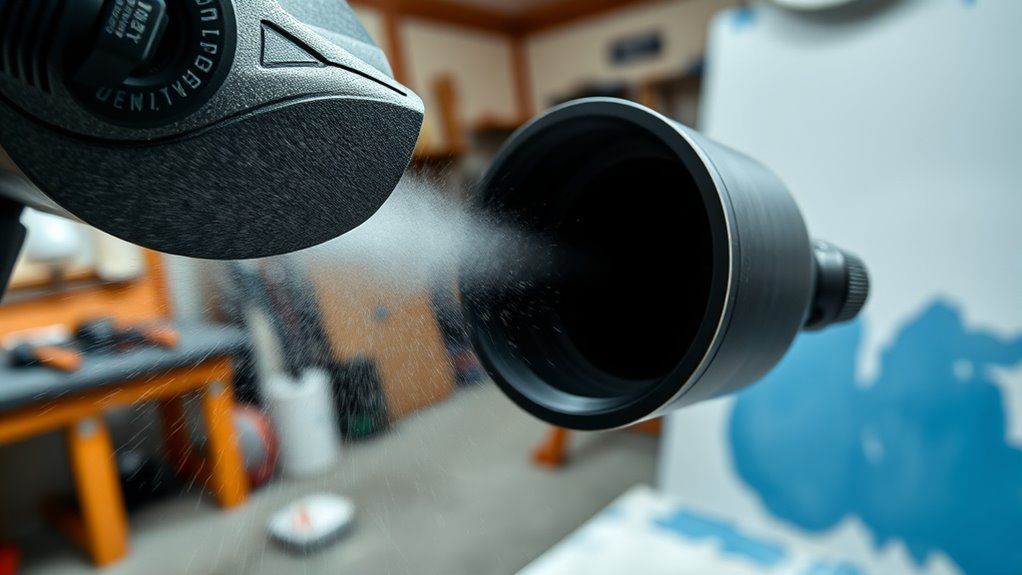
Adjust the Spray Pattern and Settings Correctly
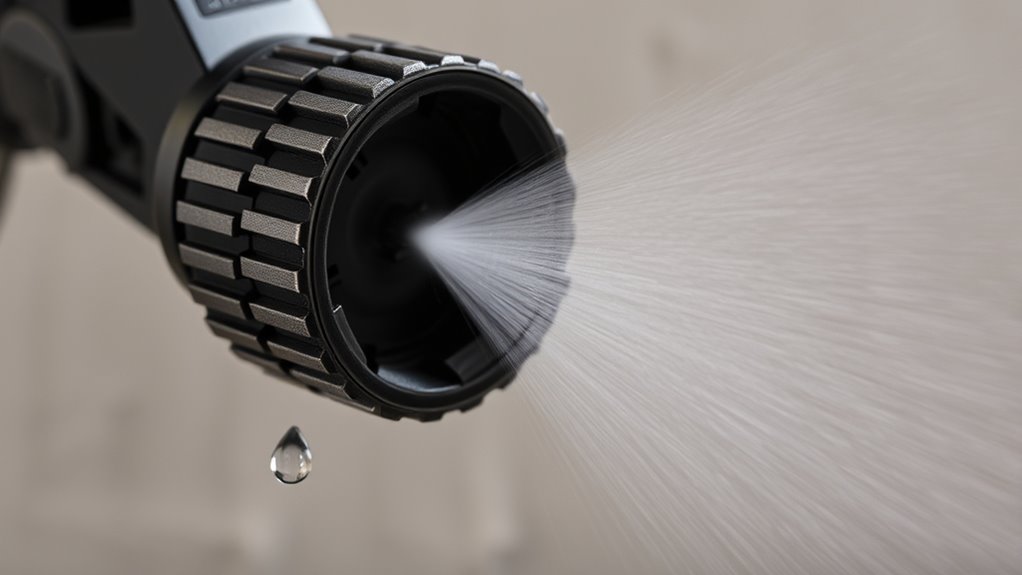
Properly adjusting the spray pattern and settings guarantees your HVLP sprayer applies paint evenly and efficiently. Begin by adjusting the spray pattern to suit your project—wide for large surfaces, narrow for detail work. Make sure your settings adjustments, such as air pressure and fluid flow, match the manufacturer’s recommendations. Too much pressure can cause paint to atomize poorly or overspray, while too little might result in uneven coverage. Test your spray on a scrap surface and tweak the settings until you achieve a consistent, smooth spray pattern without drips or gaps. Consistently check and fine-tune these adjustments during your project to maintain ideal atomization and coverage. Proper spray pattern and settings are key to a professional finish.
Ensure the Filter Is Clean and Not Restricting Flow
A clean filter is vital for maintaining consistent paint flow and preventing blockages. When your filter is clogged or dirty, airflow restriction occurs, which can cause poor atomization. To avoid this, perform regular filter maintenance. First, inspect the filter for debris or buildup; a dirty filter can substantially impede airflow. Second, clean or replace the filter as needed—use compressed air or rinse it with water if washable. Third, always verify the filter is properly seated and free of damage before spraying. By keeping the filter clean and free of obstructions, you ensure smooth airflow, which is essential for proper atomization. Neglecting this step can lead to uneven spray patterns and inconsistent paint application.
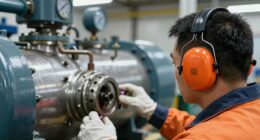
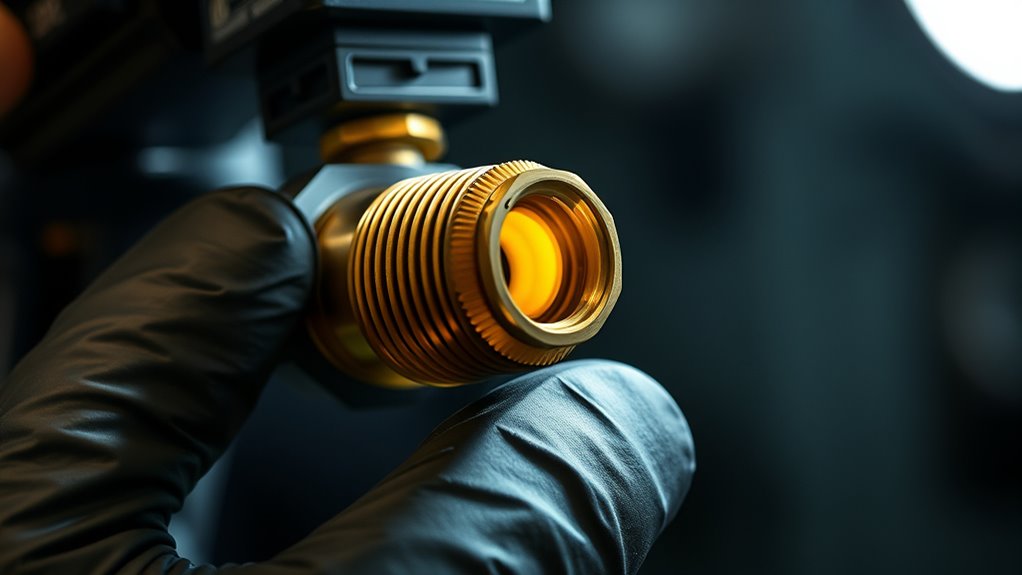
Troubleshoot Internal Components and Wear
Internal components such as the needle, nozzle, and air cap can wear out or become damaged over time, affecting spray quality. Internal wear or component failure can cause inconsistent atomization, uneven spray patterns, or paint clogging. Inspect these parts regularly for cracks, corrosion, or signs of damage. If you notice the needle isn’t moving smoothly or the nozzle shows signs of buildup, it’s time to replace those parts. Worn or damaged components reduce airflow and spray pressure, leading to poor atomization. Don’t ignore signs of internal wear—addressing these issues early can prevent further damage and guarantee your sprayer performs at its best. Regular maintenance and timely replacement of internal parts are key to maintaining consistent, high-quality spray results.
Frequently Asked Questions
How Do I Determine the Ideal Air Pressure for My HVLP Sprayer?
To determine the ideal air pressure for your HVLP sprayer, start with the manufacturer’s recommended settings. Adjust the air pressure calibration slowly, testing spray pattern consistency on a scrap surface. Look for even coverage and a smooth spray without overspray or sputtering. Fine-tuning the pressure guarantees you get a consistent spray pattern, reducing paint waste and achieving a professional finish. Always monitor and adjust as needed for the best results.
What Types of Paint Are Compatible With HVLP Sprayers?
Did you know that 85% of DIY painters find HVLP sprayers versatile? You should use paints with low to medium viscosity, as thick paints clog the spray nozzle. Thin thicker paints with a suitable medium or additive before spraying. Always check your spray nozzle size to match the paint’s viscosity. Properly prepared paint and a compatible nozzle guarantee smooth atomization, giving you a professional finish every time.
Can Environmental Factors Affect Paint Atomization During Spraying?
Environmental factors can definitely impact paint atomization during spraying. High humidity or temperature fluctuations can change the paint’s viscosity, making it thicker or thinner. When the paint’s viscosity isn’t ideal, your HVLP sprayer struggles to atomize it properly. To guarantee smooth spraying, you should monitor environmental conditions, keep the paint at recommended viscosity levels, and avoid spraying in extreme weather. This helps achieve a fine, even spray pattern.
How Often Should I Replace Parts to Maintain Optimal Spray Performance?
Did you know that neglecting maintenance can reduce your sprayer’s efficiency by up to 30%? You should follow a regular maintenance schedule and adhere to recommended replacement intervals to keep your HVLP sprayer working smoothly. Typically, replace nozzles, filters, and seals every 20-30 hours of use or as soon as you notice a decline in spray quality. Consistent upkeep guarantees peak atomization and paint application.
What Are Common Signs That My Sprayer Needs Professional Repair?
If your sprayer isn’t performing well, you might notice inconsistent spray patterns or uneven paint coverage, indicating it needs professional repair. Common signs include difficulty maintaining proper sprayer calibration or frequent nozzle clogging, which can hinder atomization. These issues suggest internal problems or worn parts. You should consult a professional to diagnose and fix the sprayer, ensuring it operates smoothly and delivers the best results.
Conclusion
When your HVLP sprayer struggles to atomize paint, think of it as a finely tuned orchestra—every part must play in harmony. By checking tips, maintaining pressure, and cleaning thoroughly, you’re guiding your sprayer back to its symphony of smooth, even coats. Don’t let clogs or worn parts steal the show. With a little troubleshooting, you’ll have your spray gun singing perfectly, turning each project into a masterpiece painted with precision and ease.

A seasoned painter with over 15 years in the industry, Mike transitioned from hands-on painting projects to the digital world of paint sprayers. His extensive experience gives him a unique perspective on what users truly need when it comes to painting tools. As the Editor in Chief of Paint Sprayer Zone, Mike ensures that every piece of content not only provides value but also reflects the realities of painting — the challenges, the joys, and the intricate details.