
To spray a popcorn ceiling and avoid a mess, start by gathering all supplies, covering floors and furniture thoroughly, and taping off vents and outlets. Practice your spray technique on scrap first, then set your equipment to the correct pressure and angle. Keep the nozzle about 12 inches from the surface, using smooth, overlapping passes. Proper preparation, steady hands, and cleaning tools right after will give you a professional finish—learn the full process for better results.
Key Takeaways
- Cover floors and furniture thoroughly with plastic sheeting and drop cloths to contain overspray.
- Use painter’s tape to protect vents, outlets, and edges before spraying.
- Practice spray technique on scrap material to master even application and pressure control.
- Maintain a steady distance of about 12 inches from the ceiling and overlap strokes for uniform texture.
- Regularly inspect for drips or uneven areas and adjust spray pressure and technique accordingly.

InoKraft MaXpray M1 Airless Paint Sprayer, 3000 PSI 550W Corded Electric, Thinning-Free for Latex & Stain, DIY Home Interior Exterior Walls Fences Decks, Includes Spray Gun Kit & 12" Tip Extension
5X FASTER THAN ROLLING, 12X FASTER THAN BRUSHING - The 550W motor delivers up to 3000 PSI and...
As an affiliate, we earn on qualifying purchases.
Gather the Necessary Supplies and Prepare Your Workspace
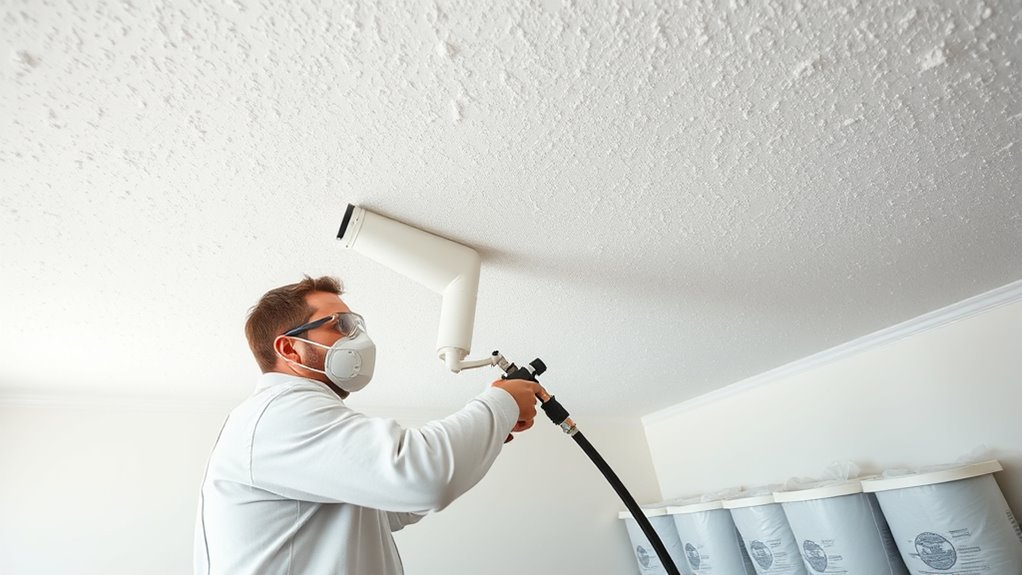
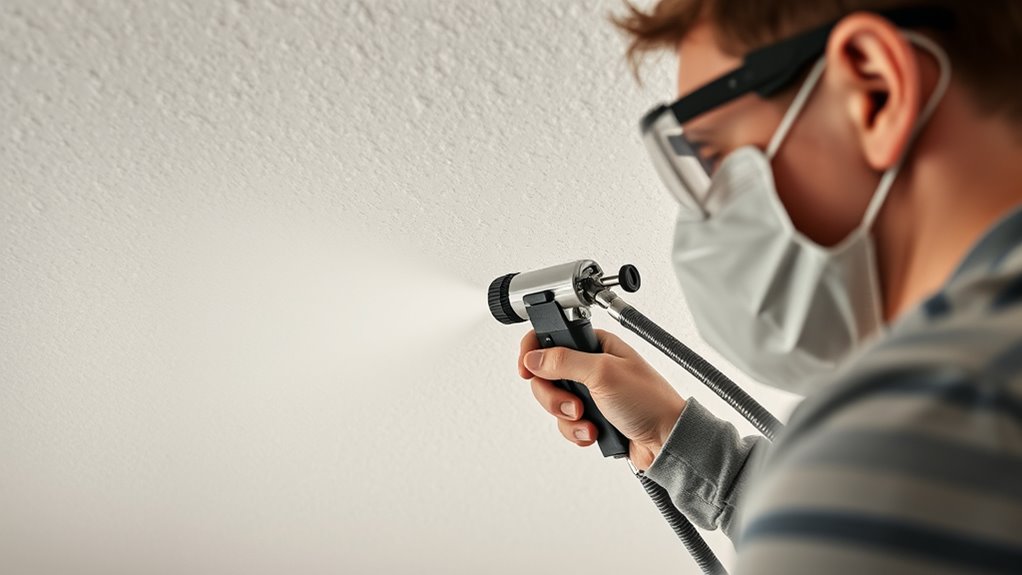
Before you begin spraying your popcorn ceiling, it’s vital to gather all the necessary supplies and prepare your workspace. Start by choosing the right material, like a high-quality spray-on texture or a pre-mixed popcorn ceiling spray. Proper material selection ensures a smooth, even finish. Next, assemble your spray equipment, including a spray gun or hopper, extension poles, and protective gear like goggles and masks. Clear the area of furniture and cover floors with plastic sheeting to prevent messes. Set up your workspace in a well-ventilated area, guaranteeing easy access to water and cleaning supplies for quick cleanup. Practicing your spray technique on a scrap piece helps you get comfortable with the spray pattern and pressure, leading to a professional-looking finish.

Graco Magnum 257025 Project Painter Plus Paint Sprayer
Ideal for projects up to 5 gallons in size, allowing you to tackle a range of projects every...
As an affiliate, we earn on qualifying purchases.
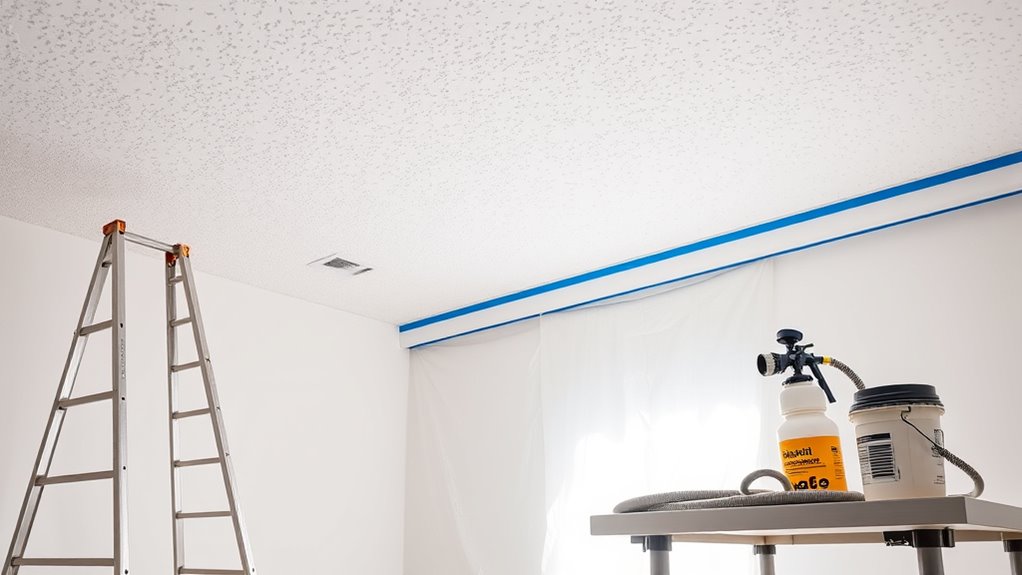
Protect Your Floors and Furniture Effectively
To prevent damage and make cleanup easier, it’s essential to protect your floors and furniture thoroughly before you start spraying the popcorn ceiling. Lay down drop cloths across the entire floor area, ensuring they extend well beyond your workspace. Cover furniture with plastic sheets or old sheets to shield them from overspray. Proper ventilation is also vital; open windows and set up fans to direct fumes and dust outside. This not only keeps your space cleaner but also reduces inhalation risks. Secure the drop cloths and coverings so they don’t shift during spraying. Taking these steps minimizes mess and protects your belongings, making the entire popcorn ceiling project much smoother and less stressful.

VEVOR 750W Stand Airless Paint Sprayer, 3000PSI High Efficiency Electric Airless Sprayer, Fine and Even Painting Effect, Handheld Paint Sprayers for Home Interior and Exterior Furniture and Fences
Efficient Painting: Our stand airless paint sprayer is equipped with a powerful 750W motor, capable of delivering up...
As an affiliate, we earn on qualifying purchases.
Prepare the Ceiling Surface for Spraying
Before spraying, clear the room to give yourself space and prevent overspray. Next, repair any cracks or damage to guarantee a smooth surface. Finally, dust and dry the ceiling thoroughly so the new coating adheres properly.
Clear the Room
Clearing the room is an essential step to guarantee a smooth popcorn ceiling spray. Start by removing all furniture, decorations, and rugs to create a clear workspace. This room clearance prevents overspray from settling on items and makes cleanup easier. Next, thoroughly dust removal from the ceiling and surrounding surfaces ensures the spray adheres properly and results in a clean finish. Use a duster or vacuum with a brush attachment to eliminate cobwebs, dust, and loose debris. Cover vents and electrical outlets with painter’s tape to protect them from overspray. Clear paths to and from the room, so you can easily move in and out. Taking these steps helps you avoid messes and ensures a professional-looking popcorn ceiling. Additionally, inspecting for any potential surface imperfections beforehand can help achieve a more uniform spray finish.
Repair Imperfections First
Ensuring the ceiling is free of imperfections before spraying is crucial for a smooth, professional finish. Start by inspecting the ceiling for cracks, holes, or rough spots. Fill any cracks or holes with joint compound, then sand smooth for proper surface preparation. Uneven areas can ruin the ceiling texture, so take time to repair these flaws. If you notice bumps or rough patches, sand them down thoroughly. Keep the surface clean and dry to guarantee good adhesion. Remember, a well-prepared ceiling makes spray application easier and results in a more uniform popcorn texture. Understanding the popcorn ceiling texture can help you achieve a more consistent appearance. Proper surface preparation is key to avoiding mess and achieving a flawless finish. Additionally, understanding the texture application process can significantly improve the overall outcome of your project. Being aware of spray techniques can also help you control overspray and reduce cleanup. Using the right equipment and techniques can further minimize mess and ensure a neat, professional look.
Dust and Dry Surface
To achieve a smooth popcorn ceiling finish, it’s essential to start with a clean, dry surface. Dust buildup from previous layers or debris can interfere with surface adhesion, causing uneven application or peeling later. Use a gentle brush or vacuum with a brush attachment to remove dust and cobwebs. Ensure the ceiling is completely dry; moisture can worsen dust buildup and compromise adhesion. If the surface feels damp, wait until it’s fully dry before spraying. Avoid using water or cleaning agents that leave residue, as they can affect the popcorn spray’s adherence. Properly prepared, dust-free, and dry surfaces help the popcorn material stick evenly, reducing mess and ensuring a professional-looking result. This step is crucial for a successful popcorn ceiling makeover. Additionally, checking for surface texture compatibility ensures the popcorn coating will adhere well and achieve the desired finish. Incorporating protective measures, such as covering nearby furniture and flooring, can further minimize cleanup and mess during the spraying process. Furthermore, understanding AI security vulnerabilities can help in developing safer and more reliable application methods for spray equipment and safety protocols. Incorporating sound healing science principles can also inform better techniques to reduce noise and vibrations during spraying, making the process more comfortable and less disruptive.
Amazon Product B0BJ2JYPGG
As an affiliate, we earn on qualifying purchases.
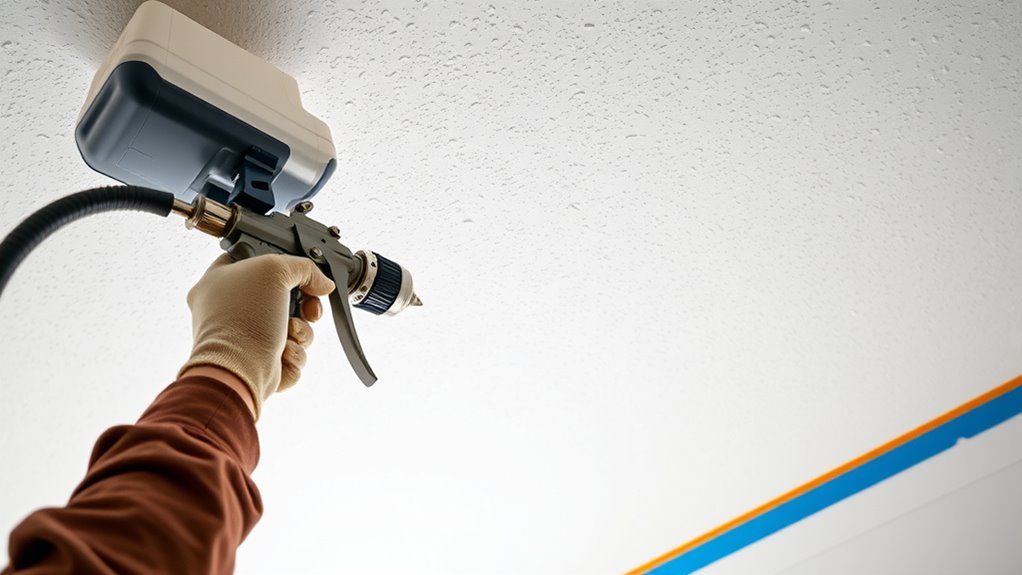
Set Up Your Spraying Equipment Correctly
Start by choosing the right nozzle size for your project to guarantee even coverage. Then, adjust the pressure settings on your sprayer to prevent overspray or uneven application. Properly setting up your equipment helps achieve a smooth, professional-looking popcorn ceiling. Using the correct application methods can also improve the overall results and reduce mess. Additionally, consulting sprayer performance metrics can help you optimize your setup for the best finish. Ensuring your equipment matches the tuning specifications for your sprayer can further enhance spray consistency and efficiency. Being aware of affiliate disclosure and other policies can help you operate safely and transparently during your project. Paying attention to personality traits can also aid in understanding and troubleshooting equipment handling issues.
Choose Proper Nozzle Size
Choosing the right nozzle size is essential for achieving a smooth, even popcorn ceiling spray. Your nozzle size directly impacts the spray pattern, which determines how evenly the texture spreads across the ceiling. A smaller nozzle creates a narrow, focused spray, perfect for detailed work or tight spots. Conversely, a larger nozzle produces a broader spray pattern, ideal for covering large areas quickly. Selecting the appropriate nozzle ensures your spray pattern is consistent, reducing the chances of drips or uneven texture. Before starting, test different nozzles on a scrap surface to see how each affects the spray pattern. This step helps you avoid overspray and mess, giving you more control over the application process. Proper nozzle size is key to a professional-looking popcorn ceiling finish. Additionally, understanding spray pattern and how it influences application can help you achieve a more uniform texture and minimize cleanup. Being familiar with appliance and technique can further enhance your results and prevent accidental spills. Knowing about Narcissistic Man traits can also help you recognize and manage oversights in your project, ensuring better control and outcomes.
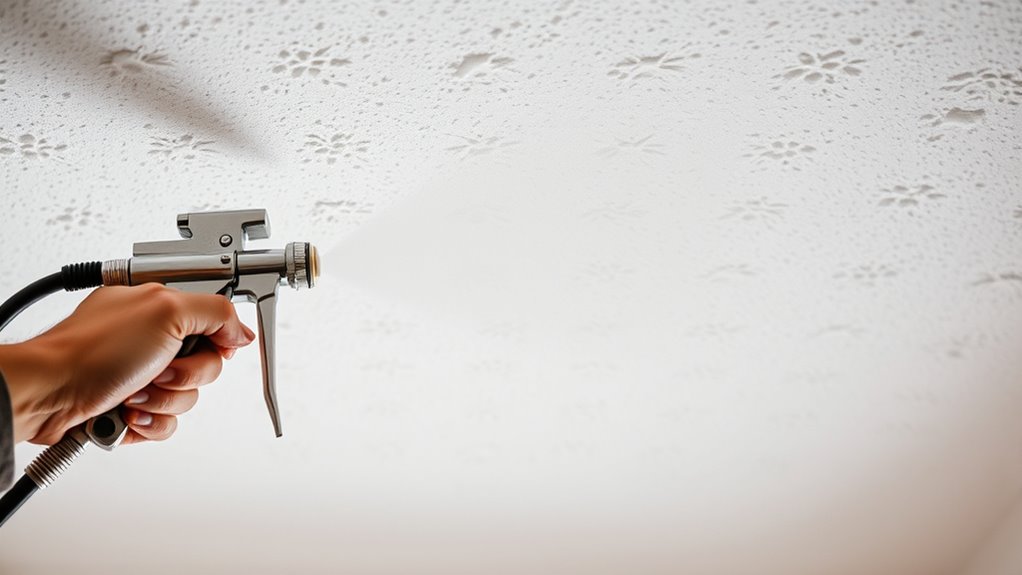
Adjust Pressure Settings
Adjusting your pressure settings is essential for achieving an even, professional popcorn ceiling finish. Proper spray pressure ensures your texture is consistent without drips or overspray. Start by setting your spray pressure to a moderate level, then test spray on a scrap surface. If the spray is too forceful, lower the pressure; if it’s too weak, increase it gradually. Pay close attention to nozzle adjustment, as it directly impacts the spray pattern and pressure. A well-adjusted nozzle helps distribute the popcorn material evenly across the ceiling. Always keep an eye on the spray pressure gauge, making small adjustments as needed. Correct pressure settings prevent uneven textures and messes, making your project smoother and more efficient. Additionally, understanding the appropriate pressure range for your specific sprayer model can help optimize the application process. Being familiar with different spraying techniques also contributes to a cleaner, more controlled application.
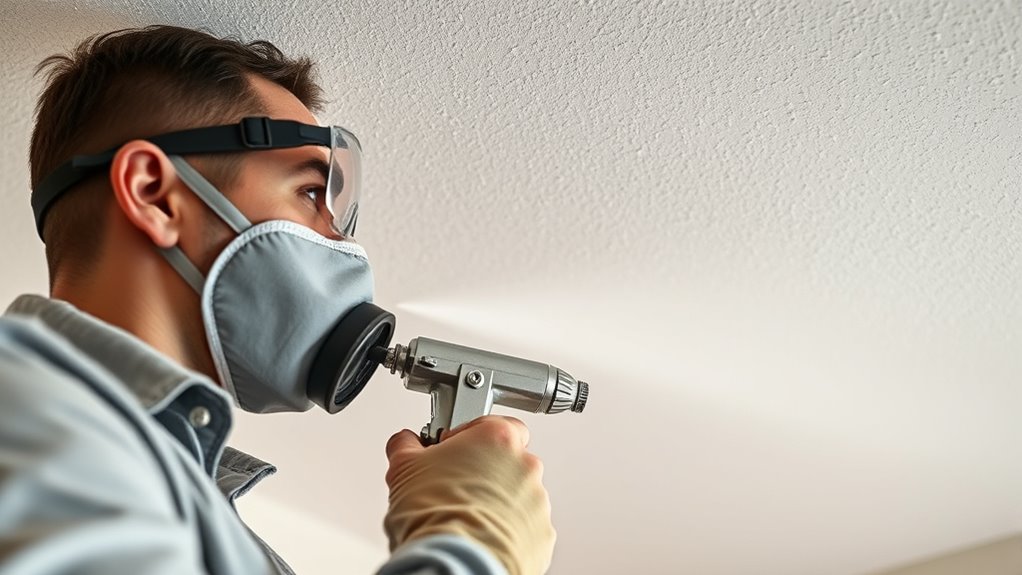
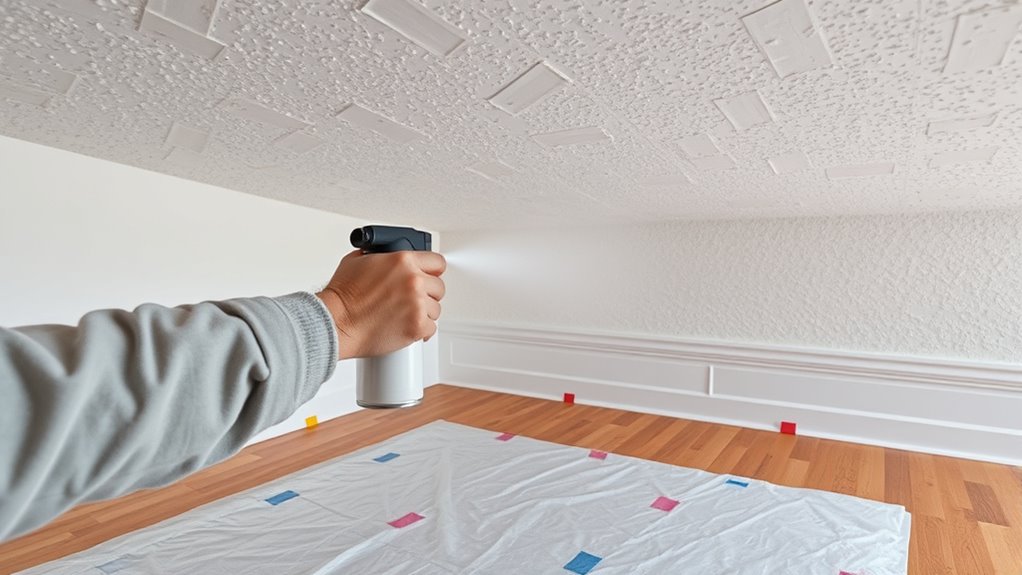
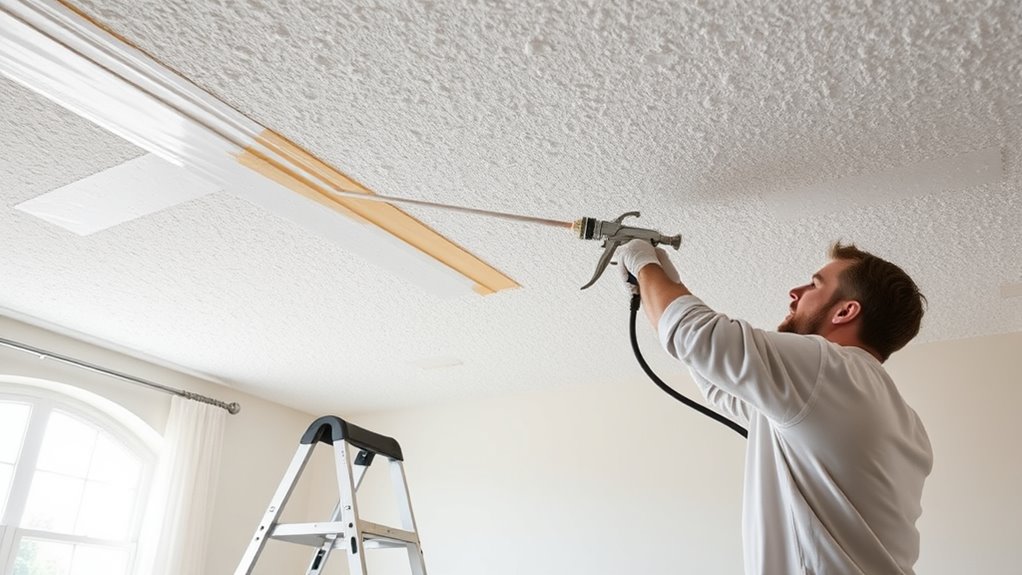
Apply the Spray in Even, Controlled Passes
Apply the spray in controlled passes to achieve a smooth, even texture. It is vital to apply the spray in controlled passes to ensure even coverage and prevent drips or uneven patches. Keep your nozzle steady, moving at a steady pace to avoid over-saturating any area. Focus on overlapping each pass slightly to blend sections seamlessly. Don’t rush; slow, deliberate movements help you control the spray. Regularly check your distance from the ceiling to maintain uniform application. Remember these tips:
- Keep the spray nozzle at a consistent distance
- Use smooth, overlapping strokes
- Maintain even pressure on the spray trigger
- Move steadily without pausing
- Cover small sections at a time
This approach guarantees a professional-looking popcorn ceiling with minimal mess. Consistent spray technique is essential for achieving optimal results and minimizing cleanup. Additionally, understanding your tuning process can help you optimize the performance of your vehicle after application. Proper application method ensures a cleaner, more efficient spray, reducing excess mess and waste. Incorporating proper equipment maintenance can also help prevent clogs and uneven spray patterns, contributing to a more controlled application process.
Clean Up and Dispose of Materials Properly
Once you’ve finished spray painting your ceiling, it’s important to clean up thoroughly to guarantee safety and a tidy workspace. Start by carefully collecting all used materials, such as masking tape, drop cloths, and brushes. Proper material disposal is essential to prevent contamination or fire hazards; dispose of any leftover paint or spray cans according to local regulations. Use effective cleanup techniques like wiping down surfaces and washing brushes with water or solvent as needed. Seal paint containers tightly to avoid spills and store them in a cool, dry place. Dispose of used rags or disposable items safely, especially if they’ve been exposed to paint. Additionally, paying attention to proper filter maintenance can help ensure that your air quality remains safe during and after the project. Using appropriate cleaning supplies can further help in removing paint residues and maintaining a safe environment. Taking these steps ensures a safe environment and keeps your workspace organized after the project.
Tips for Achieving a Smooth Finish and Avoiding Common Mistakes
Achieving a smooth popcorn ceiling finish requires careful technique and attention to detail. To avoid common mistakes, focus on proper spray techniques and finishing tips. Maintain a consistent distance from the ceiling, about 12 inches, to prevent uneven texture. Keep your spray pattern even and avoid over-spraying in one spot. Use smooth, overlapping strokes to ensure uniform coverage. Before starting, test your spray on scrap material to fine-tune your technique. Don’t rush—take your time with each pass. Here are some key tips:
- Keep a steady hand and consistent distance
- Use overlapping spray passes
- Don’t over-apply for a smoother look
- Maintain even pressure on the spray gun
- Regularly check your work for drips or uneven areas
Frequently Asked Questions
How Do I Prevent Overspray From Reaching Unintended Areas?
To prevent overspray from reaching unintended areas, you should use proper masking techniques to cover surrounding surfaces. Before spraying, adjust the spray nozzle to control the spray pattern and reduce excess mist. Keep the nozzle at the right distance and steady movement to minimize overspray. Additionally, using painter’s tape and drop cloths helps safeguard walls and fixtures, ensuring your popcorn ceiling project stays neat and clean without messes.
What Is the Best Way to Remove Old Popcorn Ceiling Texture?
To remove old popcorn ceiling texture, start by protecting your space with plastic sheeting and tape. Use a spray bottle or a garden sprayer to dampen the popcorn texture, making ceiling removal easier. Once it’s soaked, gently scrape it off with a putty knife or drywall scraper. Be patient and work carefully to prevent damaging the ceiling surface beneath. This method guarantees efficient ceiling removal while minimizing dust and mess.
How Can I Reduce Dust and Debris During the Project?
To reduce dust control and debris containment during your project, start by sealing off the work area with plastic sheeting or drop cloths. Wear a dust mask and goggles for protection. Use a spray bottle to lightly mist the ceiling, minimizing dust, and work carefully to keep debris contained. Regularly clean as you go, and dispose of debris properly to keep your space clean and safe.
What Type of Paint or Finish Is Ideal After Spraying?
Imagine your ceiling transformed with a smooth, durable finish. After spraying, opt for high-quality latex or acrylic paint designed for textured surfaces. These finishes cling well to the popcorn ceiling texture, ensuring even coverage. Use a brush or roller for touch-ups, or spray with your equipment for a seamless look. The right finish enhances the ceiling’s appearance, making your project look professional and fresh, with a lasting, beautiful result.
How Long Should I Wait Before Painting Over the Sprayed Popcorn Ceiling?
You should wait until the popcorn ceiling is completely dry before painting over it. Typically, this dry time takes about 24 to 48 hours, but check the manufacturer’s instructions for specific guidance. You want to guarantee the surface is paint-ready, meaning it’s dry to the touch and free of any moisture. Rushing this step could result in uneven paint and poor adhesion, so be patient for the best finish.
Conclusion
Now that you’re armed with these tips, your popcorn ceiling project is within reach. But remember, the real challenge is in the details—will your final finish be flawless or full of surprises? As you step back to admire your work, ask yourself: did you master the spray, or will a small mistake reveal itself later? Whatever the outcome, you’re about to discover just how satisfying a fresh ceiling can be—if you avoid the mess and keep your cool.

A seasoned painter with over 15 years in the industry, Mike transitioned from hands-on painting projects to the digital world of paint sprayers. His extensive experience gives him a unique perspective on what users truly need when it comes to painting tools. As the Editor in Chief of Paint Sprayer Zone, Mike ensures that every piece of content not only provides value but also reflects the realities of painting — the challenges, the joys, and the intricate details.