To spray-paint louvered shutters efficiently, start by thoroughly cleaning and lightly sanding the surface for better adhesion. Mask off hardware and areas not to paint with painter’s tape. Apply a high-quality primer and let it dry completely. When spraying, hold the can or gun 10-12 inches from the surface and use smooth, overlapping passes with multiple light coats. Proper technique and preparation guarantee a flawless finish that lasts. Keep exploring for more tips on perfecting your project.
Key Takeaways
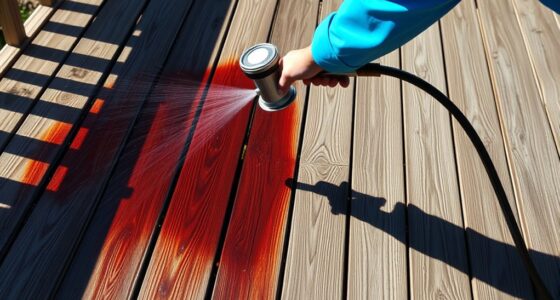
- Maintain a consistent 10-12 inch distance from the shutters to ensure even spray coverage.
- Use smooth, overlapping passes to avoid drips and achieve a uniform finish.
- Apply multiple thin coats instead of one thick coat for better adhesion and durability.
- Keep your hand steady and use long, smooth strokes to prevent brush marks and streaks.
- Properly prep and mask hardware to prevent overspray and ensure a professional-looking result.

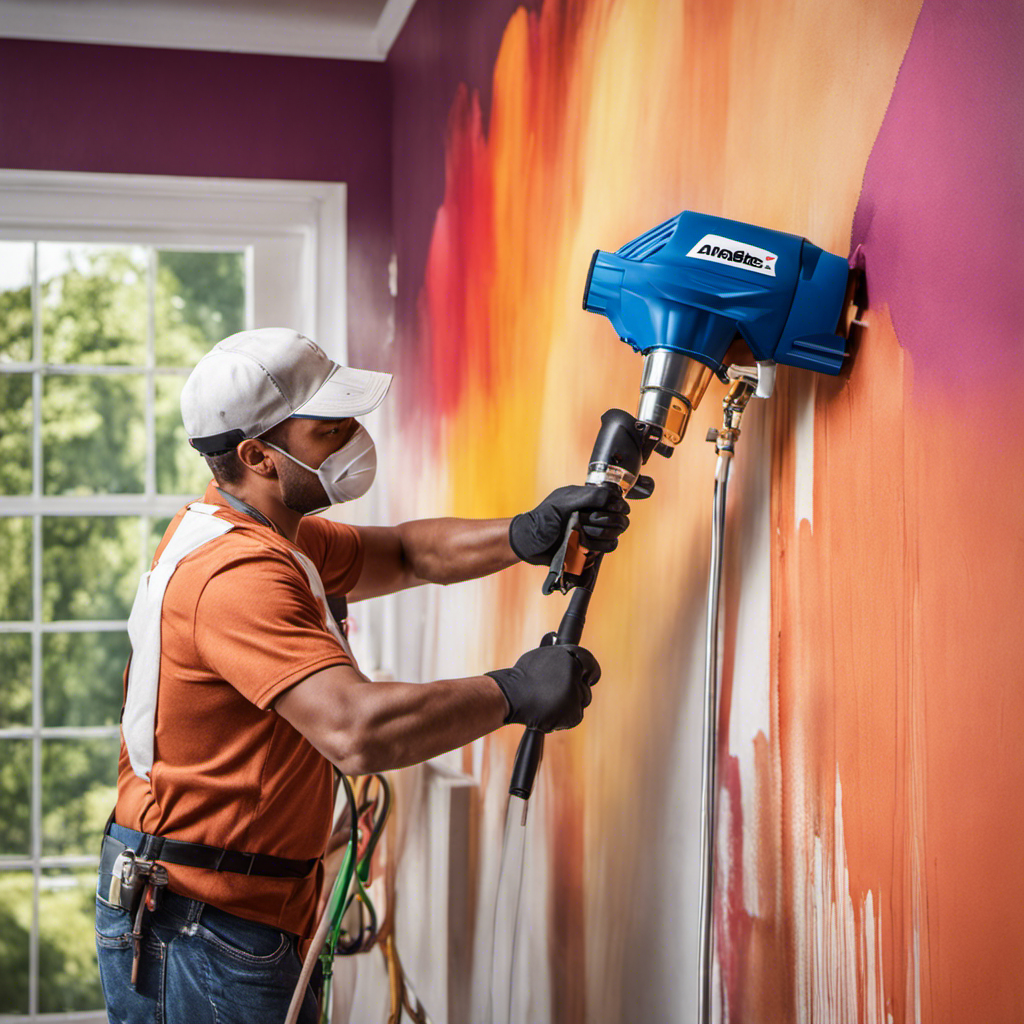
Have you ever considered spray-painting your shutters to give your home a fresh new look? If so, you’re on the right track to transforming your curb appeal quickly and affordably. Before you start, proper paint preparation is essential. You want a smooth, durable finish that lasts, so take the time to clean and prep your shutters thoroughly. Remove any dirt, dust, or peeling paint using a mild detergent and a scrub brush. Rinse well and let them dry completely. If your shutters are metal or wood, lightly sand the surface to create a better grip for the paint. Wipe away dust with a tack cloth to ensure a clean surface. Using painter’s tape, mask off areas you don’t want painted, such as hinges or hardware, to keep your work neat.
Once your shutters are prepped, it’s time to think about brush techniques, even if you plan to spray-paint. Applying a primer first can improve paint adhesion and prevent peeling down the line. Use a high-quality primer suited for your shutter material, and apply it evenly with a brush or roller. This step is vital, especially if you’re working with bare wood or metal, as it creates a uniform base and enhances the final color’s vibrancy. When it comes to brush techniques, avoid heavy strokes that can leave streaks or brush marks. Instead, use long, smooth strokes and feather the edges to blend the primer seamlessly. This meticulous approach ensures your spray finish will look flawless once you switch to spray-painting.
When you’re ready to spray-paint, maintain a consistent distance from the surface—usually about 10-12 inches—and move the spray can or gun in smooth, even passes. Keep your hand steady to prevent drips and runs, and overlap each pass slightly to ensure full coverage. Remember, multiple thin coats are better than one thick coat. This not only helps prevent drips but also results in a more professional-looking finish. Proper paint preparation and application techniques are crucial for achieving a durable, high-quality result. While spray-painting may seem straightforward, your success depends heavily on how well you prepared and how carefully you apply the paint. Applying a few light coats with proper technique will give your shutters a sleek, uniform appearance.

Rust-Oleum Painter's Touch 2X Ultra Cover Spray Paint, Flat Black
- Suitable for various surfaces: Interior and exterior use on multiple materials
- Long-lasting protection: Oil-based formula resists chips and damage
- Quick drying: Dries in 20 minutes, covers 12 sq. ft.
As an affiliate, we earn on qualifying purchases.
As an affiliate, we earn on qualifying purchases.
Frequently Asked Questions
How Do I Choose the Right Spray Paint for Shutters?
To select the right spray paint for shutters, consider the paint finish you want—glossy, matte, or satin—and pick a high-quality exterior paint for durability. Think about your color selection; opt for a shade that complements your home’s style. Look for paint labeled for outdoor use, and verify it’s suitable for wood or metal shutters. Testing a small area first helps you see how the finish and color look before your full project.
Can I Spray-Paint Shutters Indoors Safely?
You can spray-paint shutters indoors safely if you prioritize proper indoor ventilation and plan for adequate paint drying time. Make certain your space is well-ventilated by opening windows, using fans, and wearing a mask to minimize fumes. Keep the area clean and free of clutter to avoid accidents. By controlling ventilation, allowing sufficient drying time, and taking safety precautions, you create a safer environment for indoor spray-painting.
How Long Should I Wait Between Coats?
You should wait about 2 to 4 hours between coats, depending on the drying time and paint thickness. Thinner coats dry faster, so you might wait closer to 2 hours, while thicker coats could need up to 4 hours. Make certain each layer is dry to the touch to avoid smudging or uneven finish. Patience ensures your shutters look smooth and professional once fully coated.
What Tools Are Best for Detailed Shutter Areas?
Think of your tools as artist’s brushes for delicate detail. Use small, fine brushes to navigate tight louver spaces, applying gentle brush techniques for precision. Masking methods help protect areas you don’t want painted, like the edges and slats. A detail brush or a corner brush works wonders for intricate spots, giving you control and accuracy. With these tools, you’ll achieve a flawless finish that makes every louver stand out.
How Do I Prevent Paint Drips During Spraying?
To prevent paint drips while spraying, you should use drip prevention techniques like maintaining a consistent spray distance and applying thin, even coats. Adjust your spray angle to avoid heavy buildup, keeping the nozzle at a 45-degree angle for better control. Keep your movements smooth and steady, and don’t linger in one spot. These tips help you achieve a clean, drip-free finish on your louvered shutters.
Conclusion
Now that you’ve mastered spray-painting your shutters, you’ve turned a dull canvas into a vibrant masterpiece. Think of each stroke as adding a splash of personality to your home’s facade, transforming it from ordinary to extraordinary. With patience and a steady hand, your shutters will shine like a beacon of style, catching everyone’s eye. Remember, your creativity is the brush—let it flow and make your house a true work of art.

Franz came aboard the Paint Sprayer Zone team with a background in both journalism and home renovation. His articulate writing style, combined with a passion for DIY projects, makes him an invaluable asset. Franz has a knack for breaking down technical jargon into easy-to-understand content, ensuring that even the most novice of readers can grasp the complexities of paint sprayers.