If your paint sprayer won’t turn on, start by checking the power source and making certain it’s plugged into a working outlet. Inspect the power cord for damage and confirm the switch is fully engaged. Look at the circuit breaker and internal fuse or reset button. Verify all connections inside the unit are secure, and check for safety features that might cut off power. Continuing with these steps can help you uncover more issues that may be preventing it from working.
Key Takeaways
- Ensure the sprayer is plugged into a functioning outlet and the power switch is properly engaged.
- Check for blown fuses, tripped circuit breakers, or damaged power cords and connections.
- Inspect internal safety features, reset buttons, and ensure no safety mechanisms are preventing operation.
- Confirm all mechanical parts and fittings are correctly assembled and the nozzle is clear of clogs.
- Test the motor and electrical components for damage, corrosion, or loose wiring connections.
Checking the Power Source and Electrical Connections
Before troubleshooting your paint sprayer, you should first verify it’s properly connected to a power source. Check that the power cord is securely plugged into an outlet and that the outlet works by testing it with another device. Poor electrical connections are common causes of paint sprayer issues, so ensure everything is snug and intact. Remember, electrical safety is vital—avoid using damaged cords or outlets, and never force connections. If your sprayer still doesn’t turn on, try plugging it into a different outlet to rule out power issues. Also, inspect your circuit breaker to see if it’s tripped. These steps are essential in electrical troubleshooting for paint sprayers, helping you identify simple electrical problems before delving into more complex repairs. Always prioritize safety and proper electrical practices. Electrical safety is especially important when dealing with power tools and electrical components. Additionally, consulting product manuals can provide specific guidance for your model and prevent potential hazards. Moreover, ensuring your power supply provides consistent voltage can help prevent operational issues with your sprayer. It’s also beneficial to check that your circuit breaker is rated correctly for your device’s power requirements to avoid unexpected shutdowns.
Inspecting the Power Cord and Plug for Damage
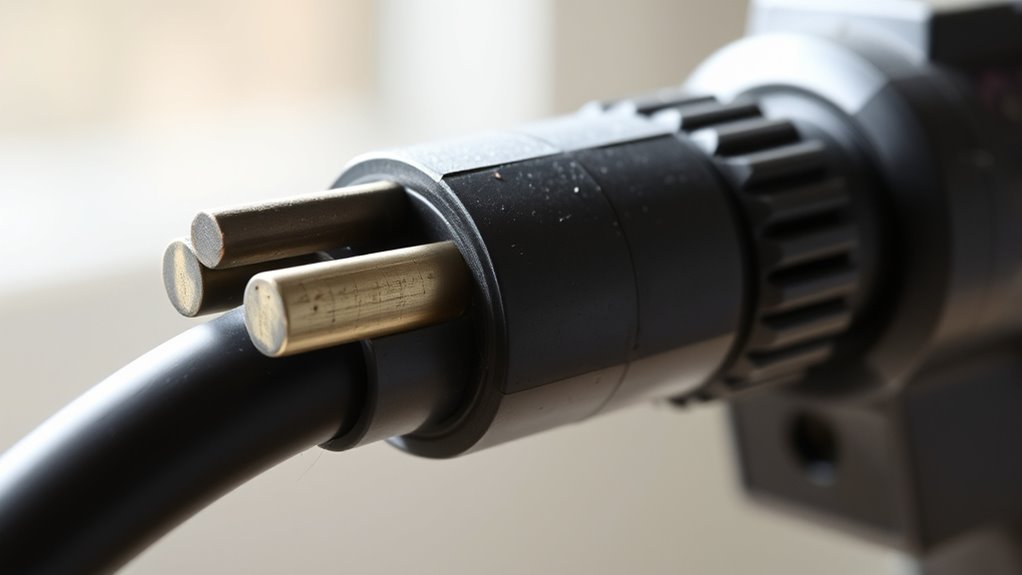
Inspecting the power cord and plug for damage is a crucial step in diagnosing why your paint sprayer won’t turn on. Look for cuts, frays, or exposed wires that could interrupt power flow. A damaged cord might prevent proper paint sprayer calibration, causing inconsistent operation or failure to start. Also, check the plug for bent or broken prongs, which can impede electrical contact. If the cord appears intact, confirm no obstruction is affecting the plug connection. Sometimes, a loose connection or damaged cord can cause the motor not to power up, making it seem like a calibration issue when it’s simply a power supply problem. Address any damage immediately before testing the sprayer again, as using a compromised cord can be dangerous. Regularly inspecting power cords and plugs can help prevent electrical issues and ensure safe operation.
Verifying the Power Switch and Circuit Breaker
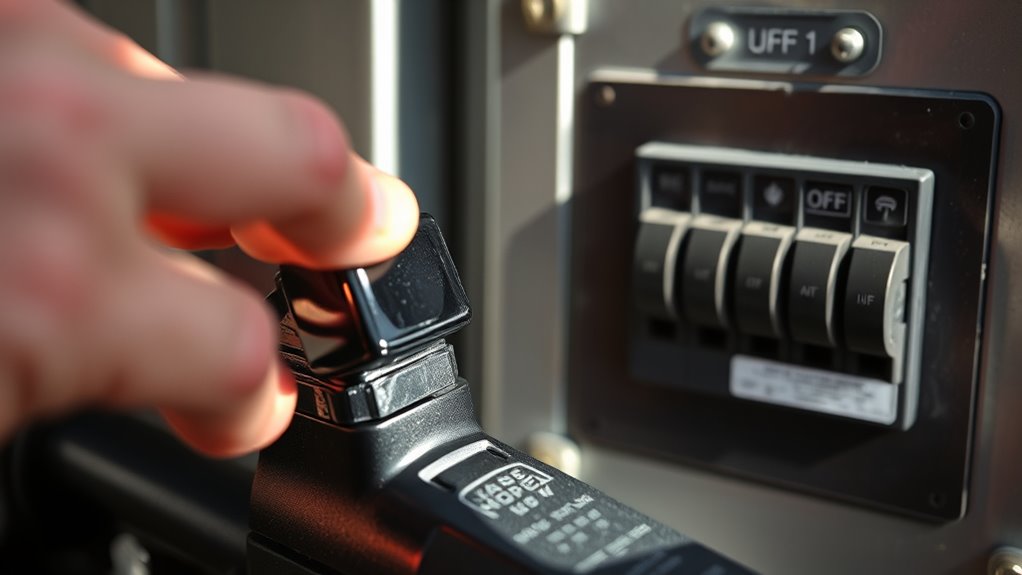
If your paint sprayer still won’t turn on after checking the power cord, the next step is to verify that the power switch and circuit breaker are functioning properly. Turn off the sprayer and switch off the main power. Check the switch for any visible damage or stuck positions. Then, examine your circuit breaker panel to see if the breaker has tripped. Reset it if needed, ensuring the sprayer’s outlet is powered. Additionally, inspecting the electrical components can help identify underlying issues. It’s also important to verify that the home wiring is properly grounded and free of damage to prevent power problems. Proper electrical connections are essential for safe operation and can prevent future issues. Ensuring the circuit integrity is intact can save time troubleshooting further. Here’s a quick visual:
| Component | What to Check | Electrical Safety Tips |
|---|---|---|
| Power Switch | Is it stuck or damaged? | Turn off power before inspecting |
| Circuit Breaker | Has it tripped? | Use insulated tools if necessary |
| Power Outlet | Is it providing power? | Avoid handling with wet hands |
Always follow safety tips during troubleshooting to prevent electrical hazards. Additionally, ensuring that the electrical wiring is intact and properly connected can help prevent power issues.
Examining the Internal Fuse or Reset Button

After confirming the power switch and circuit breaker are working properly, the next step is to check the internal fuse or reset button inside the sprayer. The internal fuse acts as a safeguard, preventing electrical damage if there’s a power surge or short circuit. Open the sprayer’s housing carefully, following the manufacturer’s instructions. Look for a small fuse, often a glass tube or blade style, and inspect it for signs of a blown filament or discoloration. If your sprayer has a reset button, press it to restore power. Resetting or replacing the internal fuse can resolve power issues, restoring your sprayer’s functionality. Just ensure you disconnect the power before inspecting or handling these internal components. Additionally, consulting the internal fuse specifications can help ensure you’re replacing it with the correct part for your sprayer model. Understanding common electrical problems in power tools can also assist in troubleshooting effectively. Moreover, being familiar with electrical safety precautions is essential when performing these checks. Taking the time to check the fuse ratings and compatibility ensures safe and proper repairs.
Assessing the Motor and Electrical Components
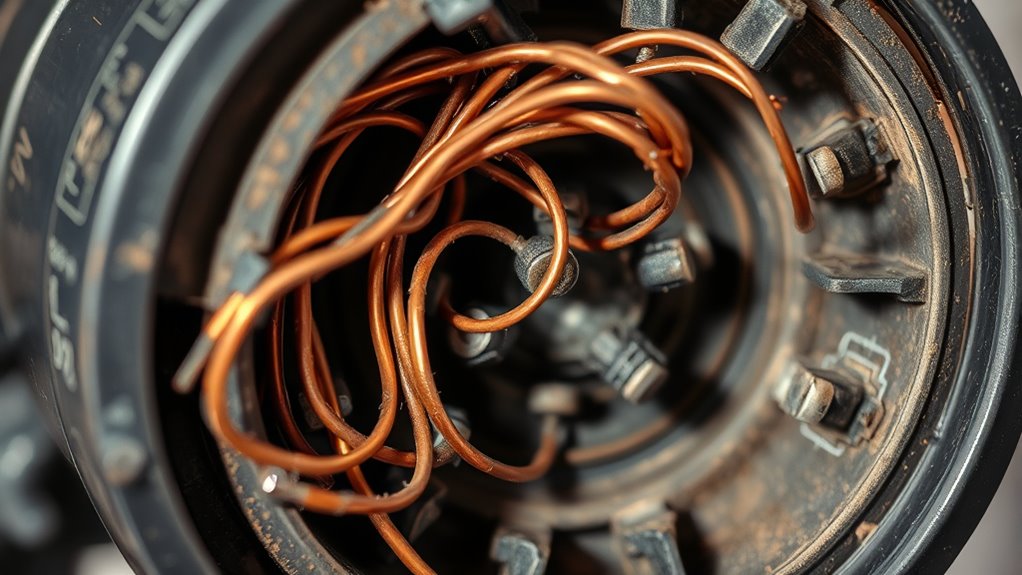
First, make sure your paint sprayer is plugged into a working power outlet. Then, check the motor connections to verify they’re secure and free of damage. Addressing these electrical components can often resolve why your sprayer isn’t turning on. Additionally, inspecting the motor itself for performance issues can help identify if a replacement or repair is needed.
Check Power Source
Before diving into other troubleshooting steps, you should verify that your paint sprayer is receiving power. Start by checking the power cord for damage or loose connections. Make sure it’s plugged into a functioning outlet—test the outlet with another device if needed. If your sprayer has a power switch, ensure it’s turned on. Sometimes, a faulty power source can cause issues with the spray pattern or prevent the sprayer from starting altogether. Confirm that the circuit breaker hasn’t tripped. If you’re using an extension cord, verify it’s rated for your sprayer’s power requirements. These steps ensure that the motor and electrical components get power, helping you determine whether the issue is with the power source before examining other parts. Additionally, inspecting the electrical components for any visible damage or corrosion can help identify potential problems that might prevent the sprayer from turning on. Ensuring the electrical system is in good condition is crucial for the proper functioning of your paint sprayer. Regularly checking the power connections can also prevent future electrical issues and ensure consistent operation. Moreover, understanding electrical safety can help you avoid hazards and perform maintenance safely.
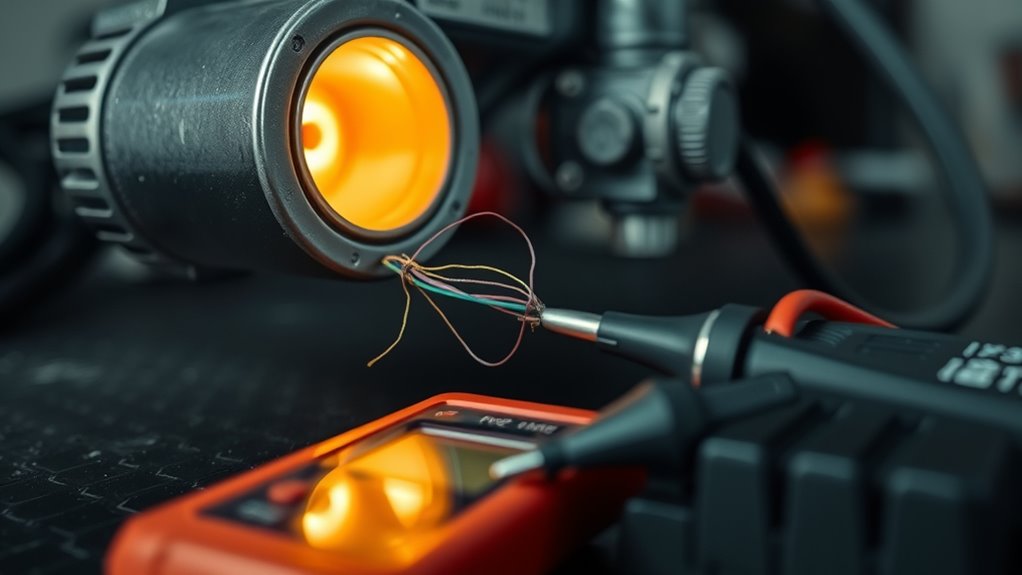
Inspect Motor Connections
Sometimes, loose or damaged motor connections can prevent your paint sprayer from turning on. To troubleshoot, start by inspecting the motor connections for looseness, corrosion, or visible damage. Make certain all wires are securely attached and free of corrosion, as poor connections can interrupt power flow. Performing motor maintenance involves checking the wiring harness and connectors for wear and tear. Conduct electrical diagnostics if needed to test circuit continuity and voltage supply to the motor. If you find any damaged wires or loose connections, repair or replace them before testing the sprayer again. Properly maintained motor connections are essential for reliable operation. Additionally, inspecting fabric decorating markers can help ensure that no external factors are affecting the electrical components. Regularly inspecting the electrical system can help identify potential issues early and prevent unexpected failures. Incorporating routine maintenance can further prolong the lifespan of your paint sprayer and reduce the likelihood of electrical issues that prevent your sprayer from turning on. Taking these steps helps ensure your electrical components are in good shape, reducing the risk of future electrical issues that prevent your sprayer from turning on.
Ensuring Proper Assembly and Button Engagement

To make certain your paint sprayer turns on properly, it’s essential to double-check that all components are assembled correctly. Ensure the spray gun and hose are securely connected, and the power switch is fully engaged. Sometimes, a simple misalignment causes the button not to activate. Also, confirm that the paint mixing is thorough, as uneven mixture can affect operation. Check that the nozzle isn’t clogged, which can prevent the sprayer from starting. If the button feels loose or doesn’t click, it might not be engaging properly. Use the table below to verify your setup:
| Step | Check |
|---|---|
| Assembly | All parts fitted tightly |
| Power switch | Fully pressed and engaged |
| Nozzle | Clear of clogging |
| Paint mixture | Well mixed and suitable for spraying |
| Connections | Secure and tight |
Additionally, be aware that AI safety measures are increasingly important in the development of tools and machinery to prevent malfunctions.
Looking for Overheating or Safety Features Triggered
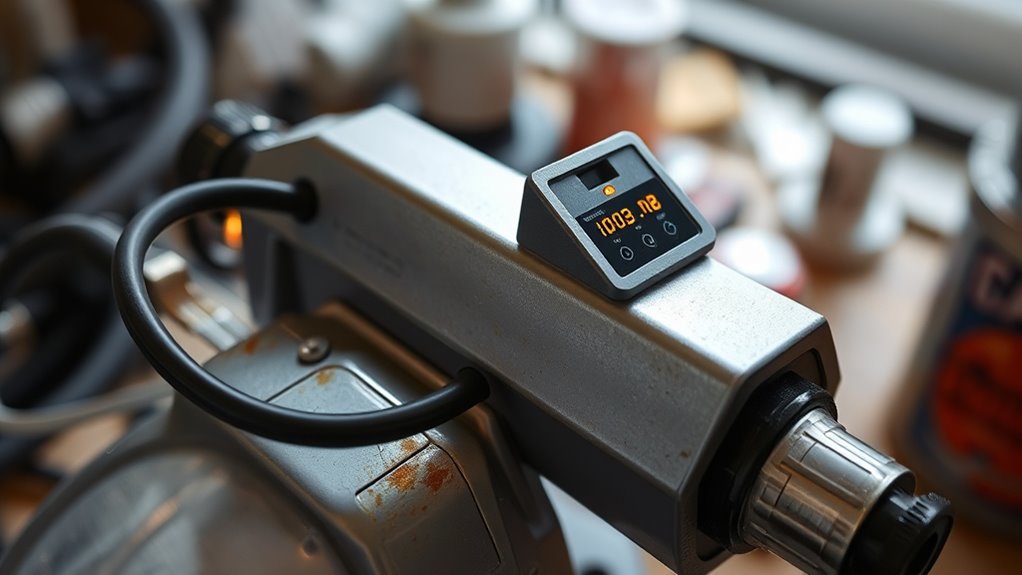
If your paint sprayer still refuses to turn on, overheating or safety feature triggers could be be the issue. Many sprayers have overheating prevention systems that shut down the motor if it gets too hot, protecting internal components. Check for any warning lights or indicators that signal overheating or safety feature triggers. Allow the unit to cool down for at least 15-30 minutes before trying again. Some models have built-in safety features that automatically disable the sprayer if unsafe conditions are detected, such as blocked vents or electrical faults. Make sure vents are clear and the unit is placed in a well-ventilated area. Understanding safety mechanisms can help prevent damage and ensure proper operation. Resetting safety features or waiting for the device to cool off often resolves the issue, allowing you to restart your sprayer.
Testing the Pressure Settings and Valves
Start by checking the pressure dial to guarantee it’s set correctly, then inspect the pressure regulator for any blockages or leaks. Next, examine the valve positions to confirm they’re in the proper settings for operation. Properly testing these components can often resolve issues with your sprayer not turning on.
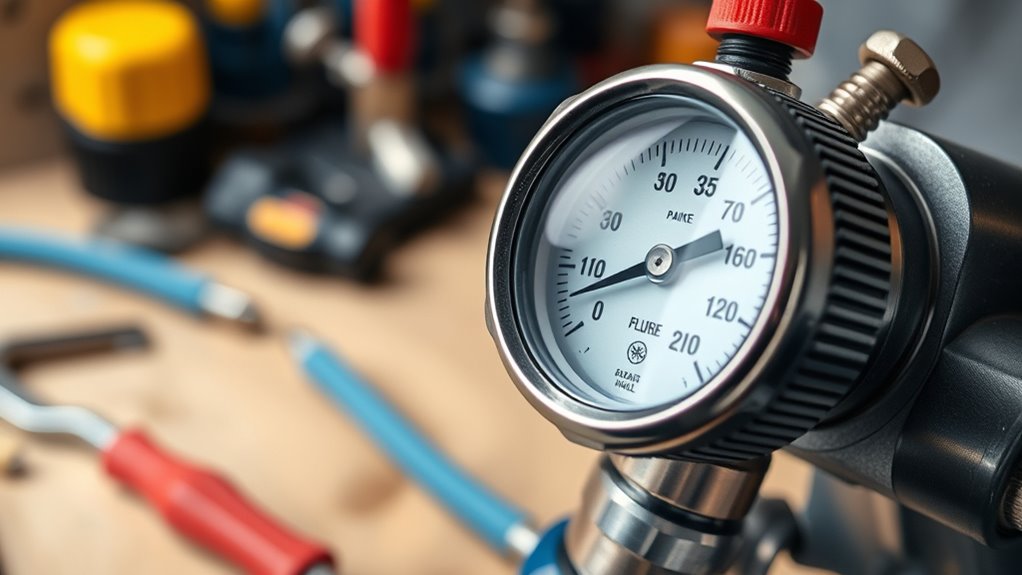
Check Pressure Dial
Have you checked the pressure dial to guarantee it’s set correctly? The pressure gauge on your sprayer provides a clear reading of the current pressure level. If it’s too low or too high, your sprayer might not turn on properly. Adjust the pressure dial carefully, making sure it’s set within the recommended range for your project. Proper pressure adjustment ensures the sprayer operates smoothly and prevents damage to internal components. Sometimes, a simple turn of the pressure dial can resolve the issue. Confirm that the dial isn’t stuck or blocked, and always check the pressure gauge for accurate readings. By ensuring the pressure settings are correct, you reduce the chances of your sprayer failing to turn on due to incorrect pressure levels.
Inspect Pressure Regulator
To make certain your pressure regulator isn’t causing issues, you should test the pressure settings and valves thoroughly. Proper pressure regulation ensures consistent fluid flow, which is essential for your paint sprayer to operate smoothly. Check that the pressure is set correctly according to your sprayer’s specifications. If the pressure is too low or too high, it can prevent the sprayer from turning on or affect its performance. Use the table below to verify your settings:
| Setting/Valve | Function |
|---|---|
| Pressure dial | Adjusts overall pressure for fluid flow control |
| Relief valve | Releases excess pressure to prevent damage |
| Regulator knob | Fine-tunes pressure regulation for ideal flow |
Make sure each part is functioning properly before proceeding.
Examine Valve Positions
After verifying that your pressure regulator components are in good condition, the next step is to examine the valve positions. Proper valve adjustment is essential for ensuring the right paint flow. Check that all valves are fully open and correctly aligned according to your sprayer’s instructions. If a valve is partially closed, it can restrict paint flow and prevent the sprayer from turning on. Also, verify that any safety or shut-off valves are in the correct position. Adjust the valves if needed, ensuring they’re neither too tight nor too loose. Correct valve positioning allows pressure to build properly and guarantees consistent paint flow. By confirming these settings, you increase the chances of your paint sprayer operating smoothly without issues.
Considering Mechanical Obstructions or Wear and Tear
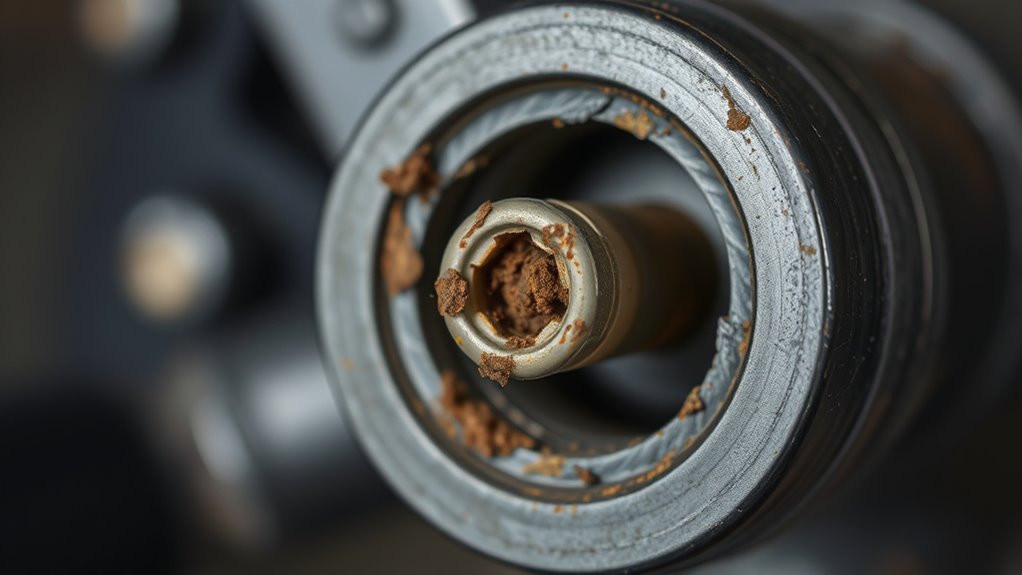
Mechanical obstructions or signs of wear and tear are common reasons your paint sprayer might refuse to turn on. Over time, debris or dried paint can clog the paint nozzle, preventing proper flow and causing the sprayer to malfunction. Worn parts, like seals or valves, can also hinder operation, affecting the spray pattern or stopping the device altogether. Check for any blockages or buildup in the nozzle and clear them carefully. If the spray pattern is inconsistent or spray nozzles appear damaged, it’s a sign that parts may need replacing. Regular maintenance of mechanical components ensures smooth functioning. Addressing these issues can often restore your sprayer’s ability to turn on and operate effectively, saving you time and frustration.
Frequently Asked Questions
Can a Clogged Filter Prevent the Sprayer From Turning On?
A clogged filter can definitely prevent your paint sprayer from turning on. When paint clogging occurs, it blocks the flow of paint, and if the filter isn’t maintained properly, debris can pile up and restrict operation. Regular filter maintenance helps prevent clogging and guarantees your sprayer works smoothly. If your sprayer won’t turn on, check and clean the filter first, as this simple step often resolves the issue.
How Does Ambient Temperature Affect My Paint Sprayer’S Operation?
Imagine you’re in a sci-fi movie, and your paint sprayer’s struggling to work. Ambient temperature plays a big role—if it’s too cold or hot, your sprayer might not operate properly. Paint temperature and humidity levels also matter; low temperatures can thicken paint, making it hard to spray, while high humidity can cause clogs. Keep your environment stable to guarantee smooth operation and consistent results.
Is There a Way to Troubleshoot a Non-Starting Spray Gun Without Tools?
If your spray gun won’t start, try manual inspection first—check for clogs or blockages in the nozzle and fluid passages. Use cleaning tips like rinsing parts with water or solvent to clear any buildup. Sometimes, a simple wipe or shake can dislodge debris. These steps don’t require tools and can often resolve common issues, getting your sprayer back in action quickly.
Could Low Paint Viscosity Cause My Sprayer Not to Turn On?
Low paint viscosity can prevent your sprayer from turning on because thick or overly viscous paint can clog the spray filter, blocking the flow. If your paint is too thin, it might not trigger the pump properly. Check the paint viscosity and clean or replace the spray filter if needed. Ensuring the paint is properly mixed and the filter is clear helps your sprayer operate smoothly.
What Role Does the Spray Tip Size Play in Starting Issues?
Sometimes, the spray tip size can quietly affect your sprayer’s startup. If the spray tip isn’t compatible with your machine, it can cause system blockages or pressure issues, making it seem like the sprayer won’t turn on. Check that the spray tip size matches your sprayer’s specifications. Proper size compatibility ensures smooth operation and prevents startup problems, letting you focus on your project rather than troubleshooting.
Conclusion
If your paint sprayer refuses to wake up, think of it as a sleeping giant needing the right nudge. Check every connection, inspect for damage, and guarantee safety features aren’t holding it hostage. With patience and a keen eye, you’ll reignite its spirit, transforming a stubborn tool into a trusty partner. Remember, sometimes all it takes is a gentle whisper of troubleshooting to bring your sprayer back to life.

A seasoned painter with over 15 years in the industry, Mike transitioned from hands-on painting projects to the digital world of paint sprayers. His extensive experience gives him a unique perspective on what users truly need when it comes to painting tools. As the Editor in Chief of Paint Sprayer Zone, Mike ensures that every piece of content not only provides value but also reflects the realities of painting — the challenges, the joys, and the intricate details.