Whether you need to thin paint for your sprayer depends on the type of paint and your equipment, but generally, the right consistency is key for smooth, clog-free spraying. Thick paint can cause clogs, uneven coverage, or drips, so thinning is often necessary—especially with oil-based paints or high-viscosity formulas. Using the proper thinning techniques ensures your finish looks professional. Continue exploring to discover how to determine the perfect consistency for your project.
Key Takeaways
- Check your sprayer’s manual for recommended paint viscosity and thinning guidelines.
- Thinning is usually necessary for thick or highly pigmented paints to prevent clogs.
- Signs like uneven spray, drips, or slow drying indicate paint may need thinning.
- Use water for latex paints and mineral spirits for oil-based paints, following proper ratios.
- Test the paint flow on a scrap surface to determine if thinning improves spray performance.
Understanding Your Paint Sprayer Type
To determine whether you need to thin your paint, you first need to understand the type of paint sprayer you’re using. Different sprayers, like airless or HVLP, require varying paint consistencies. Knowing your sprayer’s specifications helps you decide if thinning is necessary. Proper brush maintenance is essential to keep your equipment in good shape, ensuring smooth operation and consistent results. Additionally, pay attention to paint storage; storing paint properly prevents it from thickening or drying out, which can affect spraying performance. Reading your sprayer’s manual to understand its recommended viscosity and cleaning routines is crucial for optimal results. Being aware of meditation techniques can also inform how you prepare your paint to achieve the best finish. By understanding your equipment and maintaining your tools, you’ll be better equipped to determine if your paint needs thinning and to achieve a flawless finish.
The Role of Paint Consistency in Spraying
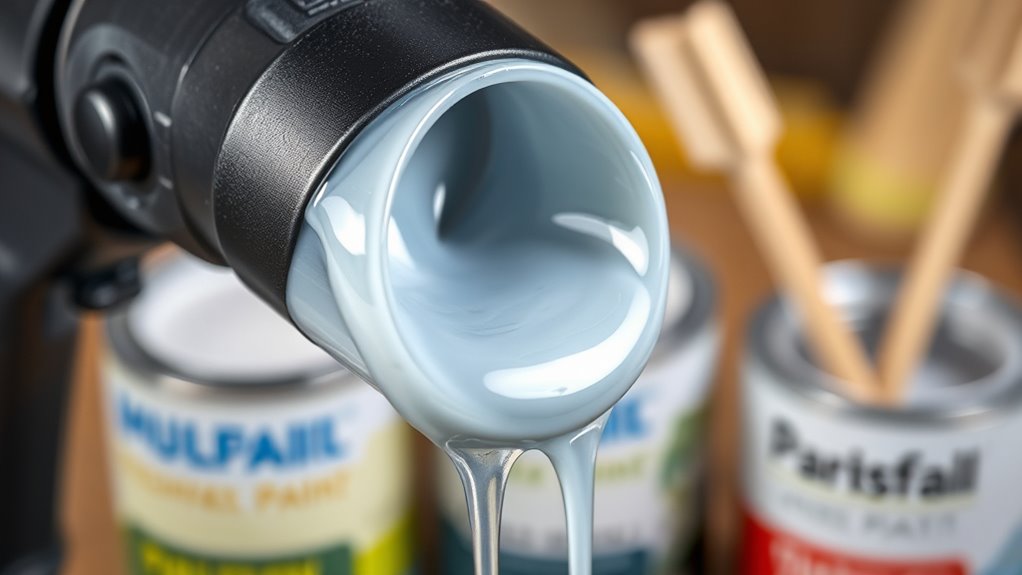
The consistency of your paint directly impacts how smoothly it flows through your sprayer. If it’s too thick, you might experience uneven coverage or clogging, while paint that’s too thin can lead to drips and waste. Getting the right consistency helps make certain a clean, even spray and prevents frustrating blockages.
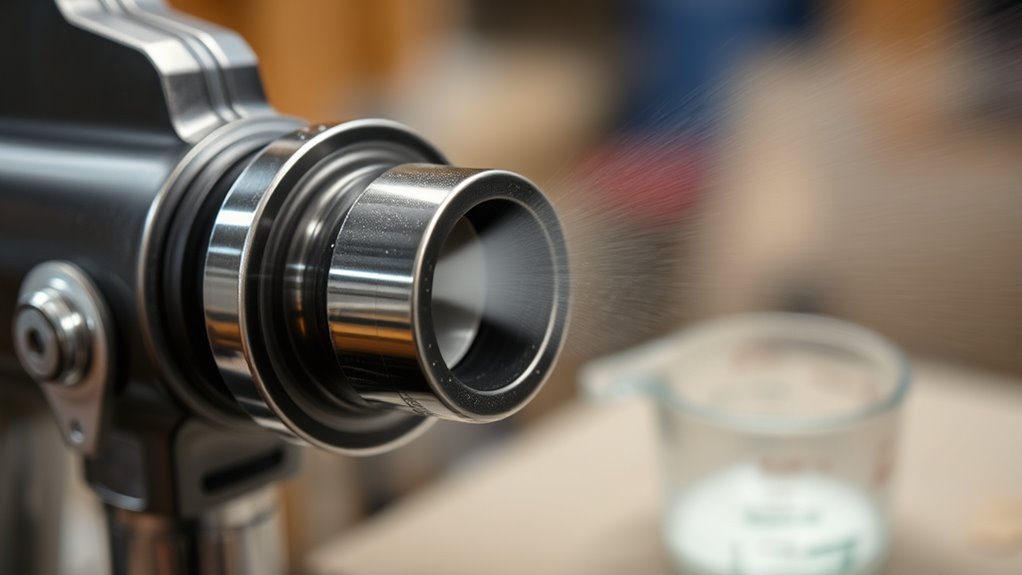
Proper Paint Flow
Achieving proper paint flow is essential for a smooth, even finish when using a paint sprayer. When your paint flows correctly, it avoids drips, runs, and uneven coverage. To guarantee this, consider the paint’s consistency and how it interacts with your sprayer. Proper flow depends on factors like paint additives, which can improve flow and adhesion. It also helps with color matching by maintaining a uniform pigment suspension. Using the right vacuum cleaner can help ensure your workspace remains free of dust that could affect paint application. Imagine the paint as a steady stream—neither too thick nor too thin. Think about:
- Adjusting thinning levels for ideal flow
- Using paint additives to improve smoothness
- Ensuring even pigment distribution for color matching
- Maintaining the right viscosity for your sprayer model
- Selecting the appropriate crochet styles for locs to match your desired finish and texture
- Understanding paint consistency to optimize the spraying process
- Monitoring paint flow rate to prevent issues like spattering or insufficient coverage
- Recognizing how paint viscosity influences spray performance and coverage.
These steps help you achieve a professional finish with consistent paint flow.
Avoiding Clogs
Maintaining the right paint consistency is essential for preventing clogs in your sprayer. Thinned paint flows smoothly through the nozzle, reducing the risk of blockages caused by thick or uneven paint. If your paint is too thick, it can cause uneven spray patterns and compromise paint color accuracy, making it harder to achieve a uniform finish. Properly mixed paint also improves paint durability, ensuring that the coating adheres well and lasts longer. Consistent paint consistency minimizes buildup inside the sprayer, preventing clogs that can lead to costly repairs or downtime. Regularly checking the paint formulation ensures optimal flow and performance of your sprayer. Additionally, understanding the chemistry of paint can help you better adjust the thinning process for different types of coatings. Knowing the viscosity of paint can assist in selecting the right thinning agents and amounts for various projects. For example, certain performance kits from Honda Tuning can include specific recommendations for optimal engine performance, much like selecting the right paint consistency for spraying. Ensuring your paint is at the correct density helps maintain a steady flow and prevents interruptions during application. Always test your paint’s flow before spraying, adjusting the thickness as needed. By ensuring the right consistency, you keep your sprayer running smoothly and achieve professional-looking results.
Signs That Your Paint Needs Thinning

If your paint is drying slowly or leaving uneven spray patterns, it might be too thick. Thick paint can clog your sprayer and cause irregular distribution. Recognizing these signs helps you decide if thinning is necessary for better results. Additionally, the retail hours of stores selling painting supplies can influence when you purchase thinning agents or new equipment. Being aware of the paint viscosity requirements ensures smoother spraying and a more professional finish. Properly understanding paint consistency can also prevent common issues such as sputtering or uneven coverage during application. Understanding paint formulation is crucial for achieving optimal spray performance and a flawless finish. For instance, familiarity with paint additives can help modify the paint’s properties for easier application.
Thick Paint Dries Slowly
When paint takes longer than usual to dry, it’s often a sign that it’s too thick and needs to be thinned. Thick paint with high viscosity can trap solvents, slowing evaporation and drying times. If your paint isn’t drying as expected, check its viscosity and whether the solvent used is compatible. Signs include:
- Streaky or uneven finish after drying
- Excessive brush or spray marks
- Visible thick clumps or blobs
- Prolonged tackiness or residual moisture
These issues suggest the paint is too dense, hindering proper curing. Adjusting the paint’s viscosity by thinning it with compatible solvents improves flow. Proper thinning ensures faster drying and a smoother, professional-looking finish. Additionally, using a paint sprayer correctly and maintaining proper pressure can help achieve an even coat and prevent issues related to thickness. Employing workplace ergonomics can reduce fatigue during extensive painting projects, ensuring consistent results throughout. For optimal results, understanding the benefits of airless paint sprayers can also make your project more efficient and successful. Moreover, understanding the role of AI in enhancing manufacturing efficiency can provide insights into improving your painting process through technological advancements.
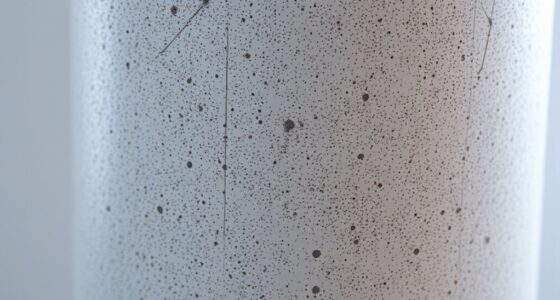
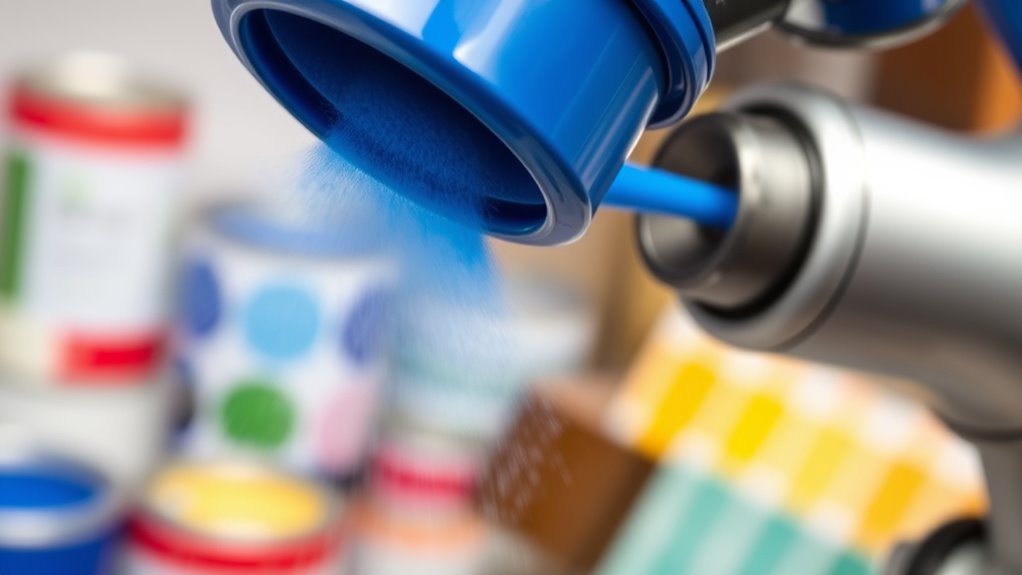
Spray Pattern Irregular
Irregular spray patterns often indicate that your paint is too thick and needs thinning. When the paint’s viscosity is too high, it struggles to flow smoothly through the nozzle, causing uneven coverage or splattering. Check your nozzle size; if it’s too small for the paint’s thickness, the spray pattern will become inconsistent. Thinning the paint reduces viscosity, allowing it to pass more easily through the nozzle and produce a uniform spray. Adjusting either the paint’s consistency or selecting a larger nozzle can improve the spray pattern. Consistent, smooth application depends on proper paint viscosity and nozzle choice. If you notice splatters or uneven lines, it’s a clear sign you should thin your paint for better results. Additionally, understanding the paint’s characteristics can help you determine the appropriate thinning technique.
Types of Paint and Their Thinning Requirements
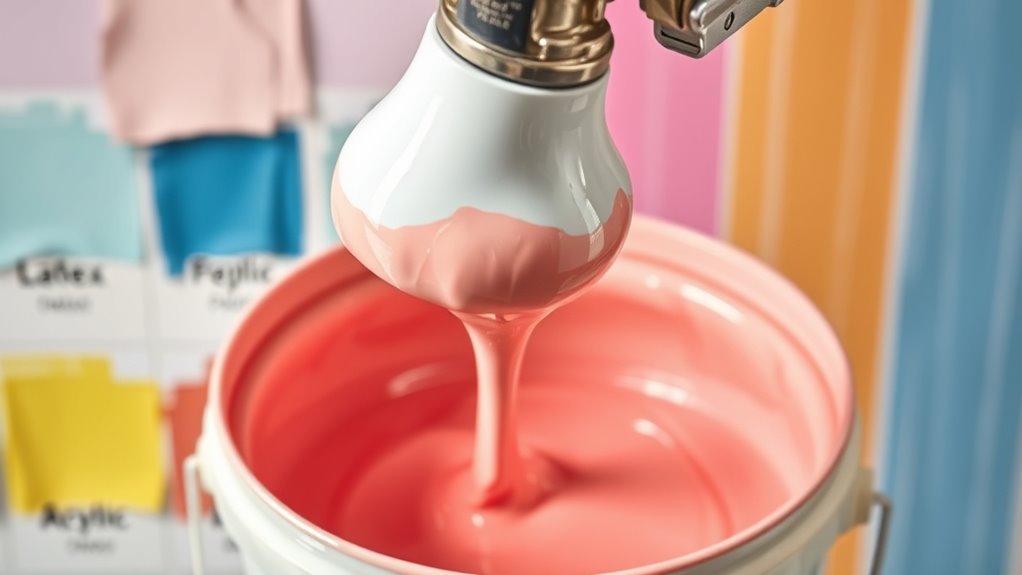
Different types of paint have specific thinning requirements to guarantee they flow smoothly through a paint sprayer. Water-based acrylics and latex paints usually need thinning, especially if they’re thick or have a rich paint color. Oil-based paints, on the other hand, often require specific solvents like mineral spirits. The paint branding influences thinning needs too; some brands formulate paints to be ready to spray, while others may need more thinning.
Consider these points:
- Latex and acrylic paints generally need water or a compatible thinner.
- Oil-based paints often require mineral spirits or paint thinner.
- Thick, high-viscosity paints need more thinning for smooth spraying.
- Always check the paint label for specific thinning instructions based on your chosen paint color and branding.
How to Properly Thin Paint for Spraying

To get the best spray results, you need to know the right thinning ratios for your paint. Using the proper techniques guarantees your mixture stays consistent and sprays smoothly. Let’s explore how to achieve the ideal consistency every time.
Ideal Thinning Ratios
Finding the right thinning ratio is essential for achieving a smooth, even spray. Typically, a ratio of 1 part paint to 1 to 2 parts thinner works well, but it depends on your paint type and sprayer. You should aim for a consistency similar to heavy cream—fluid enough to spray smoothly without clogging. Keep in mind, if you’re used to a paint brush, thinning helps avoid thick, uneven coats. When color mixing, proper thinning ensures consistent color and avoids streaks. Adjust the ratio based on the paint’s viscosity and your sprayer’s recommendations. Remember, too much thinner can weaken the paint’s adhesion, while too little can clog your equipment. Test your mixture on a scrap surface before starting your project for best results.
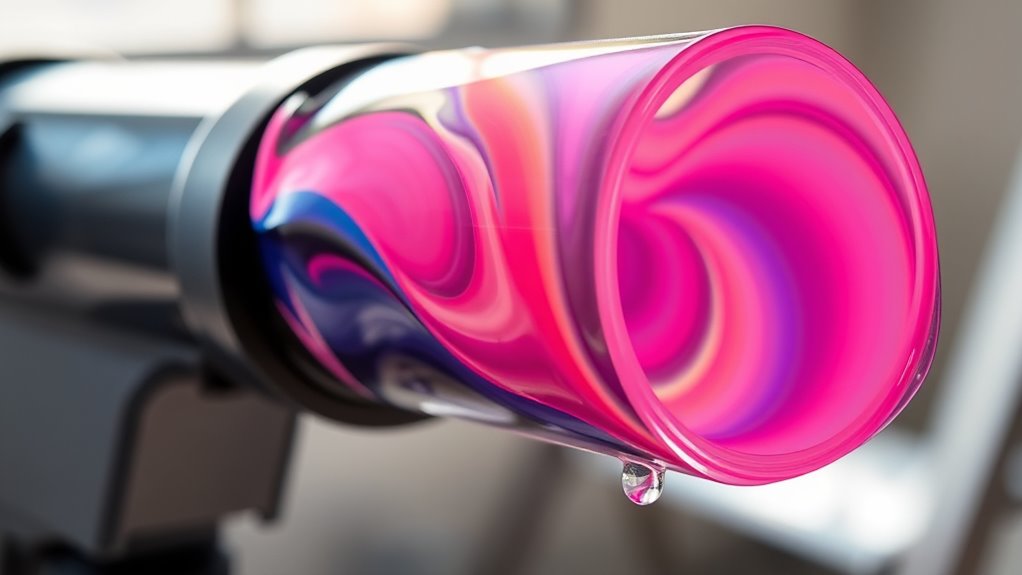
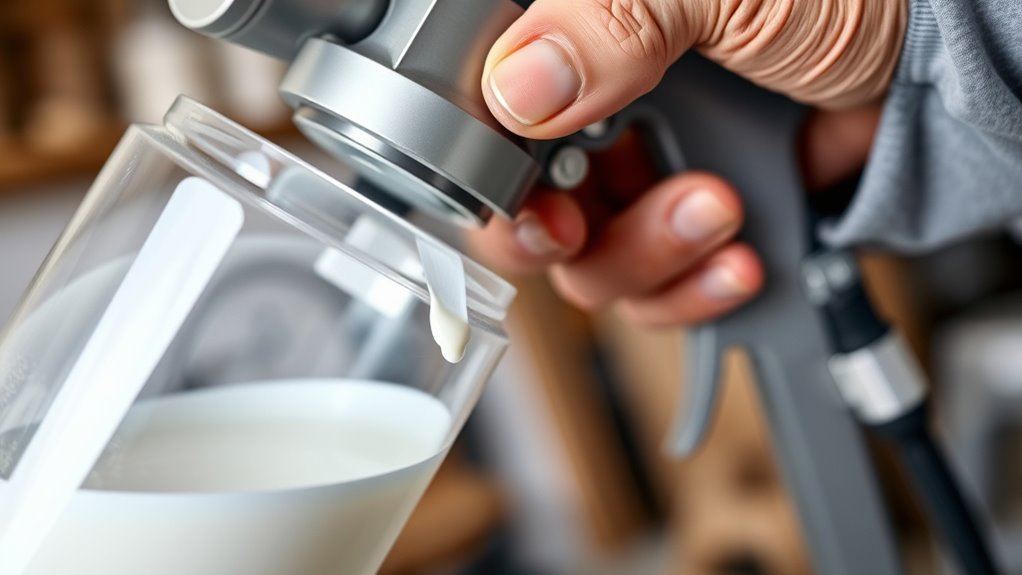
Techniques for Consistency
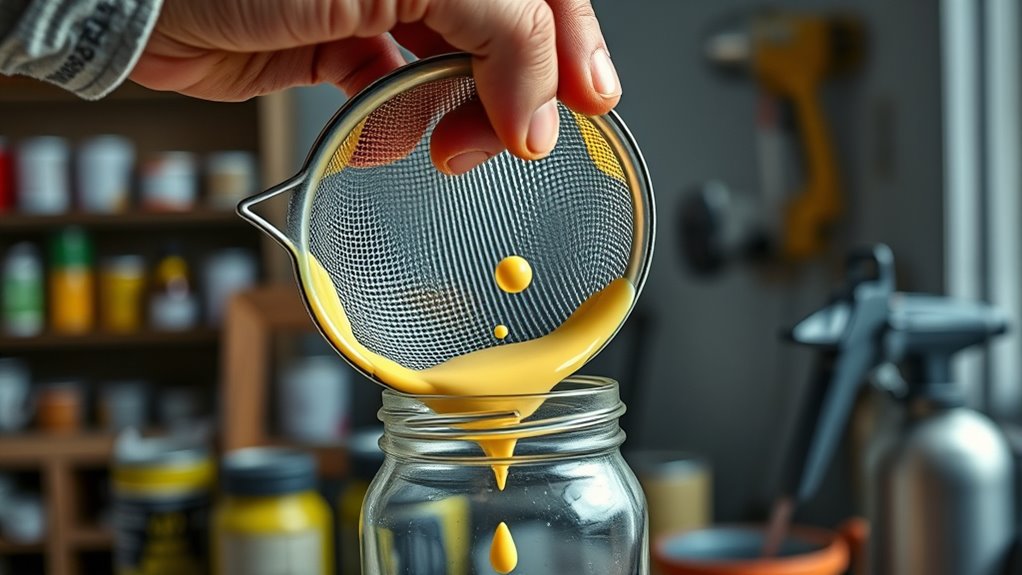
Achieving the right consistency when thinning paint for spraying requires a precise approach. You want your paint to flow smoothly without clogging the sprayer or unevenly covering surfaces. To do this, start by adding small amounts of water or thinner, mixing thoroughly before testing. Adjust until your paint has a paint texture similar to milk or cream. Keep in mind that the paint color should remain true, and thinning shouldn’t alter it. Use a strainers to remove lumps that can affect consistency. The table below summarizes key tips:
| Technique | Purpose | Result |
|---|---|---|
| Add small amounts gradually | Prevent over-thinning | Better control of texture |
| Mix thoroughly | Ensure uniform consistency | Smooth application |
| Test spray frequently | Achieve desired paint texture | Consistent coverage |
| Observe color fidelity | Maintain true paint color | Accurate final look |
Tools and Tips for Achieving the Right Consistency
Ensuring the right paint consistency is essential for a smooth, even finish when using a paint sprayer. To achieve this, focus on proper tools and techniques. Start with thorough color mixing to ensure uniform color and avoid clumps. Next, prepare the surface by cleaning and sanding to promote better adhesion. Use a high-quality strainer or filter to remove lumps or debris, ensuring a smooth flow. Adjust your paint’s thickness with a measuring cup or thinning tool, adding small amounts of water or paint thinner as needed. Keep a stirring stick close to maintain consistency during spraying. By paying attention to these tools and tips, you’ll achieve a professional finish with minimal issues. Proper surface prep and color mixing are key to the perfect spray application.
Risks of Over-Thinning Paint
Over-thinning paint can lead to a host of problems that compromise your project’s quality. When you thin paint excessively, it reduces its viscosity too much, risking poor paint adhesion and uneven coverage. Thin paint may not form a proper film, causing peeling or flaking over time. Additionally, over-thinning can hinder surface preparation, as the paint won’t effectively seal or smooth surfaces. To illustrate, consider this comparison:
| Issue | Cause | Effect |
|---|---|---|
| Poor adhesion | Excessive thinning | Paint flakes or peels prematurely |
| Surface failure | Insufficient surface prep | Uneven coating or bubbling |
| Increased runs | Too much thinning | Drips and uneven texture |
| Longer drying time | Thin, watery paint | Delayed project completion |
| Reduced durability | Weak film formation | Paint wears out faster |
Always balance thinning to maintain ideal surface preparation and adhesion.
Testing Your Paint Before Spraying
Before you start spraying, it’s important to test your paint to make sure it performs well with your equipment and achieves the desired finish. Testing helps you identify if the paint color looks even and vibrant, and whether your brush selection matches the paint’s consistency.
Always test your paint first to ensure smooth application and the perfect finish.
- Dip a small brush or roller to observe how the paint spreads and adheres
- Check the paint’s flow and coverage on a scrap surface
- Adjust the paint’s viscosity if it’s too thick or thin
- Spray a test patch to see how it sprays and dries, ensuring a smooth, even coat
These steps help you prevent issues during the actual project, saving time and effort while ensuring your finish looks professional.
Adjusting Spray Settings for Different Paints
Adjusting your spray settings is vital to achieve a smooth, even finish when working with different paints. Thinner paints require higher pressure and a wider spray pattern, while thicker paints benefit from lower pressure and a narrower pattern. Your brush techniques, like overlapping strokes and consistent speed, can influence how you set your sprayer. Proper paint storage is also indispensable; store paints at consistent temperatures to prevent thickening or separation, which affects sprayability. Before spraying, test your settings on a scrap surface, adjusting the nozzle size and pressure as needed. Remember, different paints have unique properties, so don’t hesitate to tweak your spray parameters to get the best results. Fine-tuning these settings ensures a professional, flawless finish.
Best Practices for a Professional Finish
Achieving a professional finish with a paint sprayer relies on proper technique and preparation. Start by thoroughly mixing your paint to guarantee consistent color and texture, preventing uneven coverage. Use smooth, overlapping brush techniques to fine-tune edges and corners after spraying, creating a seamless look. Maintain consistent spray settings to avoid drips and uneven layers, and keep your equipment clean to prevent clogs.
- Mix paints carefully for uniform color and consistency
- Practice steady, overlapping brush strokes for detail work
- Adjust spray settings based on paint thickness and surface
- Regularly clean your sprayer for ideal performance
Frequently Asked Questions
Can I Use Water to Thin Oil-Based Paints?
You can’t use water to thin oil-based paints because it won’t improve the paint’s consistency or flow. Instead, you should use the appropriate thinner, like mineral spirits or paint thinner, to achieve the right consistency. This helps your sprayer work smoothly and prevents clogging. Always check your sprayer adjustments too, to ensure peak performance with the properly thinned paint. Never use water for oil-based paints, as it can ruin your project.
How Do I Know if My Paint Is Too Thick or Thin?
Imagine the paint as a smooth, flowing river; if it’s too thick, it struggles to flow, and if too thin, it loses its cover. To verify paint consistency, try the drip test—if it drips off the stir stick slowly, it’s good. Adjust sprayer settings accordingly. A proper consistency ensures even coverage, preventing clogs or drips. Keep an eye on these signs to achieve a flawless finish.
Is There a Specific Thinning Ratio Recommended for Latex Paint?
For latex paint, a common thinning ratio is about 10% water to improve paint consistency and guarantee smooth spraying. You should add water gradually, mixing thoroughly and checking the flow. This helps prevent clogging and uneven coverage. Adjust the ratio based on your spraying techniques and the manufacturer’s recommendations. Always test your mixture on a small area first to get the best results, ensuring your paint sprays evenly.
How Does Temperature Affect Paint Thinning and Spraying?
Temperature effects play a big role in paint thinning and spraying. When it’s hot, paint can become too thin, causing uneven spray and drips, while cold temperatures make it thicker, leading to clogging and poor spray consistency. You should adjust the paint’s thinning ratio based on the temperature, ensuring it flows smoothly through your sprayer. Maintaining a consistent temperature helps achieve even coverage and a professional finish.
What Are Alternative Thinning Agents Besides Water or Solvents?
When exploring alternative additives for thinning paint, you seek options beyond water or solvents. You might consider using commercial thinning agents designed specifically for sprayers, which can improve flow and finish. You could also explore eco-friendly options like natural plant-based oils or biodegradable thinners, which align with environmental considerations. Always test these alternatives first, ensuring compatibility with your paint and sprayer, for a smooth, sustainable application.
Conclusion
If you’re unsure whether to thin your paint, start by testing it first. For instance, a DIY homeowner once skipped thinning and ended up with drips and uneven coverage on their cabinets. Thinning paint properly guarantees smooth application and a professional finish, saving you time and frustration. Remember, a little preparation goes a long way—so always check your paint’s consistency before spraying to achieve flawless results every time.

Franz came aboard the Paint Sprayer Zone team with a background in both journalism and home renovation. His articulate writing style, combined with a passion for DIY projects, makes him an invaluable asset. Franz has a knack for breaking down technical jargon into easy-to-understand content, ensuring that even the most novice of readers can grasp the complexities of paint sprayers.