
To keep your electric sprayer’s motor running smoothly, regularly inspect and clean connections, wires, and ventilation openings to prevent corrosion and overheating. Check the brushes for wear and replace them when needed, and guarantee the motor is properly lubricated as per the manufacturer’s instructions. Maintain a stable power supply and test the motor periodically for signs of trouble. Continuing with these tips will help you ensure reliable operation and extend your sprayer’s lifespan.
Key Takeaways
- Regularly inspect and clean electrical connections, brushes, and vents to prevent corrosion and overheating.
- Check motor brushes for wear and replace them when they reach 50% or show damage.
- Maintain proper lubrication and ensure vents are clear to prevent motor overheating.
- Keep battery terminals and wires clean, tight, and dry to ensure consistent power supply.
- Perform periodic testing of motor performance, including noise, vibration, and temperature checks, to identify issues early.
Regular Inspection and Visual Checks
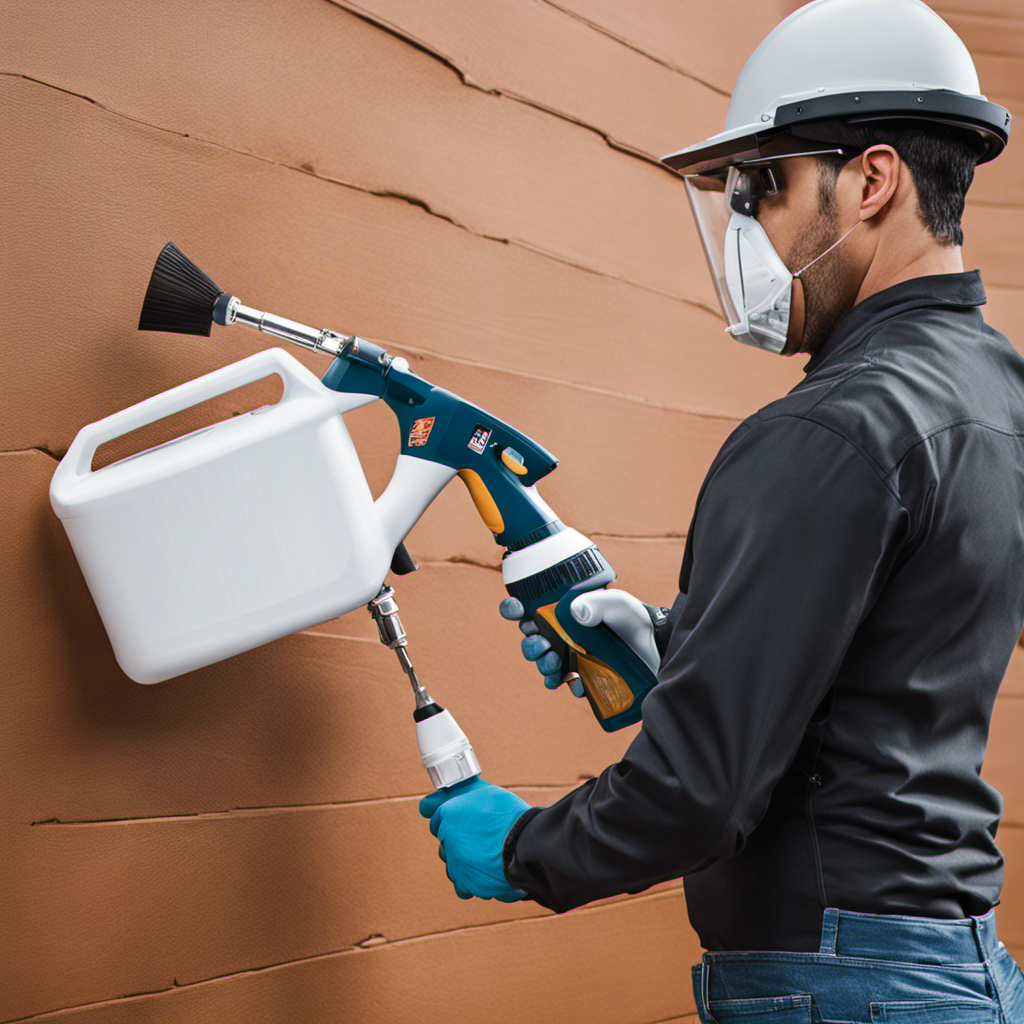
Regular inspection and visual checks are essential for keeping your sprayer motor in top condition. Start by examining the battery for signs of corrosion, leaks, or loose connections, as proper battery maintenance prevents electrical issues. Always follow safety precautions—wear gloves and eye protection—to avoid contact with battery acid or sparks. Check the battery terminals for corrosion and clean them if necessary to ensure good contact. Look for any visible damage or wear on wires, connectors, and the motor housing. Tighten loose connections and replace frayed wires promptly. Regularly inspecting these components helps identify potential problems early, reducing the risk of breakdowns and ensuring safe operation. Additionally, inspecting the Oil levels and quality helps maintain optimal performance and prolongs the lifespan of your sprayer. Proper electrical connections are crucial for reliable operation, and routinely checking them can prevent unexpected failures. Ensuring the engine components are clean and functioning correctly also contributes to efficient operation. Staying vigilant with visual checks ultimately extends your sprayer’s lifespan and maintains ideal performance. Incorporating routine visual assessments can also help detect early signs of wear that might otherwise go unnoticed.
Keeping Connections and Wires Clean and Secure
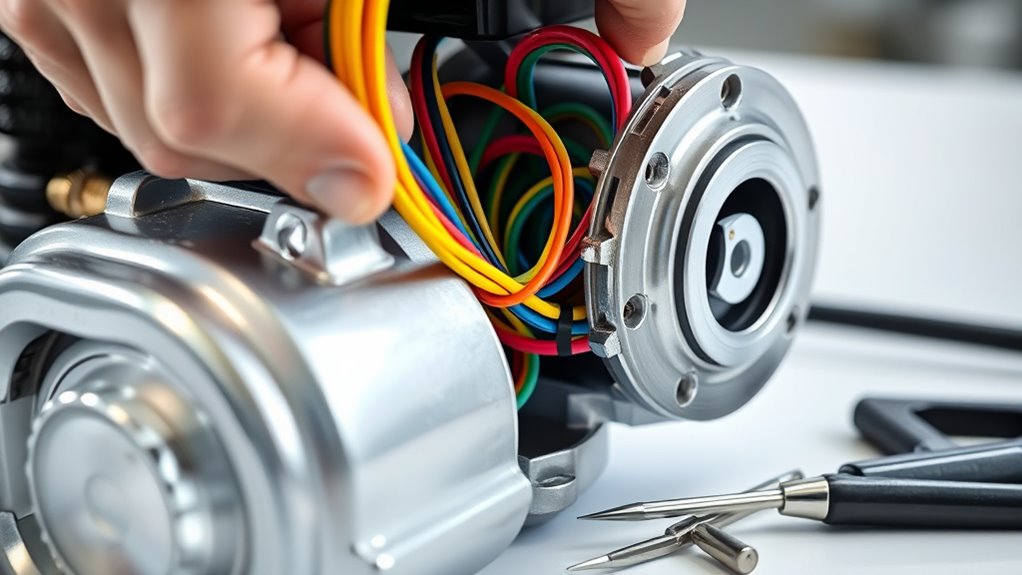
Make certain to regularly check your connections and wires for corrosion or dirt buildup, as these can cause electrical issues. Tighten any loose connections to prevent power interruptions or damage to your sprayer motor. Keeping everything clean and secure helps ensure reliable operation and prolongs your equipment’s lifespan. Additionally, inspecting for potential digital literacy gaps can help prevent mishandling or miscommunication during maintenance. Being familiar with the contrast ratio of your equipment can also assist in diagnosing image-related issues and maintaining optimal performance. Regularly reviewing the essential oils used in your maintenance routines can also contribute to overall equipment care. Furthermore, understanding creative storytelling can be beneficial for crafting clear maintenance instructions and communication. Moreover, staying informed about AI vulnerabilities can help you better understand and mitigate potential technological risks associated with modern equipment.
Inspect for Corrosion
Corrosion can quickly compromise the electrical connections in your sprayer motor, leading to poor performance or failure. To prevent this, regularly inspect all connections for signs of corrosion, such as rust or discoloration. Use a wire brush or electrical contact cleaner to remove corrosion carefully, ensuring you don’t damage the wires or terminals. When replacing or repairing parts, prioritize corrosion prevention by choosing materials compatible with your sprayer’s environment—stainless steel or coated connectors work well. Proper material compatibility reduces the risk of corrosion buildup over time. Keep connections dry and protected from moisture, which accelerates corrosion. Staying vigilant and maintaining clean, secure connections helps ensure your sprayer operates smoothly and extends its lifespan. Additionally, understanding AI in Business can help you leverage technology to monitor equipment health automatically, reducing manual inspection efforts. Regular maintenance and environmental controls are essential for corrosion resistance, helping to prolong the lifespan of your sprayer components. Implementing protective coatings or sealants can further enhance your corrosion prevention strategies, especially in humid or corrosive environments. Incorporating preventive maintenance routines also minimizes the likelihood of unexpected electrical issues and can be supported by advanced monitoring systems that alert you to potential problems before failure occurs.
Tighten Loose Connections
Loose connections can cause intermittent power issues or complete failure of your sprayer motor. To prevent this, check all wiring connections regularly. Begin by inspecting each connection point for looseness or corrosion. Use a screwdriver or pliers to tighten any loose wire terminals, ensuring they’re secure and snug. Proper wire tightening improves connection security, which is crucial for consistent motor performance. Avoid overtightening, as it can damage terminals or wires. Make sure all connections are free of dirt, debris, and corrosion before tightening. If you find any damaged wires or connectors, replace them promptly. Maintaining tight, clean, and secure connections helps prevent electrical failures and keeps your sprayer motor running smoothly. Regularly checking these connections is a simple, effective way to extend your sprayer’s lifespan. Additionally, inspecting electrical safety features ensures that your equipment operates safely and reliably. Incorporating proper maintenance practices can further enhance the durability and performance of your sprayer motor. Staying vigilant about connection integrity can help identify potential issues before they lead to costly repairs. Performing routine inspections allows you to catch problems early and maintain optimal operation, especially as modern AI-enabled components become integrated into equipment for smarter diagnostics.
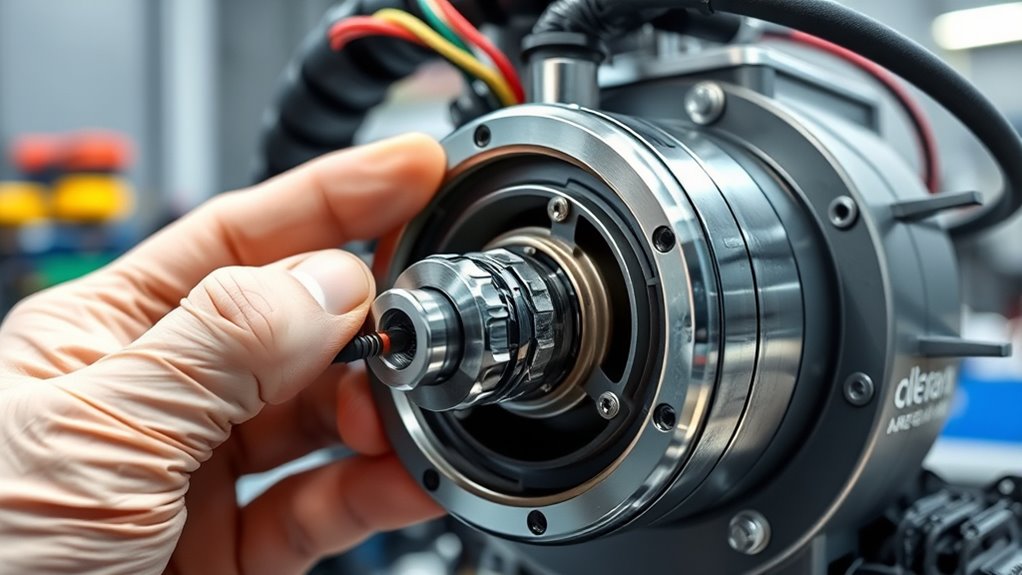
Monitoring and Replacing Worn Brushes
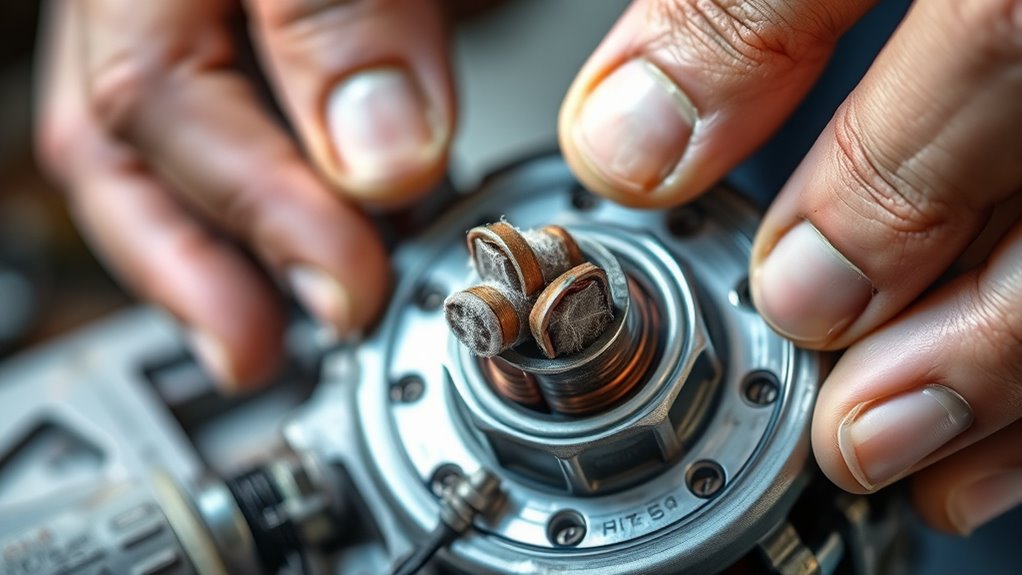
You need to regularly check your sprayer motor’s brushes for signs of wear, like uneven or excessive sparking. When replacing them, follow proper procedures to guarantee a secure fit and peak performance. Keeping an eye on these details helps prevent breakdowns and extends your motor’s lifespan. Additionally, monitoring motor efficiency can help identify early signs of issues before major failures occur. Regular inspection of exhaust systems and ensuring proper ventilation can also contribute to optimal motor function. Furthermore, staying aware of filter conditions and replacing filters as needed ensures the motor operates smoothly. Incorporating preventive maintenance practices based on manufacturer guidelines can significantly improve the longevity of your equipment. Consistent inspection and maintenance are vital components of effective software quality assurance, ensuring your equipment runs smoothly and reliably.
Signs of Brush Wear
Monitoring the condition of your sprayer motor brushes is essential to guarantee peak performance. Worn brushes often show signs like uneven sparking or inconsistent motor operation. If you notice frequent motor overheating, it could be a sign that the brushes are nearing the end of their lifespan. Additionally, you might hear unusual noises or see electrical arcing around the brushes. Reduced motor efficiency or sudden drops in power also indicate brush wear. Ignoring these signs can lead to more serious issues, including damage to the armature. Regularly inspecting your brushes and recognizing these warning signs helps you plan timely brush replacement, preventing motor overheating and maintaining smooth, reliable operation. Understanding industry trends and the latest maintenance techniques can help you stay ahead of potential issues. Stay proactive to extend your sprayer’s lifespan and avoid costly repairs.
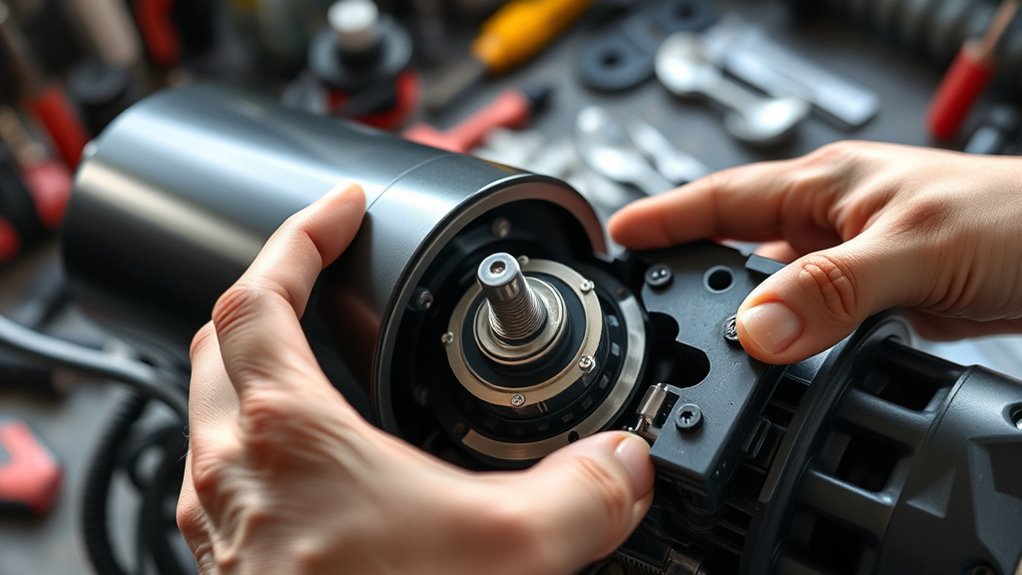
Proper Replacement Procedures
Regularly inspecting your sprayer motor brushes allows you to identify when they are worn and need replacement. When it’s time for a motor replacement, verify you select brushes that are compatible with your sprayer’s motor. Start by disconnecting the power and removing the motor housing carefully. Take note of the current brushes’ position and condition, then remove them using appropriate tools. Before installing new brushes, clean the brush holder and ensure the new component matches the original specifications for component compatibility. Insert the new brushes, making sure they sit snugly and move freely. Reassemble the motor, reconnect the power, and test the sprayer to confirm smooth operation. Proper replacement procedures help maintain optimal motor performance and prolong your sprayer’s lifespan. Regular maintenance is essential for preventing unexpected breakdowns and ensuring consistent spray performance. Inspirational quotes about fatherhood can serve as motivation to care for your equipment diligently, just as they inspire us to nurture our relationships.
Preventive Maintenance Tips
To guarantee your sprayer motor remains in top condition, it’s essential to keep an eye on the brushes’ wear over time. Worn brushes can cause electrical issues, affecting overall performance. Regular inspection helps identify when replacement is needed before damage occurs. When replacing brushes, ensure they’re compatible with your motor and suited for the chemicals you’re using. Proper sprayer nozzle calibration also prevents unnecessary strain on the motor, extending brush life.
| Brush Condition | Replacement Timing | Chemical Compatibility |
|---|---|---|
| Worn down | When wear reaches 50% | Check for chemical resistance |
| Frayed or cracked | Immediately | Use compatible chemicals |
| Excessive dirt or debris | During routine checks | Clean before replacing brushes |
| Sparking or irregular motor noise | When noticed | Ensure brushes match motor specs |
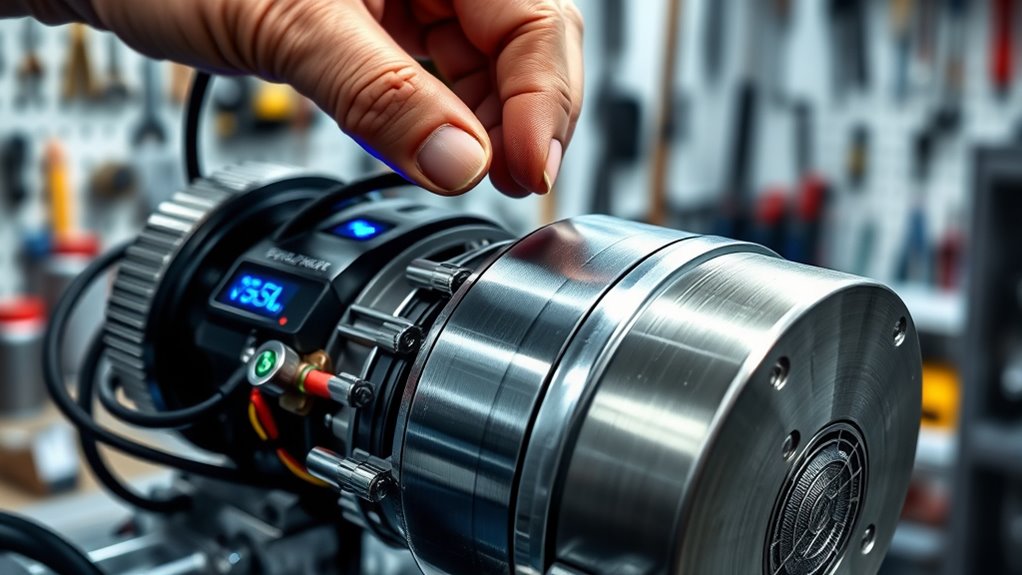
Ensuring Proper Motor Lubrication

Proper lubrication is essential for keeping your sprayer motor running smoothly and preventing costly breakdowns. Regular oil application ensures the motor parts move efficiently and reduces wear. To maintain ideal motor lubrication, follow these steps:
Proper lubrication keeps your sprayer motor running smoothly and prevents costly breakdowns.
- Check the manufacturer’s manual for recommended oil types and intervals.
- Clean the lubrication points before applying oil to remove dust and debris.
- Apply the correct amount of oil, avoiding over-lubrication which can cause leaks.
- Inspect the motor regularly for signs of inadequate lubrication, such as squeaking or overheating.
Clearing Debris and Clogs From Ventilation Openings
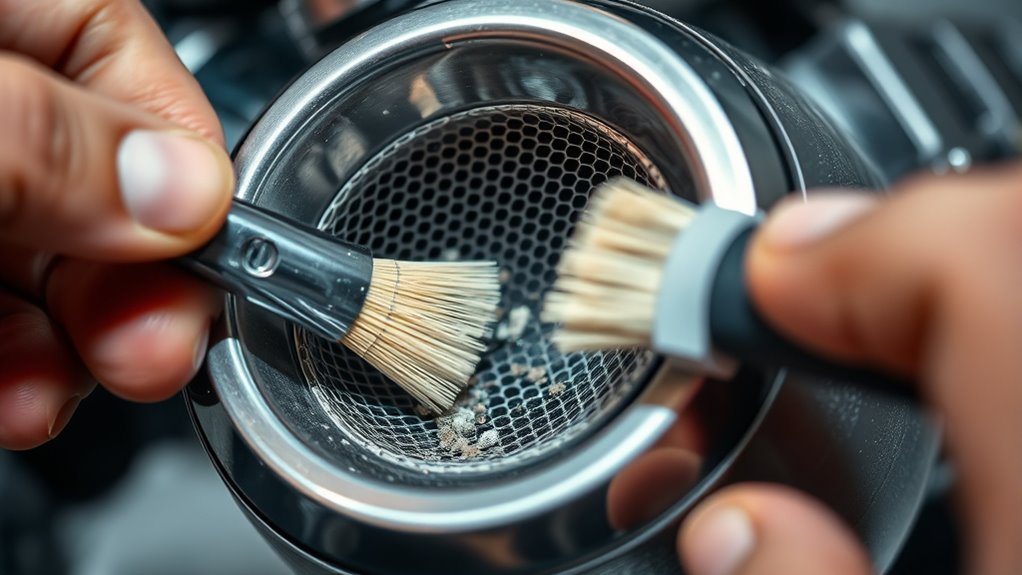
Regularly inspect your sprayer’s ventilation openings to catch any blockages early. When removing debris, use gentle tools to avoid damaging the openings. Keeping these areas open ensures proper airflow and prevents motor overheating.
Inspect Ventilation Openings Regularly
Have you checked the ventilation openings lately? Regular inspection keeps your sprayer’s ventilation system working efficiently, ensuring ideal airflow and preventing overheating. Here’s what to do:
- Turn off the sprayer and unplug it before inspecting.
- Look for dust, dirt, or debris blocking the openings.
- Use a soft brush or compressed air to remove any buildup gently.
- Confirm that vents are clear and unobstructed for proper airflow.
Remove Debris Carefully
To remove debris and clogs from your sprayer’s ventilation openings, start by turning off the machine and unplugging it for safety. Dust accumulation can block airflow, causing your motor to overheat or work inefficiently. Carefully inspect the openings for any dirt, leaves, or other debris. Use a soft brush or compressed air to gently clear dust and dirt without damaging the vents. Avoid forcing debris into the openings, as this can worsen airflow obstruction or damage components. Ensure you reach all corners of the ventilation holes, removing any buildup that could hinder cooling. Regularly clearing debris helps maintain proper airflow, preventing overheating and ensuring your sprayer runs smoothly. Always handle the openings gently to avoid unintended damage.
Use Appropriate Cleaning Tools
Using the right cleaning tools is essential to effectively clear debris and clogs from your sprayer’s ventilation openings. First, use a small, stiff cleaning brush to dislodge dirt and debris without damaging the vents. Second, employ a soft-bristled brush for removing rust around metal components, preventing corrosion. Third, a compressed air blower can blow out stubborn dust and particles lodged deep inside the openings. Fourth, have a fine needle or pin to clear any remaining clogs in tiny vents or holes. These tools help guarantee proper airflow and prevent overheating. Always choose cleaning brushes suited for your sprayer’s material to avoid scratching or damaging parts. Regularly inspecting and maintaining ventilation openings with these tools keeps your sprayer running smoothly and prolongs its lifespan.
Checking for Overheating and Unusual Noises
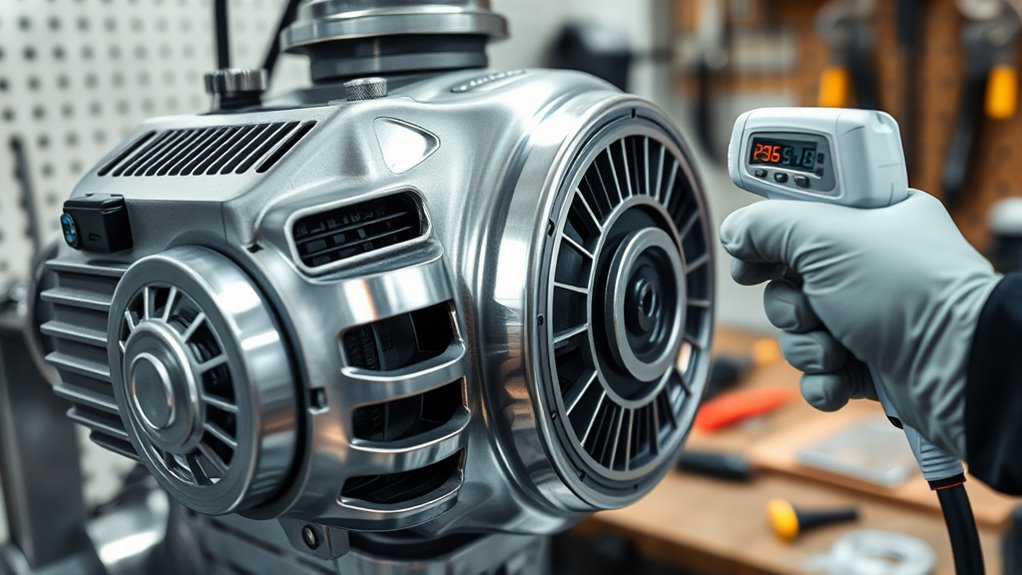
Monitoring your sprayer motor for overheating and unusual noises is crucial to prevent damage and guarantee smooth operation. Overheating can compromise thermal safety, risking motor failure if not addressed promptly. Listen for odd sounds like grinding, squealing, or rattling, which may indicate parts are wearing or misaligned. Excessive heat or strange noises often signal underlying issues that need attention before they worsen. Regularly check for signs of overheating, such as warm or hot motor surfaces, and feel for vibrations or irregular sounds during operation. Addressing these early helps maintain noise reduction and overall efficiency. By staying alert to these signs, you ensure your sprayer runs reliably, extends its lifespan, and avoids costly repairs. Always prioritize thermal safety and noise monitoring as part of routine maintenance.
Proper Storage During Off-Season
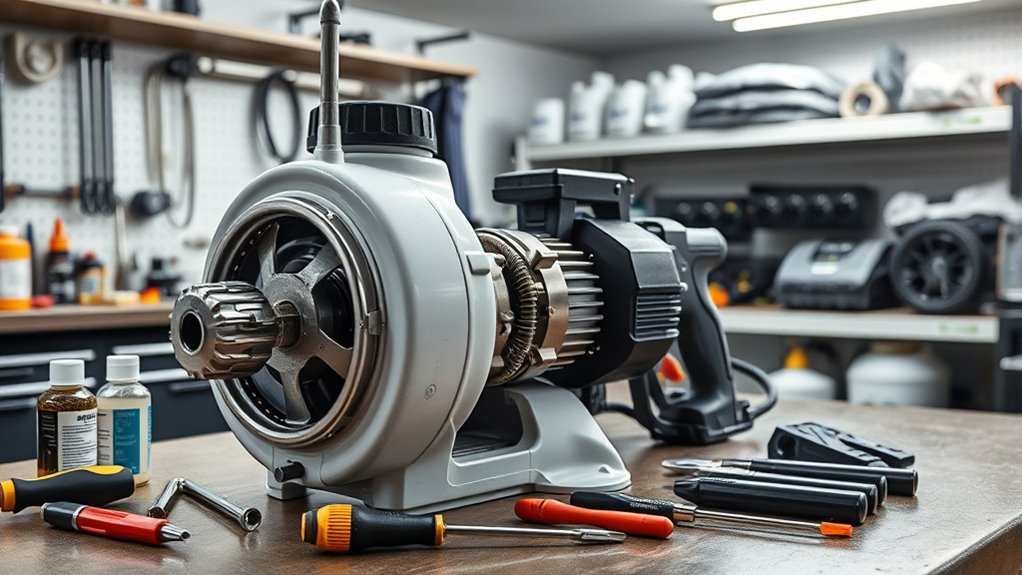
Proper storage during the off-season is essential to keep your sprayer motor in good condition and ready for use when needed. To prevent issues like chemical corrosion and battery damage, follow these steps:
- Clean thoroughly the sprayer to remove residual chemicals that can cause corrosion.
- Drain and disconnect the battery for proper battery storage, preventing discharge and damage.
- Store in a dry, cool place to avoid moisture buildup that promotes corrosion.
- Inspect and lubricate moving parts to ensure smooth operation upon next use.
Using Correct Power Supply and Voltage
Ensuring your sprayer motor receives the correct power supply and voltage is essential for peak performance and longevity. Check that your power supply is compatible with your sprayer’s specifications to prevent electrical issues. Using an incompatible power source can cause damage or reduce the motor’s lifespan. Voltage regulation is equally important; fluctuations can lead to overheating or inconsistent operation. Always use a stable, regulated power source designed for your sprayer’s voltage requirements. If you’re unsure, consult the manufacturer’s guidelines or use a voltage regulator to maintain steady voltage levels. Avoid plugging your sprayer into outlets with inconsistent power; this helps prevent damage and ensures smooth, reliable operation over time. Proper power supply and voltage management are key to keeping your sprayer motor in reliable condition.
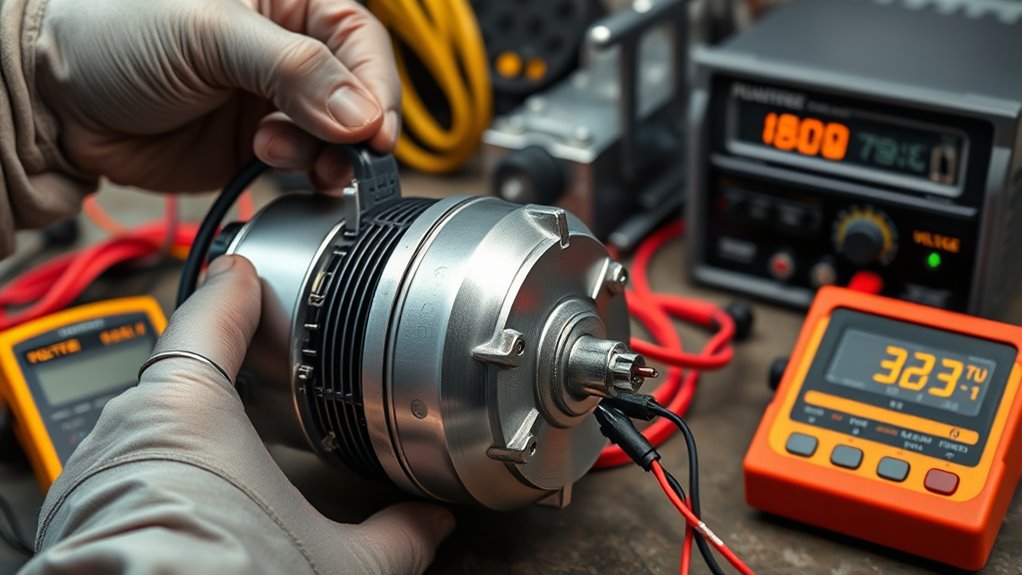
Periodic Testing of Motor Performance

Regularly testing your sprayer motor’s performance helps detect potential issues early and prevents unexpected breakdowns. During checks, pay attention to motor vibration and electrical noise, which can signal underlying problems. To keep your motor in top shape, consider these steps:
- Observe motor vibration levels; excessive vibration may indicate misalignment or worn bearings.
- Listen for abnormal electrical noise, such as buzzing or humming, which could suggest wiring or stator issues.
- Measure motor temperature to ensure it’s operating within safe limits.
- Conduct a brief performance run to monitor consistent operation without unusual sounds or vibrations.
Following Manufacturer’s Maintenance Guidelines
Following manufacturer’s maintenance guidelines is essential for keeping your sprayer motor operating reliably. These instructions guarantee proper electrical safety and optimize battery maintenance, preventing damage and extending motor life. Always follow recommended schedules for cleaning, inspecting, and replacing parts. Keep in mind that neglecting these guidelines can lead to motor failure or safety hazards.
Use the table below to easily track essential maintenance activities:
| Task | Frequency |
|---|---|
| Inspect electrical connections | Before each use |
| Clean motor and vents | Weekly |
| Check battery charge levels | Monthly |
| Replace worn brushes | As recommended |
| Test safety features | Regularly |
Adhering to these steps keeps your sprayer in top shape and safe to operate.
Frequently Asked Questions
How Can I Tell if My Sprayer Motor Is Failing Prematurely?
You might notice your sprayer motor is failing prematurely if it frequently overheats or makes unusual noises during operation. Overheating can cause the motor to shut down or burn out faster than expected. Unusual noises, like grinding or squealing, often signal worn parts or electrical issues. Pay attention to these signs, and if you spot them, inspect your motor promptly. Regular maintenance can help prevent early failure and keep your sprayer running smoothly.
Are There Specific Lubricants Recommended for Electric Motor Maintenance?
Think of your electric motor as a dancer needing just the right dance partner—lubricants. You should always check manufacturer recommendations to guarantee lubricant compatibility, avoiding any missteps that could cause damage. Using the correct lubricant keeps parts moving smoothly, like a well-choreographed routine. When in doubt, consult the manufacturer’s guidelines to select the best lubricant, ensuring your motor remains lively and reliable for the long haul.
What Are the Signs of Electrical Issues Beyond Visual Inspection?
You should look for electrical issues like unusual noises, frequent tripping, or inconsistent motor performance. Sensor diagnostics can reveal irregular readings, while thermal fluctuations may cause overheating or sudden stops. If you notice these signs, it’s a good idea to check wiring connections and test circuit components. Addressing these issues early helps prevent more serious damage and keeps your electric sprayer running smoothly.
How Often Should I Replace the Brushes in My Sprayer Motor?
You should replace the brushes in your sprayer motor when they become worn down to about 1/4 inch thick. Regular brush replacement helps extend the motor’s lifespan and guarantees smooth operation. Check them every 50-100 hours of use or if you notice reduced performance or unusual noise. Keeping up with brush maintenance prevents motor failure and keeps your sprayer running efficiently for longer periods.
Can Improper Storage Damage the Motor Even if It Looks Fine?
Improper storage can definitely damage your sprayer motor, even if it looks fine. Poor storage conditions, like high humidity or exposure to moisture, increase the corrosion risk and can cause internal components to degrade over time. Make sure you store your sprayer in a dry, cool place, and protect it from moisture. Proper storage helps prevent corrosion and keeps your motor in good shape, ensuring reliable performance when you need it.
Conclusion
By staying vigilant with regular maintenance, you can guarantee your electric sprayer’s motor runs smoothly all season. For example, imagine a farmer who neglected routine checks—leading to unexpected breakdowns during critical spraying days. Don’t let that be you. Follow these simple steps, from inspecting connections to proper storage, and keep your sprayer in top shape. With consistent care, you’ll save time, money, and frustration, ensuring your equipment performs when you need it most.

A seasoned painter with over 15 years in the industry, Mike transitioned from hands-on painting projects to the digital world of paint sprayers. His extensive experience gives him a unique perspective on what users truly need when it comes to painting tools. As the Editor in Chief of Paint Sprayer Zone, Mike ensures that every piece of content not only provides value but also reflects the realities of painting — the challenges, the joys, and the intricate details.