
To save time and get a pro-quality finish, prep surfaces well, using sanding and cleaning to guarantee smoothness. Shake cans thoroughly and hold them 6-12 inches from the surface, applying light coats with even strokes. Use painter’s tape for sharp lines and organize your supplies beforehand. Techniques like using a spray booth or enclosure help contain overspray. Master these tips and more to streamline your process and achieve flawless results effortlessly.
Key Takeaways
- Prepare surfaces thoroughly to reduce rework and ensure smooth, even paint application.
- Use multiple light coats instead of one heavy coat for faster drying and better finish.
- Shake spray cans well and maintain proper distance (6-12 inches) for consistent coverage.
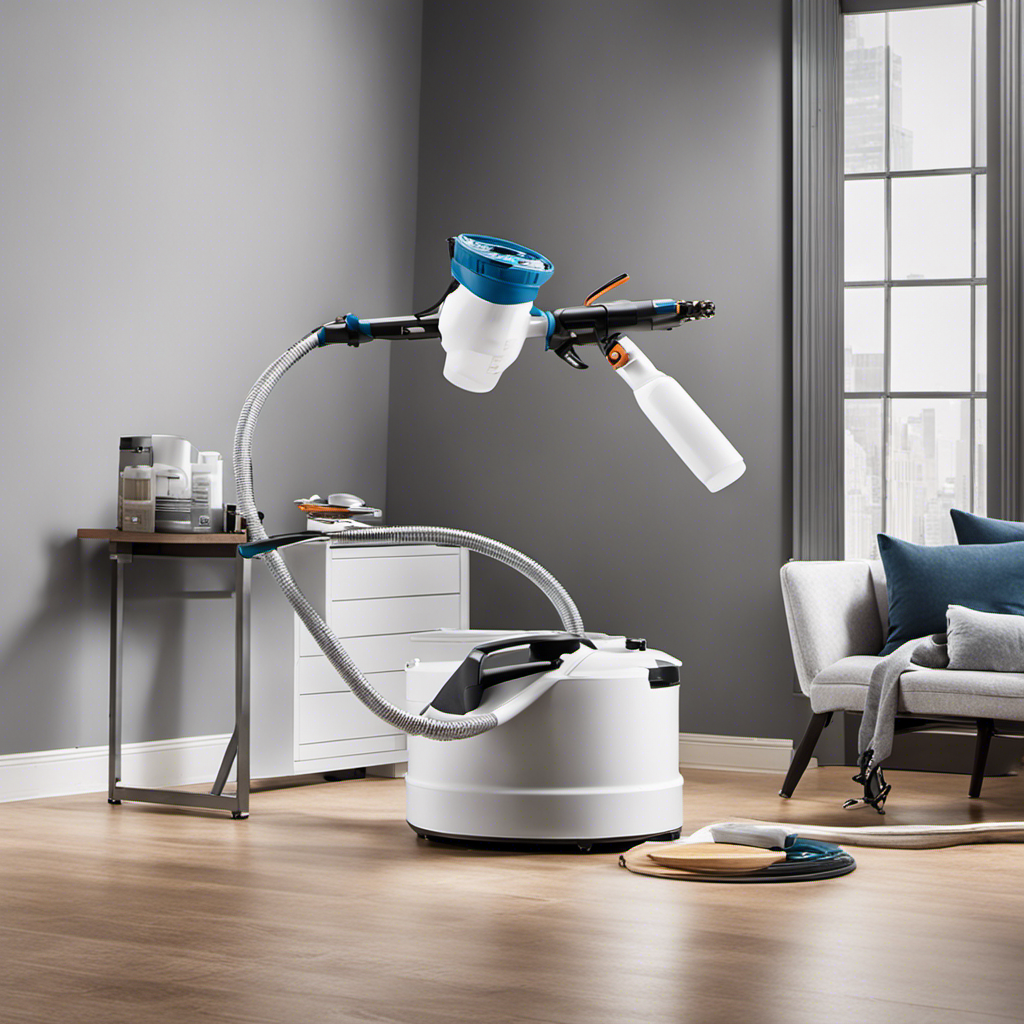
- Organize tools and materials beforehand to streamline the painting process and save time.
- Apply painter’s tape and masking techniques for clean edges, minimizing touch-ups later.

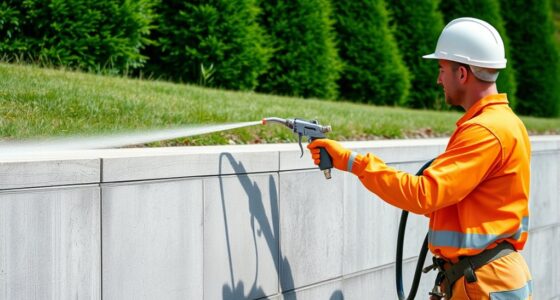
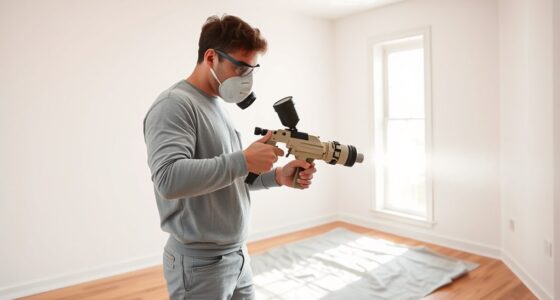
Spray painting can be a quick and cost-effective way to refresh your home or craft projects, but achieving professional-looking results often requires some handy hacks. To start, you need to prioritize spray paint safety. Always work in a well-ventilated area, wear a mask to avoid inhaling fumes, and don gloves to protect your skin. Proper safety measures aren’t just about protecting yourself; they also ensure your project turns out cleaner and more polished. Keep your workspace clear of clutter and flammable materials, and consider laying down a drop cloth to catch overspray. When you follow these safety guidelines, you’ll work more efficiently and avoid accidents that could ruin your project or delay your progress.
Prioritize safety: work in ventilated areas, wear masks and gloves, and protect your workspace for better spray painting results.
Next, effective DIY project planning saves you time and helps you avoid costly mistakes. Before you even pick up the spray can, take time to prepare your project thoroughly. Sand surfaces smooth, clean off any dust or grease, and use painter’s tape to create clean lines if needed. Planning also involves choosing the right type of spray paint for your project—whether it’s metal, wood, or plastic—and selecting appropriate spray nozzles for even coverage. Measure and mark your project area to prevent over-spraying, and set up your workspace with all necessary supplies within reach. By organizing your project beforehand, you minimize wasted paint and reduce the risk of mistakes that could mean starting over.
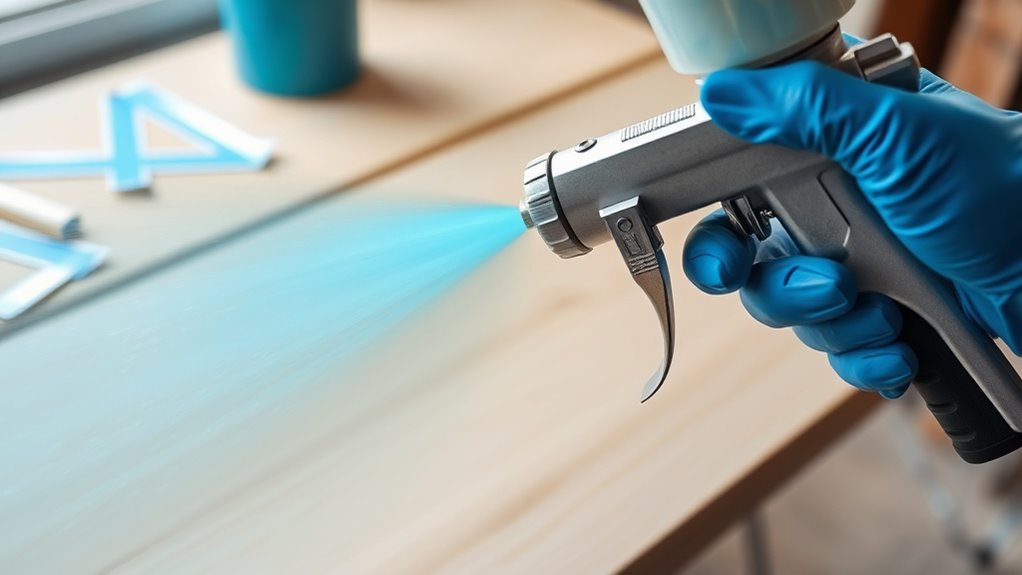
When it comes to spray paint safety and project planning, don’t forget to shake the can thoroughly before use. Proper shaking ensures the paint is mixed well, leading to a smoother application. Hold the spray can at the recommended distance—usually about 6 to 12 inches from the surface—to avoid drips and uneven coverage. Use light, even coats rather than trying to cover everything in one go; multiple thin layers yield a more professional finish and help the paint dry faster. Between coats, let the paint dry completely to prevent smudging or bubbling. Also, if you’re working on a larger project, consider using a spray booth or a makeshift enclosure to contain overspray and keep your work area clean. Incorporating proper technique into your spraying process can significantly improve your results and reduce the need for touch-ups later.
Incorporating these hacks into your DIY spray painting process will help you achieve a professional-looking finish without the hassle. Remember, safety isn’t optional—it’s essential—and proper planning makes all the difference between a rushed job and a seamless, beautiful result. With a little preparation and attention to detail, you’ll find that spray painting becomes faster, safer, and more satisfying, turning your ideas into real, eye-catching results.
Frequently Asked Questions
What Safety Gear Should I Wear During Spray Painting?
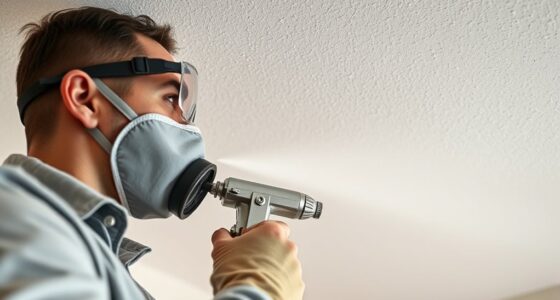
When spray painting, you should wear protective clothing to shield your skin from fumes and overspray. Respiratory protection is essential—use a mask or respirator to avoid inhaling toxic fumes. Safety gear like goggles is also important to safeguard your eyes from splatters. By wearing the right safety equipment, you keep yourself safe and ensure a cleaner, more professional finish on your project.
How Do I Choose the Right Spray Paint for Different Surfaces?
Oh, choosing spray paint is just like picking a soulmate—except for surfaces! You need to take into account surface preparation first; smooth, clean surfaces take paint better. For durability, pick a paint formulated for that specific material—metal, wood, or plastic. Don’t forget to read labels! A good match ensures your project lasts, saving you time and frustration. Now, go find the perfect spray paint for your surface romance!
Can I Use Spray Paint Indoors Without Ventilation Issues?
You can use spray paint indoors, but you need to prioritize indoor ventilation to stay safe from spray paint fumes. Make sure to open windows and use fans to improve airflow. Wearing a mask is also a good idea to avoid inhaling fumes. If possible, work in a well-ventilated area or consider using low-VOC spray paints for safer indoor projects. Proper ventilation helps you achieve a professional finish without risking your health.
What’s the Best Way to Clean Spray Equipment After Use?
Ever wonder how to keep your spray equipment spotless after a messy project? Well, you just gotta treat your tools like royalty. Use appropriate cleaning solvents to break down leftover paint, then rinse thoroughly. Proper equipment maintenance is key, so don’t forget to disassemble parts and clean every nook. This way, your spray gear stays in prime shape, ready for your next masterpiece—and saves you time and frustration later.
How Long Should I Wait Between Coats for a Smooth Finish?
You should wait for the recommended drying time between coats, usually about 15-30 minutes, but check the paint label for specifics. The re-coating interval guarantees the first layer is dry enough to avoid drips or uneven finish. Rushing this step can ruin your work. Be patient, and you’ll achieve a smooth, professional look. Always follow the manufacturer’s instructions for the best results.
Conclusion
You never know when a simple spray painting hack will turn a messy project into a pro finish. Sometimes, the best tricks come from unexpected tips that save time and boost quality. Keep these hacks in mind, and you might just find that your next DIY project surprises you with flawless results—almost like it was meant to be. After all, the right technique can make all the difference, and you’re just a spray away from perfection.

Franz came aboard the Paint Sprayer Zone team with a background in both journalism and home renovation. His articulate writing style, combined with a passion for DIY projects, makes him an invaluable asset. Franz has a knack for breaking down technical jargon into easy-to-understand content, ensuring that even the most novice of readers can grasp the complexities of paint sprayers.