
To achieve a professional spray-painted finish on furniture and cabinets, start with thorough cleaning, light sanding, masking, and priming for better adhesion. Use quality spray equipment with adjustable settings, and keep your hand steady at a consistent distance—around 6 to 12 inches. Apply multiple thin coats, allowing proper drying time between each, and finish with a protective sealant. If you follow these techniques carefully, you’ll get smooth, durable results; keep going to discover more tips for perfection.
Key Takeaways
- Prepare surfaces thoroughly by cleaning, sanding, masking, and priming to ensure smooth, durable paint adhesion.
- Choose appropriate spray paint and equipment, maintaining proper calibration and cleaning for even coverage.
- Use consistent, overlapping spray motions at a steady distance, applying multiple thin coats for a flawless finish.
- Allow adequate drying time between coats and before sealing to prevent drips and uneven color.
- Finish with protective sealants and perform final touch-ups to enhance durability and achieve a professional look.
Preparing Your Surface for Spray Painting

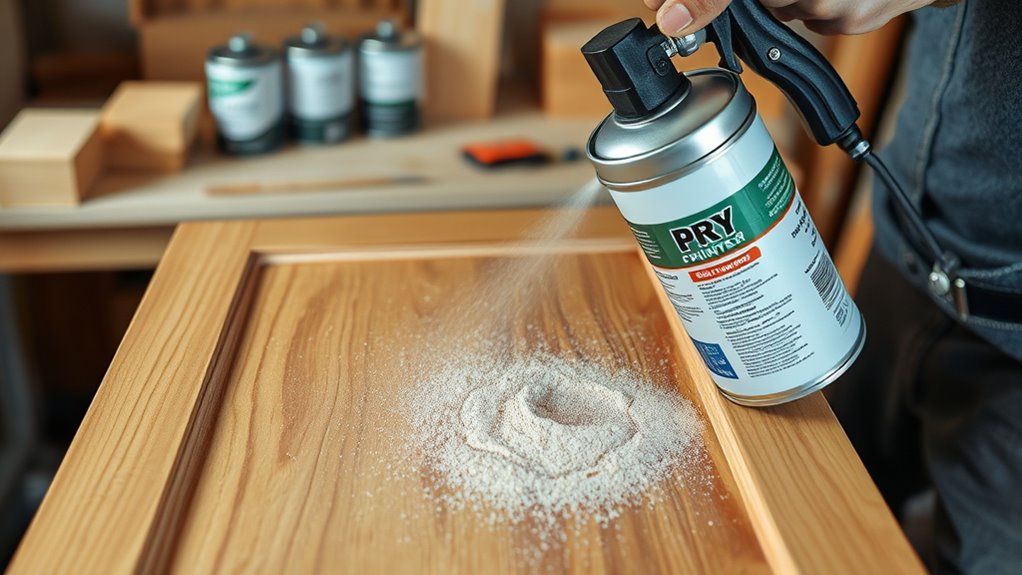
Before you begin spray painting furniture or cabinets, it’s essential to prepare the surface properly. Start with thorough surface cleaning to remove dust, grease, and dirt that can cause uneven paint application. Use a gentle cleaner or a mixture of soap and water, then dry completely. Once clean, consider odor masking by applying a primer or sealant designed to neutralize odors, especially if you’re working in a space with lingering smells. Mask off surrounding areas with painter’s tape to protect surfaces from overspray. Sand lightly if needed to create a smooth, even surface, but avoid overdoing it. Incorporating vacuum cleaner performance metrics like suction power can help ensure dust and debris are thoroughly removed during cleaning, creating a better surface for painting. Using a high-quality paint application technique can also significantly influence the smoothness and durability of your finish. Proper surface preparation guarantees better paint adhesion and a professional-looking finish, making your spray painting project more successful and satisfying. Additionally, understanding symptoms of poor surface preparation can help you identify issues early and correct them for optimal results. Integrating AI-driven tools like surface analysis apps can further optimize your prep process and ensure precise results.
Choosing the Right Spray Paint and Equipment
Choosing the right spray paint and equipment is key to achieving a smooth, durable finish on your furniture or cabinets. Start by selecting spray paint types suited for your project, such as acrylic, enamel, or lacquer, based on durability and finish preferences. Consider color matching to ensure the paint complements your existing decor or desired style. Quality spray guns and pressure-controlled sprayers help deliver even coverage and minimize drips. For detailed work or tight corners, smaller spray tips are ideal. If you’re aiming for a professional look, invest in equipment that offers adjustable settings for spray pattern and pressure. Additionally, choosing proper cleaning methods for your spray equipment ensures longevity and optimal performance. Using the correct spray paint and equipment tailored to your project will save time and produce a flawless, long-lasting result. Incorporating airless paint sprayers into your toolkit can further enhance efficiency and finish quality, especially for larger or more complex projects. Proper preparation and understanding of paint application techniques are essential for achieving the best results.
Proper Surface Sanding and Priming Techniques
Before you start spray painting, it’s vital to properly prepare your surface by sanding it smooth and removing any imperfections. Applying a quality primer will help your paint stick better and last longer, especially on furniture and cabinets. Focus on these steps to guarantee a durable, professional-looking finish.
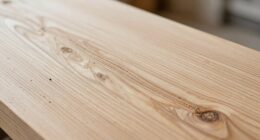
Surface Preparation Essentials
To guarantee a smooth and durable finish, proper surface preparation is essential, starting with effective sanding and priming techniques. Begin by sanding the furniture or cabinets to create a slightly rough surface that helps the paint adhere better. Focus on removing previous finishes, scratches, or imperfections. Once sanded, wipe the surface clean to eliminate dust. Priming is the next vital step, sealing the surface and enhancing paint adhesion. When selecting your paint color, consider how it complements your furniture style and existing decor. Proper surface prep ensures your chosen color looks true and lasts longer. Take your time with these steps; skipping or rushing them can lead to uneven finishes or chipping down the line. Solid prep forms the foundation for a professional-looking, long-lasting spray paint job. Additionally, understanding the surface material can help you choose the most suitable primer and paint for optimal results, especially considering the floating on water property of some materials which may require specific preparation techniques. Using the appropriate surface preparation methods can significantly improve the durability and appearance of your finished project. Being mindful of paint compatibility with different materials can further enhance your project’s success.
Priming for Durability
After thoroughly cleaning and sanding your surface, applying the right primer sets the stage for a durable finish. A quality primer helps with surface sealing, preventing moisture and stains from penetrating the wood. It also enhances paint adhesion, ensuring your topcoat sticks firmly and lasts longer. To maximize durability, choose a primer suitable for your material, whether wood, metal, or laminate. Apply an even coat using a spray gun or brush, paying attention to corners and edges. Allow the primer to dry completely before sanding lightly again, which smooths the surface and promotes better bond strength. Proper priming creates a sealed, uniform base that resists chipping, peeling, and wear over time, making your furniture or cabinets look great and stand the test of time. Additionally, understanding the air purifier maintenance can help you appreciate the importance of a strong, well-adhered finish that can withstand frequent use and environmental exposure. Paying attention to surface preparation is essential for achieving a professional and long-lasting result, especially since paint adhesion can be affected by surface contaminants. Incorporating knowledge about automation in business can also help streamline your project workflow, ensuring consistent quality and efficiency.
Mastering Spray Painting Strokes for Even Coverage
To achieve smooth, even coverage, you need to keep your spray motion consistent and steady. Maintaining the right distance from the surface guarantees an even application without drips or uneven spots. Focus on these key points to master your spray strokes and get professional-looking results. Incorporating the correct exfoliation techniques can also help prepare your furniture or cabinets for a more uniform finish. Additionally, understanding pregnancy-related symptoms can help you manage physical discomforts during your project sessions. Being aware of essential oils for surface cleaning can provide natural alternatives for maintaining your workspace and tools during the painting process. Proper celebrity lifestyle insights can inspire you to create a stylish and functional space that reflects your personal taste. Moreover, learning about local legal resources can be beneficial if you encounter any legal issues related to your home improvement projects.
Consistent Spray Motion
Mastering a consistent spray motion is essential for achieving smooth, even coverage on your furniture or cabinets. To do this, focus on steady, overlapping strokes, much like brush techniques but with spray devices. Before spraying, guarantee your paint is properly mixed to avoid uneven texture. Keep your hand movements smooth and continuous, avoiding stops or jerks. Practice maintaining the same speed and distance from the surface to prevent drips and splotches. Use the table below for quick tips:
| Technique | Explanation |
|---|---|
| Steady, overlapping strokes | Cover area evenly without gaps or excess buildup |
| Consistent speed & distance | Maintain uniform coverage and prevent runs |
| Proper paint mixing | Ensures smooth application and color consistency |
| Controlled motion | Avoid streaks and uneven layers |
Additionally, paying attention to spray angle and adjusting it as needed can further improve your results.
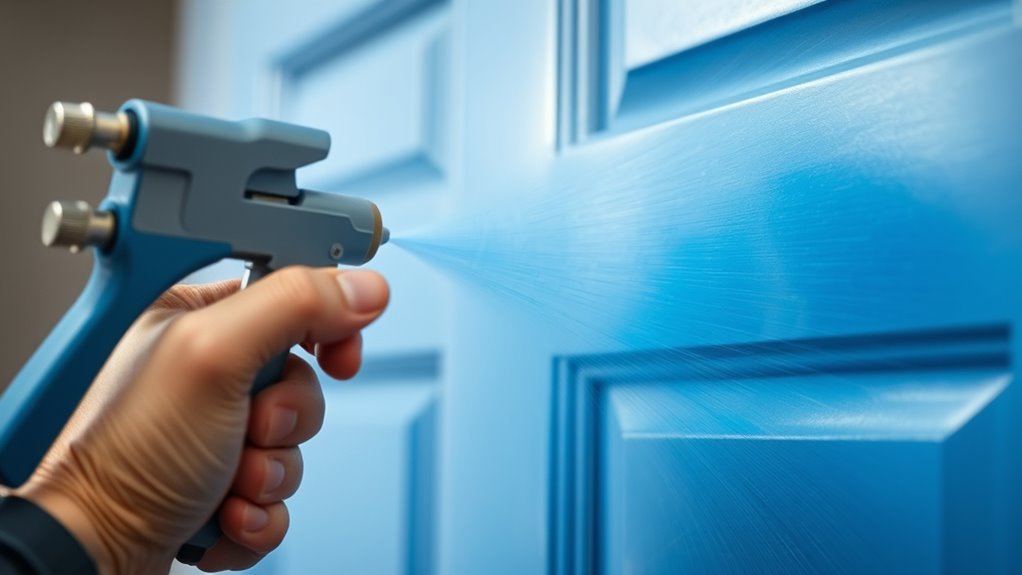
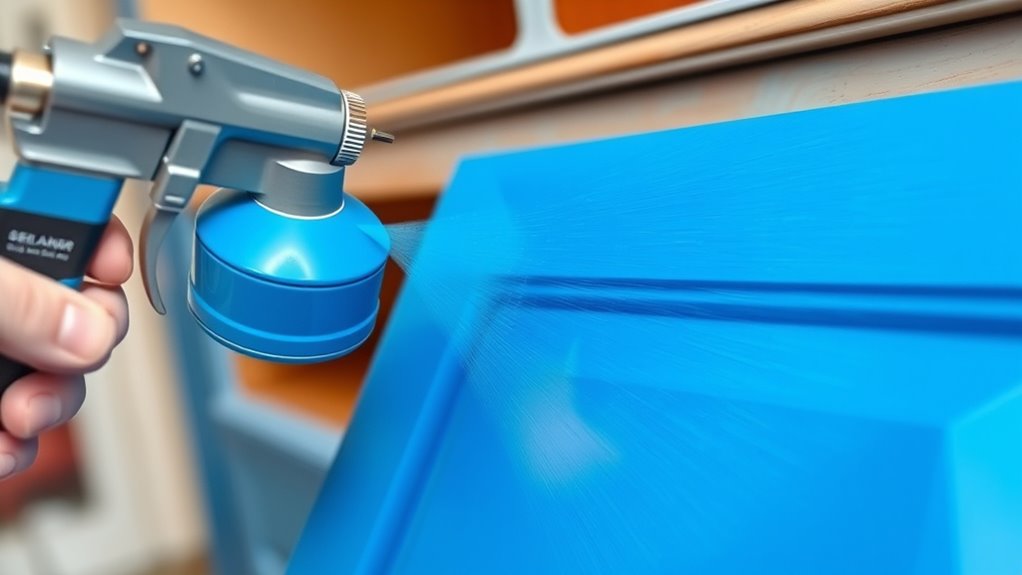
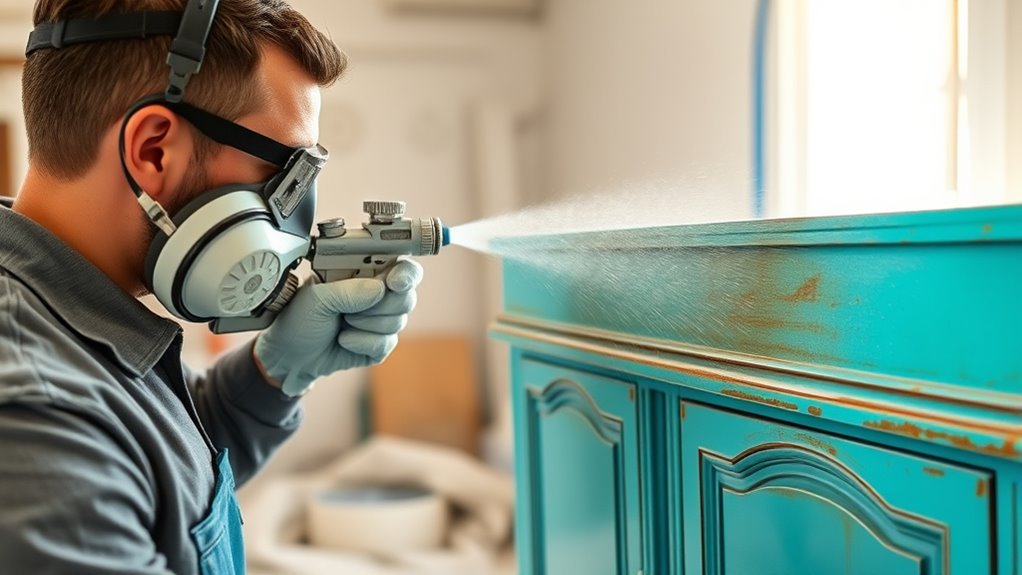
Maintain Proper Distance
Maintaining the proper distance from your surface is essential for achieving an even spray pattern and avoiding drips or uneven coverage. Keep your spray gun about 6 to 12 inches away, adjusting based on the spray pattern and paint consistency. This distance helps you control brush techniques, ensuring smooth, consistent strokes. Consistent distance also prevents over-application, which can ruin your finish. When selecting colors, a steady hand and proper distance make sure the pigment distributes evenly, highlighting the true hue without streaks. Practice maintaining this distance to develop confidence in your technique. Remember, too close and you risk runs; too far and coverage becomes sparse. Mastering this balance results in a flawless, professional-looking finish on your furniture or cabinets. Additionally, understanding the spray pattern helps optimize coverage and efficiency, ensuring a uniform coat every time.
Maintaining Consistent Distance and Speed
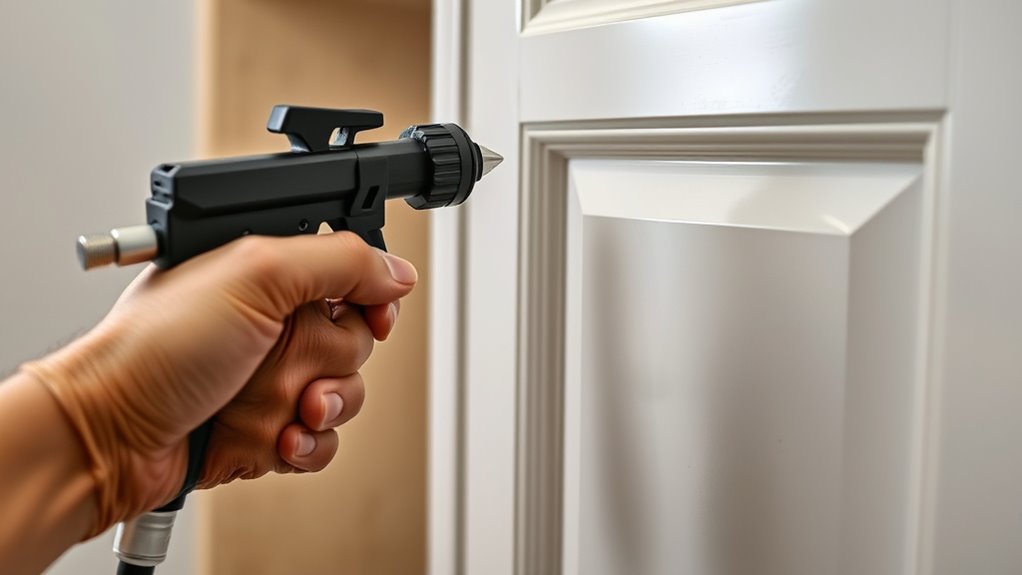
Ensuring a consistent distance and speed while spray painting is essential for achieving a smooth, even finish. Keep your spray gun calibrated properly to prevent uneven spray patterns. Maintain a steady pace, avoiding rushing or lingering in one spot, which can cause drips or uneven coverage. Use smooth, overlapping strokes for uniform results. To help, follow this quick reference:
| Key Technique | Tip |
|---|---|
| Spray Gun Calibration | Regularly check and adjust settings |
| Paint Mixing Techniques | Mix thoroughly for even flow |
| Consistent Distance | Keep 6-12 inches from surface |
Sticking to these practices ensures your paint application remains even, saving time and reducing touch-ups.
Applying Multiple Coats and Drying Times
Once you’ve achieved a smooth, even coat by controlling your spray technique, applying multiple coats becomes the key to a professional finish. Use proper brush techniques to smooth out any uneven spots between coats and ensure seamless color blending. Allow each coat to dry fully—typically 1 to 2 hours—before applying the next. Rushing this step can cause drips, smudges, or uneven color. Lightly sand between coats if needed to enhance adhesion and smoothness. Applying multiple thin coats instead of one thick layer results in a more durable, polished look. Patience during drying times helps prevent imperfections and guarantees the paint fully cures. With careful layering and proper drying, you’ll achieve a flawless, professional-looking finish that lasts.
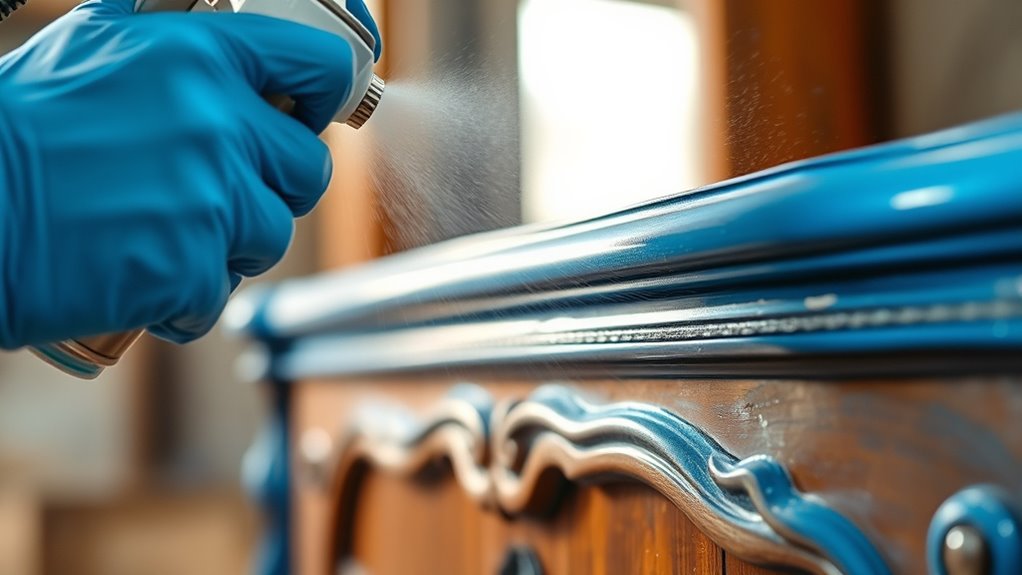
Finishing Touches and Protecting Your Work
After you’ve completed your spray painting and allowed the final coat to fully dry, adding finishing touches and protective layers is essential to preserve your work. Proper finish sealing guarantees your paint job lasts longer and resists scratches. To enhance your project, consider these steps:
- Color matching: Touch up any imperfections with a small brush to ensure uniform color and a seamless look.
- Apply a clear sealant: Use a compatible spray or brush-on sealer to provide a protective barrier against moisture and wear.
- Final inspection: Check for any uneven spots or missed areas, and do necessary touch-ups before the sealant fully cures.
These steps help you achieve a professional finish and protect your furniture or cabinets for years to come.
Frequently Asked Questions
How Do I Prevent Drips and Runs During Spray Painting?
To prevent drips and runs during spray painting, you need to focus on your brush techniques and paint consistency. Keep your brush strokes smooth and even, avoiding heavy layers that cause drips. Also, guarantee your paint is properly thinned to the right consistency, so it sprays evenly without pooling. Apply thin coats, maintain consistent distance from the surface, and keep moving steadily to achieve a flawless finish without drips or runs.
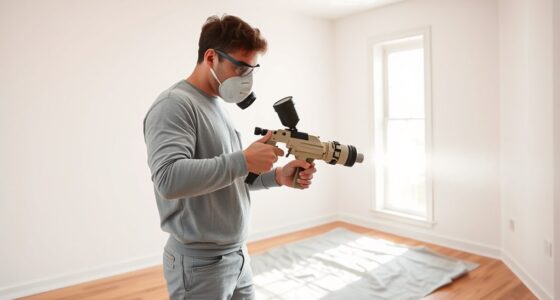
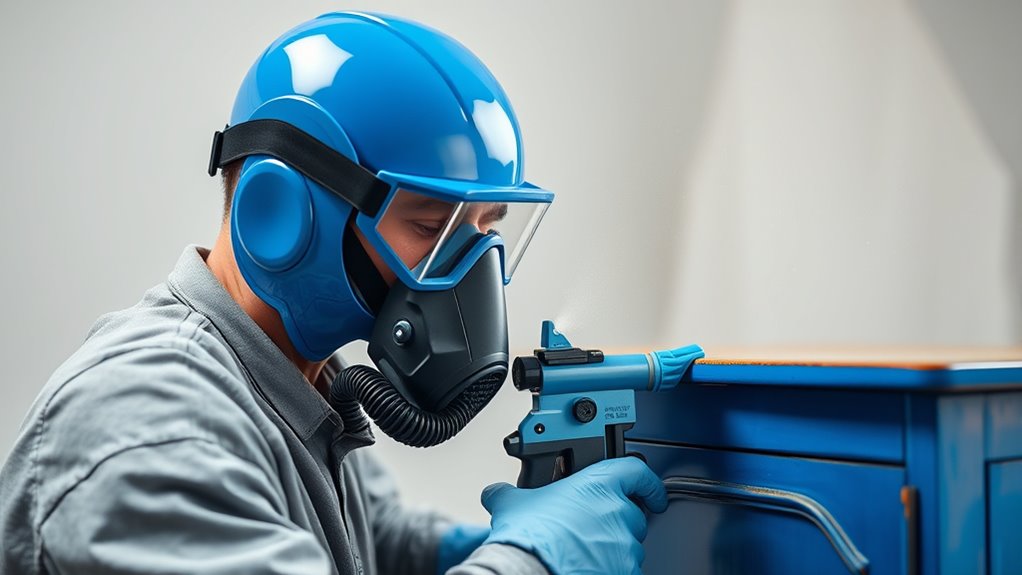
What Safety Precautions Should I Take When Spray Painting Indoors?
When spray painting indoors, you should prioritize ventilation safety by opening windows and using fans to circulate fresh air. Always wear protective gear like a mask, goggles, and gloves to shield yourself from fumes and overspray. Make certain the area is well-ventilated and free of any ignition sources. Taking these precautions helps prevent inhaling harmful chemicals and reduces fire risk, making your project safer and more successful.
Can I Spray Paint Over Existing Finishes or Stains?
Did you know that proper prep work can increase paint adhesion by up to 75%? You can spray paint over existing finishes or stains if you start with thorough surface sanding and cleaning. This helps remove gloss and smooths out imperfections, ensuring better adhesion. Just make sure to prime the surface first, especially over darker or glossy finishes, to achieve a professional-looking, long-lasting result.
How Do I Troubleshoot Uneven Paint Application or Blotchiness?
When you notice uneven paint application or blotchiness, start by checking your brush technique and adjusting your strokes for smoother coverage. Make certain your paint consistency isn’t too thick or too thin, as this impacts application. Lightly sand the surface if needed, then reapply with even, overlapping strokes. Always maintain a steady hand and consistent pressure, and consider thinning your paint slightly if you continue to face issues.
What Environmental Conditions Affect the Spray Painting Process?
Weather woes can really wreck your spray painting. You need to watch humidity levels, as high humidity causes hazy finishes, and keep an eye on temperature fluctuations, which can lead to drips and uneven coats. Ideal conditions are clear, calm, and consistent, so plan your project for a dry, stable day. By controlling these environmental elements, you guarantee a smooth, stunning spray paint finish every time.
Conclusion
By following these spray painting techniques, you’ll turn a rough surface into a smooth, professional-looking finish. Remember, patience is key—don’t rush the job, or you’ll end up redoing it all over again. Think of each coat as building a sturdy bridge; with steady hands and the right tools, you’ll create a flawless result that stands the test of time. Keep practicing, and you’ll soon master the art of furniture and cabinet spray painting.

Franz came aboard the Paint Sprayer Zone team with a background in both journalism and home renovation. His articulate writing style, combined with a passion for DIY projects, makes him an invaluable asset. Franz has a knack for breaking down technical jargon into easy-to-understand content, ensuring that even the most novice of readers can grasp the complexities of paint sprayers.