
To spray paint your ceiling without creating a mess, start by preparing your workspace with drop cloths, masking tape, and plastic covers for fixtures. Choose the right spray gun, thin your paint properly, and practice your technique beforehand. Keep the gun about 12 inches from the surface, use steady, overlapping motions, and maintain consistent pressure. Protect surrounding areas and clean up spills immediately. For more detailed tips and tricks, continue exploring how to master a clean, professional finish.
Key Takeaways
- Protect surrounding areas with drop cloths, plastic sheeting, and masking tape to catch overspray and keep surfaces clean.
- Use a quality spray gun set to the correct pressure and distance, maintaining steady, overlapping passes.
- Seal cracks and tape edges to control dust and prevent paint from spreading beyond the ceiling.
- Wear protective gear and keep cleaning supplies nearby to quickly manage spills and overspray.
- Practice on scrap surfaces first and regularly check spray pattern for an even, professional finish.
Preparing Your Workspace for a Clean Spray Painting Session
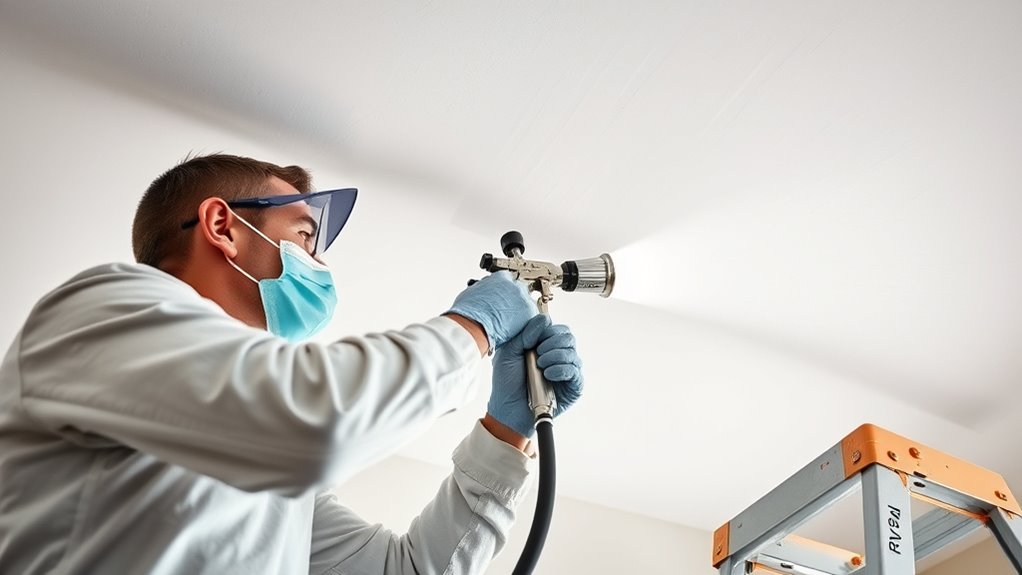
Before you start spray painting your ceiling, it’s vital to prepare your workspace to guarantee a clean and efficient session. Begin by setting up proper ventilation to prevent fumes from accumulating. Open windows and use fans to improve airflow, which helps keep the area well-ventilated and safe. Next, ensure the surface is primed correctly; this step improves paint adhesion and reduces overspray. Cover furniture and floors with drop cloths or plastic sheeting to catch any drips or overspray. Clear the area of unnecessary items to avoid accidents and make movement easier. Additionally, understanding the importance of proper surface preparation can significantly impact the quality of your spray painting results. Incorporating dust and debris control measures, such as taping off edges and sealing cracks, can further enhance the cleanliness of your work environment. Paying attention to paint application techniques can also help achieve a smoother finish and minimize messes during the process.
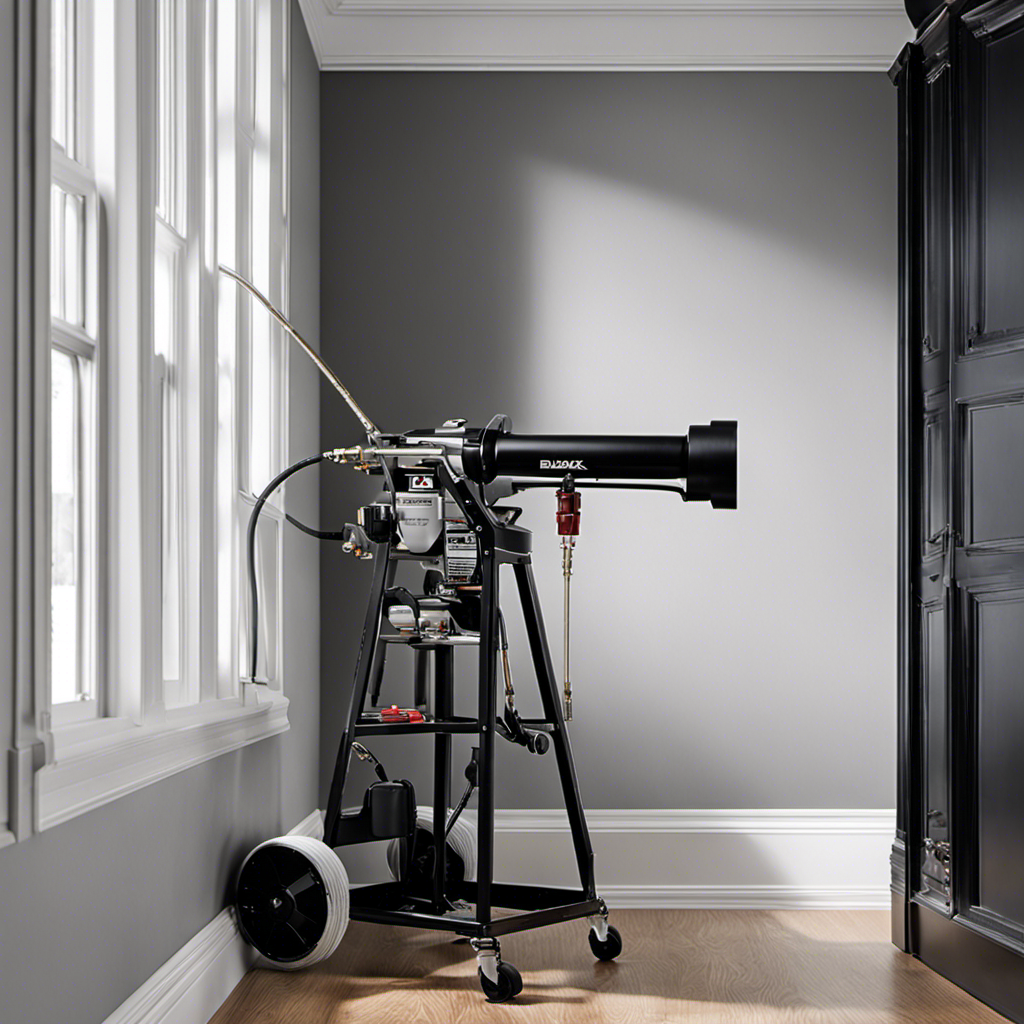
Choosing the Right Equipment and Materials
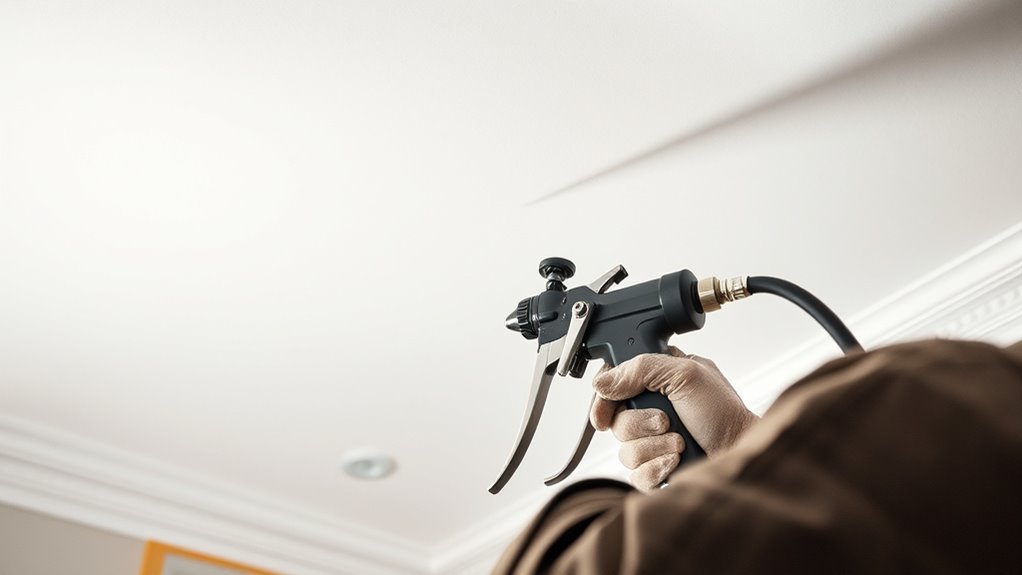
Selecting the right equipment and materials is essential for achieving a professional-looking ceiling with spray painting. Start by choosing a quality spray gun, ensuring proper spray gun calibration for consistent, even coverage. Adjust the spray pattern and pressure according to your ceiling’s size and texture. Next, focus on paint viscosity adjustment; thinning the paint properly prevents drips, runs, and uneven coats. Use the right nozzle size to match the paint type and desired finish. Investing in high-quality, low-odor paints can also make the process cleaner and less messy. Make sure your equipment is well-maintained, with clean filters and nozzles. Regular filter replacement and using compatible filtration systems can prevent clogs and protect your equipment, ensuring longevity and consistent performance. Proper technique and preparation are crucial for a flawless finish, minimizing mess and maximizing professional results. Additionally, selecting appropriate protective gear can help keep your workspace cleaner and safer during the painting process. Incorporating proper ventilation can further reduce fumes and improve air quality while working. Remember that using the correct paint application techniques can significantly reduce overspray and waste, leading to cleaner workspaces.
Protecting Surrounding Areas Effectively

To prevent damage and mess during ceiling spray painting, you need to protect the surrounding areas effectively. Use drop cloths to cover floors, furniture, and any fixtures beneath the ceiling. Secure edges with masking tape to ensure clean lines and prevent overspray from reaching unintended surfaces. Proper masking tape application keeps paint off walls and trim, making cleanup easier. Additionally, regularly assessing and adjusting your organization of your workspace can help maintain a tidy environment during the project. Here are some additional tips to consider:
- Keep your workspace well-ventilated to disperse fumes and improve visibility.
- Use protective gear such as masks and goggles to stay safe during painting.
- Consider the safety features of your painting tools and environment to prevent accidents and ensure a smooth project.
- Incorporate electric tools with safety mechanisms to reduce the risk of mishaps during your work.
- Properly storing paint supplies after use can prevent accidental spills and prolong their usability.
Here’s a quick overview:
| Area to Protect | Recommended Method |
|---|---|
| Floor | Drop cloths |
| Furniture | Drop cloths |
| Walls | Masking tape and paper |
| Light fixtures | Cover with plastic sheets |
| Ventilation fans | Cover or turn off |
Taking these steps minimizes mess and keeps your space tidy during the project.
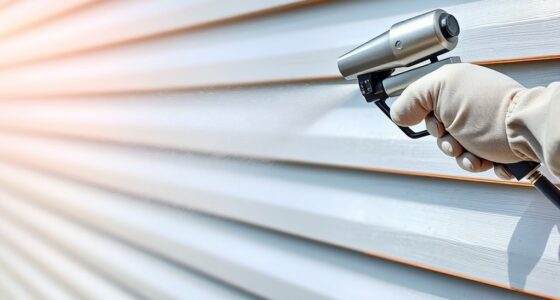
Techniques for Applying Spray Paint Smoothly and Evenly
To get a smooth, even finish, you need to keep your spray can at a consistent distance from the ceiling. This helps prevent drips and uneven coverage. Using the correct technique also means moving your arm steadily and overlapping each pass slightly. Additionally, maintaining the proper spray technique can significantly improve the quality of your finish. Practicing on a scrap surface can help you master the application method before working on your ceiling. Incorporating sound vibrations into your routine can also motivate you to stay focused and precise during your painting project. Understanding the performance metrics of your sprayer can further enhance your control and results.
Maintain Consistent Distance
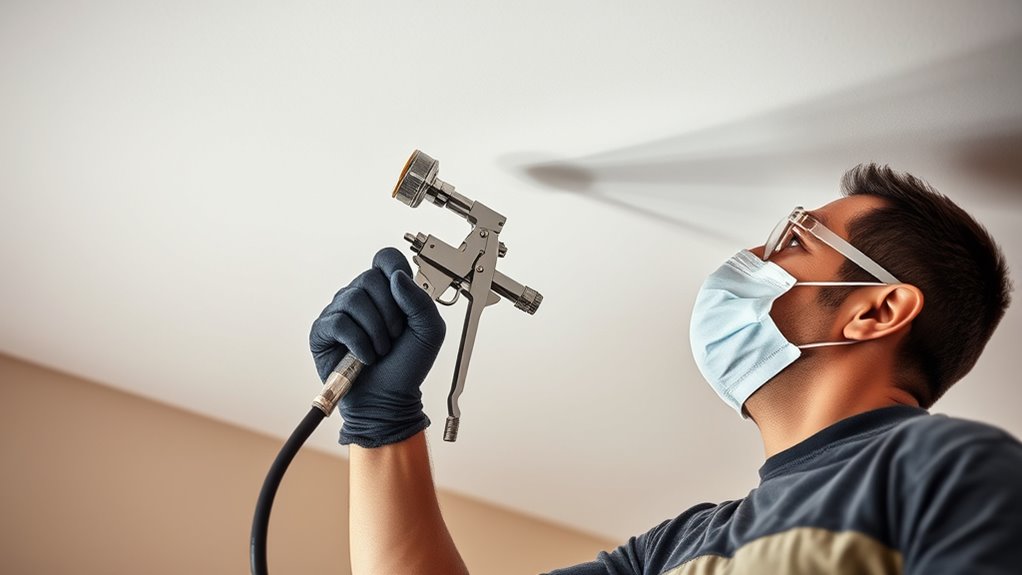
Maintaining a consistent distance between your spray gun and the ceiling is essential for achieving a smooth, even finish. If you’re too close, you risk uneven texture and drips; too far, and the paint may appear streaky. Keep your spray gun about 12 inches from the surface, adjusting as needed. Proper paint mixing ensures a uniform flow, reducing brush strokes and uneven patches. To stay consistent, use steady, smooth movements and avoid rushing. Regularly check your distance by eye or with a guide. Remember, consistent distance helps control overspray and minimizes the need for touch-ups.
- Use a visual guide or marked pole for consistent distance
- Maintain steady, overlapping passes
- Keep your hand steady to avoid flicks or splatters
- Regularly check your spray pattern
- Practice even, controlled motion without rushing
Use Proper Technique
Using proper technique is key to achieving a smooth, even finish when spray painting ceilings. Keep your spray patterns consistent, moving your sprayer in steady, overlapping motions to prevent drips and uneven coverage. Avoid stopping and starting abruptly, which can create streaks or uneven brush strokes. Maintain a steady distance from the ceiling—too close can cause runs, while too far reduces coverage. Focus on smooth, continuous spray patterns, adjusting your speed to prevent pooling or thin spots. Keep your wrist relaxed to control the spray direction and prevent uneven brush strokes. Practice on a scrap surface if needed, to master the right motion. Proper technique guarantees a professional-looking finish and minimizes mess, saving you time and effort in the long run. Regular checks on your equipment ensure consistent results and can help prevent costly mistakes. Additionally, understanding the tuning options available for vehicles like Mazda can inspire confidence in your mechanical projects, ensuring you achieve optimal performance and style. Properly adjusting spray pressure and pattern can further improve paint application and reduce overspray. Incorporating automation technology into your painting process can also enhance precision and efficiency. Being aware of ethical hacking principles can remind you of the importance of safety and security in all aspects of your projects.
Managing Overspray and Drips During the Process
Managing overspray and drips is vital for achieving a clean, professional ceiling finish. Overspray can settle on furniture or floors, creating extra cleanup, while drips can ruin an otherwise smooth surface. To minimize mess, use drop cloths and tape off areas you want to protect. Keep the spray gun at a consistent distance to avoid excessive overspray. Controlling dust is essential—dust particles can interfere with paint adhesion, so ensure the workspace is clean and well-ventilated. Regularly check your spray pattern for even coverage, and avoid over-spraying in one spot. Use a steady, even motion to prevent drips. Proper data processing speeds enable real-time adjustments to your spray technique, reducing errors and messes. Using the right equipment and technique also helps prevent paint buildup and uneven coats, leading to a smoother finish. Use a steady, even motion to prevent drips.
Tips for Quick and Easy Cleanup After Painting

To make cleanup faster, always wear proper protective gear, like masks and gloves, during and after painting. If you notice spills or overspray, clean them up immediately to prevent stains and damage. Taking these simple steps helps you save time and keeps your space tidy.
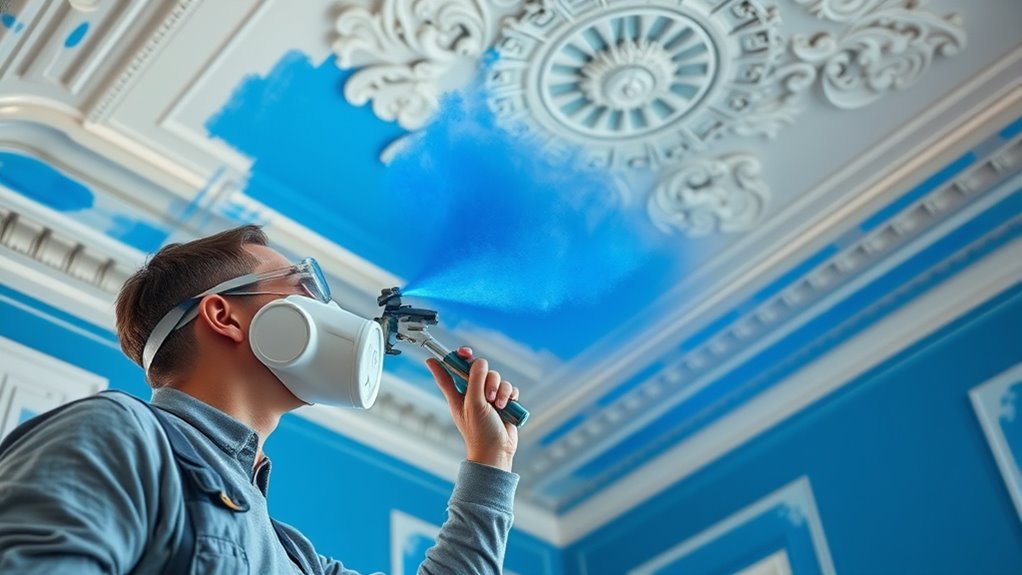
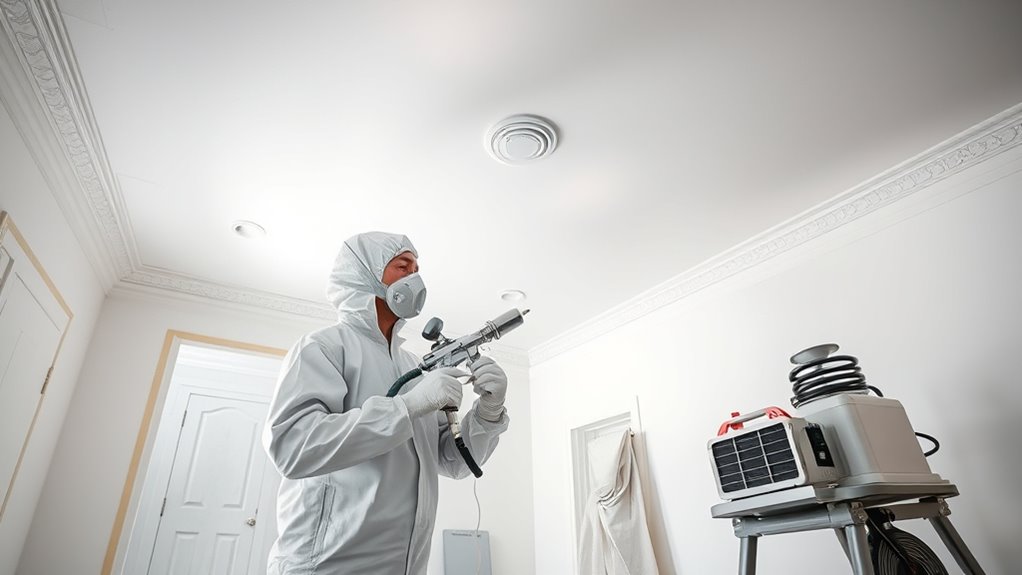
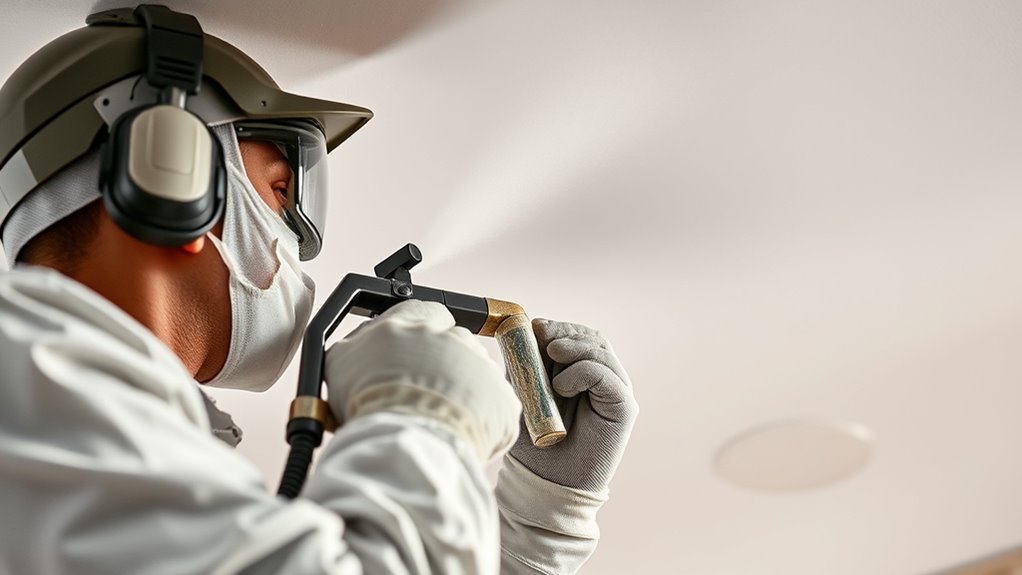
Proper Protective Gear
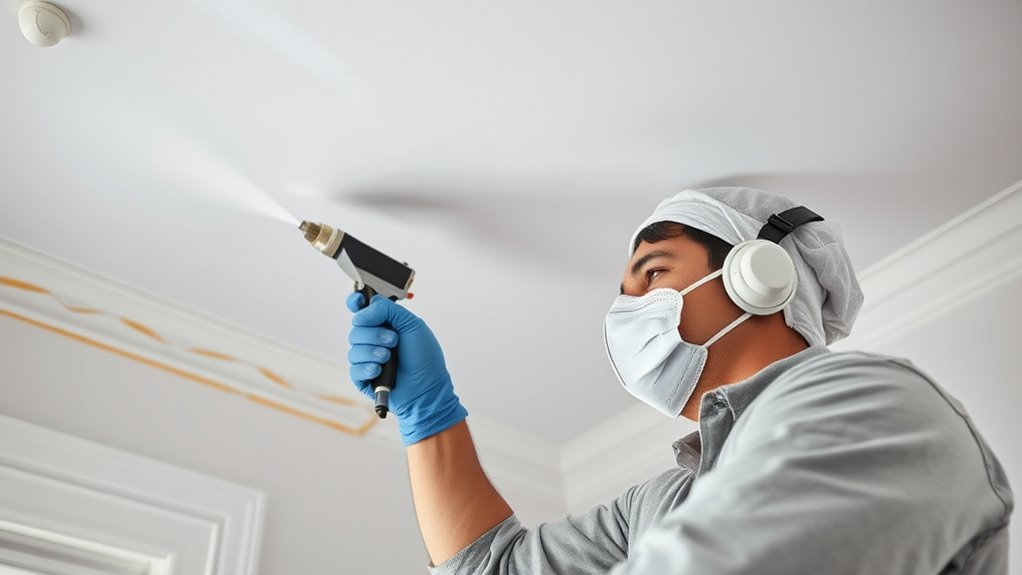
Wearing the right protective gear is essential to keep yourself safe and make cleanup easier after spray painting ceilings. Proper gear minimizes exposure to paint fumes and prevents accidents. Focus on respiratory protection to avoid inhaling harmful vapors and eye safety to prevent paint splashes from reaching your eyes.
Make sure to wear:
- A high-quality respirator or mask suited for fumes
- Safety goggles or glasses for eye safety
- Disposable coveralls or old clothing to protect your skin
- Nitrile gloves to prevent paint contact
- A cap or hat to keep paint off your hair and face
This gear not only shields you but also streamlines cleanup, as less paint gets on your skin or clothes. Always double-check your protective equipment before starting.
Immediate Spill Cleanup
Accidents happen, and paint spills on ceilings or nearby surfaces can quickly turn into a frustrating mess. To manage this, act fast with spill containment strategies. Keep absorbent materials like rags, paper towels, or spill pads nearby for quick cleanup. As soon as you notice a spill, place absorbent materials around the area to prevent the paint from spreading further. Gently blot or scoop up excess paint to minimize spreading and staining. Avoid rubbing, which can make the mess worse. Once the spill is contained, clean the surface with appropriate cleaning solutions to prevent permanent damage. Having these materials on hand and acting swiftly helps keep your workspace tidy and reduces cleanup time, allowing you to get back to your project with minimal fuss.
Common Mistakes to Avoid for a Flawless Finish
Achieving a smooth, professional-looking ceiling requires more than just applying paint; it involves avoiding common mistakes that can ruin your finish. One key error is rushing the paint mixing process, which leads to uneven color and texture. Also, watch out for inconsistent brush strokes if you switch to brushes for touch-ups—these can leave visible marks. Overloading your spray gun can cause drips and runs, ruining the surface. Skipping proper surface prep results in poor adhesion and uneven coverage. Additionally, neglecting to maintain a steady movement during spraying creates streaks and uneven spray patterns. Be mindful of these pitfalls to ensure a flawless finish:
- Not thoroughly mixing paint before spraying
- Applying too much paint at once
- Ignoring surface preparation
- Using inconsistent spray techniques
- Rushing through the process
Final Touches and Ensuring Lasting Results
To guarantee your ceiling looks great for years to come, it’s essential to focus on final touches that seal in your work and prevent future issues. First, inspect your surface for any uneven spots or drips, and touch up these areas with a precise color match to ensure consistency. When finishing, choose the right paint finish—matte, eggshell, or semi-gloss—based on your ceiling’s needs and the room’s lighting. Applying a clear sealant or touch-up coat can protect the paint and extend its lifespan. Use a clean brush or roller for these final steps to avoid disturbing your fresh spray job. Taking the time for these finishing touches guarantees a professional look and long-lasting, beautiful results.
Frequently Asked Questions
How Can I Prevent Paint Fumes From Spreading Throughout My Home?
To prevent paint fumes from spreading throughout your home, you should implement effective ventilation strategies like opening windows and using fans to direct fumes outside. Additionally, sealing techniques such as covering vents, doors, and gaps help contain fumes in one area. This combined approach minimizes indoor air contamination, making your space safer and reducing lingering odors. Always guarantee proper airflow during and after painting to keep fumes at bay.
What Safety Gear Should I Wear During Spray Painting?
When spray painting, you should wear protective clothing to shield your skin from overspray and fumes. A good respiratory mask is essential to protect your lungs from harmful paint particles and fumes. Make sure the mask fits well and is rated for spray painting. Additionally, consider goggles to protect your eyes and gloves for your hands. Taking these safety precautions helps keep you safe while achieving a professional finish.
How Do I Choose the Best Spray Paint for Ceilings?
Choosing the best spray paint for ceilings might feel like finding a needle in a haystack, but focus on your desired paint finish—matte, satin, or gloss—and prioritize high-quality, low-VOC options for safety. Consider your color selection carefully to match your room’s decor. Look for paints specifically designed for ceilings, ensuring smooth coverage and durability. This way, you’ll get a flawless look that transforms your space effortlessly.
Can I Spray Paint Ceilings in High Humidity or Cold Weather?
You can spray paint ceilings in high humidity or cold weather, but humidity effects and temperature considerations matter. High humidity can cause paint to dry slowly or unevenly, leading to drips and a poor finish. Cold temperatures slow down drying times and may prevent the paint from curing properly. To get the best results, choose a dry, warm day, and guarantee the room is well-ventilated for ideal spray painting conditions.
How Long Should I Wait Before Re-Coating or Using the Room?
Thinking back to the days of dial-up internet, patience was key. Now, after spray painting your ceiling, you should wait for the drying time specified on the paint can—usually 24 hours. Follow the recommended re-coating schedule, ensuring the paint’s fully dry before applying another coat or using the room. Rushing this can ruin your finish, so give it ample time for the best results.
Conclusion
With the right prep and techniques, spray painting ceilings becomes a breeze instead of a mess. Think of it like wielding a magic wand—smooth, even, and flawless results are within your reach. Keep your workspace tidy, protect surrounding areas, and stay mindful of overspray. With patience and practice, you’ll transform your ceiling effortlessly, turning what once seemed intimidating into a simple stroke of genius. Happy painting, and enjoy your beautifully finished ceiling!

Franz came aboard the Paint Sprayer Zone team with a background in both journalism and home renovation. His articulate writing style, combined with a passion for DIY projects, makes him an invaluable asset. Franz has a knack for breaking down technical jargon into easy-to-understand content, ensuring that even the most novice of readers can grasp the complexities of paint sprayers.