
To achieve a professional look when spray painting kitchen cabinets, start by thoroughly cleaning, sanding, and priming the surfaces. Use an HVLP spray gun, maintaining a consistent distance, and apply the paint in smooth, overlapping passes. Protect surrounding areas with tape and drop cloths. Allow the paint to dry completely, typically 24 hours, and let it cure fully over a couple of weeks. For expert tips on flawless results, continue exploring the detailed steps.
Key Takeaways
- Thoroughly clean, sand, and prime cabinets to ensure a smooth, adhesion-friendly surface before painting.
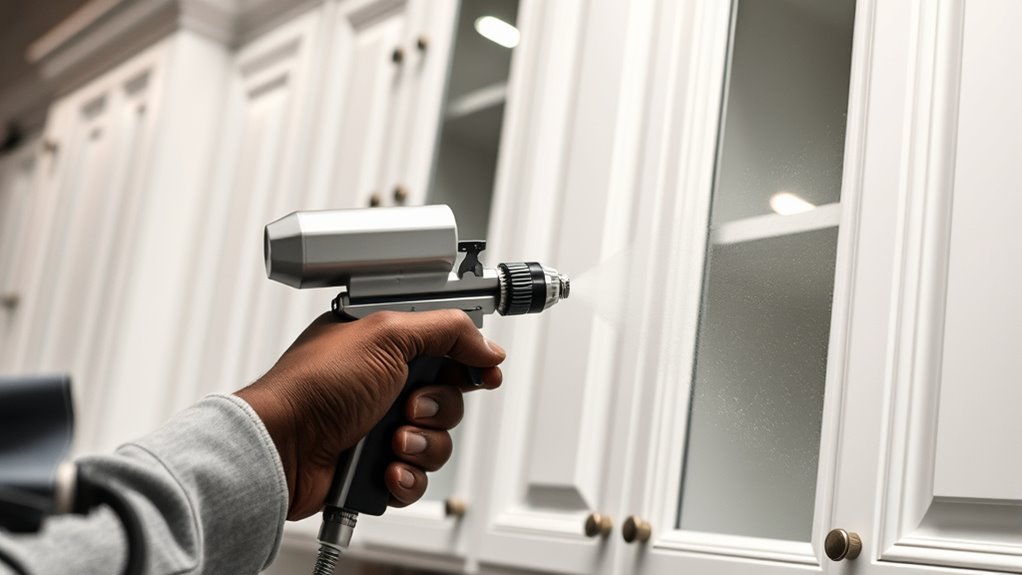
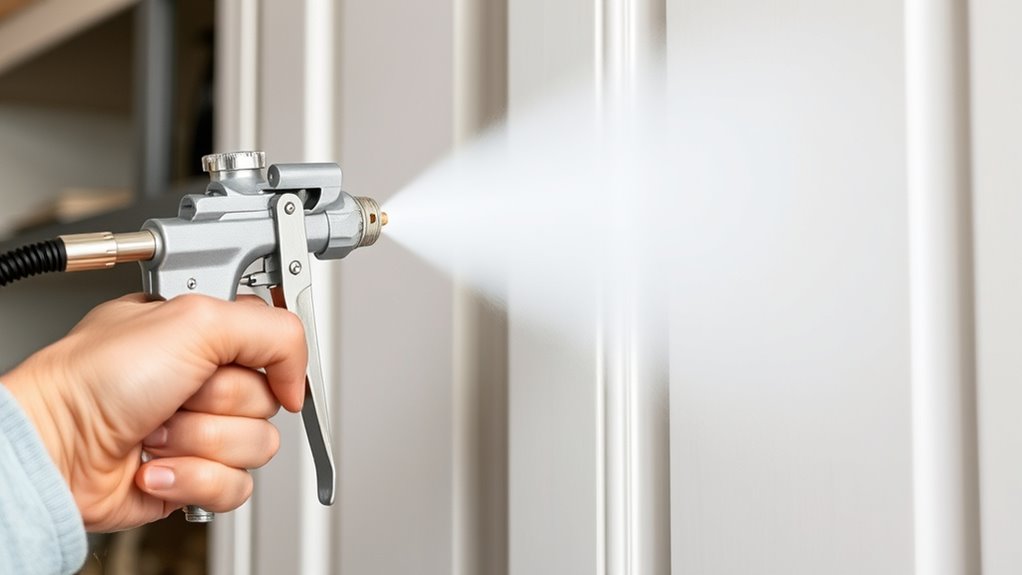
- Use an HVLP spray gun, maintaining a consistent 6-12 inch distance for even, professional coats.
- Apply multiple thin, overlapping coats with steady, continuous movements to avoid drips and achieve a flawless finish.
- Protect surrounding areas with painter’s tape and drop cloths, and remove hardware to prevent overspray.
- Allow ample drying and curing time, avoiding touch-ups or hardware reinstallation until fully cured for a seamless look.
Gathering the Necessary Tools and Materials
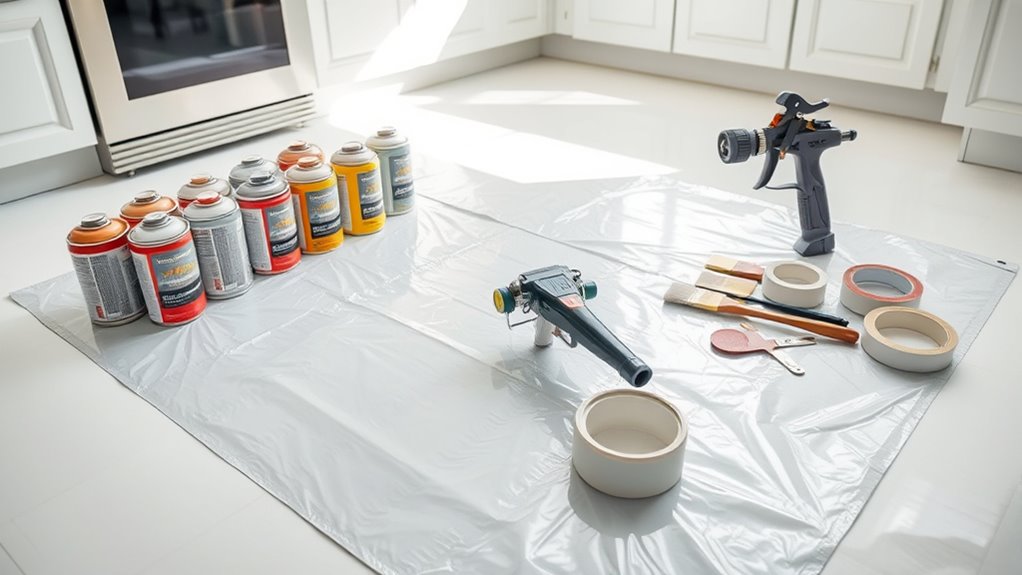
Before you begin spray painting your kitchen cabinets, acquiring all the necessary tools and materials is essential. Start by selecting a spray gun suited for cabinet work; a HVLP spray gun is ideal for smooth, even coats. When choosing your spray gun, consider its spray pattern and ease of cleaning. Next, focus on color matching—pick a high-quality primer and paint that complement your kitchen decor. You’ll also need painter’s tape, drop cloths, sandpaper, and safety gear like masks and goggles. Don’t forget to gather a compatible compressor if required. Ensuring you have the right tools will make your spray painting smoother and more professional-looking. Proper preparation of your materials and equipment sets the foundation for a flawless finish on your cabinets. Additionally, understanding color accuracy can help you select the best shades and achieve a professional look. Being aware of ethical hacking principles can also help you understand the importance of thorough preparation and security in any technical project. Taking the time to research and select the right products can also enhance your results, ensuring a durable and visually appealing finish on your cabinets.
Preparing Your Kitchen Cabinets for Painting
Start by removing all cabinet doors and hardware to create a smooth surface for painting. Clean and sand the surfaces thoroughly to guarantee paint adheres properly. Additionally, consider using a kitchen cabinet paint primer to improve adhesion and durability. Finally, protect your countertops and floors with drop cloths or tape to keep surrounding areas clean. Using painter’s tape with a clean edge ensures sharp lines and a professional finish.
Remove Cabinet Doors
Removing the cabinet doors is a crucial step to guarantee a smooth and even paint job. Carefully take off the doors by unscrewing the door hinges, and set the hardware aside to avoid loss. Label each door to match its original position for easy reinstallation. Use a screwdriver to remove the cabinet hardware, such as handles and knobs, which can interfere with painting. Here’s a quick overview:
| Step | Tool Needed | Tips |
|---|---|---|
| Remove cabinet doors | Screwdriver | Keep hinges organized for reattaching |
| Detach hardware | Drill or screwdriver | Store hardware safely |
| Label doors | Masking tape | Prevent mix-ups |
| Store doors | Protective covering | Keep in a safe, clean area |
| Check hinges | Pliers | Ensure hinges aren’t damaged |
Taking these steps makes your painting process smooth and efficient. Properly preparing your cabinets can also help ensure you achieve a professional look with your paint job, as well as prevent paint drips from damaging the surrounding areas. Additionally, inspecting hinges for damage or wear before reattaching can save time and effort later.
Clean and Sand Surfaces
To guarantee your paint adheres smoothly and lasts long, you need to thoroughly clean and sand the cabinet surfaces. Begin by wiping down all surfaces with a degreaser or a mixture of soap and water to remove grease, dirt, and dust. This assures your chosen paint color options will apply evenly. Once clean, lightly sand the cabinets using fine-grit sandpaper to create a smooth surface and help the paint bond better. Pay special attention to areas around cabinet hardware, removing any old paint or finish that may cause uneven application. If your cabinets have a glossy or shiny finish, sanding is especially important to prevent peeling and ensure a professional look. Proper cleaning and sanding set the foundation for a flawless, durable paint job. Additionally, incorporating rustic decor elements can enhance the farmhouse aesthetic and give your cabinets a charming, vintage feel. It’s also helpful to check your cabinets’ existing finish to determine whether additional prep work is needed for optimal results. For optimal adhesion, consider using a primer suitable for kitchen cabinets before applying the final coat of paint. Understanding proper tuning techniques and preparing your surfaces correctly will yield the best results for a professional-looking finish. Moreover, being aware of AI in Education trends can inspire innovative ideas for home improvement projects, such as utilizing smart tools or virtual tutorials to achieve a professional look.
Protect Surrounding Areas
Before you begin painting, safeguarding the surrounding areas of your kitchen is vital to prevent accidental stains and damage. Start by laying down drop cloths over countertops, floors, and nearby appliances to catch any overspray. Use masking tape to securely cover edges, trim, backsplash, and cabinets that you don’t want to paint. Make certain the tape is pressed down firmly to prevent paint from seeping underneath. Cover electrical outlets and hardware as well. Taking these precautions keeps your kitchen clean and minimizes cleanup time afterward. Double-check that all surfaces are well protected before you start spraying. This simple step ensures a professional-looking finish without the stress of fixing unintended paint spots. Proper prep makes your painting project smoother and results more polished.
Choosing the Right Spray Paint and Finish
Choosing the right spray paint and finish is essential to achieve a professional look and guarantee durability. You want a color that matches your aesthetic and stands up over time. Consider factors like paint durability, especially for high-traffic kitchens. Selecting the right finish impacts appearance and protection; matte, satin, and semi-gloss finishes each have unique benefits. Use this table to guide your choices:
| Finish Type | Appearance | Durability |
|---|---|---|
| Matte | Smooth, non-reflective | Moderate |
| Satin | Soft sheen | Good |
| Semi-Gloss | Slight shine | High |
| Gloss | Bright, reflective | Very high |
Matching these options to your needs ensures a lasting, professional result. Additionally, understanding how different finishes interact with surface conditions can help you select the most appropriate option. For example, choosing a semi-gloss or gloss finish can be beneficial for surfaces exposed to moisture or frequent cleaning, ensuring longevity and ease of maintenance. It is also important to consider air quality and the environmental impact of the spray paint to align with eco-friendly living goals. Considering the cost of maintenance over time can help in choosing the best finish for your kitchen cabinets.
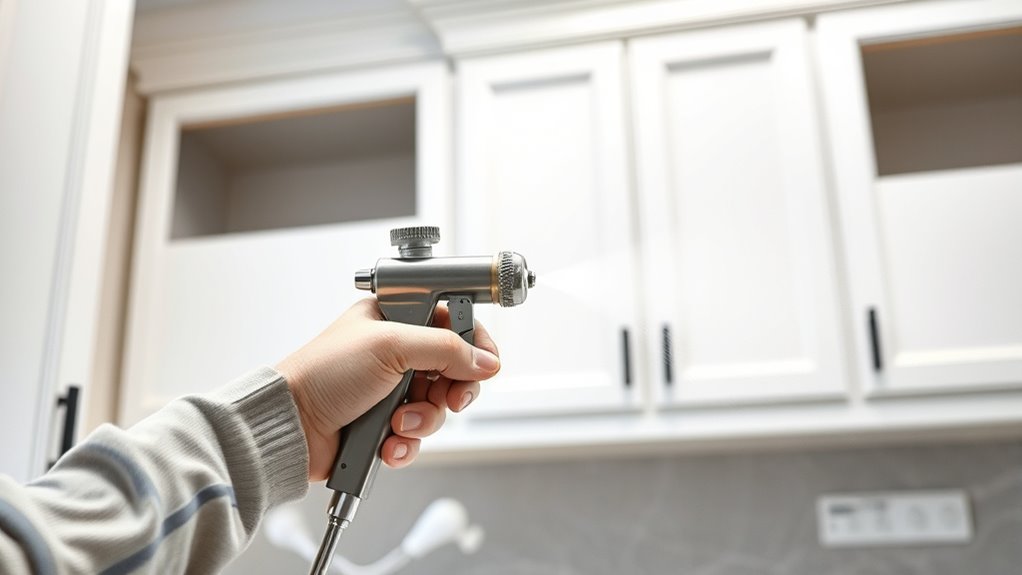
Proper Techniques for Spray Painting Cabinets
To get a smooth, professional finish, you need to master proper spray painting techniques. This includes preparing your surface correctly, applying the paint evenly, and allowing sufficient curing time. Focusing on these key points will help you achieve the best results for your cabinets. Incorporating visual and auditory cues can also enhance your learning process and ensure consistent technique. Additionally, understanding the types of spray paint suitable for cabinetry can further improve your outcome. Using the right safety precautions is essential to prevent accidents and ensure a safe painting experience. Moreover, researching reputable custodian services can help safeguard your investment if you are considering a Gold IRA as part of your overall financial planning.
Surface Preparation Essentials
Proper surface preparation is essential for achieving a smooth, professional-looking finish when spray painting kitchen cabinets. Start by removing cabinet hardware to prevent overspray and ensure a clean job. Next, clean the surfaces thoroughly to remove grease, dust, and grime. Sand the cabinets lightly to create a smooth base for paint adhesion. When choosing your paint color, consider how it complements your kitchen’s overall style and lighting. Use painter’s tape to protect adjacent surfaces and hinges. For added protection, apply a primer suited for cabinetry. Here’s a quick reference:
| Step | Tool/Material | Purpose |
|---|---|---|
| Remove hardware | Screwdriver | Protect hardware during painting |
| Clean surfaces | Degreaser or soap | Ensure adhesion and smooth finish |
| Sand | Fine-grit sandpaper | Create a smooth surface |
| Tape and prime | Painter’s tape, primer | Prevent overspray, improve adhesion |
Additionally, choosing the right surface preparation techniques can significantly enhance the durability and appearance of your painted cabinets. Proper surface prep also helps paint adhesion, ensuring a long-lasting finish that resists chipping and peeling.
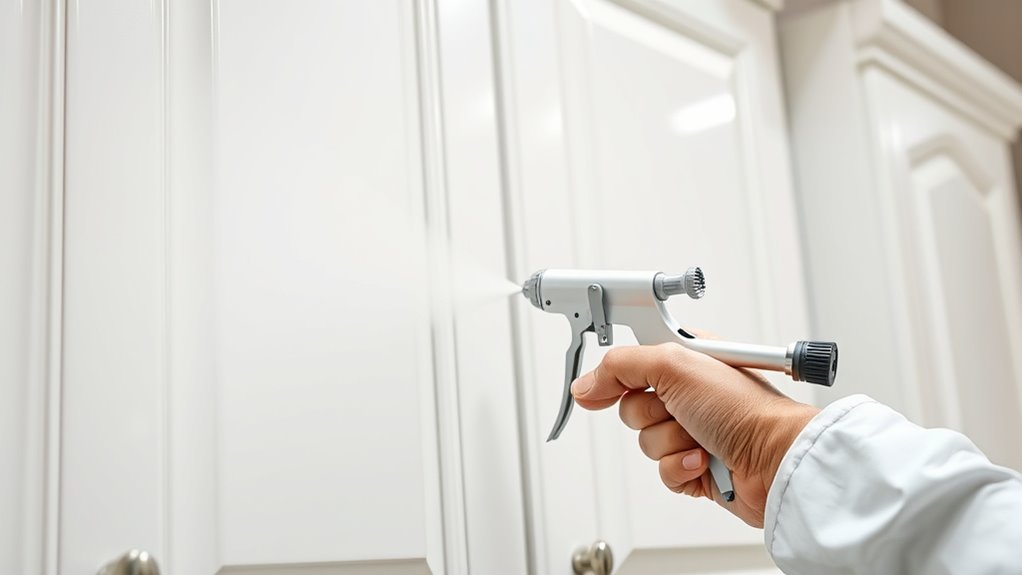
Optimal Spray Techniques
Mastering spray techniques is essential for achieving a smooth, even finish on your cabinets. Start by maintaining a consistent distance of about 6-12 inches from the surface to ensure even spray coverage. Keep your movements steady and overlapping each pass by 50% to prevent streaks. Focus on proper brush techniques during setup, blending the paint smoothly onto the surface before switching to spray. Pay close attention to spray consistency; thin your paint appropriately to avoid drips or runs and adjust your spray pressure as needed. Always keep the spray gun moving, avoiding staying in one spot too long. Practice on scrap material first to perfect your technique. Additionally, understanding powerful persuasive words can help motivate you to stay patient and meticulous throughout the project. With these tips, you’ll achieve a professional-looking, flawless finish on your cabinets.
Finishing and Curing
Once you’ve completed spray painting your cabinets, giving the finish time to dry and cure properly is essential for a durable, flawless look. Proper finishing ensures good paint adhesion and prevents chipping. To achieve this, follow these steps:
- Allow the paint to dry completely, typically 24 hours, before handling.
- Avoid touching or using the cabinets during curing to prevent fingerprints or marks.
- Use gentle brush techniques for touch-ups or edges to avoid disturbing the spray finish.
- Maintain proper ventilation to speed up curing and reduce fumes.
Patience here is key. A well-cured finish resists wear and looks professional. Proper finishing techniques will ensure your cabinets stay beautiful for years to come.
Allowing Adequate Drying and Curing Time
After applying the final coat of paint, it’s essential to give your cabinets enough time to dry and cure thoroughly. Proper drying time allows the paint to set, while the curing process guarantees durability. Rushing this step can cause smudges, fingerprints, or paint damage. Typically, paint needs 24-48 hours to dry, but full curing can take up to 2 weeks, depending on conditions. To help, keep cabinets in a dust-free area with good airflow. Use the table below to understand the key differences:
| Aspect | Details |
|---|---|
| Drying Time | Time for paint to feel dry to touch |
| Curing Process | Time for paint to reach maximum hardness |
| Environmental Factors | Temperature and humidity influence drying and curing |
Patience guarantees a professional, lasting finish.
Adding Final Touches and Ensuring a Smooth Finish

To achieve a polished look, adding final touches and guaranteeing a smooth finish are essential steps in your cabinet painting project. First, check for any color mismatches and touch up areas to ensure consistent color matching. Next, lightly sand any uneven spots to smooth out brush strokes or drips before applying a clear topcoat. Then, carefully select hardware that complements your new color, enhancing the overall aesthetic. Finally, reattach or replace hardware with precision, making sure it’s aligned correctly. These steps help create a seamless, professional appearance and elevate your cabinets’ look. Attention to detail in these finishing touches guarantees your project looks expertly done and visually appealing.
Frequently Asked Questions
How Long Does Spray-Painted Cabinet Paint Typically Last?
Spray-painted cabinet paint generally lasts 5 to 10 years, depending on wear and tear. To maximize paint durability, follow proper surface prep and use high-quality paint. Regular maintenance tips, like gentle cleaning and avoiding harsh chemicals, help preserve the finish. Keep in mind that factors like usage and environment can influence longevity, so staying proactive with touch-ups guarantees your cabinets stay looking fresh longer.
Can I Spray Paint Over Existing Cabinet Finishes?
Yes, you can spray paint over existing cabinet finishes, but proper surface preparation is key. First, clean and lightly sand the existing surface to guarantee good adhesion. Use your spray gun with proper techniques, maintaining a consistent distance and smooth strokes. Applying a primer helps seal the surface. This approach ensures a durable, professional-looking finish that lasts longer.
What Are the Safest Ventilation Practices During Spray Painting?
During spray painting, you should prioritize safety by ensuring proper ventilation. Use air filtration systems to remove fumes and airborne particles, and keep windows open or use exhaust fans. Always wear a mask that offers adequate mask safety to protect your lungs from harmful fumes. Good airflow and protective gear help you breathe easier, reduce exposure to toxic chemicals, and create a safer, more effective painting environment.
How Do I Prevent Paint Drips and Runs?
Ah, the elusive perfect finish—like spotting Bigfoot! To prevent drips and runs, you gotta master your spray gun setup and brush techniques. Keep the spray gun at a consistent distance, usually 6-12 inches, and use smooth, overlapping passes. Don’t press the trigger too hard, and avoid staying in one spot too long. Practice makes perfect, and a little patience keeps your cabinets drip-free and flawless.
Is It Necessary to Remove Cabinet Hardware Before Painting?
You should remove cabinet hardware before painting to guarantee a clean, professional finish. This step simplifies cabinet cleanup and prevents paint from getting on hinges and handles. Plus, it makes hardware reinstallation easier and more precise. Taking the hardware off also helps you avoid accidental damage or paint buildup, giving you a smoother, more polished look. Always store your hardware safely to reuse it after the paint dries.
Conclusion
With patience and attention, you’ll transform your cabinets into a masterpiece, like an artist revealing a hidden gem. Think of each spray as a brushstroke, bringing new life and vibrancy to your kitchen. When you finish, your space will shine with a professional glow, proving that even a DIY project can be a work of art. Trust the process, and soon you’ll admire your beautifully renewed cabinets—a true reflection of your effort and vision.

Franz came aboard the Paint Sprayer Zone team with a background in both journalism and home renovation. His articulate writing style, combined with a passion for DIY projects, makes him an invaluable asset. Franz has a knack for breaking down technical jargon into easy-to-understand content, ensuring that even the most novice of readers can grasp the complexities of paint sprayers.