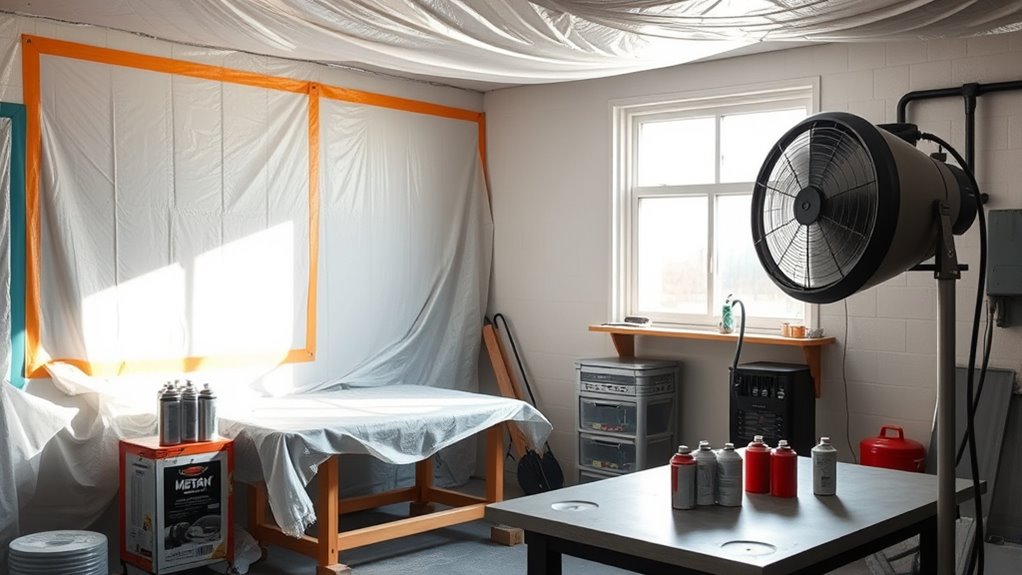

To properly prep your room for spray painting, start by masking off areas like trim, windows, and furniture with painter’s tape and plastic sheeting to prevent overspray. Cover floors and any items you can’t mask with drop cloths for extra protection. Make certain good ventilation by opening windows and using fans to disperse fumes, and always wear a respirator mask. Taking these steps creates a cleaner, safer space and helps achieve a smooth, professional finish—learn more to perfect your process.
Key Takeaways
- Use painter’s tape and plastic sheeting to mask off trim, windows, and floors, preventing overspray and ensuring a clean finish.
- Cover unmovable furniture and electronics with drop cloths or sheets to protect against dust, dirt, and overspray.
- Open windows and doors, and set up fans to promote proper ventilation and disperse harmful fumes during spray painting.
- Follow manufacturer instructions for drying times, and ensure good airflow and correct humidity for optimal paint curing.
- Proper preparation, including masking, covering, and ventilating, is essential for a professional, durable, and mess-free spray painting project.

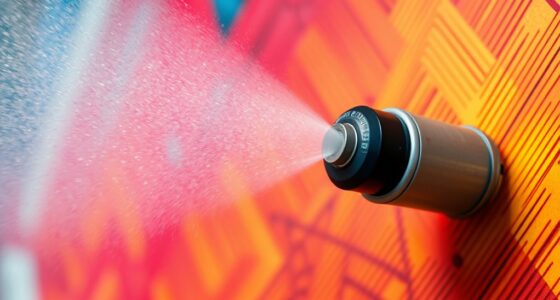
Preparing your room properly is essential to guarantee a smooth and clean spray painting process. Before you shake that spray can, you need to prioritize spray paint safety by creating a controlled environment. Masking off any areas you don’t want painted is necessary to prevent overspray and messes. Use painter’s tape and plastic sheeting to cover trim, windows, furniture, and floors. This step not only keeps your space tidy but also saves you time during cleanup. When masking, make sure the plastic is securely taped and smooth out wrinkles to avoid paint bleed. Proper masking minimizes the need for touch-ups later and ensures a professional-looking finish.
Proper masking ensures a clean, professional spray paint finish and simplifies cleanup.
Covering surfaces is just as important. Remove or cover any items that can’t be masked, such as furniture or electronics. If removing furniture isn’t possible, drape them with drop cloths or old sheets. This extra layer of protection guards against accidental overspray and keeps your belongings clean. Remember, the goal is to keep dust, dirt, and debris away from your work area, which can compromise the quality of your spray paint job.
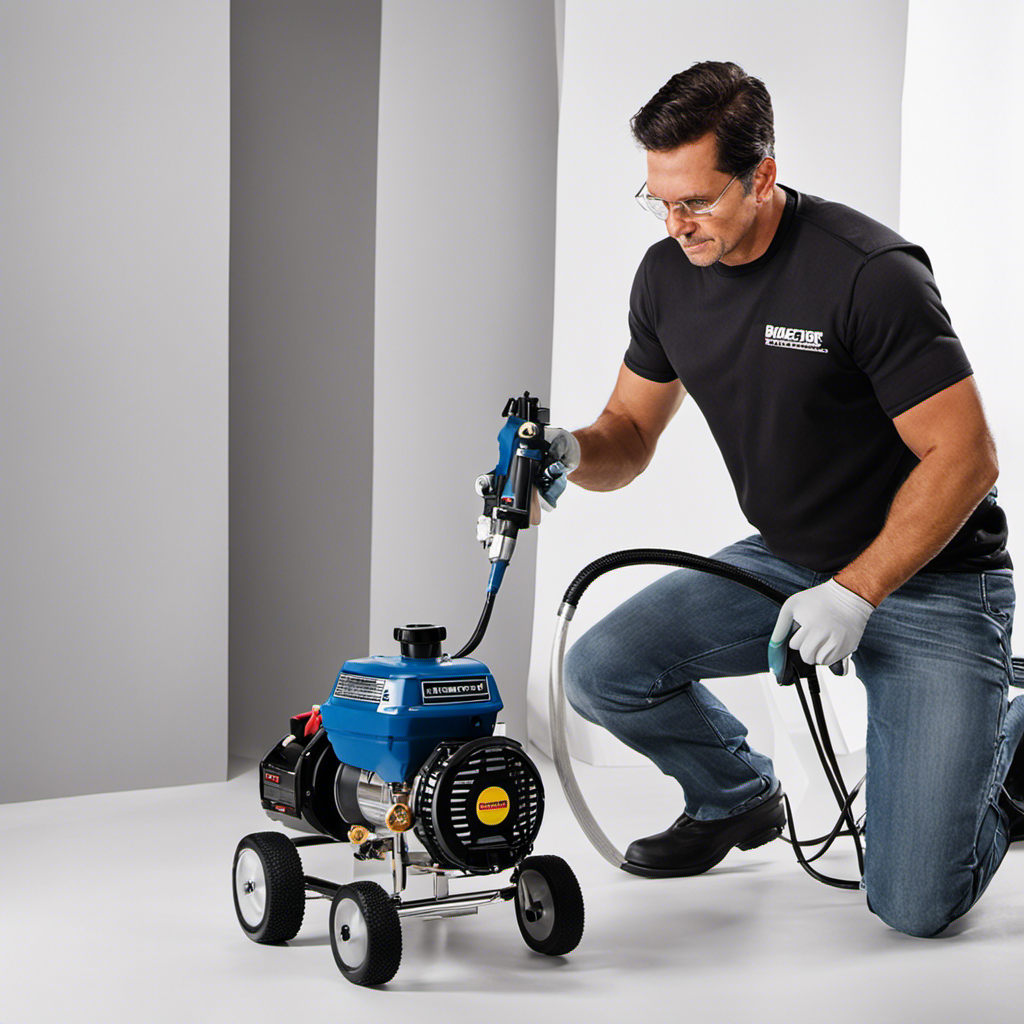
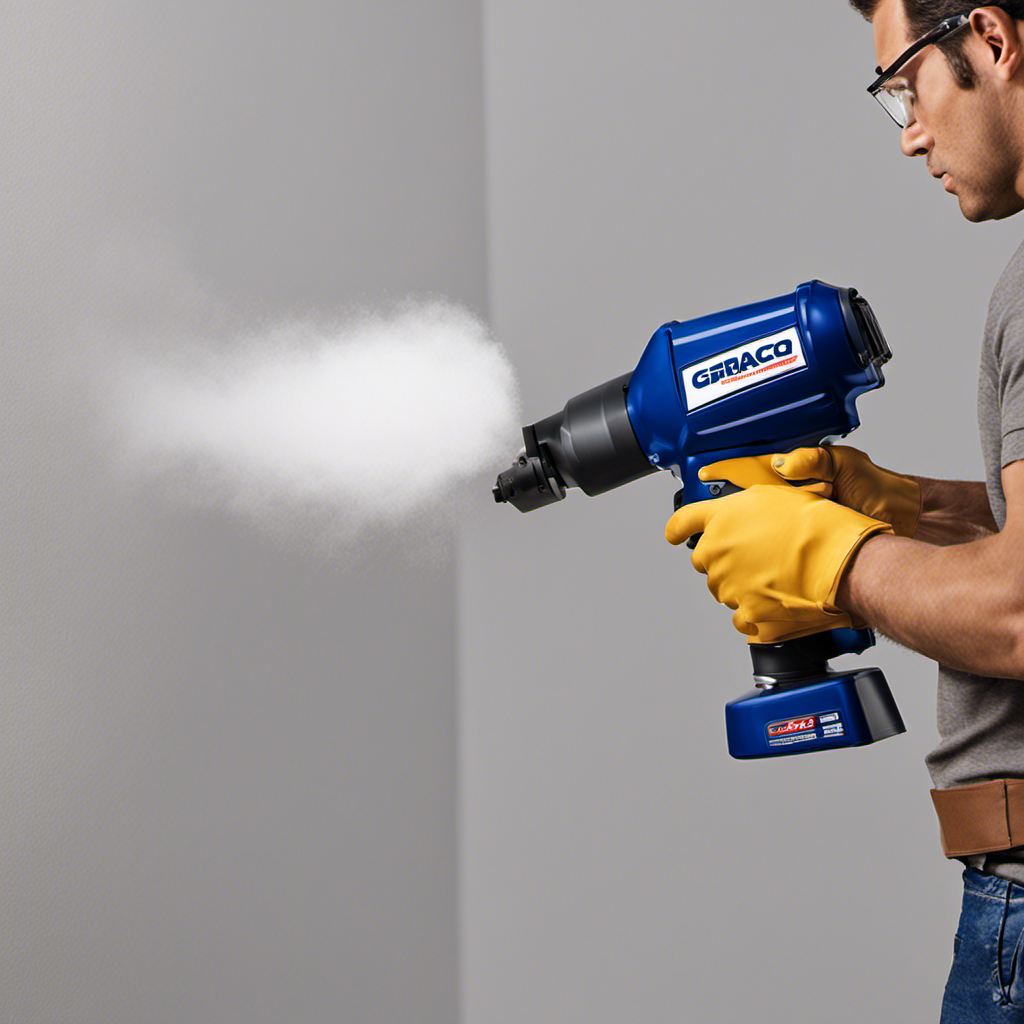
Ventilation plays a key role in spray paint safety and achieving excellent results. Good airflow helps disperse fumes and reduces the risk of inhaling harmful vapors. Open windows and doors, and if possible, set up a fan to direct airflow outside. Using a respirator mask rated for spray paint fumes is highly recommended to protect your lungs. Proper ventilation also aids in the paint drying process, helping your project move along efficiently. Keep in mind that paint drying techniques are affected by temperature and humidity, so make sure the room is well-ventilated and at a consistent, moderate temperature. This helps prevent issues like bubbling or uneven drying, which can ruin your finish.
Before you start spraying, give the paint ample time to dry between coats, following the manufacturer’s instructions. Patience is key to a flawless finish, so don’t rush the drying process. If you notice paint isn’t drying as expected, improve the room’s ventilation or adjust humidity levels if possible. Keeping the environment controlled not only enhances spray paint safety but also ensures your final coat will cure properly. Additionally, understanding the importance of proper preparation can significantly impact the quality and durability of your finished project. Taking these preparatory steps might seem tedious, but they’re essential for a professional-looking result. When your room is masked, covered, and ventilated properly, you set the stage for a successful spray painting project that’s safe, efficient, and looks great in the end.
Frequently Asked Questions
What Types of Masking Tape Are Best for Spray Painting?
You might think all masking tapes are equal, but the best spray paint tape is usually painter’s tape designed specifically for delicate surfaces. These masking tape types prevent paint bleed and peel, making your job easier. Avoid duct tape or generic brands—they’re not meant for spray painting. So, when choosing, go for painter’s tape that’s easy to remove, low-tack, and labeled as the best spray paint tape for clean, crisp lines.
How Do I Remove Paint Overspray From Surrounding Surfaces?
To remove paint overspray from surrounding surfaces, start with gentle surface cleaning techniques like using a soft cloth or sponge with warm, soapy water. For tougher overspray, apply a mild solvent like mineral spirits or a specialized overspray remover, testing on a small area first. Carefully wipe the overspray, avoiding damage to the surface. Always wear gloves and guarantee proper ventilation during paint overspray removal to protect yourself.
Can I Spray Paint Indoors Without Ventilation?
Spraying paint indoors is like opening a window to a storm—you’re releasing a rush of indoor fumes that can be harmful. You shouldn’t do it without proper ventilation because inadequate airflow can trap fumes, risking health. Always make sure good ventilation requirements are met, such as using fans or exhaust systems, to clear the air and keep yourself safe from harmful indoor fumes during spray painting.
What Safety Equipment Is Recommended During Spray Painting?
You should wear personal protective gear and proper respirators during spray painting. Always use a NIOSH-approved mask to safeguard your lungs from fumes and overspray. Wear gloves, safety goggles, and a coverall to shield your skin and eyes from chemicals. Ventilate the area well, and consider using a respirator with organic vapor cartridges for added safety. This gear helps prevent health risks and guarantees a safer painting process.
How Long Should I Wait Before Removing Coverings After Painting?
You should wait until the paint is fully dry and cured before removing coverings, which varies based on paint type and environmental conditions. Typically, drying time can take a few hours, but curing might need several days. Rushing this process risks smudging or damaging your work. For best results, check the manufacturer’s instructions and confirm the curing process is complete, maintaining the integrity and finish of your spray painting project.
Conclusion
By properly masking, covering, and ventilating your space, you turn your room into a safe canvas for spray painting. Think of it as creating a fortress against dust and fumes—your own shield of protection. When you prepare thoroughly, your paint job will shine brighter and last longer. Remember, a well-prepped room isn’t just a step—it’s the foundation for masterpiece results. So, gear up and paint with confidence—your perfect finish awaits!

Franz came aboard the Paint Sprayer Zone team with a background in both journalism and home renovation. His articulate writing style, combined with a passion for DIY projects, makes him an invaluable asset. Franz has a knack for breaking down technical jargon into easy-to-understand content, ensuring that even the most novice of readers can grasp the complexities of paint sprayers.