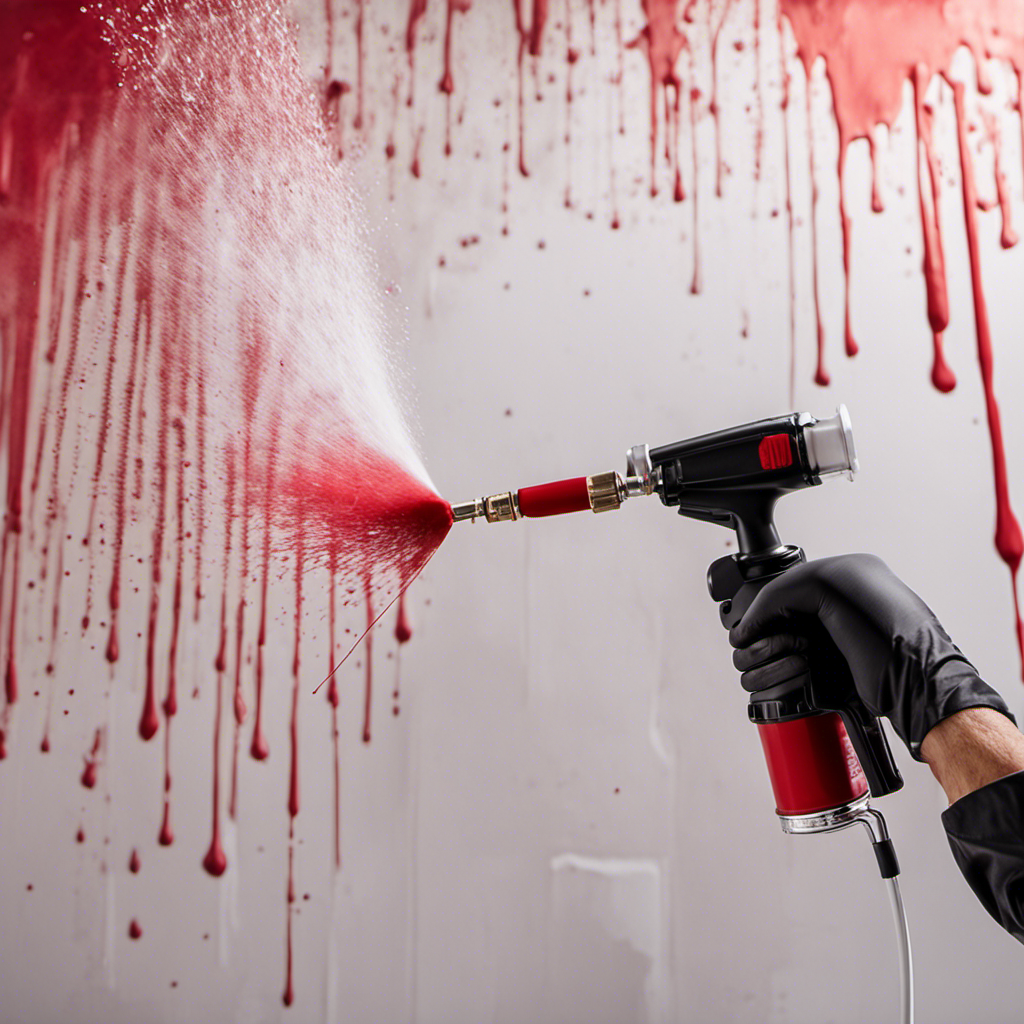
The Titan airless paint sprayer buzzes with vitality as the artist directs it along the surface, producing a flawless, vibrant layer of paint.
But over time, the primer/spray can wear down, affecting the sprayer’s performance.
In this article, we will delve into the process of replacing the primer/spray on a Titan airless paint sprayer.
From disconnecting the power to aligning the nozzle, this step-by-step guide will ensure a seamless replacement, allowing you to continue your painting endeavors with ease.
Key Takeaways
- Understanding the parts of a Titan airless paint sprayer is essential before replacing the primer/spray.
- Gathering the necessary tools and materials is important for the replacement process.
- Disconnecting, emptying, and detaching the old primer/spray should be done carefully.
- Installing and reassembling the new primer/spray requires proper alignment and checking for leaks or malfunctions.
Understanding the Titan Airless Paint Sprayer
Understanding the Titan Airless Paint Sprayer is crucial for successfully replacing the primer/spray.
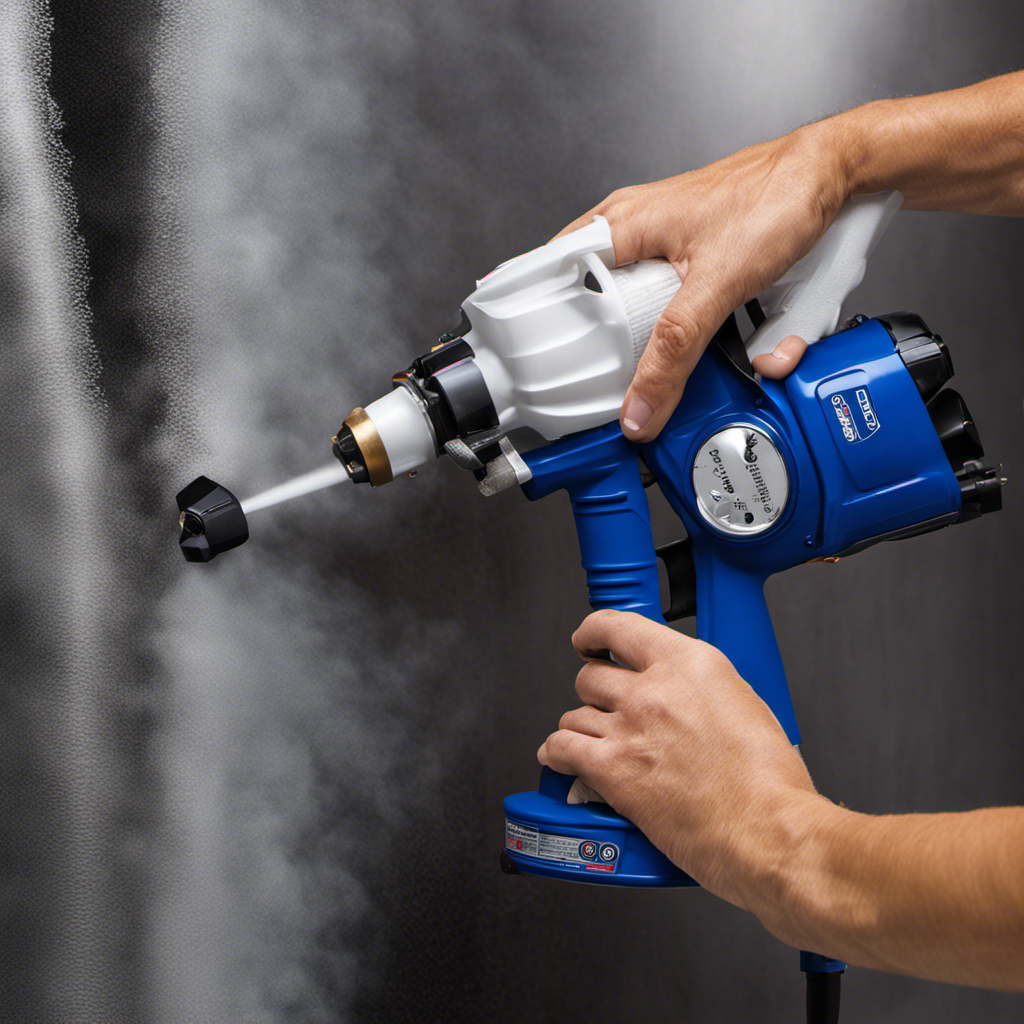
The Titan airless paint sprayer features a spray gun, pump, hose, filters, tips, and pressure control knobs. The spray gun delivers the paint, while the pump pressurizes it. The hose connects the gun and pump, allowing for easy maneuverability. Filters, tips, and pressure control knobs provide customization options for the spray pattern and pressure.
Tips for maintaining a Titan airless paint sprayer include regularly cleaning the nozzle, filters, and other parts to prevent clogging and maintain consistent spray patterns. It is also important to dispose of waste materials properly and follow local regulations for disposal methods.
Preparing for the Replacement Process
Gathering the necessary tools and materials is important for preparing for the replacement process on a Titan airless paint sprayer. To ensure a successful replacement, here are the key steps to follow:
-
Choose the right replacement primer/spray: Selecting the appropriate primer or spray for your specific needs is crucial for achieving the desired results.
-
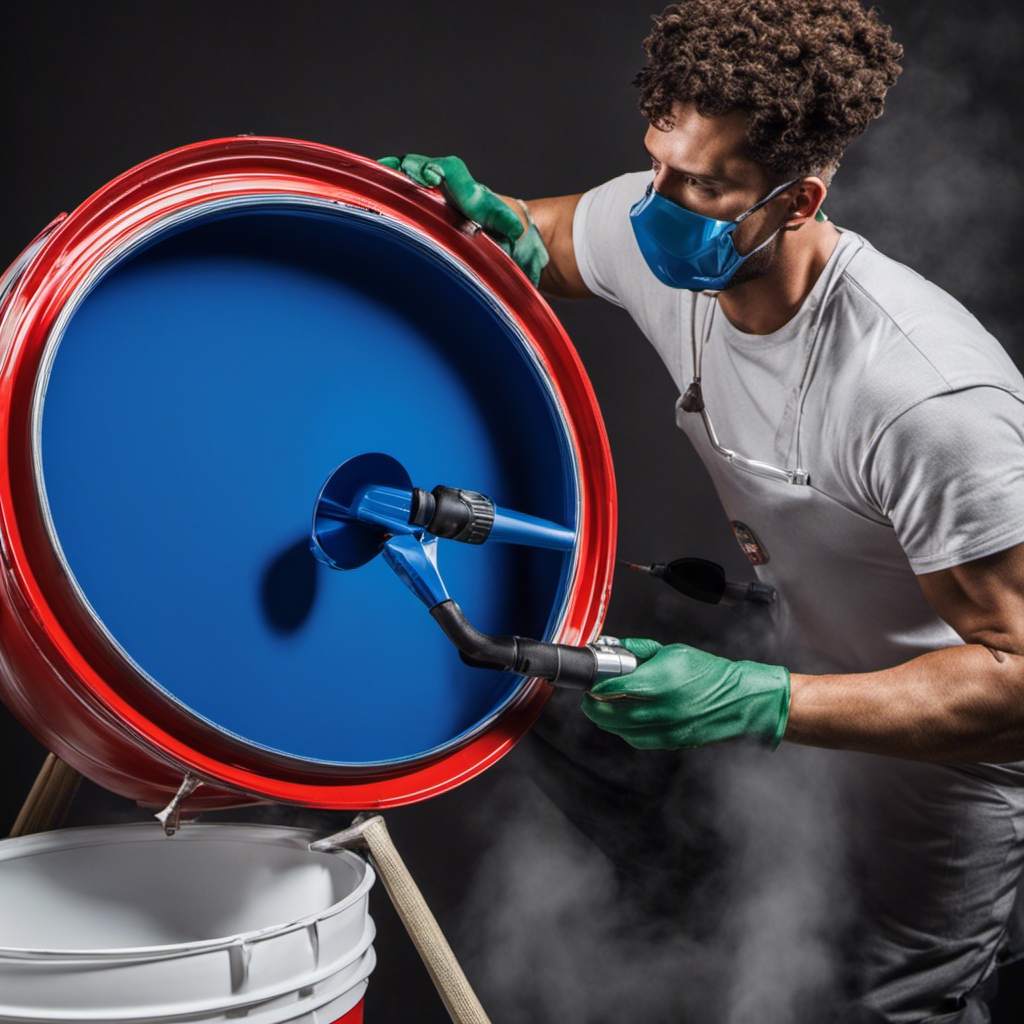
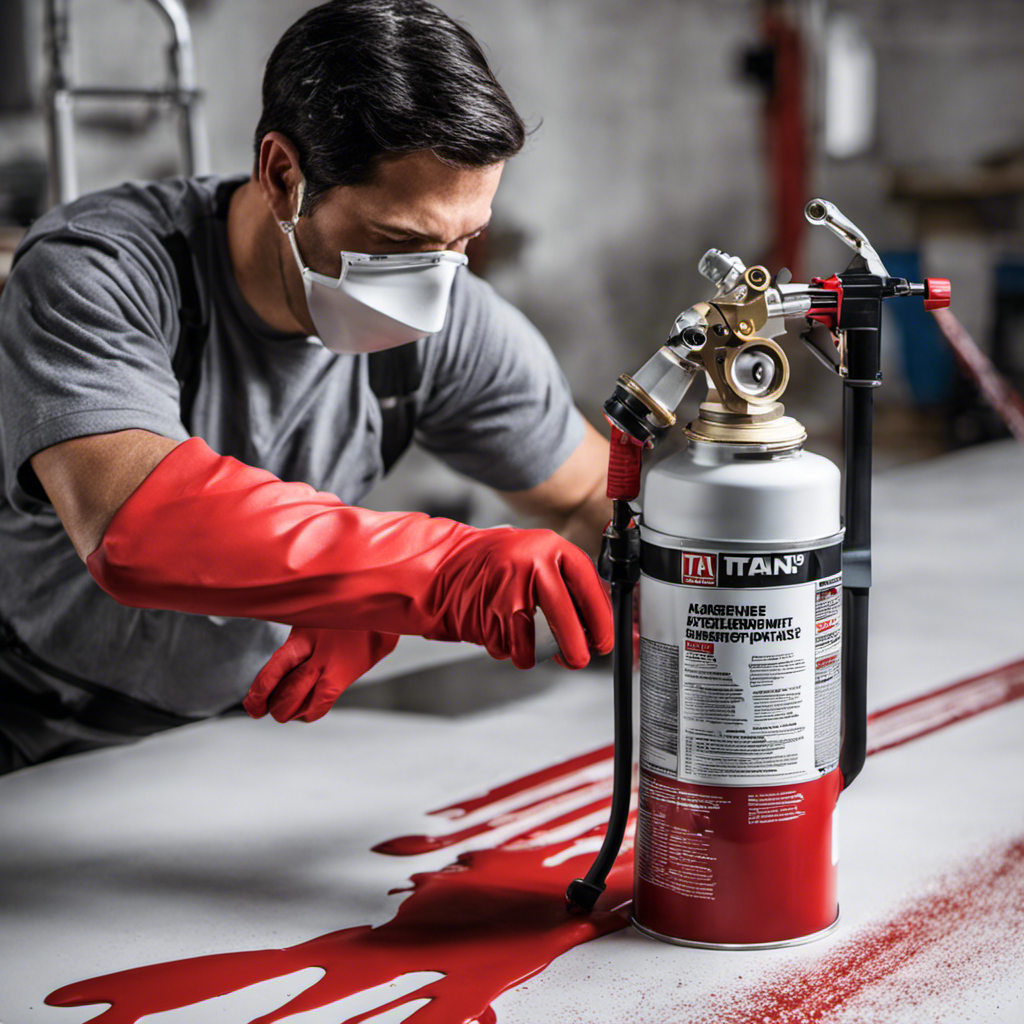
Gather the necessary safety equipment: Prioritize safety by wearing safety goggles, a respirator mask, and gloves to protect yourself from potential hazards.
-
Prepare cleaning supplies: Have a container for disposal and keep rags or paper towels handy for cleaning up any spills or splatters.
-
Use a screwdriver or wrench: Depending on the model, you may need these tools to remove the old primer/spray.
Disconnecting, Emptying, and Detaching the Old Primer/Spray
The user should carefully disconnect, empty, and detach the old primer/spray from the Titan airless paint sprayer. Before starting the process, it is important to turn off the power and release any pressure in the sprayer.
Empty the paint container and dispose of any remaining paint properly. Clean the sprayer thoroughly to remove any paint residue. Use appropriate tools like a screwdriver or Allen wrench to loosen screws or bolts securing the primer/spray.
Handle the old primer/spray with care and check for any debris or damage that may cause difficulties during removal. Thoroughly clean the nozzle and sprayer body before installing the new primer/spray. Ensure all parts are properly fitted together during reassembly to avoid damage.
Installing and Reassembling the New Primer/Spray
To install and reassemble the new primer/spray, securely attach the nozzle to the sprayer body until it clicks.
Here are some troubleshooting tips and common installation mistakes to be aware of:
- Check for leaks or malfunctions after attaching the new primer/spray.
- If you encounter fitting problems or leaks during installation, clean the nozzle and sprayer body before trying again.
- Make sure to properly reattach the spray tip and tighten it securely using a wrench.
- Ensure the paint container is firmly locked into place and the screws are securely tightened when reattaching the handle.
Testing, Clean Up, and Maintenance
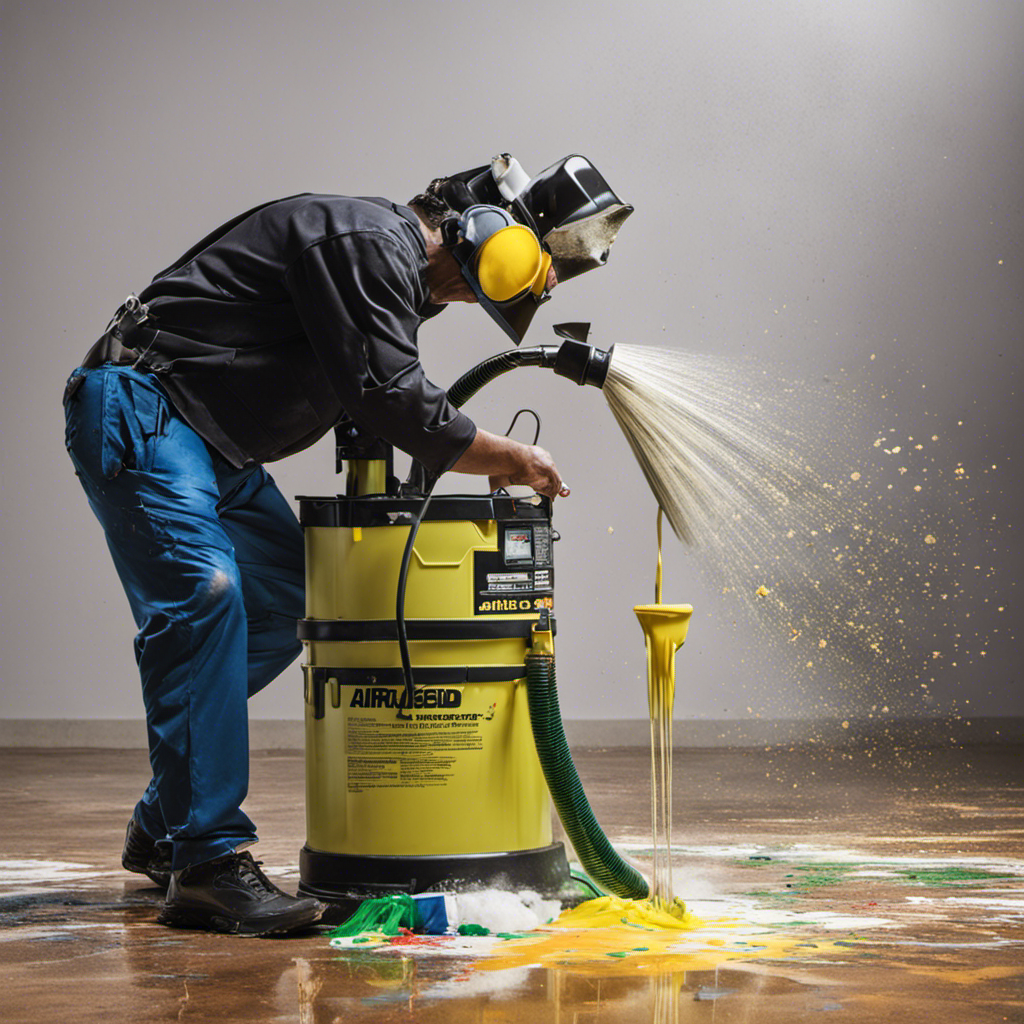
After securely attaching the new primer/spray, the user should test the sprayer’s performance by filling the paint reservoir with water and checking for any leaks or blockages. This step is crucial to ensure that the replacement process was successful and that the sprayer is functioning properly. Troubleshooting tips can be helpful if any issues arise during testing. It is important to choose the right cleaning solutions for maintaining the Titan airless paint sprayer. Regularly cleaning the nozzle, filters, and other parts will prevent clogging and maintain a consistent spray pattern. Additionally, collecting leftover paint, primer, or cleaning solutions in a designated container and disposing of them properly is necessary to avoid environmental hazards. Following these maintenance practices will ensure the longevity and optimal performance of the sprayer.
| Troubleshooting Tips | Choosing the right cleaning solutions |
|---|---|
| Check for leaks or blockages in the sprayer | Use appropriate cleaning solutions for different |
| Identify and address any irregular spray patterns | parts of the sprayer |
| Listen for unusual noises or vibrations | Follow the manufacturer’s recommendations and |
| Inspect the motor and pump for any issues | guidelines for cleaning solutions and solvents |
Final Steps and Tips for Proper Usage and Care
Before using and caring for the Titan airless paint sprayer, it is important for the user to familiarize themselves with the instruction manual and follow the manufacturer’s guidelines. Proper maintenance techniques and troubleshooting common issues are crucial for the longevity and performance of the paint sprayer.
Regularly clean the nozzle, filters, and other parts to prevent clogging and maintain consistent spray patterns.
Check for any unusual noises or vibrations while spraying, as they may indicate motor or pump issues.
Adjust the pressure settings according to the paint manufacturers’ recommendations for optimal spray performance.
Dispose of waste materials properly to avoid environmental hazards and comply with local regulations.
Frequently Asked Questions
How Do I Choose the Right Primer/Spray for My Titan Airless Paint Sprayer?
When choosing a primer/spray for a Titan airless paint sprayer, it is important to consider the compatible materials. Look for a primer/spray that is specifically designed for use with the type of paint you will be using.
Consider factors such as the surface you will be painting, whether it is interior or exterior, and the desired finish.
Reading product labels and consulting with paint experts can help you make an informed decision.
What Are the Safety Precautions I Should Take When Replacing the Primer/Spray?
When replacing the primer/spray on a Titan Airless Paint Sprayer, it is important to take necessary precautions and safety measures. These include wearing safety goggles, a respirator mask, and gloves to protect against any potential hazards.
Additionally, ensure that the power is turned off and any pressure is released from the sprayer before starting the replacement process. Properly disconnect and handle the old primer/spray, and thoroughly clean the sprayer before installing the new one.
Always refer to the instruction manual for specific safety guidelines and troubleshooting tips.
Can I Reuse the Old Primer/Spray or Should I Discard It?
The old primer/spray should be discarded and not reused. Reusing primer/spray can lead to inconsistent application and potential issues with the paint job. Proper disposal of the old primer/spray is important to avoid environmental hazards. Follow local regulations for disposal methods and contact waste management companies if needed.
Collect leftover paint, primer, or cleaning solutions in a designated container for proper disposal. Regularly cleaning the nozzle, filters, and other parts will help maintain consistent spray patterns and prevent clogging.
How Often Should I Clean the Nozzle, Filters, and Other Parts of the Sprayer?
The frequency of cleaning the nozzle, filters, and other parts of the sprayer depends on several factors such as the type of paint used and the frequency of use. As a general rule, it’s recommended to clean these parts after each use to prevent clogging and maintain optimal performance.
However, if you encounter any issues during operation, it’s advisable to consult the instruction manual for troubleshooting tips or seek professional assistance.
Are There Any Specific Maintenance Tips to Ensure the Longevity of the Titan Airless Paint Sprayer?
To ensure the longevity of the Titan Airless Paint Sprayer, there are several maintenance tips and troubleshooting techniques that can be followed.
Regularly clean the nozzle, filters, and other parts to prevent clogging and maintain consistent spray patterns.
Check for any leaks or blockages by filling the paint reservoir with water.
Adjust the pressure settings according to the paint manufacturers’ recommendations.
Pay attention to any unusual noises or vibrations while spraying, as they may indicate motor or pump issues.
Conclusion
In conclusion, replacing the primer/spray on a Titan airless paint sprayer is a crucial task that requires precision and attention to detail. By following the proper steps and taking necessary precautions, users can ensure the seamless functioning of their sprayer.
The process may seem daunting, but with the right tools and safety equipment, it becomes a breeze. So, gear up and get ready to witness a transformation like no other as your Titan airless paint sprayer unleashes its true potential.
Get ready to be amazed by the smooth, flawless finish it delivers, making your painting projects a joy to behold.

Drenched in creativity and armed with a fountain pen, Isolde weaves words as gracefully as a painter strokes their canvas. A writer for Paint Sprayer Zone, her passion for colors, textures, and spaces finds a harmonious blend with her profound knowledge of painting tools and techniques.
Having grown up in a family of artists, Isolde’s tryst with paints began early. While her relatives expressed themselves on canvas, Isolde found her medium in words. She dedicated herself to chronicling the world of painting, understanding the nuances of each tool, and the artistry behind every spritz of a paint sprayer.