If your paint sprayer acts up mid-job, start by turning it off and inspecting for clogs—clean or clear debris from the nozzle and filters. Check your paint’s viscosity and thin thick paint if needed. Guarantee air supply hoses are leak-free and the pressure matches specs. If spray patterns are uneven, adjust the nozzle quickly. For motor or electrical issues, check connections and power. Keep these tips handy; you’ll find more solutions to keep your project on track.
Key Takeaways
- Pause and turn off the sprayer, then clean or clear any clogs in the nozzle or spray gun immediately.
- Check and adjust the paint viscosity to ensure proper flow and prevent dripping or sputtering.
- Inspect hoses and connections for leaks or blockages, and tighten or replace components as needed.
- Confirm the air supply is steady and the compressor pressure matches specifications for consistent spray.
- Regularly clean filters and spray tips during the job to maintain optimal spray pattern and prevent buildup.
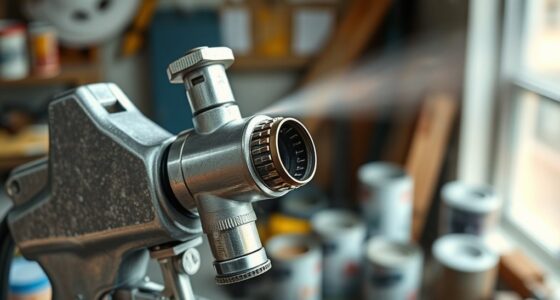
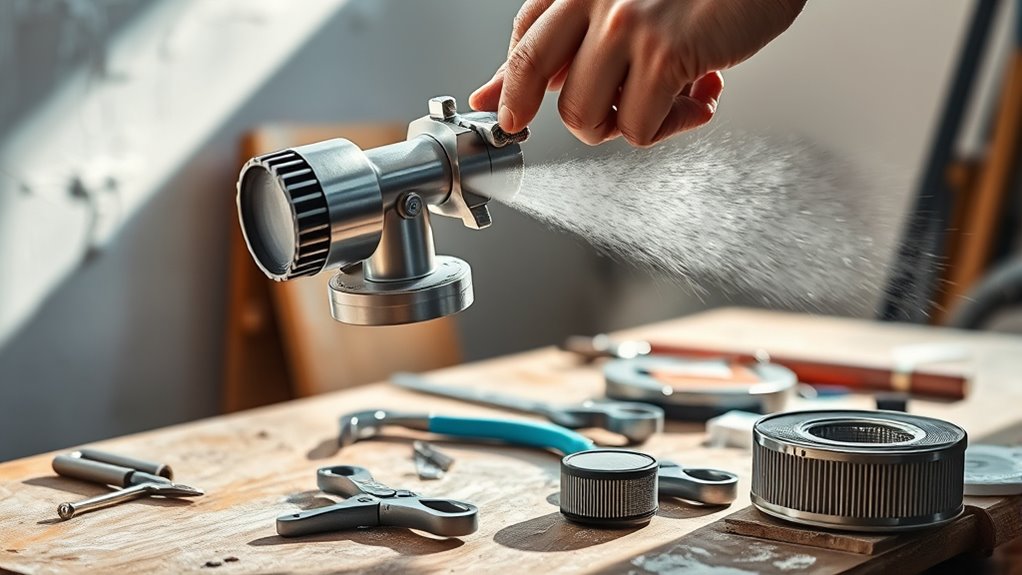
Clearing Clogs and Blockages

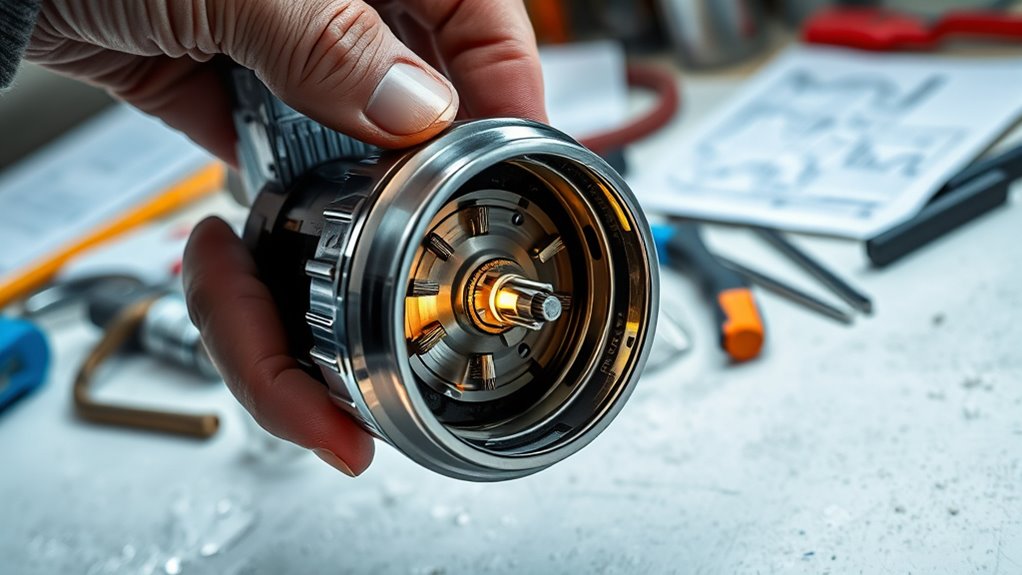
Have you ever wondered why your paint sprayer suddenly stops spraying evenly? The most common cause is a clog or blockage in the paint nozzle or spray gun. Over time, debris, dried paint, or overspray can clog the small passages, disrupting the flow. To fix this, turn off your sprayer and disconnect it from the power source. Carefully remove the paint nozzle and inspect it for any obstructions. Use a brush or solvent to clean out stubborn residue. Check the spray gun’s internal components for blockages, ensuring paint can flow smoothly. Proper cleaning after each use prevents future clogs. Regular maintenance of the paint nozzle and spray gun is essential for ideal performance. Additionally, understanding the paint sprayer’s performance features can help you identify and troubleshoot issues more effectively. Clearing blockages quickly restores even spray patterns and keeps your project on track. Keeping your equipment clean is a crucial part of preventive maintenance to avoid recurring problems. Regularly examining and cleaning the internal components can further reduce the risk of clogs and ensure consistent operation. Being aware of hose and filter cleanliness also plays a vital role in maintaining optimal spray quality.
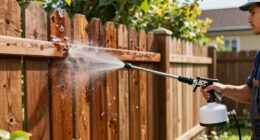
Fixing Uneven Spray Patterns
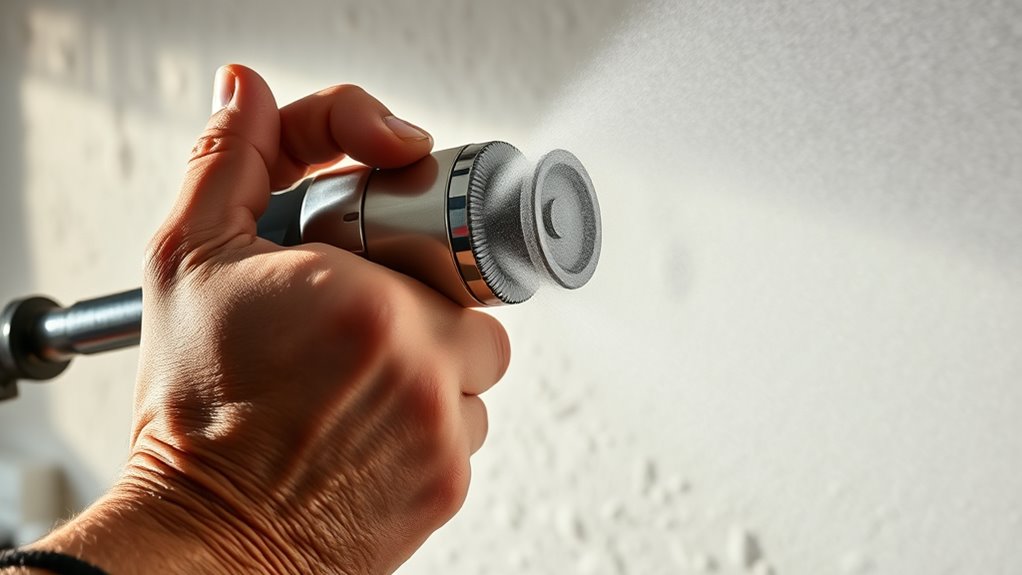
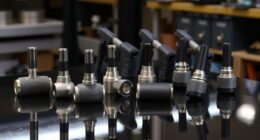
When your paint sprayer produces an uneven spray pattern, it often signals lingering issues with clogged or misaligned components. First, check the sprayer nozzle for clogs or buildup, as debris can cause uneven atomization. Clean the nozzle thoroughly if necessary. Next, consider the paint viscosity; if the paint is too thick, it can disrupt a smooth spray. Thin the paint according to manufacturer recommendations to improve flow. Also, ensure the nozzle is properly aligned and securely fastened. Misalignment or looseness can create irregular spray patterns. Adjust the spray pattern settings if your sprayer has that feature. Additionally, inspecting the sprayer components regularly can help prevent recurring issues and maintain optimal performance. Proper maintenance of tuning and adjustments is essential for consistent results and can extend the lifespan of your equipment. Regularly checking nozzle alignment and replacing worn parts can also improve spray quality and reduce downtime. Moreover, using quality paint can significantly influence the consistency of the spray pattern. To further enhance your spray results, understanding how projector technology impacts image quality can help you select the right equipment for your needs.
Resolving Air Supply Problems
Air supply issues are a common cause of inconsistent spray patterns and poor paint coverage. If your spray pattern is irregular or paint is uneven, check the air supply line for leaks or blockages. Ensure the paint nozzle and spray tip are clean and free of obstructions—clogged components can restrict airflow. Confirm that the air compressor pressure matches the manufacturer’s specifications, and adjust if necessary. Inspect the connections between the air hose and sprayer to make sure they’re tight and secure. Sometimes, a damaged or worn spray tip can disrupt airflow, so replace it if needed. Maintaining proper airflow guarantees smooth, even paint application. Regularly cleaning and checking these parts prevents air supply problems, helping your sprayer perform at its best. Additionally, understanding essential oils and their proper use can help in maintaining equipment, as some oils have antibacterial properties that can keep tools cleaner when used appropriately. Being aware of air pressure settings and how they influence spray quality can also help prevent issues before they start. Properly calibrated pressure regulators are essential for consistent performance and avoiding spray inconsistencies. Checking for air leaks in the entire system can further improve spray uniformity and reduce paint waste.
Addressing Paint Consistency and Flow Issues

If your paint is inconsistent or flows unevenly, the problem often lies in the paint itself or how it’s being fed through the sprayer. To fix this, check the paint viscosity—if it’s too thick, it won’t spray smoothly. Thin it with water or a reducer until it flows consistently. Next, examine your nozzle adjustment; a clogged or improperly set nozzle can cause uneven spray patterns. Visualize:
- Thick paint clogging the nozzle
- Irregular spray patterns
- Paint dripping or splattering
- Uneven coverage
Ensure your nozzle is clean and properly adjusted for the desired spray pattern. By maintaining the correct paint viscosity and fine-tuning your nozzle, you’ll improve flow and achieve a smooth, even finish. Additionally, understanding optimal angles for pinball machines can help you maintain your sprayer’s positioning and prevent uneven coverage during use. Proper airflow regulation is also essential for consistent paint application, as it affects how evenly the paint is dispersed. Incorporating regular maintenance routines can prevent many common issues and extend your equipment’s lifespan, ensuring reliable performance throughout your project. A thorough understanding of paint feed mechanisms can further help diagnose flow issues before they become major problems.
Troubleshooting Sprayer Motor and Power Concerns
A sprayer’s motor and power issues can halt your project if not properly diagnosed. If your spray gun isn’t powering on or the motor stalls, start by checking the power source—ensure the cord is plugged in securely and the outlet works. Next, inspect the paint nozzle; a clogged or blocked nozzle can cause the motor to strain or stop. If the motor runs but doesn’t produce pressure, verify that the spray gun’s settings are correct and that the filter isn’t clogged. For persistent issues, examine the motor’s brushes or electrical connections for damage. Sometimes, a simple reset or replacing a blown fuse restores power. Proper maintenance of the motor and ensuring the paint nozzle is clear can keep your spray gun functioning smoothly during the job. Regularly inspecting and cleaning components can prevent common tanning pitfalls and ensure optimal performance. Additionally, understanding the GMC tuning principles can help you optimize your equipment’s efficiency and longevity. Incorporating routine maintenance into your workflow can further reduce the risk of unexpected breakdowns. Being aware of the importance of using the right oil can also help prevent motor wear and enhance overall sprayer function. Moreover, using the correct performance upgrades can significantly improve your spray system’s efficiency and durability.
Frequently Asked Questions
How Can I Prevent Paint Sprayer Clogs Before Starting a Project?
To prevent paint sprayer clogs before starting, you should check the paint flow and make sure it’s properly thinned according to the manufacturer’s instructions. Clean your nozzle thoroughly and inspect for any debris or dried paint that could cause blockages. Regularly flush the system with solvent or water, and avoid overfilling the paint cup. These steps help prevent nozzle blockages, ensuring smooth operation and a professional finish.
What Safety Precautions Should I Take During Quick Repairs?
Think of safety as your shield during repairs. Always wear protective gear like gloves and goggles to guard against splatters. Before fixing a sprayer, disconnect it from power to guarantee electrical safety—like turning off a tap before fixing a leak. I once skipped unplugging my sprayer, and a sudden spark nearly caused a mishap. Prioritize these precautions to stay safe and make quick repairs confidently.
Are There Specific Paint Types That Work Best With My Sprayer?
When choosing paint for your sprayer, you should consider paint consistency and nozzle compatibility. Thinner paints with the right viscosity flow better and reduce clogging, making your job smoother. Always check if the paint’s consistency matches your sprayer’s recommended settings. Additionally, verify the nozzle size suits the type of paint you’re using, as incompatible nozzles can cause uneven spray or blockages. Proper selection helps you achieve a flawless finish efficiently.
How Often Should I Perform Maintenance to Avoid Common Issues?
You should follow a maintenance schedule based on your sprayer’s usage, ideally cleaning it thoroughly after each job to prevent clogs and buildup. Regularly inspect parts for wear and tear, and perform troubleshooting tips like checking filters and fluid passages. Doing this guarantees smooth operation and minimizes issues. A consistent maintenance routine helps you catch problems early, saving time and avoiding interruptions during your projects.
Can I Use Household Tools to Fix Sprayer Problems Quickly?
When it comes to DIY fixes for paint sprayer problems, you might think you can MacGyver your way through with household tools. While some tool compatibility issues, like clogged nozzles or loose fittings, can be tackled with basic items like screwdrivers or pliers, don’t expect miracles. Use your tools wisely, but know when to call in the pros to avoid making problems worse.
Conclusion
By addressing these common sprayer concerns promptly, you can keep your project flowing smoothly, like a well-orchestrated masterpiece. Think of each fix as a gentle nudge guiding your tool back to its ideal rhythm, allowing your creativity to shine through without interruption. With a little troubleshooting, you’ll find that your paint sprayer becomes a trusted partner, helping you bring your vision to life with ease and confidence.

Franz came aboard the Paint Sprayer Zone team with a background in both journalism and home renovation. His articulate writing style, combined with a passion for DIY projects, makes him an invaluable asset. Franz has a knack for breaking down technical jargon into easy-to-understand content, ensuring that even the most novice of readers can grasp the complexities of paint sprayers.