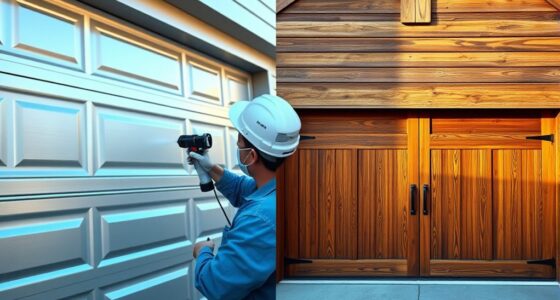

To paint your kitchen appliances with a paint sprayer, start by thoroughly cleaning and sanding the surfaces to guarantee good adhesion. Choose a high-durability primer suited for metal or glossy finishes, then apply an even coat with your sprayer, maintaining steady pressure and overlap. Allow proper drying and curing time before handling. For a professional look that lasts, follow these steps closely—and continue exploring for expert tips to perfect your project.
Key Takeaways
- Thoroughly clean, sand, and prime appliances with compatible, high-adhesion primers suited for metal or glossy surfaces before spraying.
- Adjust your sprayer for an even spray pattern, keep a steady distance of 6-12 inches, and overlap passes for a smooth finish.
- Use smooth, consistent strokes, avoiding stops to prevent drips, and apply multiple light coats rather than thick layers.
- Ensure proper ventilation and stable temperature during drying, waiting at least 24-48 hours for initial drying and up to a week for curing.
- Regularly maintain and clean painted surfaces, and consider applying a clear protective topcoat for high-use appliances to enhance durability.
Assessing Your Appliances and Planning Your Project
Before you begin painting your kitchen appliances, it is vital to assess their current condition and plan your project carefully. Check if your appliances are in good shape—dents, rust, or peeling paint may require additional prep. Consider appliance material suitability; some surfaces, like stainless steel or painted finishes, respond better to certain paints, ensuring a smooth, durable finish. Budget considerations also play a role—high-quality paints and supplies may cost more but deliver better results and longevity. Evaluate whether your appliances are worth the investment or if replacement might be more practical. Proper assessment helps you determine the necessary prep work and select the right products, ultimately saving time and money while achieving a professional-looking result. Additionally, understanding divorce statistics can highlight the importance of making well-informed decisions, whether in legal matters or home improvement projects. Being aware of financial mistakes to avoid can also help you stay within budget and prevent costly errors during your project. Recognizing the importance of appliance maintenance can further guide you in choosing the most durable and suitable paints for your specific appliances. Incorporating somatic therapy techniques into your planning process can help reduce stress and improve focus, making your project more enjoyable and less overwhelming. Moreover, utilizing AI in Business tools can assist in project planning, scheduling, and managing resources effectively.
Selecting the Right Paint and Supplies
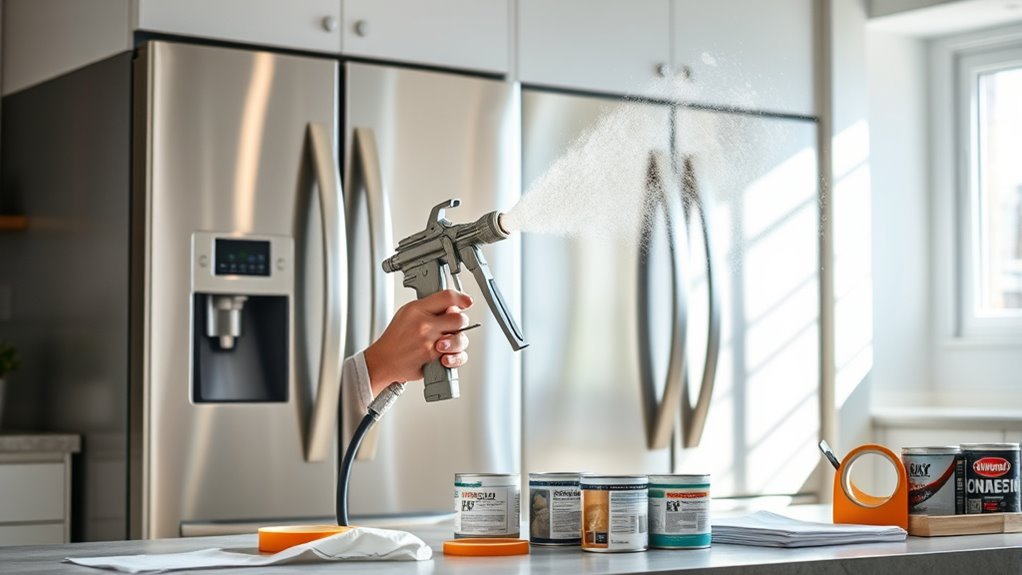
Choosing the right paint and supplies is key to achieving a professional finish on your appliances. You want a paint with high durability to withstand daily use and cleaning, so look for products labeled for appliance or metal surfaces. When selecting color, consider your kitchen’s overall style and whether you want a bold statement or a subtle update. Test samples beforehand to see how the colors look in your lighting. Use high-quality primer designed for metal surfaces to ensure better adhesion, and choose a compatible topcoat for a smooth, lasting finish. Don’t forget to pick up various nozzles and filters for your paint sprayer to ensure even coverage. Proper selection of paint and supplies saves time, reduces errors, and results in a seamless, professional-looking appliance transformation. Additionally, understanding projector technology can help you choose the best equipment for future DIY home improvement projects. For best results, familiarize yourself with paint application techniques to optimize your spraying process. Paying attention to painting surface preparation can further enhance the durability and appearance of your painted appliances. Incorporating water-based paints can also make cleanup easier and reduce fumes during application. Considering air purifier features and technology can help maintain a cleaner environment during your project, reducing dust and airborne particles.
Preparing Your Workspace for a Clean Finish

Before you start painting, clear the area of any clutter to give yourself enough space to work. Protect your countertops, floors, and nearby surfaces with drop cloths or masking tape to prevent accidental splatters. Taking these steps guarantees a cleaner process and a more professional-looking finish. Additionally, consider using appropriate protective gear to safeguard your skin and eyes during painting. Ensuring the workspace is organized also minimizes potential disruptions and helps maintain focus on your automation process for a smooth project. Proper preparation also involves understanding how Bollywood legends have influenced cultural narratives, which can inspire creative design choices in your project.
Clear the Area
Clearing the area guarantees you have a clean, organized workspace to achieve a professional-looking finish. A clutter-free space helps you focus on decorating techniques and guarantees your color coordination remains precise. To prepare effectively: 1. Remove all appliances, utensils, and decorations from the workspace to prevent accidental overspray or damage. 2. Cover nearby surfaces with drop cloths or plastic sheeting to protect them from paint splatters. 3. Arrange your tools and materials nearby, keeping everything you need within easy reach for a smooth workflow. Additionally, understanding the weight of appliances can help you plan for safe transportation and handling during your project. Being aware of the quality of your paint sprayer ensures an even application and a professional finish.
Protect Surroundings
Protecting your surroundings is the next step to guarantee a flawless finish. By shielding nearby surfaces with drop cloths and painter’s tape, you prevent paint splatters and minimize cleanup. This also helps reduce the environmental impact, as you avoid unnecessary waste and mess. Consider using protective coverings that are eco-friendly to further lessen your project’s footprint. Additionally, to keep noise levels manageable and reduce disruption, choose a workspace in a well-ventilated area away from quiet zones or neighbors. Using a controlled environment not only improves the quality of your paint job but also keeps noise to a minimum, making the process more comfortable for everyone. Proper preparation ensures a cleaner workspace, better results, and a more eco-conscious approach. Cookie categories help tailor your browsing experience and ensure you stay informed about your privacy choices.
Cleaning and Sanding the Appliance Surfaces

Cleaning and sanding the appliance surfaces are essential steps to make sure your paint adheres smoothly and lasts longer. First, clean the surface thoroughly to remove grease, dirt, and residue, paying attention to the appliance material. Next, inspect the surface texture; rough or uneven areas can cause paint to chip or peel. Sand the surface using fine-grit sandpaper to create a smooth, even texture that promotes better adhesion. Here’s what you should do:
- Wipe down the appliance with a degreaser or rubbing alcohol.
- Sand the surface lightly to remove any gloss and improve paint grip.
- Clean off dust and debris with a damp cloth before painting.
- Proper surface preparation ensures optimal paint performance and long-lasting results.
- Using the right surface preparation techniques can prevent future peeling and chipping, ensuring a professional finish. Additionally, understanding how self watering plant pots work can help you maintain plants more effectively, which is useful if you decide to incorporate your painted appliances into a kitchen garden setup.
Applying Primer for Better Adhesion and Durability

Choosing the right primer is key to ensuring your paint sticks and lasts. You need to prepare the surface properly and pick a primer suited for your appliance material. With the right steps, your finish will look smooth and stay durable over time. Incorporating proper surface preparation and data-driven strategies into your planning can help you select the most effective primer for your project. Additionally, selecting a primer that aligns with the specific educational value of your appliance material can enhance adhesion and longevity. For example, considering Kia Tuning options can provide insights into the material properties and performance characteristics of components that may influence primer selection. Recognizing the importance of local tips can also assist in choosing primers that perform well under your specific environmental conditions.
Surface Preparation Matters
Applying primer is a crucial step that considerably impacts how well your paint adheres and how long it lasts. Proper surface preparation ensures a smooth, durable finish that highlights your appliance’s color options. Skipping or rushing this step can lead to DIY painting pitfalls, like uneven coverage or peeling paint. To prepare effectively:
- Clean the surface thoroughly to remove grease, dirt, and residue.
- Sand the appliance lightly to create a rough surface for better primer adhesion.
- Remove any existing rust or chipped paint to prevent future issues.
- Consider the local climate and environment, as outdoor or humid conditions can affect paint durability and may require additional surface treatment.
Taking these steps helps you avoid common mistakes and guarantees a professional-looking result. Remember, a well-prepared surface makes all the difference in achieving a sleek, long-lasting finish that showcases your appliance’s new look.
Primer Selection Tips
Selecting the right primer is essential for ensuring your paint sticks well and lasts over time. To do this, consider surface compatibility—different appliances require specific primers to bond properly. For example, glossy surfaces often need a primer designed for slick finishes, while metal appliances benefit from rust-inhibiting options. Pay attention to primer properties such as adhesion strength, drying time, and flexibility. A high-quality primer with strong adhesion will prevent peeling and chipping, especially on metal or plastic surfaces. Also, choose a primer suitable for your paint type, whether oil-based or water-based. Proper primer selection creates a stable base, enhances color vibrancy, and improves durability, making your appliance painting project more successful and long-lasting.
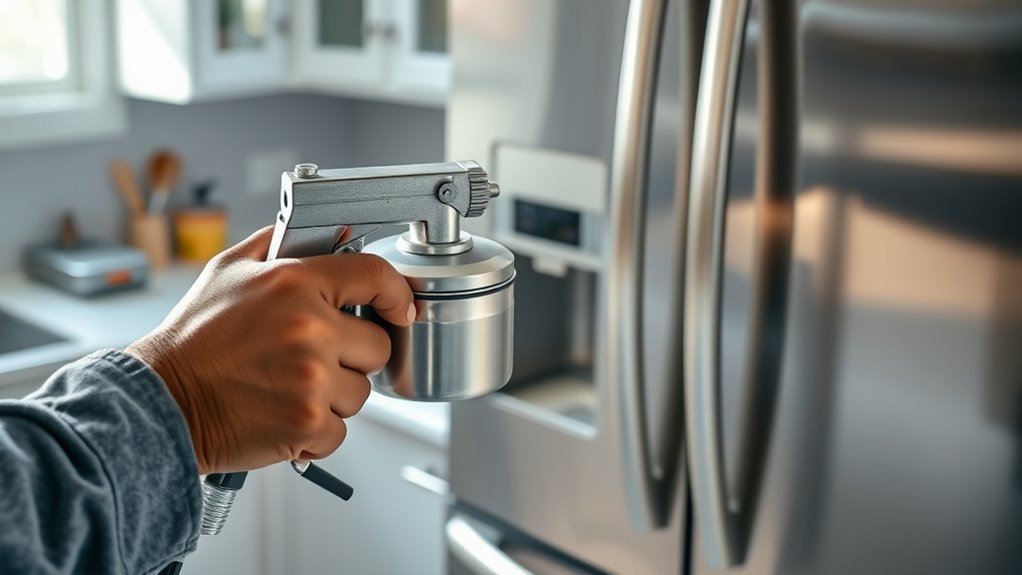
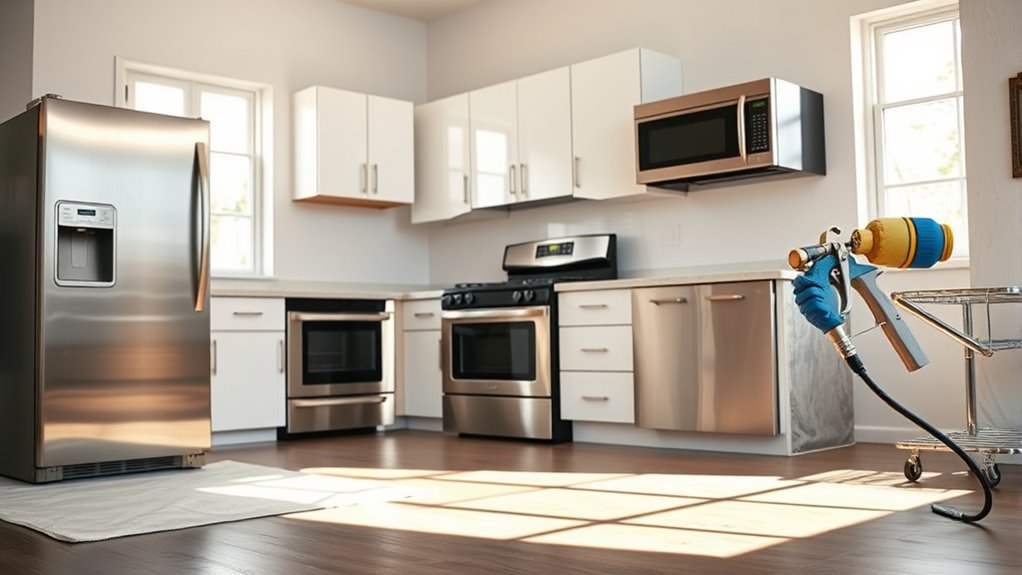
Using the Paint Sprayer for Even Coating

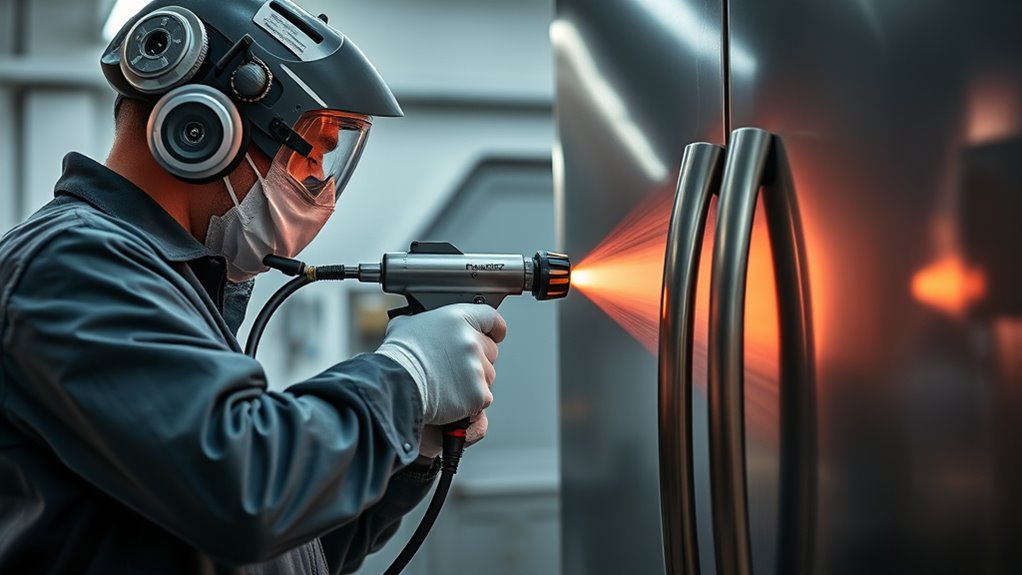
To achieve a smooth and even coat on your kitchen appliances, using a paint sprayer correctly is essential. First, adjust your spray pattern to ensure consistent coverage, avoiding thin spots or drips. Second, keep a steady hand and maintain a consistent distance from the surface—usually about 6-12 inches—to prevent uneven application. Third, focus on color matching by overlapping each pass slightly, which helps blend the layers seamlessly. Always move the sprayer in smooth, even strokes, and avoid stopping in one spot to prevent drips. Proper technique guarantees a uniform finish, reducing the need for touch-ups later. Remember, controlling your spray pattern and maintaining consistent motion are key to achieving professional-looking results on your appliances.
Allowing Proper Drying and Curing Time
After finishing your painting with the sprayer, it’s important to give the appliances enough time to dry and cure properly. The drying environment plays a vital role; keep the area well-ventilated and at a stable temperature to prevent dust or humidity from affecting the finish. Rushing the drying process can lead to smudges or uneven spots. Once the surface feels dry to the touch, the curing process begins, during which the paint hardens fully and bonds to the surface. Avoid handling or cleaning the appliances prematurely, as this can damage the new coating. Patience during this stage ensures a durable, professional-looking finish. Allow at least 24-48 hours for drying, and up to a week for complete curing, depending on the paint type used.
Final Touches and Maintenance Tips

Once your appliances have fully dried and cured, it’s time to focus on final touches and maintenance to keep your painted surfaces looking their best. To guarantee hardware durability and maintain aesthetic enhancement, consider these steps:
- Regularly clean surfaces with a soft cloth and mild detergent to prevent grime buildup without damaging the paint.
- Check and tighten any hardware, like handles or knobs, to maintain both function and appearance.
- Apply a clear protective topcoat periodically, especially in high-use areas, to preserve the paint’s integrity and extend its lifespan.
These simple maintenance tips help prevent chipping and wear, keeping your appliances looking fresh and ensuring the paint job remains durable over time.
Frequently Asked Questions
Can I Paint Appliances With a Paint Sprayer Outdoors?
Yes, you can paint appliances outdoors with a paint sprayer, but proper appliance prep is vital for a smooth paint finish. Make certain the area is well-ventilated and protected from dust, dirt, and moisture. Mask off surrounding surfaces, and clean the appliances thoroughly. Use high-quality paint and a suitable spray technique to achieve an even, durable paint finish. Outdoor painting requires extra care to prevent debris from ruining your project.
What Safety Gear Is Recommended When Spray Painting Appliances?
When spray painting appliances, you should always wear safety gear to protect yourself. Use protective gloves to prevent skin contact with fumes and paint. Additionally, wear a respiratory mask to avoid inhaling harmful fumes and particles. These precautions keep you safe from potential health risks during the project. Remember, safety gear is essential for a smooth, safe painting experience, especially when working with strong chemicals and paint fumes.
How Do I Prevent Paint Drips and Runs During Spraying?
To prevent paint drips and runs, you need to control paint flow regulation and follow proper surface preparation techniques. Adjust the sprayer’s settings for a consistent, even spray, avoiding excessive paint. Keep the sprayer at the right distance from the surface and use smooth, overlapping strokes. Make sure the surface is clean, dry, and sanded if necessary, to guarantee smooth application and reduce the chance of drips.
Is It Necessary to Remove Handles and Knobs Before Painting?
You should remove handles and knobs during appliance preparation to guarantee a smooth, professional finish. Paint removal from hardware prevents drips and uneven coverage, making your job easier. By taking the extra step to remove all hardware, you avoid accidental paint on areas you didn’t intend to cover. This prep work helps achieve a cleaner look and saves time on touch-ups later, giving your appliance a sleek, refreshed appearance.
How Long Should I Wait Before Using the Appliance After Painting?
After painting your appliance, you should wait for the recommended drying time before using it. Typically, you’ll need to allow at least 24 hours for the paint to dry properly. Keep in mind that a full curing period may take up to 7 days, depending on the paint type. During this time, avoid using the appliance to guarantee the paint sets correctly and remains durable.
Conclusion
With patience and the right techniques, painting your kitchen appliances becomes a masterpiece in the making. Think of each step as adding a brushstroke to a canvas—your careful prep, precise spraying, and proper drying transform dull surfaces into a work of art. When you finish, you’ll admire a refreshed space that’s as polished and vibrant as a gallery masterpiece. Embrace the process, and watch your kitchen sparkle like a well-curated exhibition.

A seasoned painter with over 15 years in the industry, Mike transitioned from hands-on painting projects to the digital world of paint sprayers. His extensive experience gives him a unique perspective on what users truly need when it comes to painting tools. As the Editor in Chief of Paint Sprayer Zone, Mike ensures that every piece of content not only provides value but also reflects the realities of painting — the challenges, the joys, and the intricate details.