
To get the best results with a paint sprayer, avoid skipping surface prep, like cleaning and priming, which hurt adhesion. Don’t choose the wrong nozzle or ignore adjusting spray settings, as this causes uneven coverage. Overloading the sprayer or moving too fast or slow can lead to drips, patches, or waste. Protect surrounding areas and maintain your equipment regularly. Keep these mistakes in mind, and you’ll discover the secrets to a professional finish.
Key Takeaways
- Properly clean and prime surfaces before spraying to ensure better adhesion and durability.
- Select and adjust the correct nozzle, spray pattern, and flow for consistent, even coverage.
- Maintain a steady movement and controlled speed for smooth, professional application.
- Regularly clean and maintain equipment to prevent clogs and ensure optimal performance.
- Cover non-paint areas thoroughly to protect surfaces from overspray and ensure a clean finish.
Skipping Proper Surface Preparation
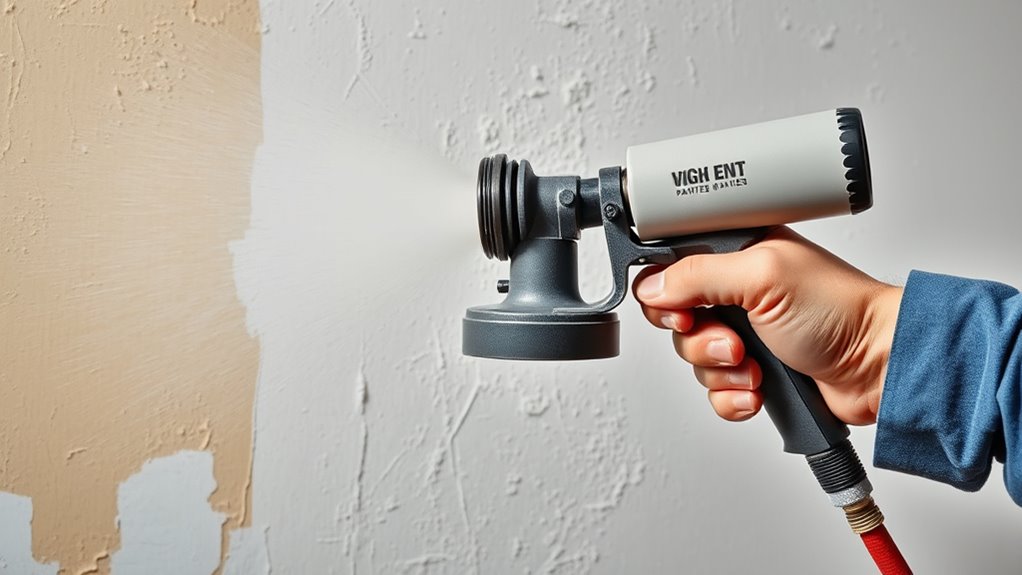
Skipping proper surface preparation can lead to poor paint adhesion and an uneven finish. Before spraying, you need to thoroughly clean the surface to remove dirt, grease, or loose paint. Surface cleaning ensures the paint bonds well and lasts longer. After cleaning, applying a primer is essential, especially on raw or stained surfaces. Primer creates a smooth base, improves coverage, and enhances paint adhesion. Skipping these steps may cause peeling, chipping, or uneven color. Proper surface prep might take extra time, but it’s vital for a professional-looking result. Always inspect the surface carefully, clean it thoroughly, and apply the right primer for your project. Neglecting these steps could mean you’ll have to redo your work sooner than expected, wasting time and materials. Additionally, understanding paint adhesion is key to achieving a durable finish, and proper surface preparation directly influences this critical factor. Recognizing the importance of surface contaminants can help prevent issues that compromise the longevity of your paint. Properly preparing the surface also reduces the likelihood of paint bleeding through, which can ruin the final appearance. To ensure optimal results, consider how project-specific techniques can further improve your finish quality.
Choosing the Wrong Nozzle or Spray Tip
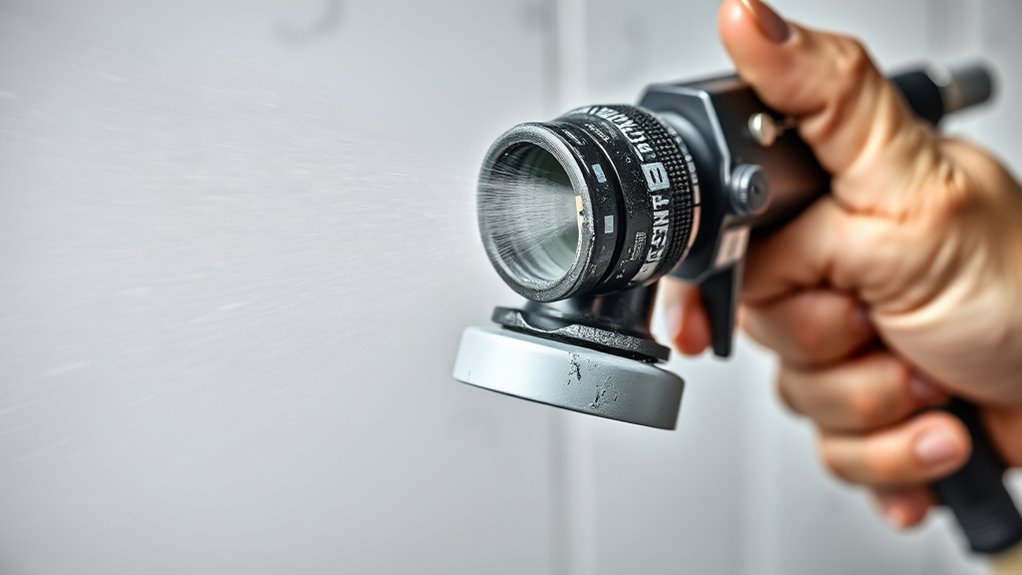
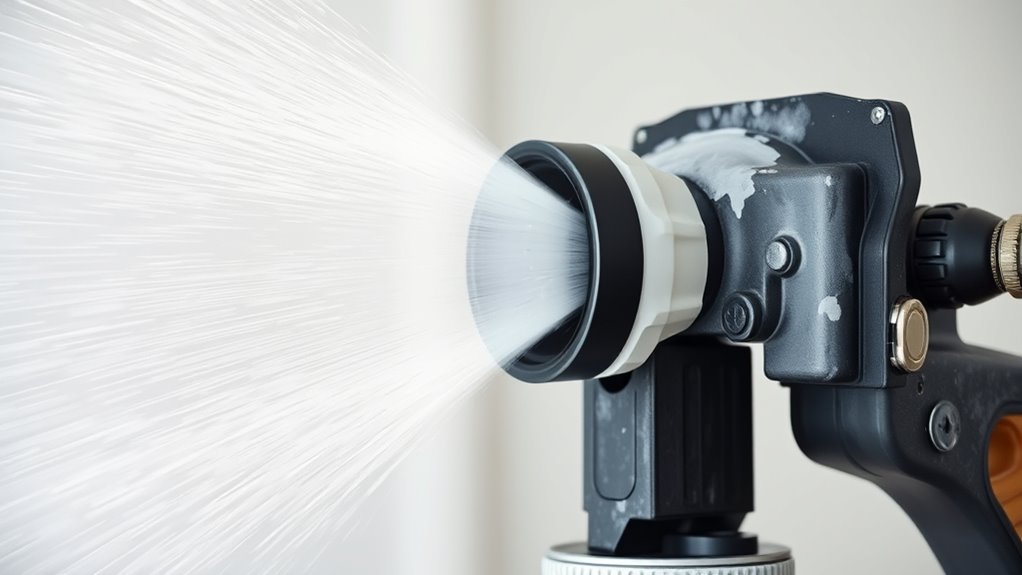
Using the wrong nozzle or spray tip can cause an uneven spray pattern, making your finish look patchy. It can also lead to incompatible material flow, resulting in drips or insufficient coverage. Ultimately, choosing the wrong part reduces spray quality and wastes your paint. Proper nozzle selection ensures optimal performance and a smooth, professional-looking finish. Selecting the appropriate nozzle also depends on understanding material viscosity, as different paints require specific spray tips for best results. Additionally, using the correct spray tip size can significantly influence the efficiency and quality of your painting project. Being aware of familiarity with spray equipment can help you make better choices and avoid common mistakes. Moreover, understanding tuning your spray gun can further improve application consistency and finish quality.
Incorrect Spray Pattern
Choosing the wrong nozzle or spray tip can lead to an uneven or inefficient paint job, as it directly affects the spray pattern. If your spray pattern isn’t consistent, you’ll likely experience drips, uneven coverage, or missed spots. To avoid this, verify you select a nozzle that matches your project’s requirements. Proper nozzle adjustment is essential; it helps control the spray width and flow, giving you a more uniform finish. Failing to adjust the nozzle correctly can result in a distorted spray pattern, making your work look unprofessional. Always test your spray pattern on scrap material before starting your project. Fine-tuning the nozzle ensures even coverage, reduces paint waste, and produces a smooth, professional-looking finish. Additionally, selecting the appropriate tip size is crucial for achieving the best results on different surfaces and paint viscosities. Understanding spray pattern consistency can help you identify issues early and correct them for a flawless application. Regularly inspecting and maintaining your spray equipment can also prevent issues caused by debris or clogs, ensuring consistent performance throughout your project. Incorporating proper nozzle selection into your process is vital for achieving a professional quality paint job.
Incompatible Material Flow
Selecting the wrong nozzle or spray tip can cause your material flow to be incompatible with the paint or coating you’re applying. This mismatch affects both material compatibility and flow consistency, leading to uneven coverage or drips. To prevent this, choose a nozzle suited to your material’s viscosity and desired finish. Consider this comparison:
| Nozzle Type | Ideal Material Compatibility |
|---|---|
| Fine Tip | Thin stains, clear coats |
| Wide Tip | Thick paints, heavy coatings |
| Medium Tip | General-purpose paints |
| Large Tip | Textured finishes, primers |
Using the correct nozzle ensures smooth, consistent flow, reducing waste and improving the quality of your project. Always match your spray tip to your material for maximum results. Additionally, understanding AI in entertainment and how it influences content creation can inspire innovative approaches to your painting projects. Being aware of affiliates and commissions can also help you make informed choices when purchasing spray equipment and accessories. Incorporating Volkswagen Tuning principles, such as selecting the appropriate tools and optimizing application techniques, can further enhance your painting results by ensuring precise material delivery and finish quality. Proper material flow management is crucial to achieving professional-looking results and avoiding common pitfalls. Moreover, paying attention to sound healing science can help create a calming environment during your work sessions, promoting focus and reducing stress.
Reduced Spray Quality
When you install the wrong nozzle or spray tip, the quality of your spray pattern often suffers. This can lead to uneven paint coverage, drips, or overspray. To maintain proper paint consistency and airflow optimization, choose the correct nozzle for your project. Proper nozzle selection is essential for achieving an optimal mind-body connection, which can improve your overall painting experience and results. Here are key points to consider:
- Ensure the nozzle size matches your paint type; too large or small can distort spray quality.
- Use the appropriate spray tip for your desired spray pattern—wide or narrow.
- Regularly clean or replace worn nozzles to prevent blockages that compromise airflow and mental wellbeing, ensuring consistent performance and reducing frustration.
- Incorporating automation’s role in business intelligence can help track maintenance schedules and optimize nozzle replacement timing, preventing errors that impact spray quality.
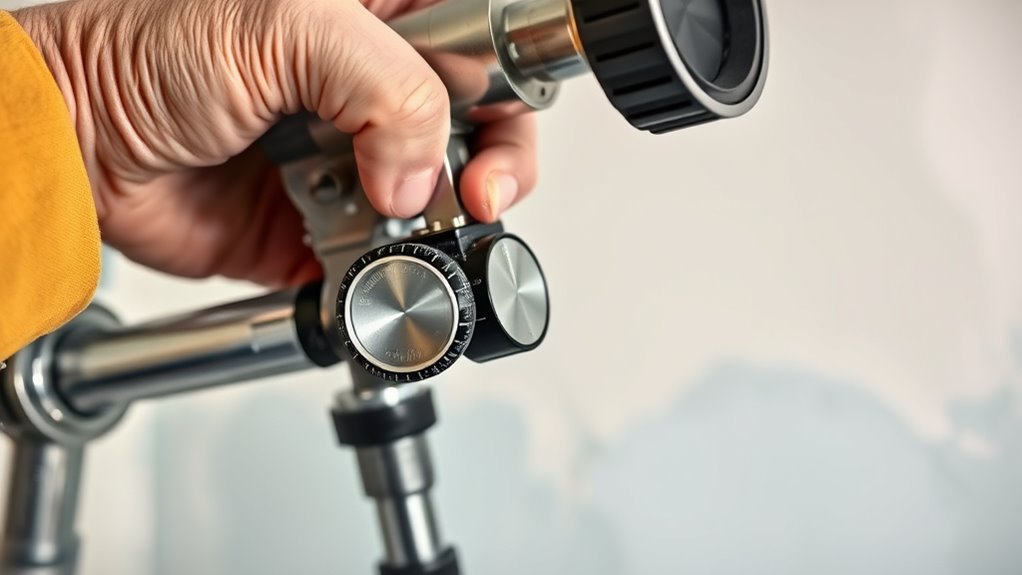
Using Incorrect Spray Settings
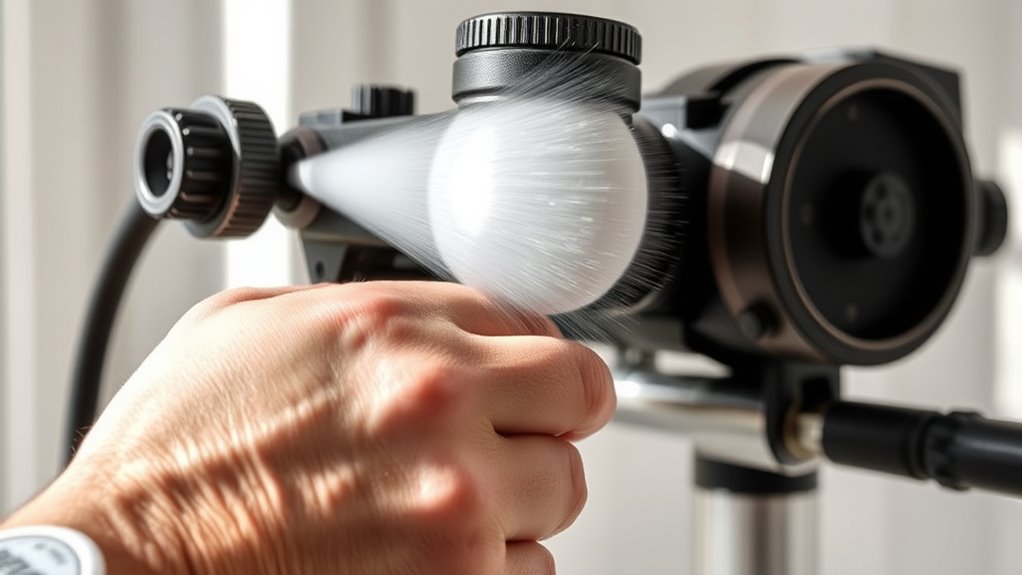
Using incorrect spray settings can quickly lead to uneven coverage, drips, and wasted paint. The key is adjusting your spray pattern and material flow correctly. If your spray pattern is too narrow or too wide, you’ll struggle to achieve a smooth, even finish. Experiment with the pattern to match the surface and project size. Material flow also plays a vital role; too high, and you risk drips and runs, too low, and coverage becomes patchy. Always test your settings on a scrap piece before starting your project. Properly calibrated spray pattern and material flow ensure consistent, professional results. Additionally, adjustable settings give you better control over the spray, helping to prevent common issues like overspray and uneven texture. Regularly reviewing and fine-tuning your equipment can prevent many common mistakes and improve your overall results. Avoid rushing these adjustments—they’re essential for a flawless paint job and efficient use of your paint sprayer. When working with a paint sprayer, understanding how Nissan tuning modifications can optimize engine performance highlights the importance of precise adjustments in achieving optimal results.
Overloading the Sprayer With Paint
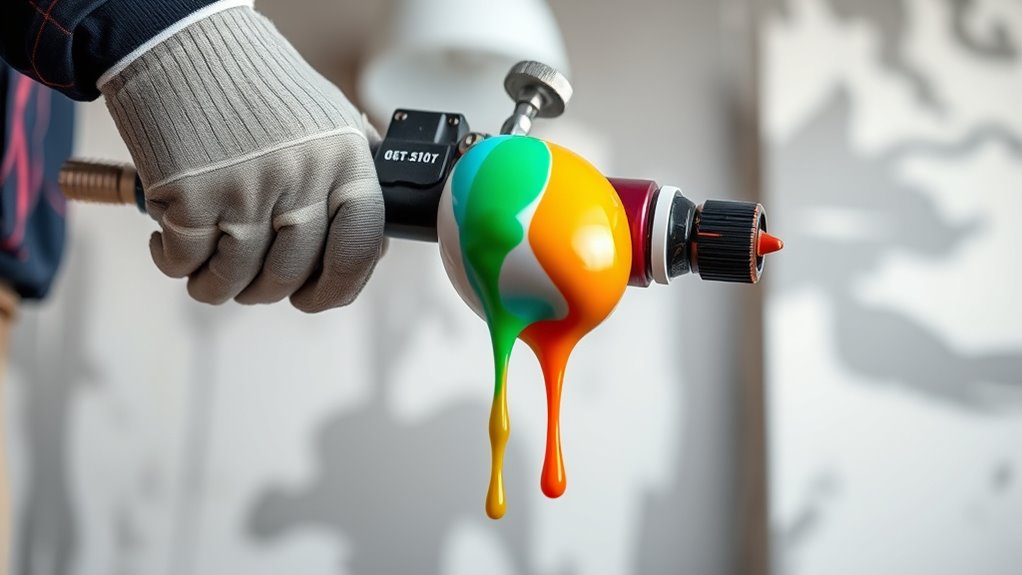
Overloading your paint sprayer with too much paint can cause uneven application, drips, and wastage. When you fill the paint container beyond its capacity, the spray pressure becomes inconsistent, leading to uneven coverage. To avoid this, keep these tips in mind:
- Fill the paint container only halfway to allow proper flow.
- Monitor spray pressure regularly to prevent over-pressurization.
- Refill the container as needed instead of topping it off repeatedly.
Neglecting to Protect Surrounding Areas

Before you start spraying, make sure to cover non-paint surfaces and use drop cloths properly to protect furniture and floors. Sealing off ventilation areas prevents overspray from drifting into other rooms. Taking these precautions keeps your surrounding spaces clean and free from unintended paint marks.
Cover Non-Paint Surfaces
Failing to cover non-paint surfaces can lead to a messy cleanup and unintended damage. To protect areas like furniture, fixtures, or flooring, use appropriate coverings. For specialized surface textures or non-porous materials, take extra precautions. Here are three essential tips:
- Use painter’s tape to shield edges and delicate fixtures.
- Cover large surfaces with drop cloths or plastic sheeting.
- Secure coverings tightly to prevent paint from seeping through or shifting during spraying.
Use Drop Cloths Properly
Neglecting to use drop cloths properly can result in costly cleanup and damage to surrounding surfaces. To avoid this, focus on proper drop cloths placement by covering all nearby furniture, flooring, and fixtures. Use heavy-duty drop cloths or plastic sheeting for maximum protection. When applying surface coverage techniques, ensure the cloths extend beyond the painted area’s edges, securing them with painter’s tape if needed. Smooth out wrinkles to prevent paint from seeping underneath. Check that all surfaces you want to protect are fully covered before starting. Moving the drop cloths as you work prevents accidental exposure of unprotected areas. Proper surface coverage techniques save you time and effort later, keeping your space clean and minimizing the risk of accidental paint splatters.
Seal Off Ventilation Areas
Sealing off ventilation areas is essential to prevent overspray and fumes from spreading to other parts of your home. Proper airflow management guarantees ventilation safety and keeps fumes contained. To do this effectively, consider these steps:
- Cover vents, registers, and air returns with plastic sheeting or painter’s tape.
- Seal gaps around windows and doors to minimize airflow leaks.
- Use plastic sheeting or drop cloths to block off adjacent rooms or hallways.
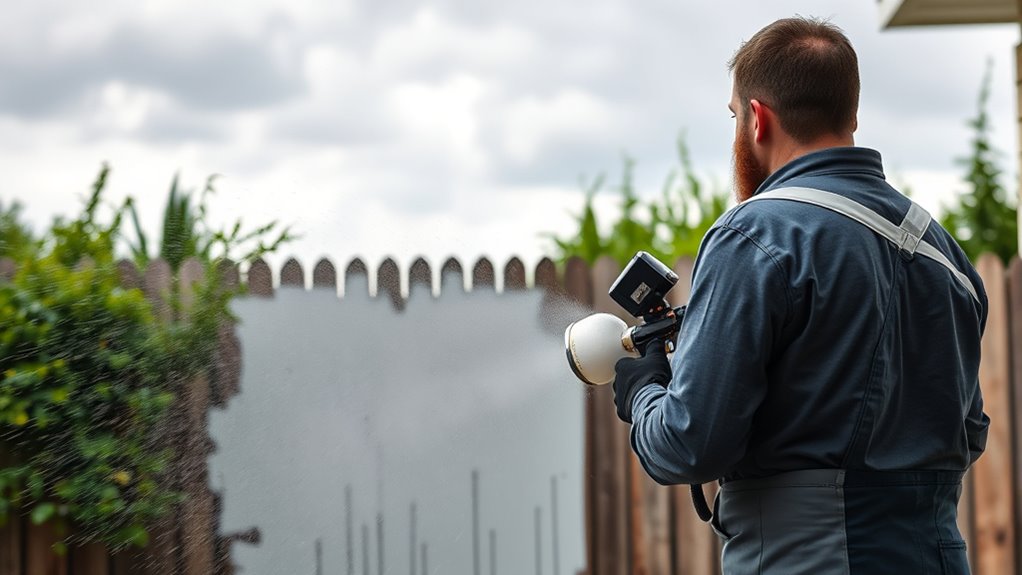
Moving Too Fast or Too Slow During Application
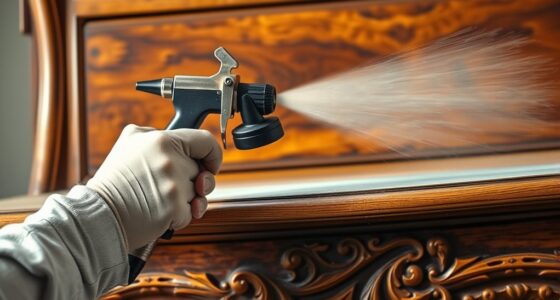
Moving too quickly or too slowly when using a paint sprayer can lead to uneven coverage and drips. Maintaining speed consistency is essential for a smooth finish. Moving too fast causes thin coats, leaving gaps and inconsistent color, while moving too slow may result in drips and heavy buildup. Pay attention to your stroke rhythm—keep it steady and even to guarantee uniform application. A consistent pace allows the paint to spray evenly across surfaces, reducing the need for touch-ups later. Practice your stroke speed before starting on your project to find a comfortable rhythm. Remember, patience and control are key. By keeping your movement measured and steady, you’ll achieve a professional-looking finish with minimal mistakes.
Failing to Test Spray Pattern and Settings First
Before starting your painting project, it’s crucial to test your spray pattern and settings to guarantee the best results. Skipping this step can lead to uneven coverage and wasted paint. Take time to check your spray pattern and make proper settings adjustments before applying paint to your surface. Focus on these key points:
- Ensure your spray pattern is even and consistent.
- Adjust the settings for the right flow rate and spray width.
- Test on scrap material to verify coverage and finish quality.
Failing to do this can cause overspray, drips, or patchy areas. Properly testing your spray pattern and fine-tuning your settings adjustment helps you work efficiently and achieve a professional-looking finish. Don’t skip this critical step—your project will thank you.
Not Maintaining Equipment Regularly
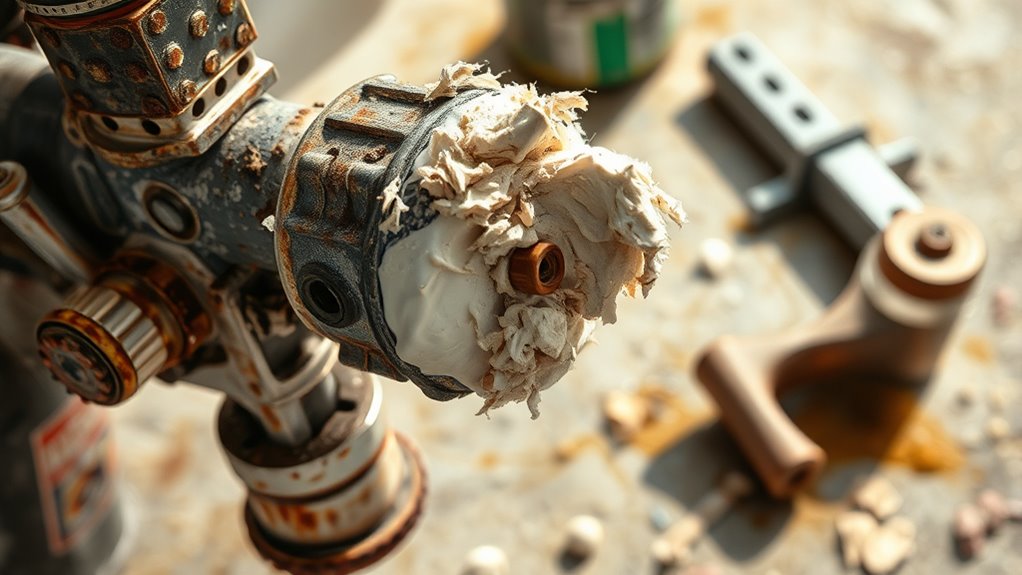
Neglecting regular maintenance of your paint sprayer can lead to clogs, uneven spray patterns, and equipment breakdowns. To keep it running smoothly, you need to prioritize equipment cleaning after each use. Remove paint residues from nozzles, filters, and hoses to prevent blockages. Additionally, applying lubricant to moving parts helps reduce friction and wear, extending your sprayer’s lifespan. Regular maintenance ensures consistent performance and prevents costly repairs. Skipping these steps might seem minor, but over time, dirt buildup and lack of lubrication can cause serious issues. Make it a habit to clean thoroughly and lubricate as recommended by the manufacturer. Proper upkeep is essential for reliable operation and achieving a professional finish every time you spray.
Ignoring Environmental Conditions During Painting
Ignoring environmental conditions during painting can substantially compromise your results. Weather considerations like humidity, wind, and temperature affect how paint dries and adheres. If you skip checking these factors, you risk uneven finishes, runs, or premature peeling. To avoid this, keep these in mind:
- Monitor weather forecasts to choose a day with stable conditions.
- Control temperature by painting during ideal heat or cool periods, avoiding extreme cold or heat.
- Avoid windy days that can cause overspray and dust contamination.
Temperature control is essential; too hot or cold can hinder proper curing. By paying attention to environmental factors, you ensure a smoother process and a professional-looking finish. Don’t overlook weather considerations—they’re indispensable for successful painting with your sprayer.
Frequently Asked Questions
How Can I Ensure Even Paint Coverage With a Sprayer?
To guarantee even paint coverage with a sprayer, start by practicing proper brush techniques for control and consistency. Make sure your paint has the right consistency—neither too thick nor too thin—to spray smoothly. Keep a steady hand and maintain a consistent distance from the surface. Overlap each pass slightly and work in even, overlapping strokes. This combination of proper technique and paint consistency helps achieve a professional, uniform finish.
What Safety Gear Should I Wear When Using a Paint Sprayer?
When using a paint sprayer, you should wear protective gear like goggles, a mask or respirator, and gloves to shield your eyes, lungs, and skin from harmful fumes and overspray. Guarantee proper ventilation options are available, such as open windows, fans, or exhaust systems, to disperse fumes and maintain a safer environment. Always prioritize safety by wearing the right gear and creating good airflow during your painting project.
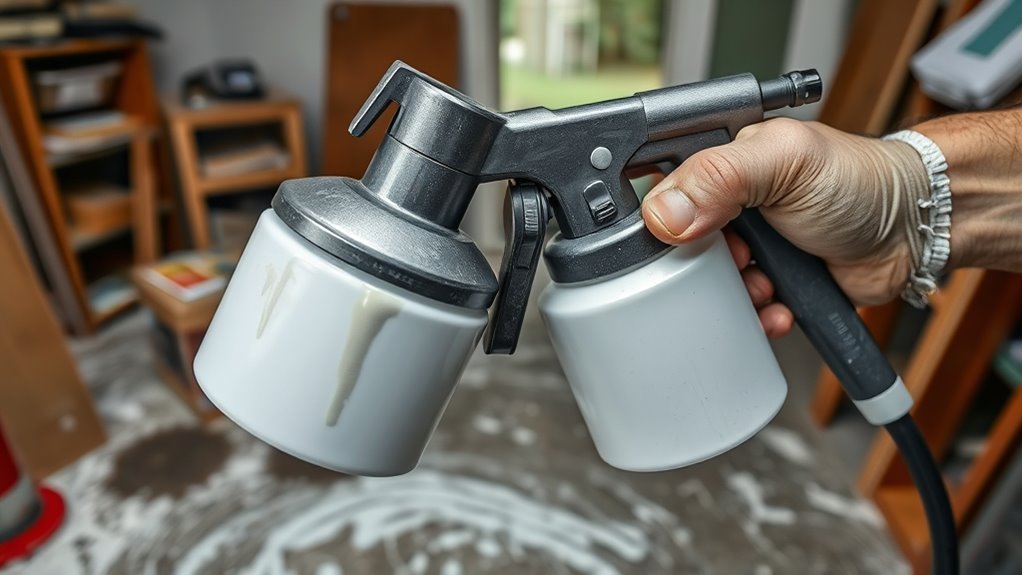
How Do I Clean My Spray Gun Properly After Use?
To clean your spray gun properly, start with the cleaning process immediately after use. Wear gloves and safety goggles, then disassemble the parts. Rinse the paint nozzle, cup, and other components with the appropriate solvent—water for latex, thinner for oil-based paints. Use brushes or cleaning tools to remove residual paint. Follow maintenance tips like lubricating moving parts and storing the gun in a dry place to keep it in top shape.
Can I Use a Paint Sprayer for All Types of Paint?
You can’t use a paint sprayer for all types of paint because of paint compatibility issues. Some paints, like thick latex or oil-based ones, need proper viscosity adjustment to flow smoothly through your sprayer. Always check the manufacturer’s guidelines and thin or adjust the paint as needed. Using incompatible paints or neglecting viscosity adjustments can clog your sprayer and ruin your project.
How Do I Troubleshoot Common Spray Pattern Issues?
To troubleshoot spray pattern issues, start by checking your spray pattern adjustment; verify it’s set evenly for a consistent finish. If the pattern is irregular, clean the nozzle thoroughly to prevent clogging. Always check for nozzle clog prevention by regularly inspecting and clearing debris. Proper maintenance and correct adjustments help maintain a smooth, even spray pattern, saving you time and paint while achieving professional results.
Conclusion
So, next time you grab that paint sprayer, remember: skip prep, pick the wrong nozzle, crank up the paint, ignore the weather, and rush—what could go wrong? Picture a paint tornado tearing through your room, with drips and overspray everywhere. Or better yet, imagine your walls looking like abstract art—if that’s your goal, go ahead! But if you want a smooth finish, avoid these mistakes and keep your masterpiece (mostly) intact.

Franz came aboard the Paint Sprayer Zone team with a background in both journalism and home renovation. His articulate writing style, combined with a passion for DIY projects, makes him an invaluable asset. Franz has a knack for breaking down technical jargon into easy-to-understand content, ensuring that even the most novice of readers can grasp the complexities of paint sprayers.