To keep your paint sprayer in top shape, clean it thoroughly after each use by inspecting and clearing nozzles, and removing debris. Store it in a dry, controlled environment and remove any paint residue before storing. Regularly check and replace worn parts, lubricate moving components, and keep detailed maintenance records. Address issues like inconsistent spray patterns early to avoid major repairs. Continue to explore these tips for long-lasting, reliable sprayer performance.
Key Takeaways
- Regularly clean and inspect all sprayer parts after each use to prevent clogs and damage.
- Store the sprayer in a dry, temperature-controlled environment to avoid rust and deterioration.
- Replace worn or damaged components promptly, including nozzles, seals, and filters, following manufacturer guidelines.
- Maintain a scheduled routine for cleaning, lubrication, and calibration, and keep detailed maintenance records.
- Troubleshoot issues early by monitoring spray patterns and inspecting for wear to ensure consistent performance.
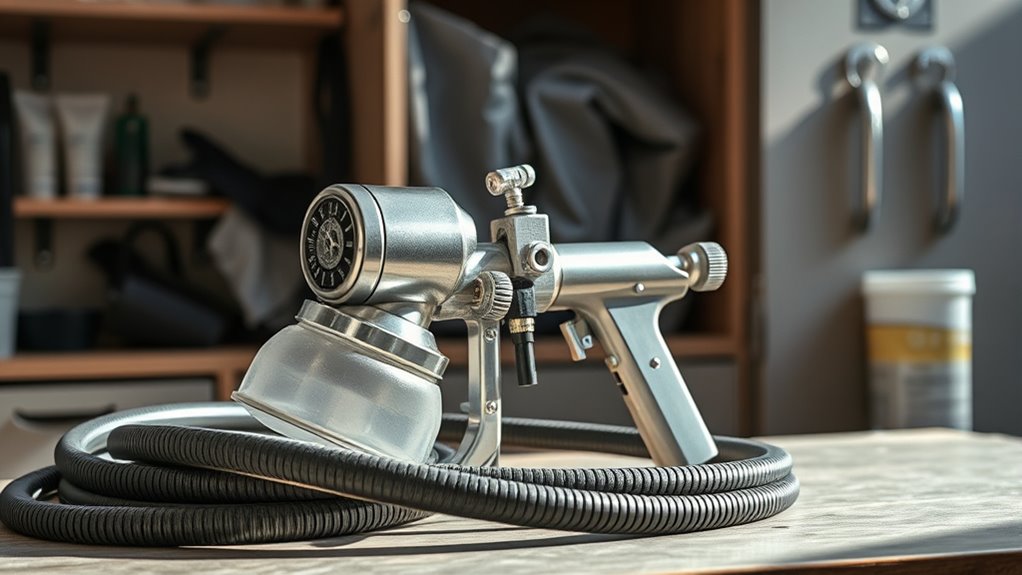
Regular Cleaning After Each Use
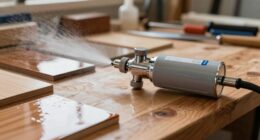
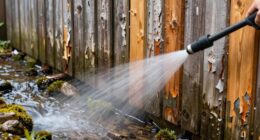
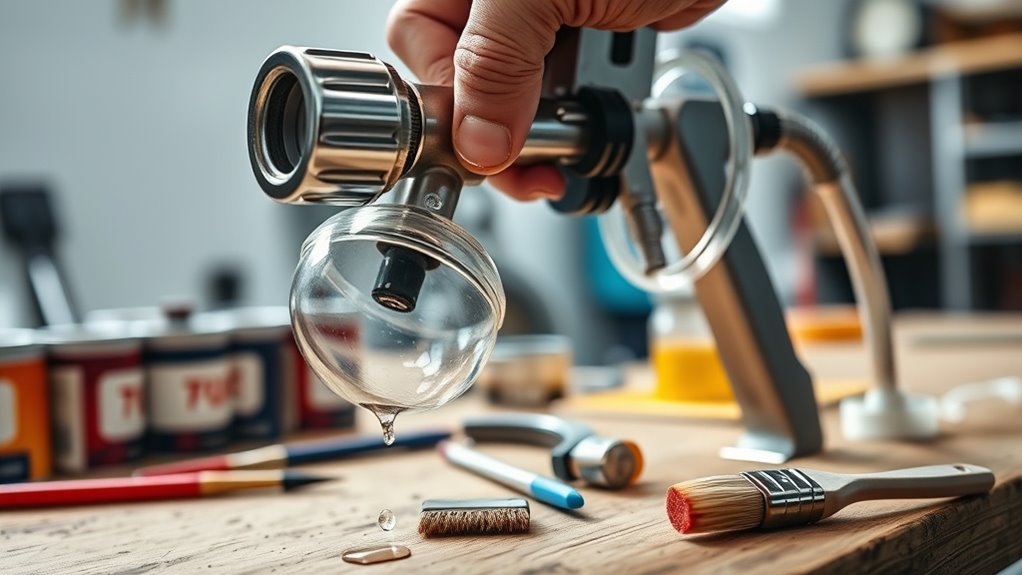
After each use, make sure to clean your paint sprayer thoroughly to prevent clogs and buildup. Start by removing the paint nozzle and inspecting it for any dried paint or debris. Clean the nozzle with the appropriate solvent or water, depending on your paint type, to guarantee it remains clear. Pay close attention to the spray pattern; a clogged nozzle can cause uneven spray and compromised results. Use a brush or a small tool to clear any blockages, ensuring the spray pattern stays consistent. Proper cleaning helps maintain optimal performance and prolongs the life of your sprayer. Regularly checking for clogged nozzles and addressing issues promptly can prevent costly repairs and downtime. Additionally, inspecting the air cap and filters regularly ensures consistent spray quality. To further ensure longevity, consider applying preventative maintenance routines that can help identify potential issues early. Consistent attention to detail after every use guarantees smooth operation and better finish quality, saving you time and effort in the long run.
Proper Storage Techniques
To guarantee your paint sprayer stays in good shape, always clean it thoroughly before storing. You should also keep it indoors in a dry, secure place to prevent damage or corrosion. Proper storage helps extend the life of your equipment and keeps it ready for next time. Additionally, ensure there is adequate airflow around the unit to prevent moisture buildup and maintain optimal performance. Proper ventilation is essential to avoid moisture buildup that can lead to rust and deterioration over time. Incorporating industry best practices for storage can further safeguard your equipment from unexpected issues.
Clean Before Storage
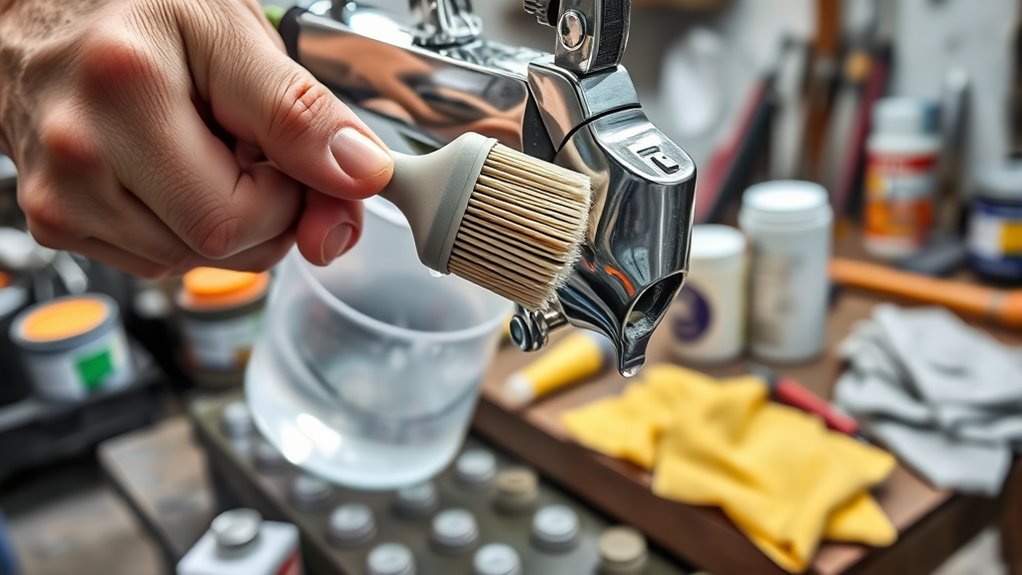
Before storing your paint sprayer, proper maintenance is vital to prevent clogs and damage. Clean all parts thoroughly, ensuring paint residue is fully removed. Pay special attention to the tip and nozzle to avoid clogs that could affect sprayer calibration later. Use appropriate cleaning solutions based on the paint type, and run water or solvent through the system to clear remaining material. Additionally, clean the paint container and stir sticks, following correct paint mixing techniques for your next use. Proper cleaning preserves your sprayer’s performance and extends its lifespan. To further ensure optimal operation, inspect the hoses and seals for wear or cracks and replace them if necessary. Incorporating machine learning advancements can also help in developing better maintenance schedules and troubleshooting tips for your equipment. Regular maintenance routines assisted by automated diagnostics can further enhance your sprayer’s longevity and efficiency. For optimal results, consider keeping a maintenance log to track cleaning and repairs over time.
Store Indoors Safely
Storing your paint sprayer indoors helps protect it from dust, moisture, and accidental damage, ensuring it remains in good condition for your next project. To do this effectively, find a clean, dry space with controlled temperature. Avoid areas prone to extreme heat or cold, as temperature fluctuations can damage internal components. Manage humidity levels to prevent rust and corrosion; using a dehumidifier or moisture absorbers can help maintain ideal humidity. Keep the sprayer upright and in a secure spot where it won’t be knocked over or damaged. Cover it with a breathable cloth or store it in its case to keep dust away. Proper indoor storage preserves your sprayer’s performance and extends its lifespan, making it ready whenever inspiration strikes. Additionally, consider storage environment to further protect your equipment from environmental factors. Maintaining a security zone around your workspace can also help prevent theft or accidental damage when working on large projects. Regularly inspecting your stored sprayer and cleaning it before storage can further prevent corrosion or buildup, ensuring optimal functionality over time. Ensuring your sprayer is in a well-maintained condition can also help detect potential issues early, avoiding costly repairs later.
Inspecting and Replacing Worn Parts
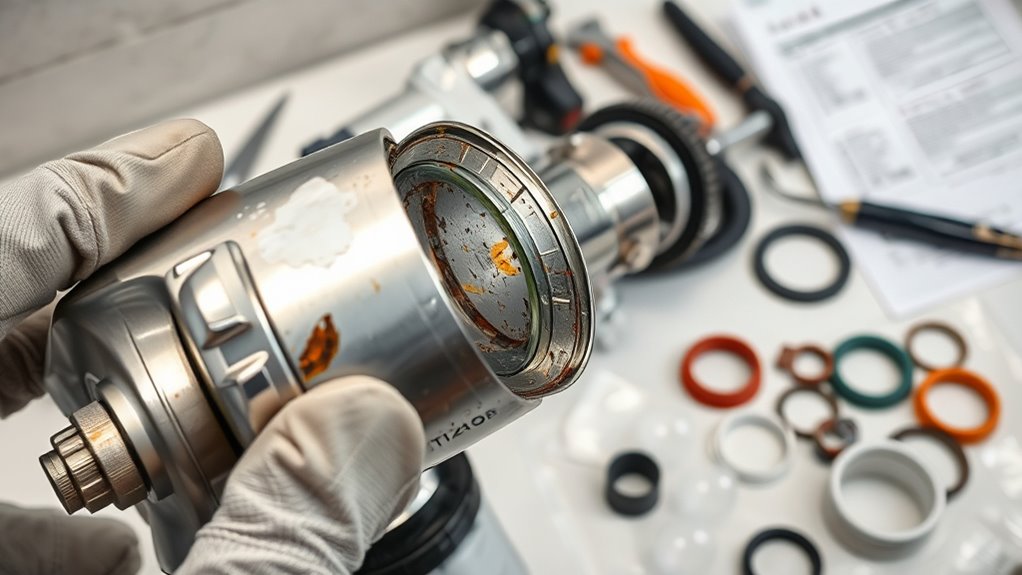
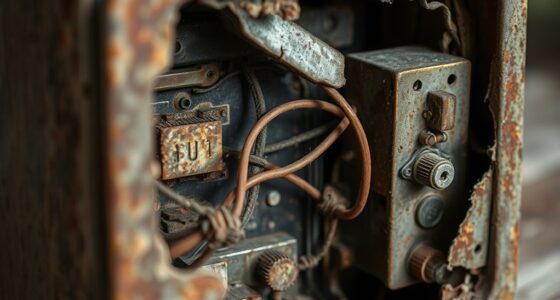
You need to regularly check your paint sprayer for signs of wear, such as cracks or leaks. When you spot damaged components, replacing them promptly keeps your equipment working smoothly. Performing routine maintenance checks guarantees you catch issues early before they cause costly repairs. Being aware of potential deceptive behaviors can help you recognize signs of neglect or misuse that may affect your equipment’s performance. Additionally, inspecting the condition of your paint sprayer parts ensures that all components are functioning correctly and safely. Proper cleaning and understanding the operation of your sprayer can also extend its lifespan and maintain consistent performance. Regularly consulting manufacturer guidelines can provide specific maintenance schedules and troubleshooting tips tailored to your sprayer model. Incorporating routine inspections can also help prevent issues related to wear and tear, ensuring consistent quality in your projects.
Identifying Wear Indicators
Regularly inspecting your paint sprayer for wear indicators is essential to guarantee peak performance and prevent costly repairs. Look for signs like inconsistent spray patterns, which may signal nozzle clogs or worn components. Pay close attention to:
- Changes in spray pattern, such as uneven or drippy application
- Visible wear or damage on seals and gaskets
- Excessive buildup or debris in the nozzle area
These indicators suggest parts are degrading and may need cleaning or replacement. If you notice fluctuations in spray quality or difficulty maintaining a consistent pattern, it’s a sign to assess your sprayer’s condition. Addressing these wear indicators early can prevent more severe problems, ensuring your sprayer continues to deliver smooth, even coverage without interruption. Regular maintenance also includes checking for wear and tear, which can affect spray consistency and overall performance. Incorporating routine inspections can help identify issues before they lead to performance decline, maintaining the longevity of your equipment. Additionally, monitoring for excessive buildup can help maintain optimal spray quality and prevent clogs. Staying aware of component deterioration helps ensure your sprayer functions properly over time, and understanding proper cleaning techniques can further extend its lifespan.
Replacing Damaged Components
When you notice signs of wear or damage during inspection, it’s crucial to replace the affected components promptly to maintain peak spray performance. Damaged nozzles can cause uneven coverage or clogging, so consider nozzle replacement to guarantee a smooth spray. Inspect gaskets closely; cracks or warping indicate gasket repair is needed to prevent leaks and maintain pressure. Always use compatible parts for your sprayer model to avoid further issues. If you detect corrosion or significant wear on other components, replace them immediately. Don’t delay repairs, as worn parts can compromise spray quality and lead to more extensive damage. Regularly inspecting and replacing damaged components keeps your sprayer operating efficiently and extends its lifespan. Proper maintenance ensures you get the best results with every project.
Regular Maintenance Checks
Conducting routine maintenance checks is essential to keep your paint sprayer functioning at its best. Regular inspections help identify worn or damaged parts that could affect paint consistency and nozzle calibration. When checking your sprayer, look for signs of wear, such as cracks or clogs, and replace parts as needed. Pay close attention to the nozzle, ensuring it’s properly calibrated for even spray patterns.
Consider these key tasks during inspections:
- Verify the nozzle for clogs or damage
- Check seals and replace if worn
- Ensure all connections are tight and leak-free
Lubricating Moving Components
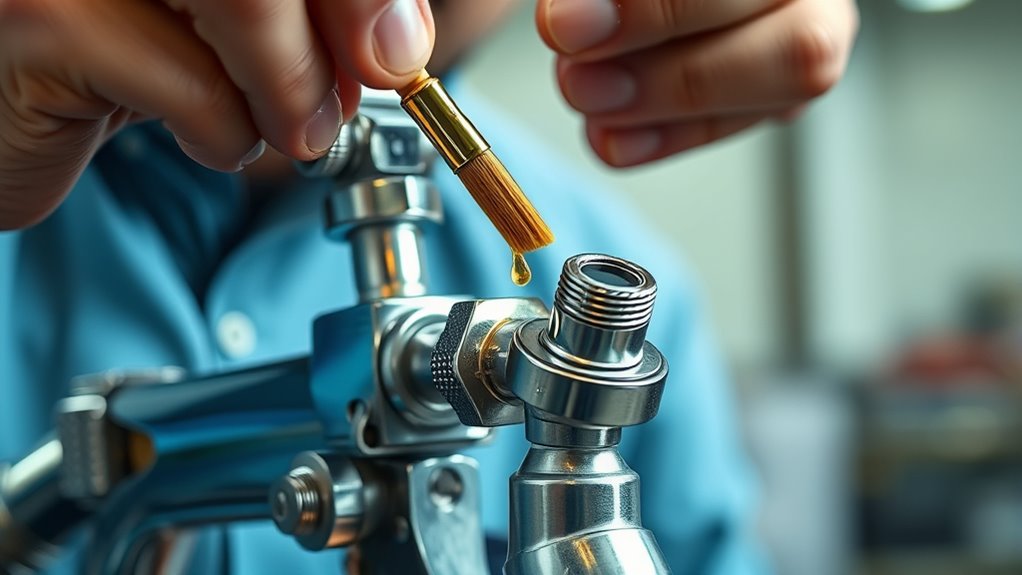
To keep your paint sprayer functioning smoothly, it’s essential to lubricate its moving components regularly. Proper lubrication techniques ensure parts move effortlessly and prevent wear. Start by cleaning the components thoroughly before applying lubricant. Use the right motor oil types—preferably light machine oil or spray lubricant recommended by the manufacturer—to avoid buildup or damage. Apply a small amount to the joints, gears, and other moving parts, making sure not to over-lubricate, which can attract debris. Regularly inspecting and maintaining lubrication keeps your sprayer operating efficiently and extends its lifespan. Remember, consistent lubrication reduces friction, minimizes noise, and prevents rust. Stick to your maintenance schedule for ideal performance and ensure your paint sprayer stays in top shape for all your projects.
Troubleshooting Common Issues
Regularly lubricating your paint sprayer’s moving parts helps prevent many common issues, but problems can still arise. When troubleshooting, start by checking your paint spray tips; clogs or wear can cause uneven spray patterns or drips. Next, verify airflow adjustments—incorrect settings often lead to poor atomization or inconsistent coverage. Additionally, inspect for blockages or leaks in hoses and fittings, which can reduce pressure and spray quality. To resolve issues effectively, consider these steps:
- Clear or replace paint spray tips for ideal spray pattern
- Adjust airflow settings to match the material and surface
- Clean or replace filters and check for leaks in hoses
Maintenance Schedule and Record-Keeping
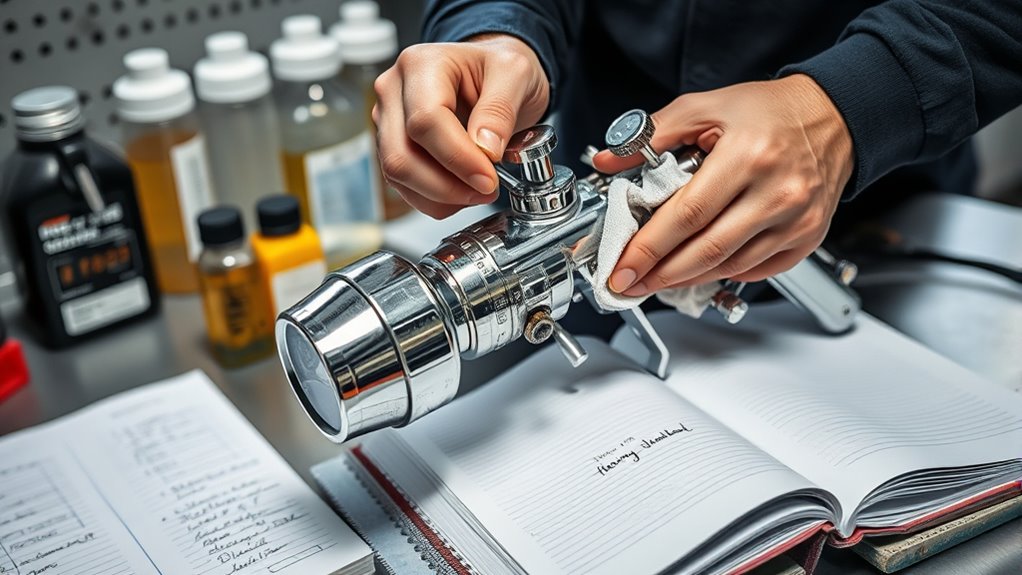
Maintaining an effective paint sprayer requires establishing a consistent maintenance schedule and keeping detailed records of your upkeep. Regularly schedule tasks like cleaning, lubrication, and inspecting components to prevent malfunctions. Record each maintenance activity, including paint sprayer calibration and spray pattern adjustments, so you can track wear and identify patterns. Proper calibration ensures your sprayer delivers the right amount of paint, while consistent spray pattern adjustments maintain quality. By documenting these procedures, you create a reference for future troubleshooting and help prolong your sprayer’s lifespan. Set reminders for routine checks, and keep a logbook or digital record. This disciplined approach guarantees your equipment remains in top shape, reduces downtime, and guarantees professional results every time you paint.
Frequently Asked Questions
How Often Should I Replace My Spray Tip?
You should replace your spray tip based on its spray tip lifespan and the replacement frequency that fits your project. Typically, if you notice uneven spray, clogging, or a decline in spray quality, it’s time for a new tip. Regularly inspecting your spray tip and replacing it as needed guarantees peak performance. Generally, plan for replacement every few projects or after every 1,000 to 2,000 spray hours to maintain consistent results.
Can I Use Household Cleaners on My Sprayer?
Using household cleaners on your sprayer is like trying to fit a square peg in a round hole—you might damage your equipment. You should avoid most household cleaners because they often aren’t chemically compatible with sprayer components. Instead, opt for manufacturer-recommended cleaning solutions to guarantee proper maintenance. Always check the chemical compatibility before using any cleaner, to keep your sprayer functioning smoothly and extend its lifespan.
What Are Signs of a Clogged Nozzle?
If your spray pattern becomes uneven or splatters, you might have a clogged nozzle. You could also notice a decrease in spray pressure or inconsistent flow. These signs indicate paint isn’t flowing smoothly, often caused by debris or dried paint blocking the nozzle opening. Regularly inspect and clean your nozzle to prevent clogs, ensuring a smooth spray pattern and even coverage every time.
Is It Safe to Store Paint in the Sprayer?
Imagine your paint sprayer resting quietly, waiting for its next project. Storing paint in the sprayer isn’t safe because it can clog the system, cause leaks, or damage components. For proper paint storage and sprayer safety, always empty and clean your sprayer after use. This keeps it ready and in good shape, preventing any mishaps or damage from leftover paint. Proper storage guarantees your sprayer stays safe and functional for future jobs.
How Do Temperature Changes Affect Sprayer Maintenance?
Temperature changes can impact your sprayer’s maintenance because of temperature sensitivity. When temperatures fluctuate, the materials in your sprayer expand and contract, which can cause wear or damage over time. You should regularly check for leaks, cracks, or loose parts after significant temperature shifts. Proper storage in a stable environment minimizes expansion and contraction issues, helping your sprayer stay in top condition and extend its lifespan.
Conclusion
By tending to your paint sprayer like a trusted companion, you keep its engine roaring smoothly through every project. Regular cleaning, proper storage, and timely part swaps are your secret ingredients for peak performance. Think of maintenance as watering a garden—you nurture it, and it rewards you with flawless finishes. Stay vigilant, keep records, and your sprayer will serve you faithfully, transforming each job into a masterpiece. With care, your tools will always be ready to paint your dreams into reality.

Franz came aboard the Paint Sprayer Zone team with a background in both journalism and home renovation. His articulate writing style, combined with a passion for DIY projects, makes him an invaluable asset. Franz has a knack for breaking down technical jargon into easy-to-understand content, ensuring that even the most novice of readers can grasp the complexities of paint sprayers.