
To paint a car at home with an HVLP spray gun, start by cleaning and sanding the surface for a smooth base. Mask off areas you don’t want painted, then mix and thin your paint properly. Adjust your sprayer for even spray patterns, maintain consistent distance, and apply the base coat with steady, overlapping strokes. Finish with a clear coat and proper curing. Keep these tips in mind to achieve a professional finish—more details await as you continue.
Key Takeaways
- Prepare a clean, well-ventilated workspace and mask off areas to prevent overspray contamination.
- Thin the paint according to manufacturer instructions and adjust the HVLP gun for consistent spray patterns.
- Maintain a steady distance of 6-8 inches from the surface, overlapping strokes evenly for a smooth finish.
- Apply multiple light coats, allowing proper drying time between layers, and perform light sanding if necessary.
- Inspect the painted surface, ensure full curing, and polish for a glossy, durable finish.
Gathering Necessary Supplies and Setting Up Your Workspace
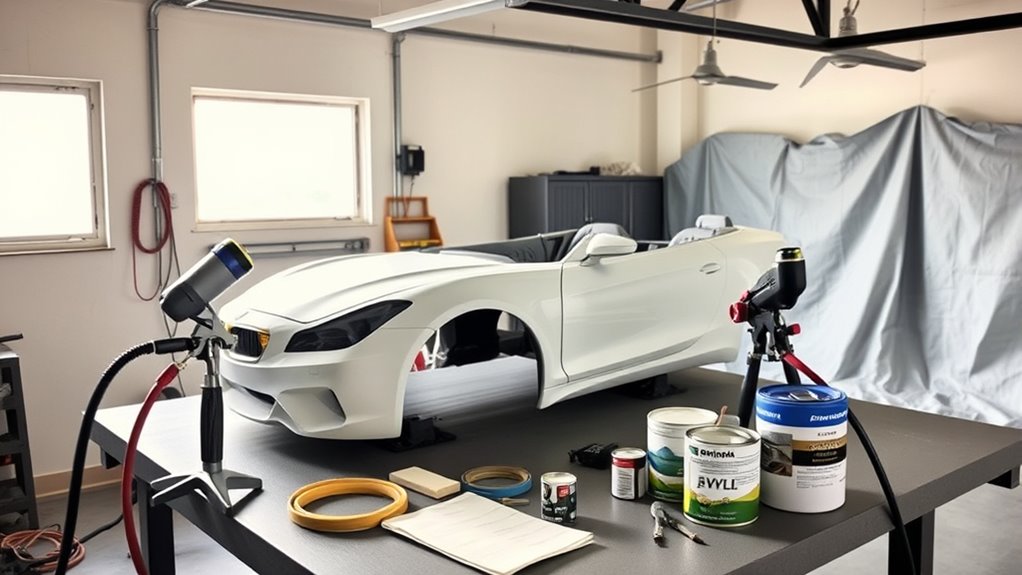
Before you begin painting your car, it’s essential to gather all the necessary supplies and set up a proper workspace. Start by choosing a well-ventilated area, free from dust and debris. Gather your HVLP spray gun, paint, primer, and protective gear like masks and gloves. Don’t forget to include cleaning supplies for spray gun maintenance; keeping your equipment in top condition guarantees smooth application. When selecting your paint color, consider your vehicle’s style and your personal preference, and have enough paint for multiple coats. Organize your supplies nearby for easy access, and cover surrounding surfaces to prevent overspray. A clean, dedicated workspace helps you stay efficient and produces professional results, making the painting process safer and more enjoyable. Ensuring your workspace is free from distractions can help maintain focus and achieve a more polished finish. Additionally, understanding proper paint application techniques can significantly improve the final appearance of your paint job. Regularly inspecting your equipment for clogs and leaks before starting ensures optimal performance and reduces the risk of issues during painting. Incorporating proper ventilation during painting helps to reduce fumes and improve drying times. Moreover, having a clear plan for drying and curing will help you achieve a smooth, long-lasting finish.
Preparing the Car Surface for Painting
To guarantee a smooth and durable paint job, you need to properly prepare the car’s surface by cleaning and sanding it thoroughly. Begin by washing the entire area to remove dirt, grease, and debris. Once dry, sand the surface with fine-grit sandpaper to create a smooth, keying surface for the paint. During this process, check for areas needing color matching adjustments, ensuring the new paint blends seamlessly with the existing finish. When mixing your paint, thin it according to the manufacturer’s instructions; proper paint thinning improves sprayability and prevents drips. Take your time to eliminate imperfections like rust or old paint flaking off. Proper preparation ensures your HVLP sprayer applies an even coat, resulting in a professional-looking finish. Incorporating diversification strategies can also improve the longevity and stability of your paint job over time, especially when considering potential market volatility in related materials or supplies.
Masking Off Areas and Protecting Surroundings
Before you start painting, you need to carefully mask off areas that shouldn’t be painted to guarantee clean lines. Use proper covering techniques to protect surrounding surfaces and prevent overspray. Remember to follow environmental safety measures to keep fumes and paint particles contained. Additionally, be aware of potential security vulnerabilities in your equipment and ensure all safety protocols are followed to protect both yourself and your surroundings. Incorporating Self Watering Plant Pots in your setup can help maintain a clean workspace by reducing clutter and excess materials. Proper ventilation during painting is essential to disperse fumes effectively and ensure a safer working environment, especially when working indoors. Being aware of butter storage techniques can inspire a clean and organized workspace, helping to keep your tools and materials in optimal condition and reducing contamination. Selecting the right preppy dog names can also inspire a sophisticated theme for your workspace decor, creating an atmosphere of style and organization.
Surface Preparation Techniques
Properly masking off areas and protecting your surroundings is essential to achieve a clean, professional paint job. It prevents overspray and keeps dirt or debris from contaminating your surface. Before painting, ensure the surface is properly prepared with surface sanding to promote primer adhesion. Use painter’s tape and drop cloths to cover all areas that shouldn’t be painted.
Here are key steps:
- Mask off trim, windows, and vents with painter’s tape for sharp lines.
- Cover the ground and nearby objects with drop cloths or plastic sheeting.
- Double-check that all surfaces are clean and free of dust before sanding and priming, guaranteeing the best primer adhesion for a smooth finish.
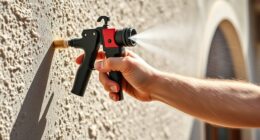
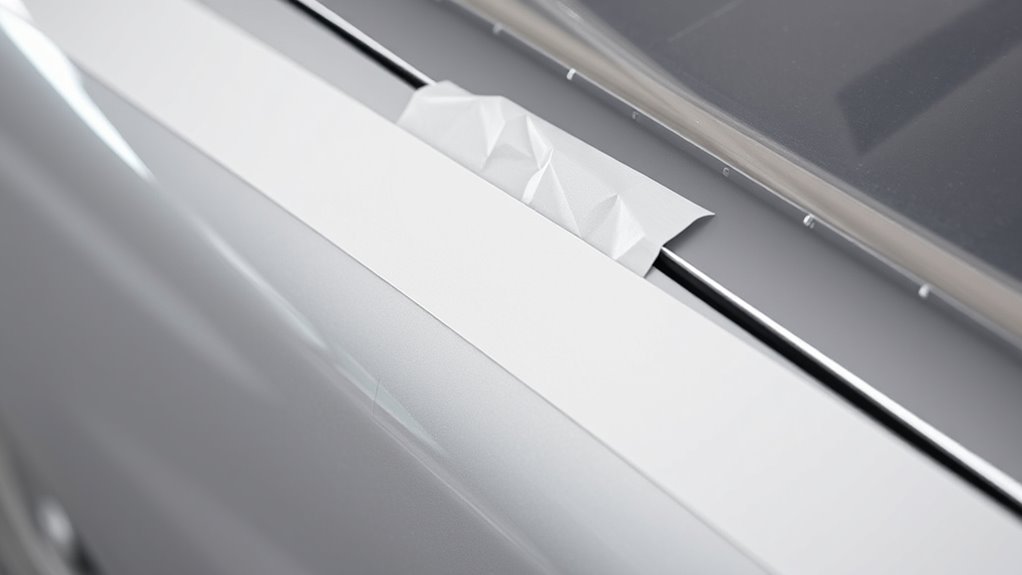
Covering Non-Target Areas
Masking off areas that shouldn’t be painted is essential for sharp, clean lines and a professional finish. Before you start, verify the surface is properly sanded to create a smooth base. Protect surrounding areas with painter’s tape, paper, or plastic sheeting, especially around trim, windows, and handles. This prevents overspray and keeps your workspace tidy. When paint mixing, be precise to avoid drips that could seep under masking materials. Use a masking method suited to different surfaces, like flexible tape for curves. Keep tools ready for touch-ups. Proper masking not only saves time but ensures a neat, professional look.
| Surface Area | Masking Method |
|---|---|
| Windows | Plastic sheeting & tape |
| Trim and moldings | Painter’s tape |
| Chrome accents | Low-tack tape |
| Door handles | Masking film |
| Entire panels | Large protective sheets |
Environmental Safety Measures
To protect your surroundings and maintain a safe workspace during car painting, it’s essential to mask off areas that shouldn’t be painted. Proper masking prevents overspray and keeps your environment clean. Additionally, guarantee good ventilation safety by opening windows and using exhaust fans to disperse fumes effectively. Follow disposal protocols for paint cans, brushes, and rags to prevent environmental contamination. Here are three key steps:
- Cover nearby surfaces and trim with masking tape and plastic sheeting.
- Use a respirator or mask to avoid inhaling fumes, and keep the workspace well-ventilated.
- Dispose of paint waste and contaminated materials responsibly, adhering to local regulations.
- Ensure your workspace has adequate ventilation and safety measures to reduce the risk of fume buildup and maintain a healthy environment.
These measures help minimize environmental impact and ensure your safety during the painting process.
Mixing and Thinning Your Automotive Paint
Before you start mixing your automotive paint, it’s essential to understand the importance of thinning it correctly. Proper thinning ensures smooth application, prevents runs, and helps achieve accurate color matching. Use a clean container for mixing and keep paint stored properly to avoid contamination. Your goal is to reach the right consistency, usually a thin, syrup-like flow. Here’s a simple guide:
| Paint Type | Thinning Ratio | Notes |
|---|---|---|
| Base Coat | 10-15% thinner | For even color matching |
| Clear Coat | 5-10% thinner | For smooth finish |
| Primer | 10-20% thinner | To ensure proper adhesion |
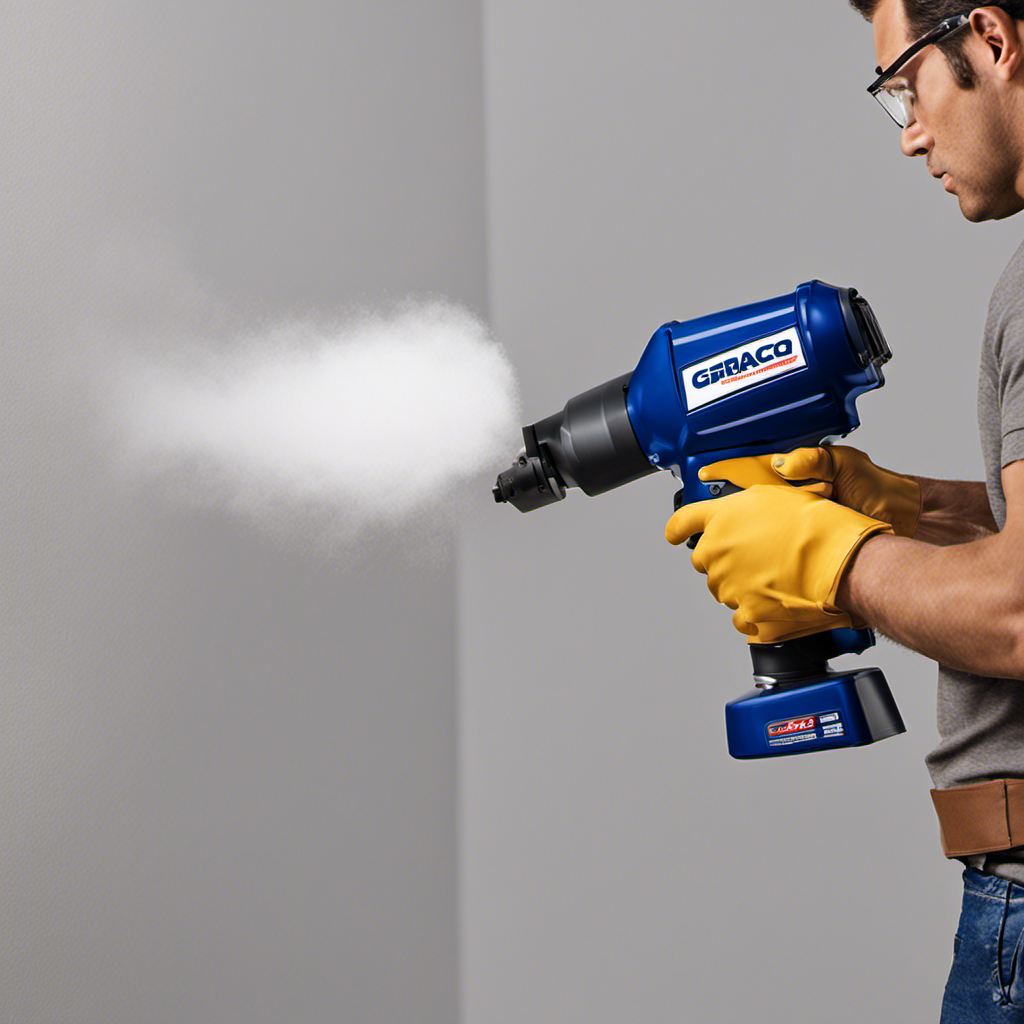
Properly Adjusting the HVLP Sprayer for Optimal Results
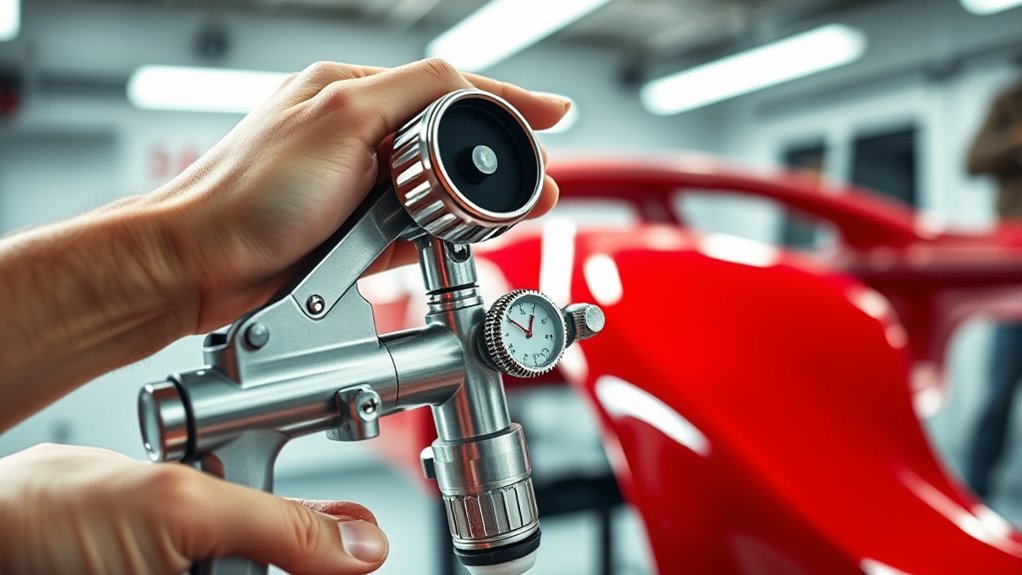
To get the best finish, you need to properly adjust your HVLP sprayer. Start by setting the fluid flow so it releases enough paint without overspraying. Then, fine-tune the spray pattern to make sure even coverage across every surface. Ensuring your equipment is well-calibrated can also help prevent overspray and improve efficiency during your painting project. Additionally, checking the manufacturer’s guidelines for proper spray pattern adjustments can lead to more consistent results. For optimal results, consider testing your spray settings on a scrap piece before beginning your actual project to ensure the desired finish is achieved. Developing a systematic approach to your adjustments will further enhance your overall painting quality, and understanding your equipment’s performance capabilities can help you tailor your technique for the best possible outcome.
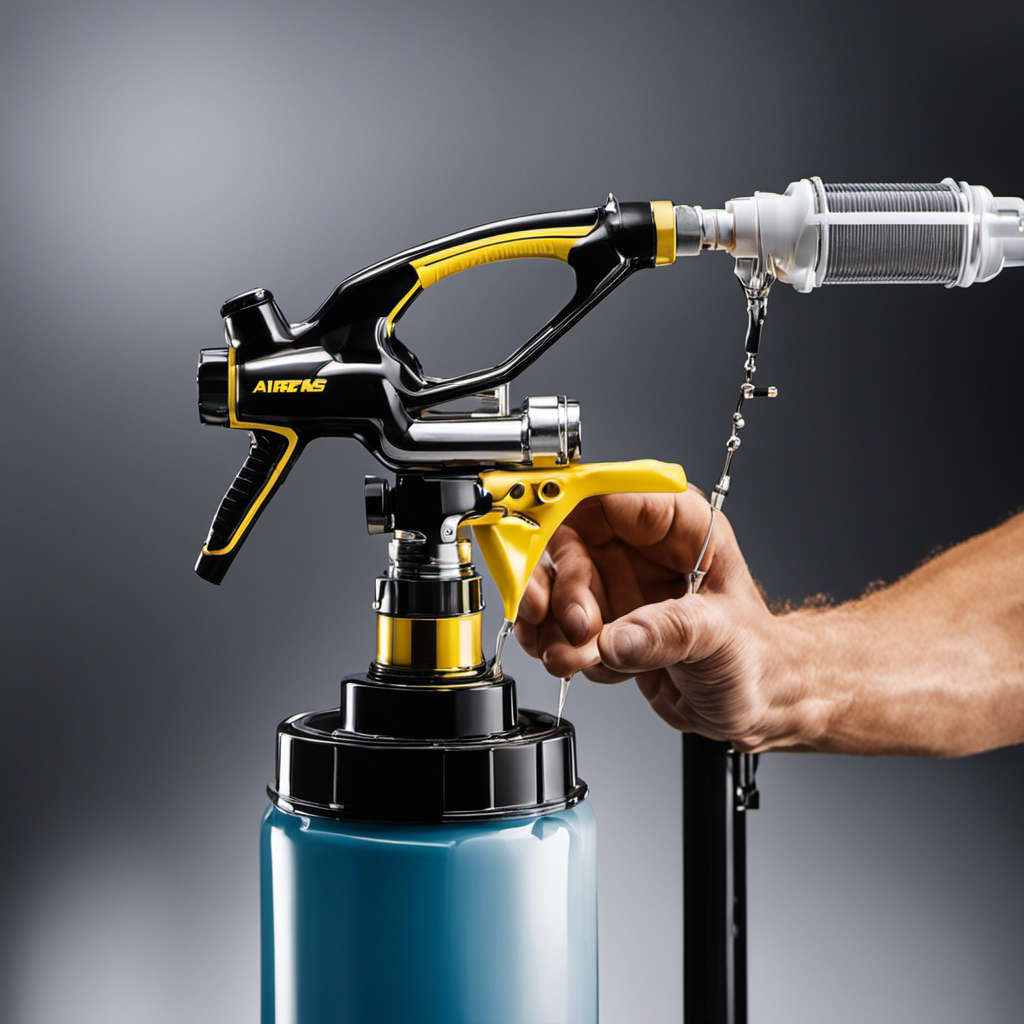
Adjusting Fluid Flow
Adjusting the fluid flow on your HVLP sprayer is essential for achieving a smooth, even paint application. Proper fluid flow guarantees your spray technique delivers consistent coverage without runs or sags. Before adjusting, ensure your paint booth setup is well-ventilated and your surface is clean. To optimize flow: 1. Turn the fluid control knob slowly until you find a balance between too much paint and too little. 2. Test spray on a scrap panel to check for drips or dry spots. 3. Adjust in small increments, maintaining steady movement and consistent distance from the surface. Additionally, understanding the best anime movies can provide inspiration for your creative projects. Remember to periodically check the air pressure to ensure it is within the recommended range for your sprayer, as this can also impact the quality of your paint job. Monitoring the tuning software settings can help fine-tune your equipment for optimal performance.
Setting Spray Pattern
Setting the spray pattern correctly guarantees your paint coats evenly and smoothly. To achieve this, start by adjusting your nozzle selection to match the desired spray pattern—whether wide for large surfaces or narrow for detailed areas. Most HVLP sprayers have a knob or dial to control the pattern’s width and shape. Hold the sprayer at a consistent distance from the surface, usually about 6-8 inches. Test the spray pattern on a scrap piece to verify even coverage and adjust as needed. A properly set spray pattern prevents runs, drips, and uneven textures. Take your time to fine-tune the nozzle and pattern, ensuring each pass overlaps slightly for a flawless, professional finish.
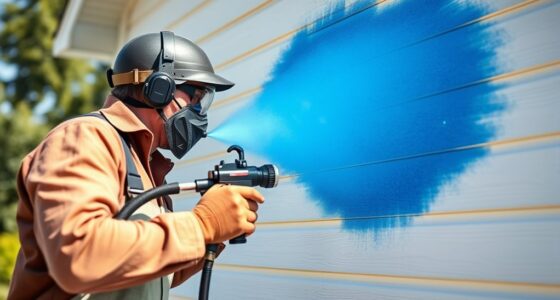
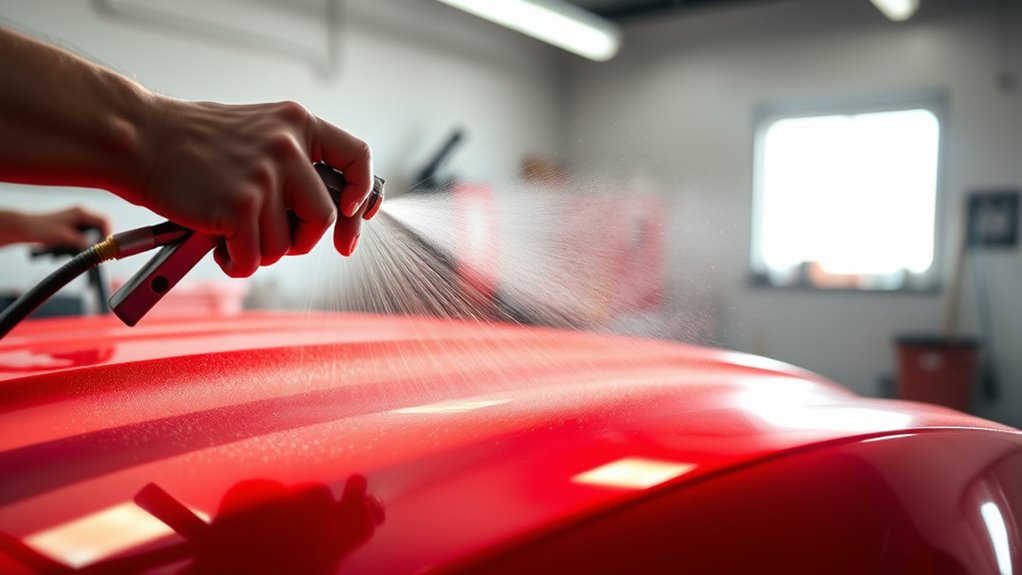
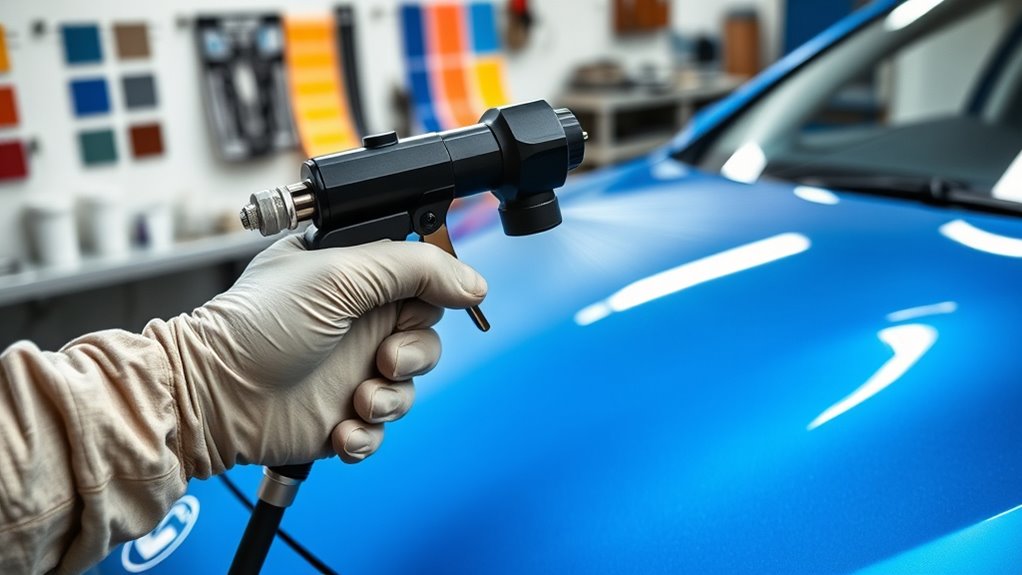
Applying the Base Coat With Even Strokes

When applying the base coat, maintaining even strokes is essential for a smooth, professional finish. Consistent spray technique guarantees good paint adhesion and prevents uneven coverage. To achieve this, follow these tips:
- Keep the spray gun at a steady distance, about 6-8 inches from the surface, to avoid runs or thin spots.
- Use smooth, overlapping passes, moving your arm steadily across the panel.
- Maintain a consistent speed to prevent uneven layers and ensure even color distribution.
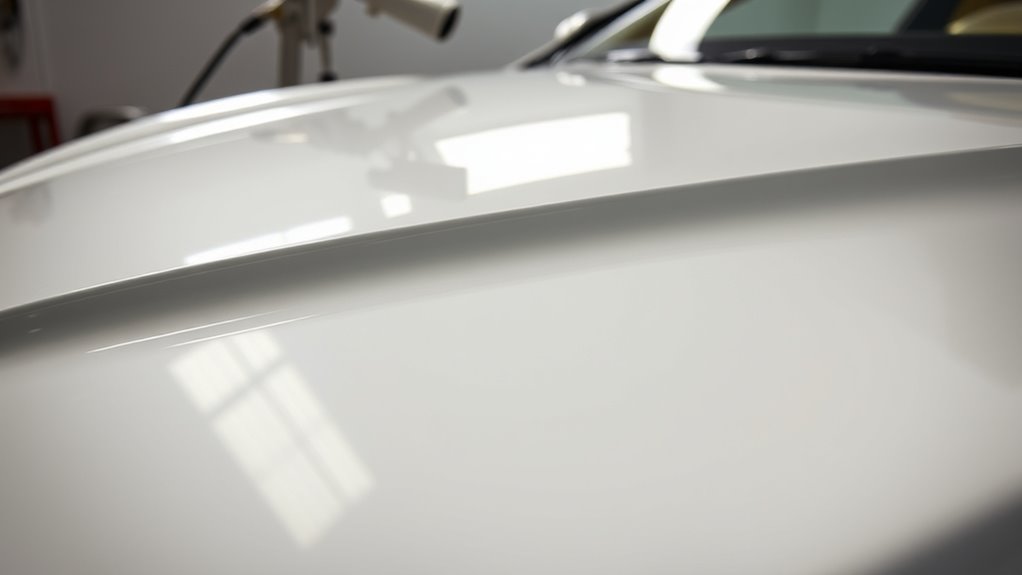
Adding Clear Coat and Achieving a Smooth Finish
After applying the base coat, adding a clear coat is essential to protect the paint and achieve a shiny, flawless finish. Proper clear coat application guarantees durability and enhances your car’s appearance. To achieve a smooth finish, spray the clear coat with steady, overlapping strokes, maintaining consistent distance and pressure. Keep the spray gun moving to avoid drips and uneven spots. Use light coats, allowing each to dry before applying the next. Here’s a quick guide:
| Step | Tips | Common Mistakes |
|---|---|---|
| Prepare the area | Clean and mask properly | Skipping surface prep |
| Spray technique | Steady, overlapping strokes | Applying too thick coats |
| Drying time | Follow manufacturer’s instructions | Rushing the process |
| Sanding if needed | Light sanding for a smooth finish | Over-sanding |
| Final check | Inspect for imperfections | Uneven coverage |
Additionally, maintaining proper paint application techniques ensures a professional-looking result and prevents issues like runs or sags.
Curing, Polishing, and Final Inspection of Your Paint Job
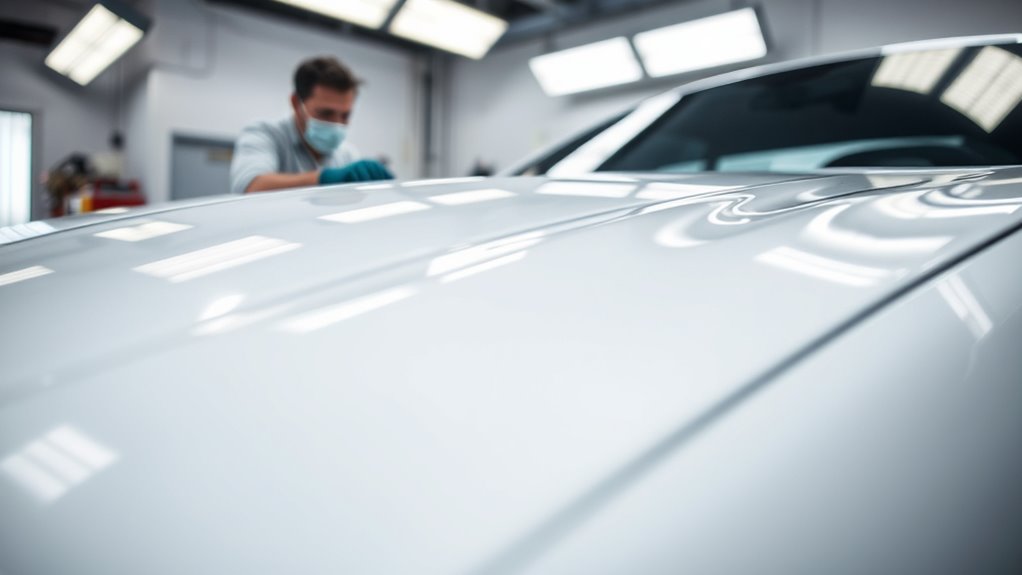
Once you’ve applied the clear coat and allowed it to cure properly, the next essential steps are polishing and inspecting your paint job. During the curing process, guarantee the paint has fully hardened to maximize durability. Use appropriate polishing techniques to remove minor imperfections and enhance gloss. Carefully perform a final inspection by checking for runs, dust, or uneven spots that may need touch-ups. Additionally, inspecting for surface imperfections can help identify areas that require additional attention for a flawless finish. Ensuring proper air purification during the painting process can also reduce dust and contaminants that affect the final appearance.
Frequently Asked Questions
How Long Should I Wait Between Paint Coats for Optimal Adhesion?
You should wait about 15-30 minutes between coats, allowing the paint to dry sufficiently for ideal adhesion. This drying time helps ensure a smooth finish and prevents issues like peeling or uneven texture. Before applying the next coat, lightly sand the surface to improve adhesion and remove any imperfections. Rushing the process can cause problems, so be patient and follow the manufacturer’s recommendations for drying and sanding prep.
Can I Use Regular Household Paint With an HVLP Sprayer?
You can use regular household paint with an HVLP sprayer, but you need to adjust the paint consistency to guarantee smooth spraying. Thin the paint with water or a suitable reducer until it flows well and creates a consistent spray pattern. This helps prevent clogging and uneven coverage. Always test your spray pattern on a scrap surface first, so you can fine-tune the consistency for a professional finish.
What Temperature and Humidity Levels Are Ideal for Painting?
You might think perfect conditions are unreachable, but ideal temperature and humidity levels truly make a difference. Keep your paint booth setup at around 70°F (21°C) with humidity between 40-60%. Too cold or humid, and paint may not dry properly; too hot or dry, and it can crack or peel. Prioritize surface preparation, and maintain these conditions for a smooth, professional finish on your car.
How Do I Prevent Runs and Drips During Application?
To prevent runs and drips, focus on maintaining proper paint thickness and using a smooth spray technique. Keep your spray gun at a consistent distance, around 6-8 inches from the surface, and apply thin, even coats. Avoid overspraying by moving steadily and overlapping passes slightly. Regularly check your spray pattern, and if you notice buildup, adjust your technique or reduce pressure to guarantee a flawless finish.
What Safety Precautions Should I Take While Painting at Home?
Did you know that improper ventilation causes over 20% of paint-related health issues? When painting at home, you should always wear personal protective equipment like masks, gloves, and goggles to prevent inhalation and skin contact. Guarantee good ventilation safety by opening windows and using fans to disperse fumes. Keep the workspace clear of flammable materials, and work in well-ventilated areas to protect your health and achieve a safe, successful paint job.
Conclusion
Now that you know how to paint your car at home with an HVLP sprayer, you’re ready to take on this rewarding project. Remember, patience and attention to detail make all the difference in achieving a professional look. Are you prepared to transform your vehicle and enjoy the pride of a job well done? With the right approach, you’ll be amazed at how a little effort can turn your car into a true masterpiece.

Franz came aboard the Paint Sprayer Zone team with a background in both journalism and home renovation. His articulate writing style, combined with a passion for DIY projects, makes him an invaluable asset. Franz has a knack for breaking down technical jargon into easy-to-understand content, ensuring that even the most novice of readers can grasp the complexities of paint sprayers.