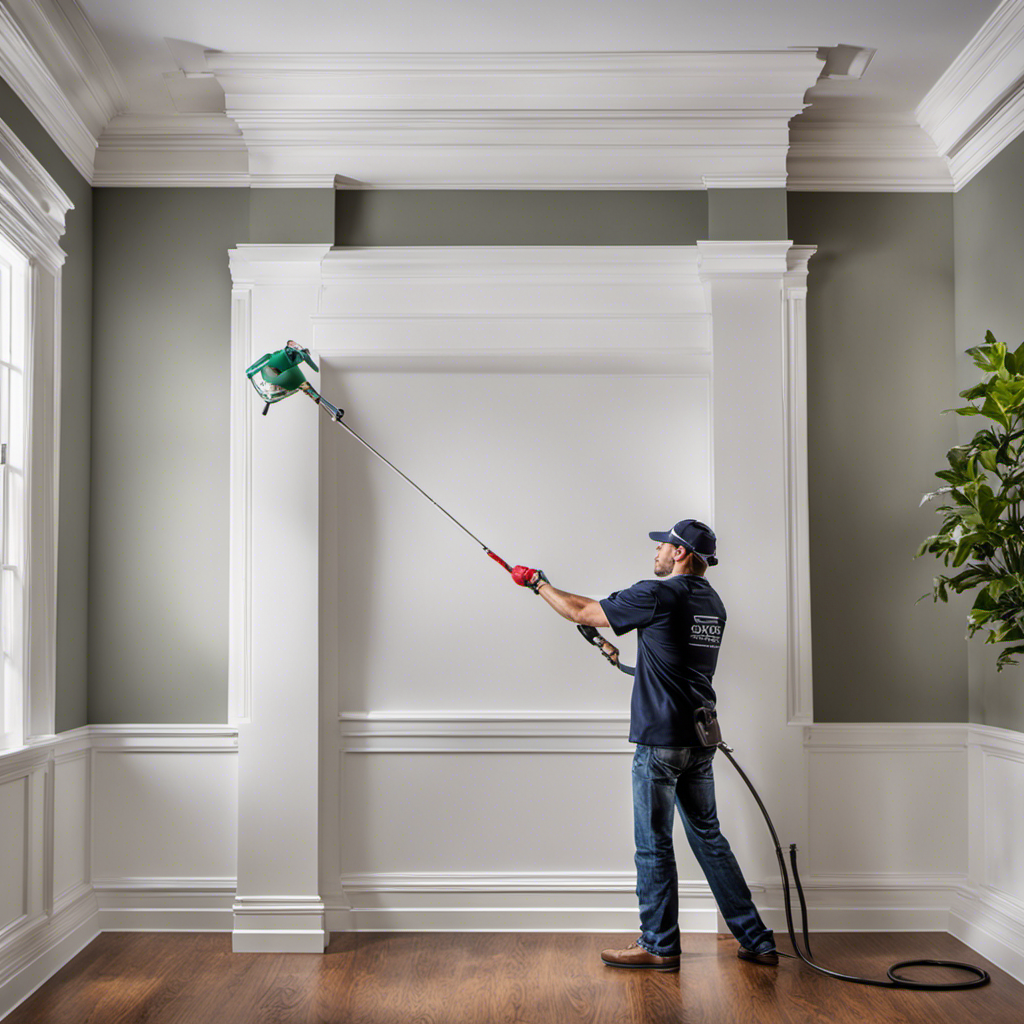
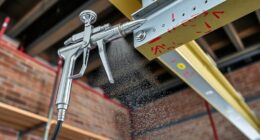
It is essential for both DIY enthusiasts and professional painters to learn how to use airless spray techniques for painting crown molding in order to achieve a flawless result. With the correct tools and knowledge, anyone can easily turn their dull crown molding into a stunning masterpiece.
This article provides a comprehensive guide on how to prepare the surface, adjust sprayer settings, and follow safety precautions for optimal results. It also covers troubleshooting tips, paint manufacturer recommendations, and techniques for achieving a professional finish.
Get ready to take your crown molding painting skills to the next level!
Key Takeaways
- Proper surface preparation is crucial for a successful crown molding paint job with an airless sprayer.
- Consistency in distance, speed, and pressure is essential for achieving an even application and a professional finish.
- Following the paint manufacturer’s recommendations for drying time, thinning ratios, and ventilation will help ensure optimal results.
- Regular cleaning, maintenance, and storage of the airless sprayer are necessary to prevent clogs, damage, and corrosion and to prolong its lifespan.
Preparing the Crown Molding Surface
The painter ensures a smooth and clean surface on the crown molding before painting to ensure proper paint adhesion. This involves removing existing paint and sanding the surface.
Removing existing paint is important to create a fresh canvas for the new coat of paint. It helps to remove any imperfections or inconsistencies in the previous paint job.
Sanding the surface is crucial for achieving a smooth finish. It helps to create a texture that allows the new paint to adhere properly and prevents any peeling or chipping in the future.
Covering and Protecting Surrounding Areas
To ensure a clean and splatter-free work area, painters should cover and protect the surrounding surfaces before using an airless sprayer. This step is crucial in preventing paint splatters and drips from landing on furniture, floors, or other items in the vicinity.
Here are three ways to effectively cover and protect surrounding areas:
-
Use drop cloths: Lay down drop cloths or plastic sheets to create a barrier between the painted surface and the surroundings. These protective coverings catch any paint that may splatter or drip, making clean-up easier.
-
Mask off edges: Use painter’s tape to mask off edges and trim, ensuring that the paint stays within the desired area. This technique helps create clean lines and prevents accidental paint splatters in unwanted areas.
-
Cover furniture and fixtures: If there are any furniture or fixtures in the room, it’s best to cover them with plastic or cloth covers. This offers an extra layer of protection against paint splatters and keeps them clean during the painting process.
Adjusting Sprayer Settings for Even Coverage
Adjusting the sprayer’s settings ensures that the paint is evenly distributed for a smooth and professional finish. To achieve this, it is important to consider the sprayer pressure and sprayer nozzle size.
The sprayer pressure determines the force at which the paint is sprayed onto the surface. A higher pressure may result in overspray, while a lower pressure may lead to uneven coverage. It is recommended to start with a lower pressure and gradually increase it until the desired coverage is achieved.
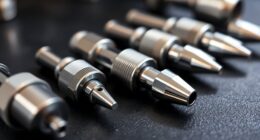
Additionally, the sprayer nozzle size affects the width and flow rate of the paint. Choosing the appropriate nozzle size for the specific project can help achieve better control and coverage. It is important to refer to the manufacturer’s recommendations for the ideal sprayer pressure and nozzle size to ensure a professional finish.
Safety Precautions for Airless Sprayer Use
When using an airless sprayer, it is essential for the user to follow safety precautions to ensure a safe working environment. Here are three important safety measures to take when using an airless sprayer:
-
Importance of proper safety gear: Wearing the right protective equipment is crucial when operating an airless sprayer. This includes goggles or safety glasses to protect the eyes from paint particles, a respirator or mask to prevent inhalation of fumes, and gloves to shield the hands from chemicals and potential injuries.
-
Potential hazards when using an airless sprayer: There are several hazards associated with airless sprayer use. The high pressure of the spray can cause cuts or puncture wounds if it comes into contact with the skin. Additionally, the spray can create a fine mist that can be inhaled, leading to respiratory issues if proper protection is not worn. There is also the risk of electrical shock if the sprayer is not used correctly or if it comes into contact with water.
Painting Crown Molding With an Airless Sprayer
Using an airless sprayer allows for efficient and professional painting of crown molding. With the right painting techniques, you can achieve a flawless finish. Maintaining a consistent distance and speed while spraying ensures even application. Troubleshooting any spraying issues that may arise will help you achieve optimal results. Following the paint manufacturer’s recommendations for drying time and thinning ratios is crucial for a long-lasting finish. Generally, the drying time for paint on crown molding can vary depending on temperature and humidity. It may take a few hours for the paint to dry to the touch and up to 24 hours or more for it to fully cure and harden. Proper ventilation can help speed up the drying process. By following these tips, you can master painting crown molding with an airless sprayer.
| Painting Techniques | Drying Time |
|---|---|
| Maintain distance and speed for even application | Drying time varies depending on temperature and humidity |
| Troubleshoot spraying issues for optimal results | Generally, a few hours for the paint to dry to the touch |
| Follow paint manufacturer’s recommendations for drying time and thinning ratios | Up to 24 hours or more for the paint to fully cure and harden |
| Ensure proper ventilation for faster drying | Follow paint manufacturer’s instructions for recommended drying time |
| Proper ventilation can help speed up the drying process |
Maintaining Consistent Distance and Speed
To achieve a flawless finish when painting crown molding with an airless sprayer, one must maintain a consistent distance and speed throughout the application process. This ensures even coverage and prevents drips or streaks.
Here are three tips for maintaining a steady hand and achieving professional results:
-
Practice with different spray patterns: Experiment with different spray patterns to find the one that works best for your crown molding. Whether it’s a horizontal, vertical, or circular pattern, choose the one that provides the most even distribution of paint.
-
Keep a steady hand: Avoid jerky or uneven movements while spraying. Maintaining a steady hand helps to maintain a consistent distance from the molding and ensures an even application of paint.
-
Control the speed: Move the sprayer at a steady speed, neither too fast nor too slow. This helps to maintain an even coat of paint and prevents any build-up or pooling of paint in certain areas.
Troubleshooting Spraying Issues
The key to troubleshooting spraying issues with an airless sprayer is identifying and addressing any clogs or blockages in the nozzle or hose.
One common problem is sprayer clogs, which can occur when paint dries and accumulates in the nozzle or hose. To fix this, the user should remove the nozzle and soak it in a cleaning solution, or use a small brush to remove any dried paint.
Another issue to address is uneven paint coverage, which can be caused by a clogged or worn-out nozzle, an incorrect spray pattern setting, or improper technique. To deal with this problem, the user should check the nozzle for any clogs or damage, adjust the spray pattern setting to ensure even coverage, and maintain a consistent distance and speed while spraying.
Following Paint Manufacturer’s Recommendations
After troubleshooting spraying issues, it is important to follow the paint manufacturer’s recommendations for optimal results. This includes paying attention to paint drying time and ensuring proper storage and maintenance of the airless sprayer.
-
Paint Drying Time: Following the manufacturer’s instructions for recommended drying time is crucial. Drying time can vary depending on temperature and humidity, but generally, it takes a few hours for the paint to dry to the touch and up to 24 hours or more for it to fully cure and harden. Proper ventilation can help speed up the drying process.
-
Proper Storage: To prevent damage or corrosion, the airless sprayer should be stored properly. This involves cleaning the sprayer thoroughly after each use, following the manufacturer’s instructions for cleaning and maintenance, and regularly inspecting for wear or damage. Additionally, lubricating and servicing the sprayer as recommended will help maintain its longevity.
Achieving a Professional Finish
Achieving a professional finish requires maintaining a consistent speed and pressure for a smooth result. When using an airless sprayer for painting crown molding, it is important to keep the sprayer at a consistent distance and move at a steady pace. This ensures an even application of paint.
However, even with careful spraying, there may still be imperfections that need to be addressed. Touching up these imperfections is crucial for a flawless result.
Additionally, it is essential to consider drying time variations. The drying time of paint on crown molding can vary depending on factors such as temperature and humidity. It is recommended to follow the paint manufacturer’s instructions for the recommended drying time.
Proper ventilation can help speed up the drying process for a quicker and more uniform finish.
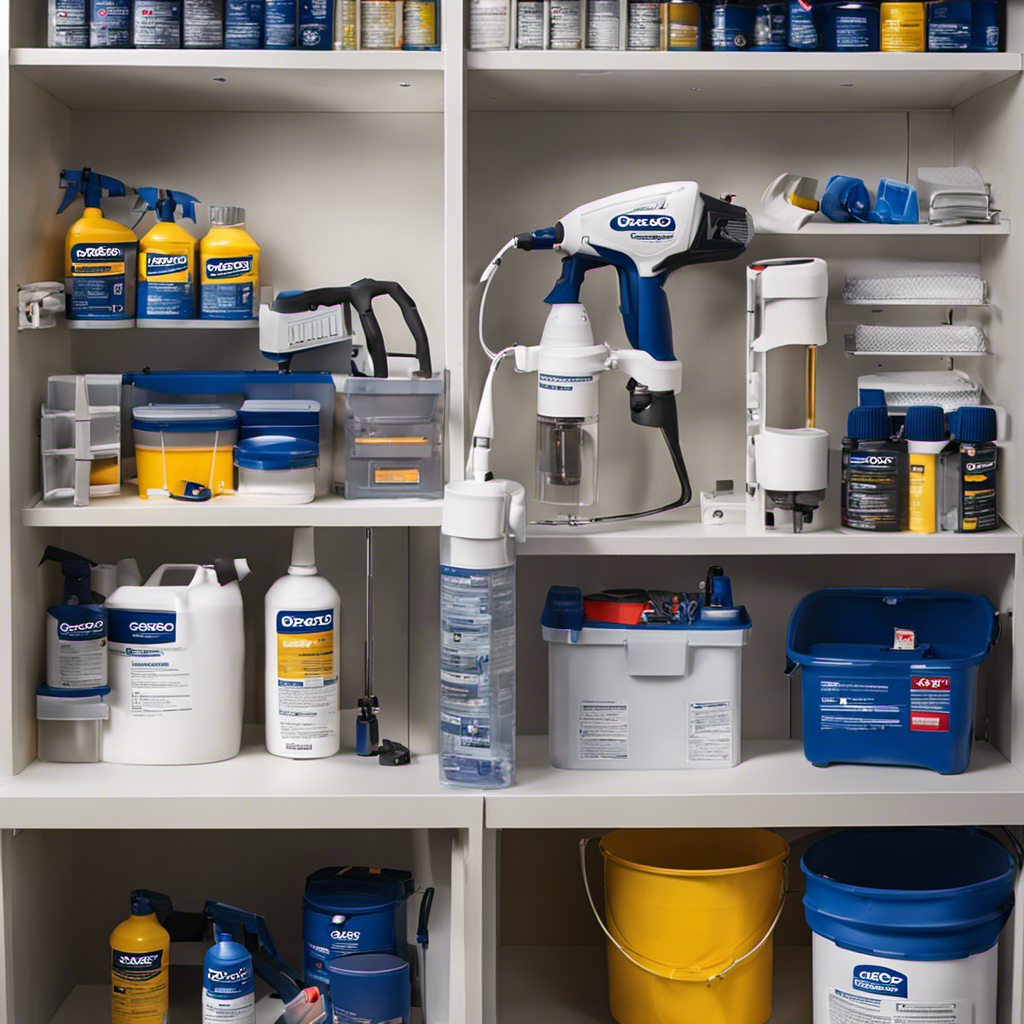
Cleaning and Maintaining Your Airless Sprayer
After achieving a professional finish on your crown molding with an airless sprayer, it is crucial to properly clean and maintain your equipment to ensure its longevity and prevent clogs. Neglecting this step can lead to malfunctioning and decreased performance of the sprayer.
Here are three essential steps to clean and maintain your airless sprayer:
-
Thoroughly clean the sprayer after each use: Follow the manufacturer’s instructions for cleaning the sprayer, ensuring all paint residue is removed from the system. This includes flushing the system with an appropriate cleaning solution and disassembling and cleaning the spray gun and nozzle.
-
Follow manufacturer’s instructions for maintenance: Regularly inspect the sprayer for wear or damage, addressing any issues promptly. Lubricate and service the sprayer as recommended by the manufacturer to keep it running smoothly.
-
Store the sprayer properly: Store the sprayer in a clean and dry area to prevent damage or corrosion. Proper storage will help prolong the lifespan of your airless sprayer.
Frequently Asked Questions
Can I Use an Airless Sprayer to Paint Crown Molding That Is Already Installed?
Yes, an airless sprayer can be used to paint crown molding that is already installed. When using an airless sprayer, it’s important to follow proper painting techniques for the best results.
Selecting the best paint for crown molding is crucial to achieve a professional finish. By maintaining a consistent distance and speed, troubleshooting spraying issues, and following the paint manufacturer’s recommendations, you can achieve a flawless paint job on installed crown molding.
How Long Does It Take for Paint on Crown Molding to Fully Cure and Harden?
The drying time for paint on crown molding can vary depending on factors like temperature and humidity. Generally, it takes a few hours for the paint to dry to the touch, but it can take up to 24 hours or more for the paint to fully cure and harden. Following the paint manufacturer’s instructions for recommended drying time is important.
Proper ventilation can help speed up the drying process. Choosing the best paint for crown molding can also affect the drying time and overall finish.
What Should I Do if I Encounter Spraying Issues With My Airless Sprayer?
If encountering spraying issues with an airless sprayer, there are troubleshooting tips that can help. Common spraying issues may include uneven coverage, clogging, or overspray.
To address these issues, one can check the sprayer settings and adjust as needed, ensure proper paint thinning, clean or unclog the nozzle, and maintain a consistent distance and speed while spraying.
Following these tips can help achieve optimal results when using an airless sprayer for painting crown molding.
Can I Thin the Paint to Achieve a Smoother Finish With an Airless Sprayer?
Yes, the paint can be thinned to achieve a smoother finish with an airless sprayer. Thinning the paint helps to improve the flow and atomization of the paint, resulting in a more even and professional-looking finish.
It is important to follow the manufacturer’s recommendations for thinning ratios to ensure optimal results. Thinning the paint can also help to prevent clogs and ensure proper spray pattern and coverage.
What Safety Precautions Should I Take When Using an Airless Sprayer for Painting Crown Molding?
When using an airless sprayer to paint crown molding, it’s important to follow proper safety precautions. These include wearing protective goggles, gloves, and a respirator to avoid any potential hazards from paint fumes or overspray.
Additionally, ensuring proper technique is crucial for a successful paint job. This involves maintaining a consistent distance from the surface, using even strokes, and adjusting the sprayer settings for optimal coverage.
Conclusion
In conclusion, mastering airless sprayer techniques for perfect crown molding paint jobs requires careful preparation, precise adjustments, and adherence to safety precautions.
By following the recommended steps and techniques, one can achieve a professional finish that adds elegance to any space. However, it is important to remember that even with the best techniques, drying time for paint on crown molding can vary depending on environmental factors.
Therefore, regular maintenance and proper care of the airless sprayer are essential for consistent and successful results.
So, take charge of your painting projects and transform your crown molding with confidence and precision.
Franz came aboard the Paint Sprayer Zone team with a background in both journalism and home renovation. His articulate writing style, combined with a passion for DIY projects, makes him an invaluable asset. Franz has a knack for breaking down technical jargon into easy-to-understand content, ensuring that even the most novice of readers can grasp the complexities of paint sprayers.
