Mastering the use of airless sprayers is essential for achieving a professional finish when painting ceilings. Proper preparation and technique are key factors that make up 90% of the success of a ceiling painting project.
In this comprehensive guide, beginners and DIY enthusiasts will learn the importance of selecting the right equipment, protecting the surrounding area, and maintaining a consistent distance from the ceiling.
With tips on cleaning, overlapping passes for complete coverage, and evaluating the finished result, this article will help you achieve flawless ceilings every time.
Key Takeaways
- Proper preparation and equipment selection are crucial for achieving a professional finish when painting a ceiling with an airless sprayer.
- Maintaining a consistent distance from the ceiling and overlapping each pass slightly ensures complete coverage.
- Allow sufficient drying time before applying a second coat and touch up any areas with thin coverage or uneven paint.
- Proper cleanup and storage of the sprayer and painting equipment are essential for easy maintenance and future touch-ups.
Importance of Proper Preparation
The painter must use drop cloths or plastic sheets to protect the floor and furniture when preparing for ceiling painting. Proper preparation is crucial for achieving a flawless finish.
Preparation techniques include inspecting and repairing any cracks or holes in the ceiling, as well as cleaning the ceiling to remove dirt and dust. Common mistakes to avoid include skipping the preparation steps and not protecting the surrounding surfaces.
To ensure a flawless finish, here are some preparation tips: thoroughly clean the ceiling before painting, patch any imperfections, and consider the overall aesthetic of the room when choosing a paint color.
Selecting the Right Equipment
When selecting the right equipment, it is important to consider factors such as the size and texture of the ceiling.
Choosing the right nozzle is crucial for achieving a smooth and even spray pattern. Different nozzles offer different spray widths and fan patterns, so it’s important to select one that suits the size of the ceiling.
Troubleshooting common issues with the equipment is also essential for a successful painting job. If the sprayer is clogging or producing uneven coverage, it may be due to improper setup or maintenance. Regularly cleaning the sprayer and inspecting the filters and tips can help prevent these issues.
Protecting the Surrounding Area
To protect the surrounding area, it’s important to use drop cloths or plastic sheets and inspect for any cracks or holes in the ceiling. This will prevent paint from splattering onto furniture and other objects.
Additionally, taking the following steps can help prevent overspray and ensure a smooth painting process:
- Covering furniture with drop cloths or plastic sheets
- Securing the drop cloths or plastic sheets with tape or clamps
- Masking off any areas that should not be painted, such as light fixtures or vents
Inspecting and Repairing Ceiling Imperfections
Inspecting and repairing any cracks or holes in the ceiling is an essential step in achieving a professional finish when using an airless sprayer.
Before starting the painting process, it is important to thoroughly inspect the ceiling for any imperfections. Cracks and holes can disrupt the smoothness of the final paint job and may require additional touch-ups later on.
To repair cracks, use a joint compound or spackling paste to fill them in, making sure to smooth out the surface. For smaller holes, a lightweight spackle can be used.
Once the repairs are complete, allow sufficient drying time before proceeding with painting.
Cleaning the Ceiling Surface
Using a damp cloth or sponge, you can easily clean the ceiling surface to remove any dirt or dust particles.
To ensure a thorough cleaning, here are some effective cleaning techniques and the best cleaning solutions to use:
-
Dusting: Start by gently dusting the ceiling with a microfiber cloth or a feather duster to remove loose particles.
-
Vacuuming: If the ceiling is heavily soiled, use a vacuum cleaner with a soft brush attachment to help remove stubborn dirt and cobwebs.
-
Mild soap solution: Mix a small amount of mild dish soap with warm water. Dip the cloth or sponge into the solution and wring out excess moisture. Wipe the ceiling in gentle, circular motions to remove any stains or grime.
Remember to always test a small, inconspicuous area before cleaning the entire ceiling.
Additionally, avoid using abrasive cleaners or excessive moisture, as they can damage the ceiling surface.
Choosing the Perfect Paint Color
When selecting the ideal paint color, homeowners should consider the overall aesthetic of the room. Choosing the right paint finish and creating a color scheme are crucial for achieving the desired look.
To create a color scheme, homeowners can start by identifying the main color they want to use and then selecting complementary or contrasting colors for accents or trim. It’s important to consider factors such as natural light, room size, and existing furniture or decor when choosing paint colors.
Additionally, homeowners should consider the desired mood or atmosphere they want to create in the room. By carefully selecting paint colors and finishes, homeowners can create a cohesive and visually pleasing space.
Setting the Correct Sprayer Pressure
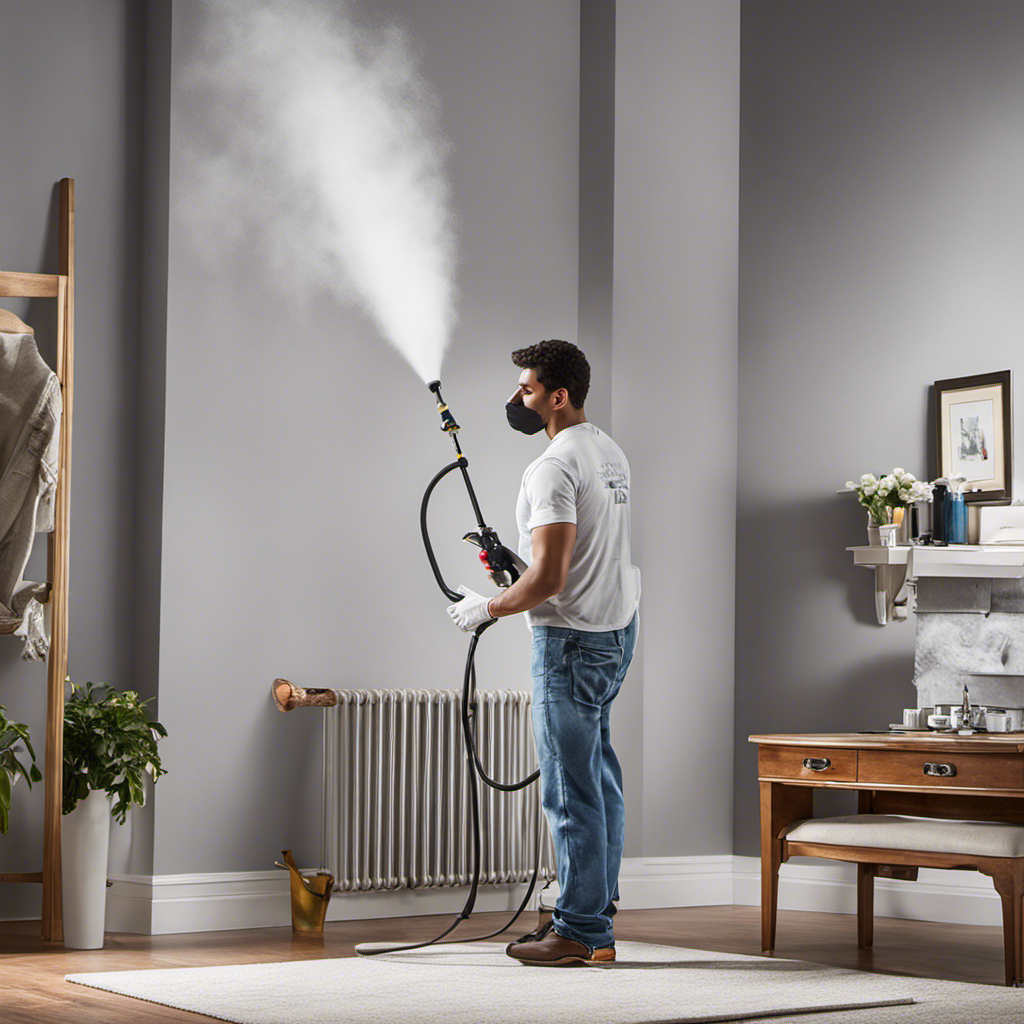
To achieve a smooth finish, homeowners need to ensure they set the correct sprayer pressure for their painting project. Adjusting sprayer settings is crucial in preventing overspray and achieving professional results. Here are some key points to consider:
- Consult the sprayer’s manual or manufacturer’s instructions for recommended pressure settings.
- Start with a low pressure setting and gradually increase until the desired coverage is achieved.
- Test the sprayer on a small surface to check for any inconsistencies or overspray.
- Adjust the nozzle settings to control the spray pattern and reduce overspray.
- Maintain a consistent distance from the ceiling while spraying to ensure even coverage.
- Use a sweeping motion and overlap each pass slightly for complete and uniform application.
Preparing the Airless Sprayer
When it comes to preparing the airless sprayer for painting, there are several steps to follow to ensure a smooth and efficient process.
One of the pros of using an airless sprayer is that it allows for quick and even application of paint on large surfaces like ceilings.
However, there are also some cons to consider, such as the potential for overspray and the need for proper ventilation.
Before starting, it is important to troubleshoot common issues with airless sprayers, such as clogs or uneven spray patterns.
This can be done by checking the sprayer’s filters and tips, and adjusting the pressure and nozzle settings accordingly.
Additionally, it is crucial to clean the sprayer immediately after use to prevent clogs and to properly store all painting equipment for future use.
Testing the Sprayer’s Performance
The painter checks the sprayer’s performance by testing it on a small surface to ensure it’s working correctly. This step is crucial in identifying any issues with the sprayer settings and troubleshooting them before starting the actual painting process.
Here are some important things to consider when testing the sprayer’s performance:
- Start by setting the sprayer pressure to the recommended level for the type of paint being used.
- Adjust the sprayer’s nozzle settings to achieve the desired spray pattern.
- Test the sprayer on a small surface, such as a piece of cardboard or scrap wood, to observe the spray pattern, coverage, and consistency.
- Look for any issues like uneven spray, clogs, or drips and make the necessary adjustments or repairs.
- Ensure that the sprayer is delivering the paint smoothly and evenly to achieve a professional finish.
Adjusting Spray Pattern for Even Coverage
Adjusting the sprayer’s nozzle settings allows the painter to achieve an even spray pattern for consistent coverage.
To adjust the spray pattern, the painter can start by adjusting the nozzle size. A smaller nozzle size will result in a narrower spray pattern, while a larger nozzle size will create a wider pattern. This allows for flexibility in covering different areas of the ceiling.
Additionally, troubleshooting common sprayer issues can help ensure an even spray pattern. For example, if the sprayer is producing an uneven pattern, it may be due to a clogged nozzle. Cleaning or replacing the nozzle can help resolve this issue.
Maintaining Consistent Distance From the Ceiling
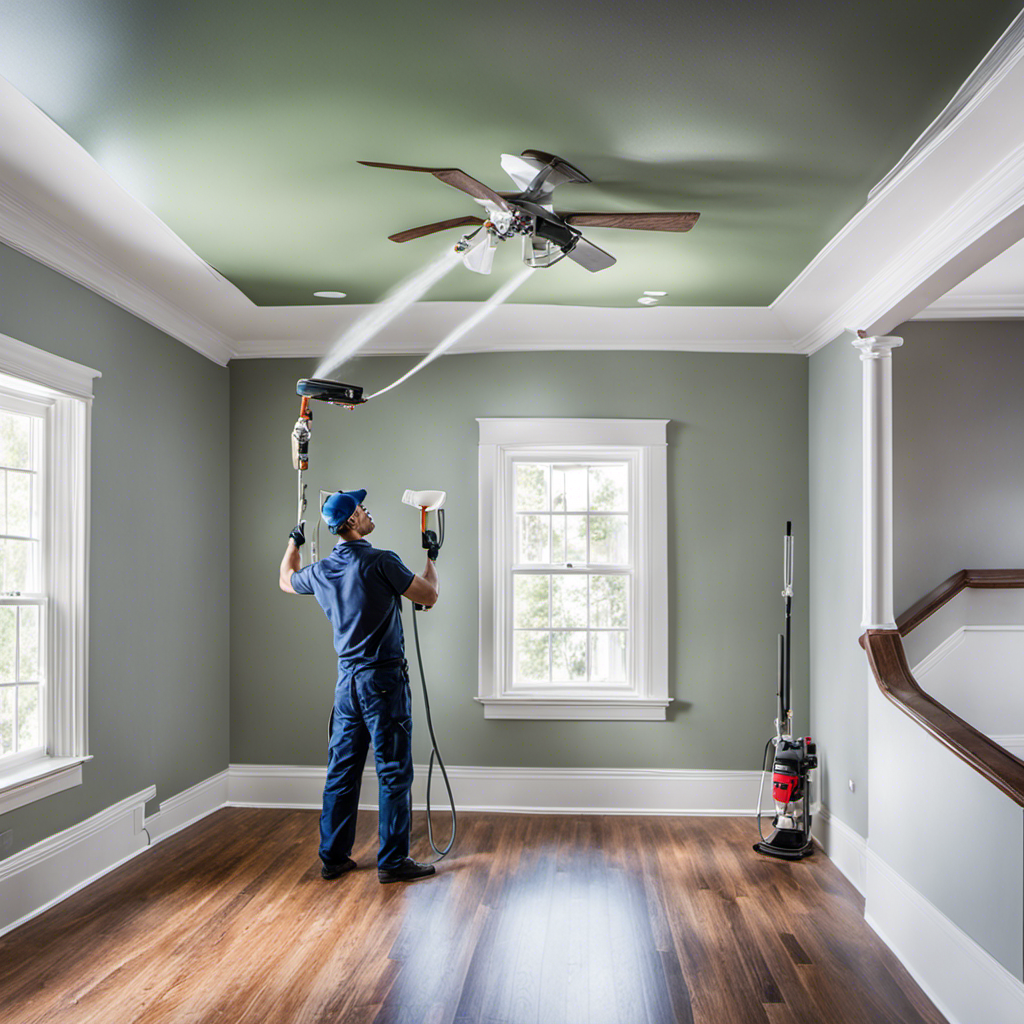
Maintaining a consistent distance from the ceiling ensures an even and smooth application of paint when using an airless sprayer. This technique helps prevent overspray and ensures that the paint is evenly distributed across the surface.
To achieve this, follow these steps:
- Stand at a distance of about 12-16 inches from the ceiling.
- Hold the sprayer at a slight angle to the surface, pointing it towards the ceiling.
- Move the sprayer in a steady and controlled motion, keeping the distance consistent.
- Overlap each pass slightly to ensure complete coverage.
- Take breaks when needed to prevent fatigue and maintain accuracy.
Overlapping Each Pass for Complete Coverage
To achieve complete coverage when using an airless sprayer, it is important to overlap each pass slightly. This technique ensures that no areas are missed and helps avoid paint drips. By overlapping the spray pattern, the paint is applied evenly across the entire surface, resulting in a professional finish. Additionally, overlapping the passes helps to blend the paint and eliminate any visible lines or streaks.
When troubleshooting common sprayer issues, such as clogging or uneven spray patterns, overlapping each pass can be a helpful solution. It allows for better distribution of the paint and helps to prevent any blockages in the sprayer nozzle. By following this technique, painters can achieve consistent coverage and avoid potential problems during the painting process.
Remember to maintain a steady and consistent distance from the ceiling while overlapping each pass to ensure optimal results.
Allowing Sufficient Drying Time
Allowing enough time for the paint to dry is crucial in achieving a smooth and professional finish. To ensure a successful drying process, there are a few key steps to follow:
-
Avoiding paint drips:
-
Apply thin and even coats of paint to prevent drips from forming.
-
Use a high-quality brush or roller to minimize the risk of drips.
-
Check for any drips or excess paint and immediately smooth them out before they dry.
-
Using proper lighting:
-
Ensure that the room is well-lit to accurately evaluate the drying progress.
-
Use natural or artificial light sources to identify any missed spots or imperfections.
-
Adjust the lighting angle to reveal any areas that may need touch-ups.
Evaluating and Touching Up the Painted Ceiling
The painter evaluates the painted ceiling for any areas that may need touch-ups or additional coverage. This step is crucial to ensure a professional finish. They carefully inspect the ceiling, using proper lighting to identify any missed spots or imperfections. They consider the paint’s sheen and adjust the lighting accordingly for accurate evaluation.
If they find areas with thin coverage or uneven paint, they use touch-up techniques to correct them. This may involve using a brush or roller to apply additional paint to those areas. They make sure to blend the touch-up paint seamlessly with the rest of the ceiling to achieve a smooth and consistent appearance.
Frequently Asked Questions
Can an Airless Sprayer Be Used on Textured Ceilings?
Yes, an airless sprayer can be used on textured ceilings. However, there are some pros and cons to consider.
The main advantage is that the high pressure of the sprayer can easily cover the uneven surface of the texture. This saves time and ensures a more even finish.
On the other hand, the texture can make it harder to control overspray, which may require additional masking and protection. Regular airless sprayer maintenance is also important to prevent clogs and ensure optimal performance.
How Do You Prevent Overspray When Using an Airless Sprayer?
To prevent overspray when using an airless sprayer, it’s crucial to maintain proper maintenance and follow some key techniques.
First, ensure the sprayer is set at the correct pressure and nozzle settings for an even spray pattern.
Second, maintain a consistent distance from the ceiling while spraying and overlap each pass slightly for complete coverage.
Lastly, regularly clean the sprayer to prevent clogs and ensure optimal performance.
What Is the Best Method for Cleaning the Sprayer After Use?
The best method for cleaning the sprayer after use involves several maintenance tips.
First, it’s important to clean the sprayer immediately to prevent clogs.
Next, remove and clean any paint filters or tips.
Dispose of unused paint properly according to local regulations.
Store leftover paint in airtight containers for future touch-ups.
Finally, properly clean and store all other painting equipment.
Following these steps will ensure that the sprayer remains in good condition for future use.
How Long Should Paint Dry Before Applying a Second Coat?
The paint should be allowed to dry for a sufficient amount of time before applying a second coat. This ensures that the first coat has properly adhered to the ceiling and avoids any smudging or blending of the layers.
The exact drying time can vary depending on factors such as temperature and humidity, so it is important to refer to the paint manufacturer’s instructions for specific guidance.
Can an Airless Sprayer Be Used on Popcorn Texture Ceilings?
Using an airless sprayer on popcorn texture ceilings can be challenging due to the uneven surface. However, with proper maintenance and technique, it is possible to achieve satisfactory results.
Regular maintenance of the sprayer, such as cleaning and adjusting the pressure and nozzle settings, is crucial for optimal performance.
The benefits of using an airless sprayer, such as faster application and better coverage, still apply to popcorn texture ceilings.
It’s important to practice and test on a small area before tackling the entire ceiling.
Conclusion
In conclusion, mastering airless sprayer techniques is crucial for achieving a flawless finish when painting ceilings. By following the proper preparation steps, selecting the right equipment, and protecting the surrounding area, DIY enthusiasts can achieve professional-looking results.
For example, John, a DIY enthusiast, used the airless sprayer techniques outlined in this guide to paint his textured ceiling. He followed the recommended distance, overlapping each pass, and allowed sufficient drying time between coats. The end result was a perfectly painted ceiling that enhanced the overall look of his room.
By following these techniques, anyone can achieve a flawless finish when painting ceilings.
Franz came aboard the Paint Sprayer Zone team with a background in both journalism and home renovation. His articulate writing style, combined with a passion for DIY projects, makes him an invaluable asset. Franz has a knack for breaking down technical jargon into easy-to-understand content, ensuring that even the most novice of readers can grasp the complexities of paint sprayers.


