It may be surprising, but achieving perfect wall paint finishes with an airless sprayer is not as difficult as it seems. With the correct techniques, anyone can learn this method and achieve results that look professional.
In this article, readers will learn the key takeaways and maintenance tips for using an airless sprayer, the importance of surface preparation and paint selection, and the proper technique for painting walls.
Additionally, tips for managing overspray and drips, as well as cleaning and maintenance, will be provided to ensure optimal performance.
Get ready to transform your walls with ease and precision.
Key Takeaways
- Maintaining the correct distance from the wall surface ensures an even application of paint and reduces the chances of drips or splatter.
- Regularly cleaning and maintaining the sprayer is vital for a flawless finish and the sprayer’s longevity.
- Surface preparation, including cleaning, filling cracks, and applying primer, is essential before using the airless sprayer.
- Proper technique, such as holding the sprayer perpendicular to the wall and using smooth, overlapping passes, is crucial for achieving a professional finish.
Key Takeaways and Maintenance
Regularly cleaning and maintaining the sprayer is vital for a flawless finish and the sprayer’s longevity. To achieve an even coverage, it is important to maintain the correct distance from the wall surface. This ensures an even application of paint and reduces the chances of drips or splatter.
Using proper technique is key to achieving professional-looking results. Holding the sprayer perpendicular to the wall and moving your arm smoothly and steadily will create smooth, overlapping passes. It is also important to maintain a consistent speed to prevent drips or uneven application.
Surface Preparation and Paint Selection
Before starting to paint, the surface should be thoroughly cleaned to remove dirt, dust, or grease. Preparing walls for painting involves several steps:
- Clean the wall thoroughly to ensure a smooth surface for paint application.
- Fill any cracks or holes with a suitable filler and sand the wall to create an even texture.
- Apply a primer using a roller or brush, following the manufacturer’s instructions, to enhance paint adhesion.
- Ensure the surface is properly prepped and primed before moving on to the next step.
Choosing paint colors is an important part of the process:
- Select the appropriate paint that is compatible with the airless sprayer and the surface being painted.
- Consider the desired aesthetic and the room’s lighting when choosing paint colors.
- Understand different paint finishes and their characteristics to achieve the desired look.
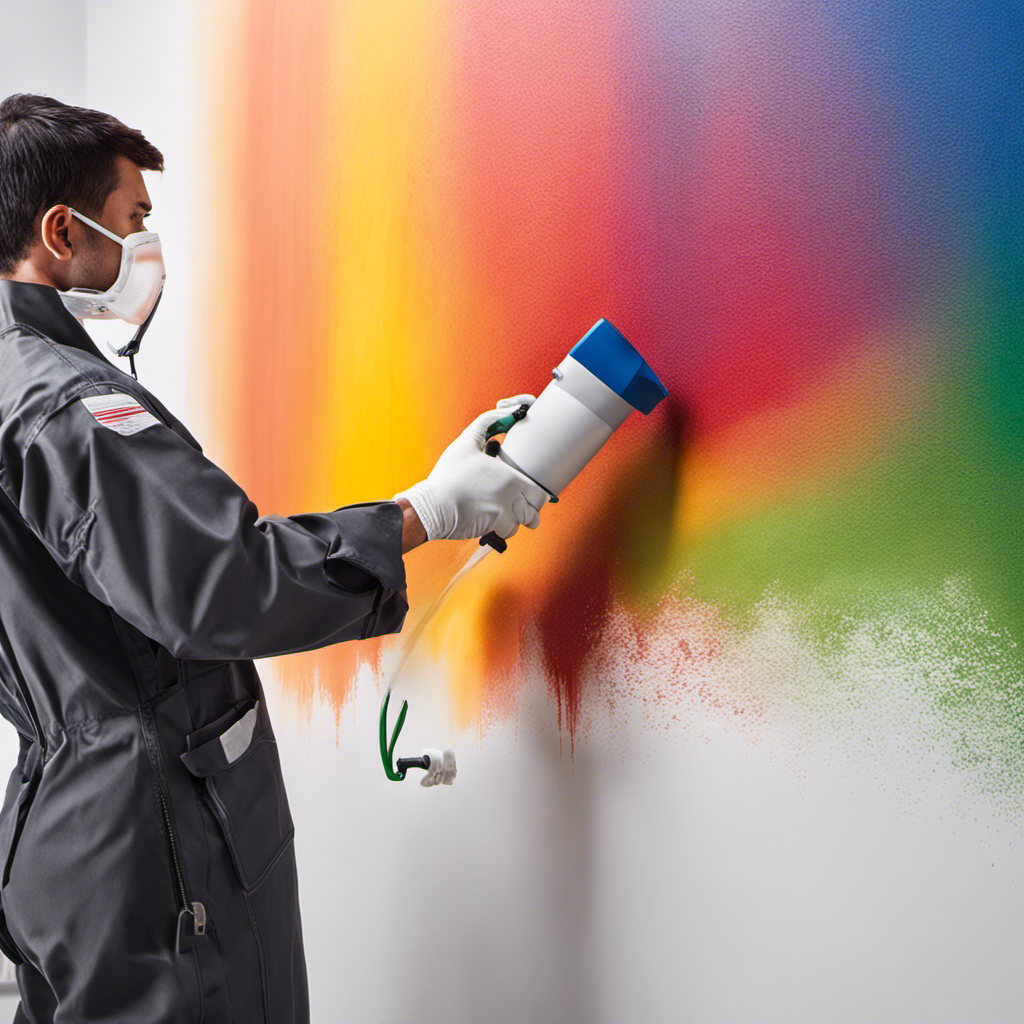
Proper Technique and Starting to Paint
To achieve a smooth and professional finish, the painter should hold the sprayer perpendicular to the wall and maintain a consistent distance of about 12 inches. This technique is crucial for maintaining consistency and achieving even coverage throughout the painting process.
Moving the arm smoothly and steadily, the painter should overlap each pass by 50% to prevent missed spots. It is important to maintain a steady, consistent speed to prevent drips or uneven application.
If the paint appears uneven or streaky, the sprayer’s pressure settings can be adjusted accordingly. By following these proper techniques, the painter can ensure a flawless and professional-looking finish on the wall surface.
Managing Overspray and Drips
Covering nearby furniture, floors, and objects with drop cloths or plastic sheets helps manage overspray and drips during the painting process. This simple step can prevent paint splatter and help achieve a smooth finish.
To further minimize mess and waste, it is important to follow these techniques:
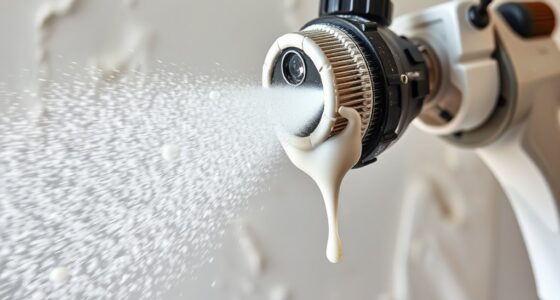
- Adjust the spray pattern using the nozzle adjustment feature on the airless sprayer.
- Hold the sprayer nozzle at a consistent distance from the wall surface.
- Maintain a steady and consistent speed to prevent drips or uneven application.
- Move your arm smoothly and steadily to avoid uneven coverage.
- Overlap each pass by 50% to prevent missed spots.
Cleaning and Maintenance
Regularly cleaning and maintaining the sprayer ensures optimal performance and longevity, extending the lifespan of the equipment and delivering impeccable results.
To keep the sprayer in top condition, it is important to follow proper cleaning techniques. After each use, thoroughly flush out any leftover paint or debris from the sprayer. Pay close attention to the nozzle and filters, removing any obstructions or buildup that could affect the spray pattern.
Additionally, regularly inspect the sprayer for any worn or damaged parts and replace them as needed to avoid breakdowns during a painting project. If any issues arise, troubleshooting tips should be followed to ensure optimal performance.
Maintaining the Correct Distance
After discussing the importance of cleaning and maintaining an airless sprayer, the next subtopic focuses on maintaining the correct distance while painting walls.
Maintaining the correct distance is crucial for achieving an even application of paint and avoiding drips or splatter. To ensure proper distance, follow these steps:
- Stand about 12 inches away from the wall surface. This distance allows for optimal coverage without overspray or excessive buildup.
- Maintain a consistent distance throughout the painting process.
Troubleshooting the sprayer distance can be done by:
- Adjusting the sprayer’s pressure settings. If the paint is uneven or streaky, increase or decrease the pressure accordingly.
- Moving your arm smoothly and steadily. Avoid jerky movements that may result in uneven coverage.
Techniques for a Professional-Looking Finish
To achieve a polished result, painters can employ various techniques for a professional-looking finish. This includes using the right sprayer troubleshooting methods to ensure smooth coverage. By following proper technique and starting with a clean, prepped surface, painters can achieve a flawless result. Maintaining a consistent distance from the wall while spraying, adjusting the sprayer’s pressure settings if needed, and overlapping each pass by 50% are important steps in achieving even coverage. Additionally, managing overspray and drips by preparing the area and using the nozzle adjustment feature on the sprayer can help control the spray pattern and minimize mess. Regularly cleaning and maintaining the sprayer is also crucial for optimal performance and longevity. By implementing these techniques and troubleshooting methods, painters can achieve professional-looking results every time.
| Technique | Description | Benefits |
|---|---|---|
| Maintaining a consistent distance | Holding the sprayer perpendicular to the wall and maintaining a distance of about 12 inches | Ensures even coverage and minimizes drips or splatter |
| Adjusting sprayer pressure settings | Modifying the pressure settings on the sprayer for even and smooth application | Helps achieve a consistent and uniform finish |
| Overlapping each pass by 50% | Moving the sprayer in overlapping passes to prevent missed spots | Provides complete coverage and eliminates uneven areas |
| Managing overspray and drips | Covering nearby furniture and objects, adjusting the spray pattern, and maintaining a consistent distance from the wall | Prevents mess and waste, and controls the spray pattern |
Regularly Cleaning and Maintaining the Sprayer
The painter ensures optimal performance and longevity of the sprayer by regularly cleaning and maintaining it after each use. This includes flushing out any leftover paint or debris and paying close attention to the nozzle and filters for any obstructions or buildup.
By following these maintenance steps, the painter can prevent clogging and ensure a flawless finish every time. Troubleshooting common sprayer issues is also important to maintain sprayer performance.
The painter should regularly inspect the sprayer for worn or damaged parts and replace them as needed, avoiding breakdowns during a painting project. By taking these proactive measures, the painter can prolong the lifespan of the sprayer and deliver impeccable results.
Regular Inspection of the Sprayer
Regularly inspecting the sprayer for worn or damaged parts and replacing them as needed is important to avoid breakdowns during a painting project.
Regular inspection benefits include preventing unexpected malfunctions and ensuring the sprayer’s optimal performance. By identifying and addressing any issues early on, painters can avoid costly delays and interruptions.
Troubleshooting techniques during inspection involve checking for leaks, loose connections, and signs of wear and tear. Inspecting the nozzle and filters for clogging is also crucial for maintaining consistent spray patterns and preventing uneven application of paint.
Additionally, inspecting the sprayer allows painters to assess its overall condition and make any necessary adjustments or repairs, ensuring that it continues to deliver flawless results. Regular inspection is an essential part of proper sprayer maintenance, promoting efficiency and longevity.
Prepping and Priming the Surface
Inspecting the surface for any imperfections and ensuring it is properly prepped and primed is crucial for achieving a professional finish when using an airless sprayer. Here are the key steps to follow:
- Fill any cracks or holes with a suitable filler and use proper sanding techniques to create a smooth surface.
- Apply the filler evenly and allow it to dry completely.
- Use sandpaper or a sanding block to smooth the surface, removing any rough spots or excess filler.
Clean the wall thoroughly to remove dirt, dust, or grease. Use a mild detergent and water to wash the wall, then rinse and allow it to dry completely.
Selecting the Right Paint for the Sprayer
After prepping and priming the surface, the next step in mastering airless sprayer techniques for flawless wall painting is selecting the right paint for the sprayer.
It is crucial to choose a paint that is compatible with the airless sprayer and the surface being painted. Consider the desired aesthetic and select the appropriate color and finish of the paint.
Different paint finishes have different characteristics, so understanding them is important to achieve the desired result.
Gathering all the necessary supplies such as paint filters, stir sticks, and safety equipment is also essential.
Gathering Necessary Supplies and Equipment
To ensure a smooth and professional finish, the painter gathers all the necessary supplies and equipment before starting the project. This step is crucial for a successful painting job. Here is a list of the key items the painter needs to gather:
-
Supplies:
-
Paint filters
-
Stir sticks
-
Safety equipment (gloves, goggles, mask)
-
Drop cloths or plastic sheets for protecting nearby furniture and floors
-
Equipment Selection:
-
Airless sprayer: Choose a high-quality sprayer that is suitable for the project size and type of paint being used.
-
Nozzles: Select the appropriate nozzle size for the desired spray pattern and coverage.
-
Extension poles: Consider using extension poles for painting hard-to-reach areas.
Setting up and Testing the Airless Sprayer
After gathering all the necessary supplies and equipment, the next step in mastering airless sprayer techniques for flawless wall painting is setting up and testing the airless sprayer. This crucial step ensures that the sprayer is working properly and allows for any necessary adjustments to be made before starting the painting process.
To set up the airless sprayer, follow these steps:
- Connect the sprayer to a power source and ensure it is properly grounded.
- Fill the paint container with the desired paint, making sure not to overfill.
- Attach the spray gun to the sprayer and secure it tightly.
- Adjust the pressure settings on the sprayer according to the manufacturer’s instructions.
Once the sprayer is set up, it is important to test it before painting the walls. Test the sprayer on a scrap piece of material or an inconspicuous area of the wall to check for any issues or inconsistencies. This step allows for airless sprayer troubleshooting and adjustments to be made, such as adjusting the spray pattern.
To adjust the spray pattern, most airless sprayers have a nozzle adjustment feature that allows you to change the width and shape of the spray. Refer to the sprayer’s manual for specific instructions on how to adjust the spray pattern.
Understanding Different Paint Finishes
Understanding different paint finishes is essential for achieving the desired aesthetic and knowing which finish is compatible with the surface being painted.
-
Gloss Finishes: Provide a shiny, reflective surface. Ideal for high-traffic areas or surfaces that require frequent cleaning.
-
Satin Finishes: Offer a subtle sheen that is less reflective than gloss finishes. Suitable for areas that require some durability and can be easily cleaned. Ideal for walls in kitchens, bathrooms, or hallways.
-
Matte Finishes: Provide a smooth, non-reflective surface. Perfect for hiding imperfections and creating a sophisticated look. Ideal for ceilings, bedrooms, or rooms with low traffic.
-
Eggshell Finishes: Offer a slight sheen, similar to the surface of an eggshell. Provides durability and is easy to clean. Suitable for living rooms, bedrooms, or dining areas.
Frequently Asked Questions
How Do I Fix Uneven Paint Application With an Airless Sprayer?
To fix uneven paint application with an airless sprayer, start by troubleshooting the issue. Check the sprayer’s pressure settings and adjust them if necessary.
Ensure that the sprayer nozzle is held at a consistent distance from the wall surface. If overspray is a problem, adjust the spray pattern using the nozzle adjustment feature.
Additionally, make sure the paint is properly mixed and strained to avoid clogging the sprayer.
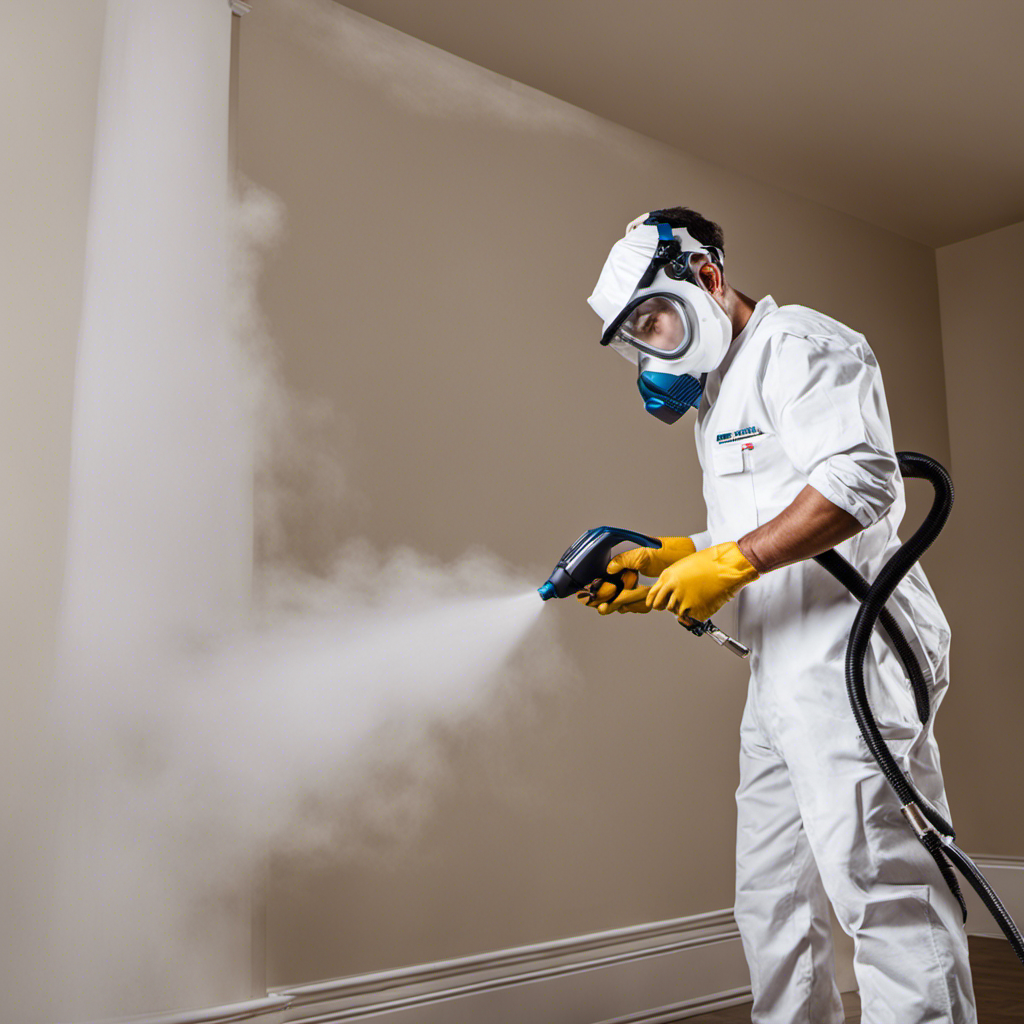
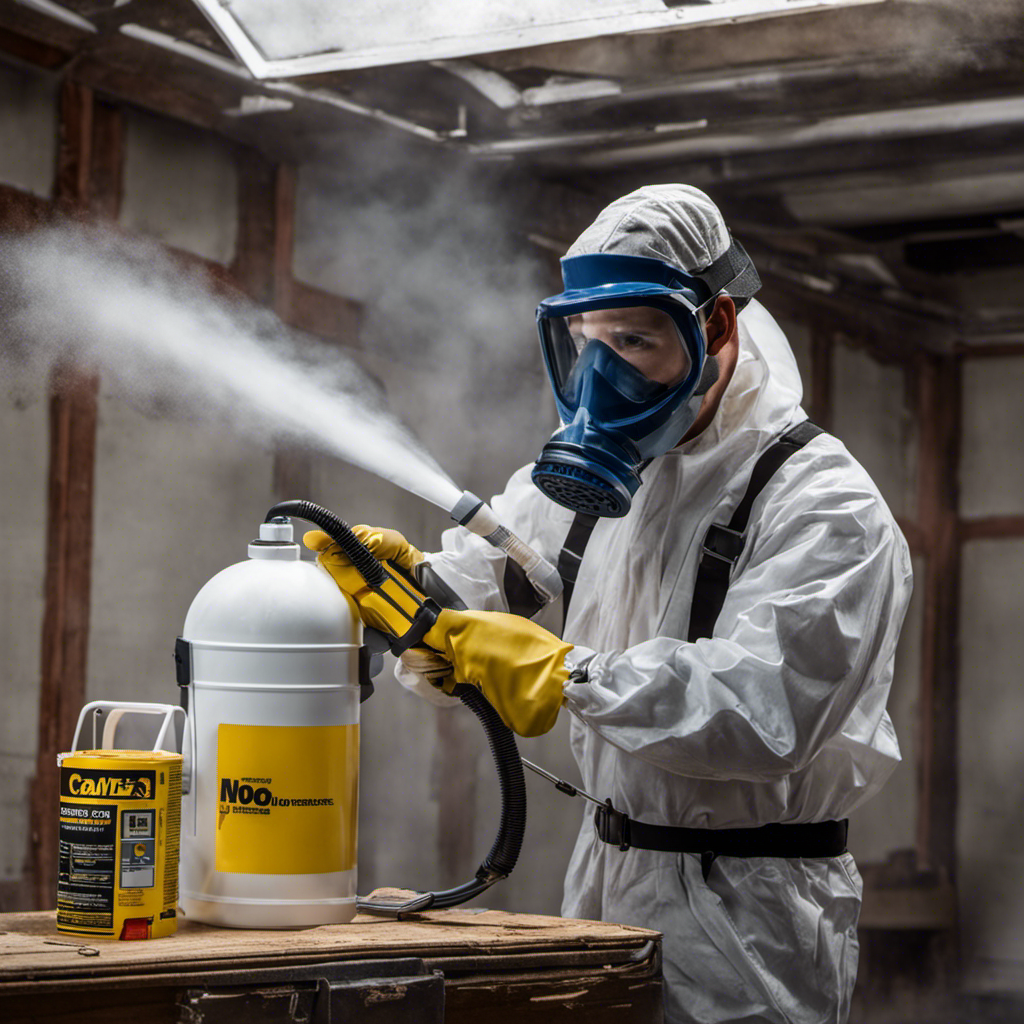
What Safety Precautions Should I Take When Using an Airless Sprayer?
When using an airless sprayer, it’s important to take safety precautions to ensure a smooth and accident-free painting experience. Proper technique is vital in achieving flawless results.
Here are some tips to keep in mind:
- Maintain a safe distance from the wall.
- Wear protective clothing, goggles, and a respirator to protect against paint fumes and overspray.
- Familiarize yourself with the sprayer’s manual.
- Practice using the sprayer before starting your project.
Can I Use an Airless Sprayer for Textured or Rough Surfaces?
When painting textured or rough surfaces with an airless sprayer, it’s important to choose the right paint finish and nozzle size for optimal results.
For textured surfaces, it’s recommended to use a paint finish with a slight sheen, such as satin or eggshell. This type of finish helps to hide imperfections and gives a more polished look.
When it comes to nozzle size, a larger size is generally more suitable for rough surfaces. This allows for better coverage and ensures that the paint reaches all the nooks and crannies of the textured surface.
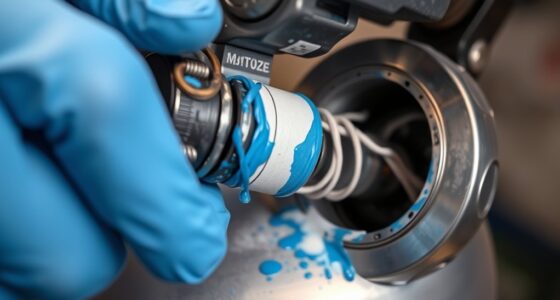
How Do I Clean the Filters in an Airless Sprayer?
To clean the filters in an airless sprayer, start by turning off the sprayer and relieving the pressure. Remove the filter housing and take out the filters. Rinse them with warm water and a mild detergent to remove any paint or debris. Use a soft brush to gently scrub the filters if necessary.
Once clean, thoroughly rinse the filters and let them dry before reassembling the sprayer. Regularly cleaning the filters will ensure optimal performance and prevent clogs.
What Is the Recommended Maintenance Schedule for an Airless Sprayer?
The recommended maintenance schedule for an airless sprayer includes regular cleaning after each use. Pay attention to the nozzle and filters for any obstructions or buildup. It is also important to inspect the sprayer for any worn or damaged parts and replace them as needed.
By following this maintenance routine, users can ensure optimal performance and prevent common issues such as clogging or breakdowns.
Troubleshooting tips can also be followed to address any problems that may arise during the painting process.
Conclusion
In conclusion, mastering airless sprayer techniques for flawless wall painting is a skill that can elevate any DIY project to professional standards. By following the key takeaways and maintenance tips, properly preparing the surface, selecting the right paint, and using proper technique, users can achieve a stunning finish.
However, the true test lies in managing overspray and drips, which can make or break the outcome. With the right preparation and adjustments, a flawless result is within reach.
So, take a deep breath, trust in your skills, and let the suspense of the final reveal unfold.

Franz came aboard the Paint Sprayer Zone team with a background in both journalism and home renovation. His articulate writing style, combined with a passion for DIY projects, makes him an invaluable asset. Franz has a knack for breaking down technical jargon into easy-to-understand content, ensuring that even the most novice of readers can grasp the complexities of paint sprayers.