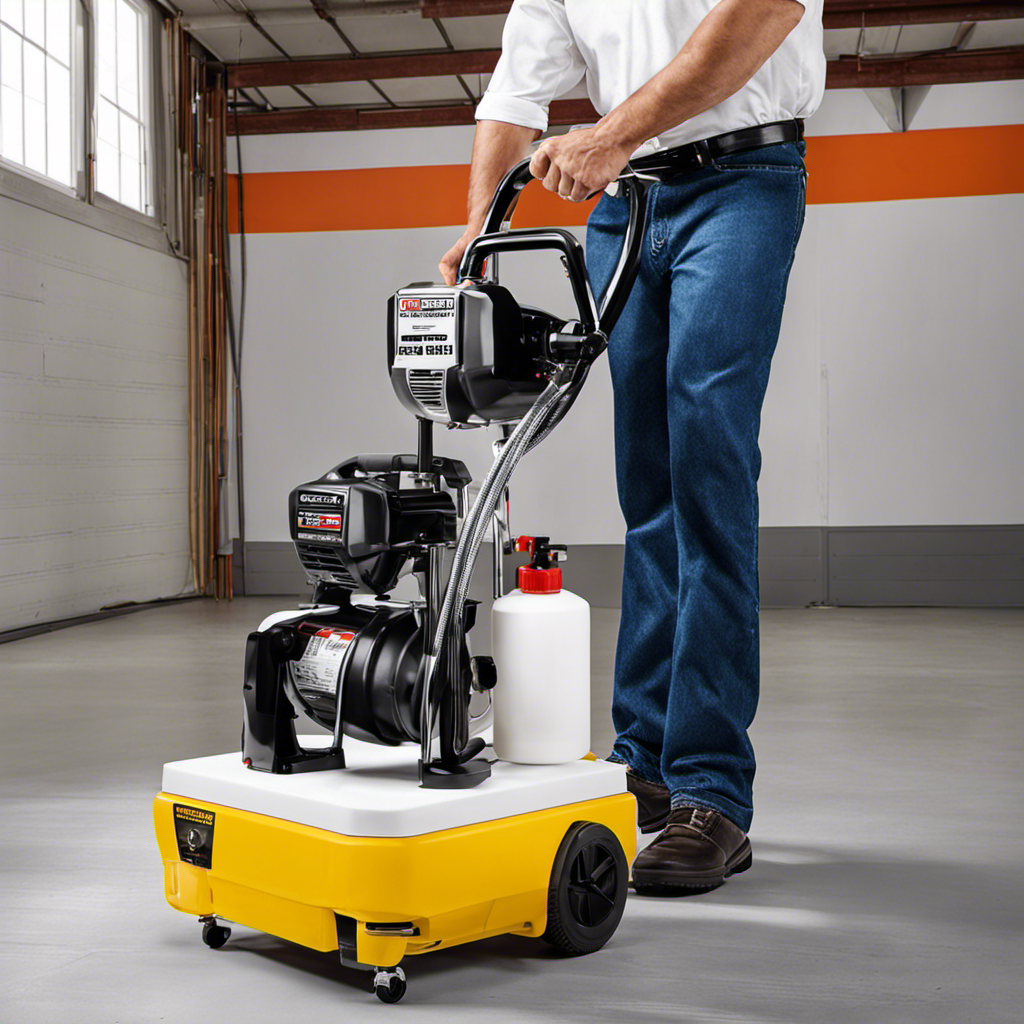
Looking for perfect painting results? The secret is to become proficient in using an airless paint sprayer for priming.
This step-by-step guide will walk you through the process of preparing, attaching the hose, adjusting pressure, monitoring progress, and cleaning and storing your airless paint sprayer.
By following these expert tips and tricks, you’ll ensure optimal results every time.
So, let’s dive in and unlock the secrets to professional-quality paint applications with your airless paint sprayer.
Key Takeaways
- Choose the right paint for your airless sprayer and ensure it can be thinned if needed.
- Clean the sprayer thoroughly and check for any blockages or debris before starting.
- Tighten the hose connection to prevent leaks and check for any damage or obstructions.
- Adjust the pressure setting for optimal results and monitor the priming progress closely while troubleshooting any issues.
Preparing the Surface for Priming
Before starting the priming process, the user should ensure that they have prepared the surface properly by cleaning it and removing any debris or dried paint. Surface preparation techniques are crucial for achieving a smooth and long-lasting paint finish.
First, the user should clean the surface thoroughly using a mild detergent and water. This will remove any dirt, grease, or oil that may prevent the primer from adhering properly.
Next, any loose or flaking paint should be removed using a scraper or sandpaper. The surface should then be sanded to create a smooth and even texture.
After the surface is clean and smooth, the user should choose the right primer. The primer should be compatible with the type of surface being painted and provide good adhesion for the topcoat. It is recommended to consult with a paint specialist to determine the best primer for the specific project.
Troubleshooting Common Airless Paint Sprayer Issues
The user can troubleshoot common issues with their airless paint sprayer by checking for clogs or blockages in the nozzle. This is one of the most common problems that can hinder the priming process. To help users easily identify and address these issues, here is a table highlighting some common airless paint sprayer problems and their troubleshooting solutions:
| Problem | Troubleshooting Solution |
|---|---|
| Low pressure | – Increase the pressure setting – Check for clogs in the nozzle – Clean the suction tube and filter |
| High pressure | – Decrease the pressure setting – Check for blockages in the nozzle – Ensure the paint viscosity is suitable |
| Inconsistent spray | – Check for clogs or blockages in the nozzle – Adjust the pressure and distance from the surface – Clean the spray tip |
| Leaks | – Tighten hose connections – Check for damage in the hose – Replace damaged parts |
Gathering Materials for Priming
To ensure a successful priming process, the user should gather all the appropriate materials. This includes choosing the right paint for priming and troubleshooting clogged sprayer nozzles.
When selecting the paint, it is essential to consider the surface being painted and ensure that the paint is suitable for airless sprayers. It should also be easily thinned if necessary.
Troubleshooting clogged sprayer nozzles is another crucial aspect of the priming process. The user should regularly check the spray tip for any blockages and clean it if needed. Additionally, they should inspect the suction tube and verify the paint viscosity to prevent any clogs.
Cleaning and Maintenance of the Airless Paint Sprayer
After priming, the user should thoroughly clean the airless paint sprayer by flushing it with water or a cleaning solution and drying all components to prevent rust or damage. Regular cleaning and maintenance of the sprayer are essential to ensure its optimal performance and longevity.
Here are some cleaning tips and maintenance techniques to follow:
-
Flush the sprayer: Remove any remaining paint from the sprayer by flushing it with water or a cleaning solution. This will help remove any residue or debris that may clog the sprayer and affect its performance.
-
Clean the components: Take apart the sprayer and clean each component individually. Pay special attention to areas with accumulated paint, such as the nozzle and filters.
-
Dry thoroughly: After cleaning, make sure to dry all components thoroughly to prevent rust or damage. A clean, dry sprayer will be ready for future use and will last longer.
Attaching the Hose Properly
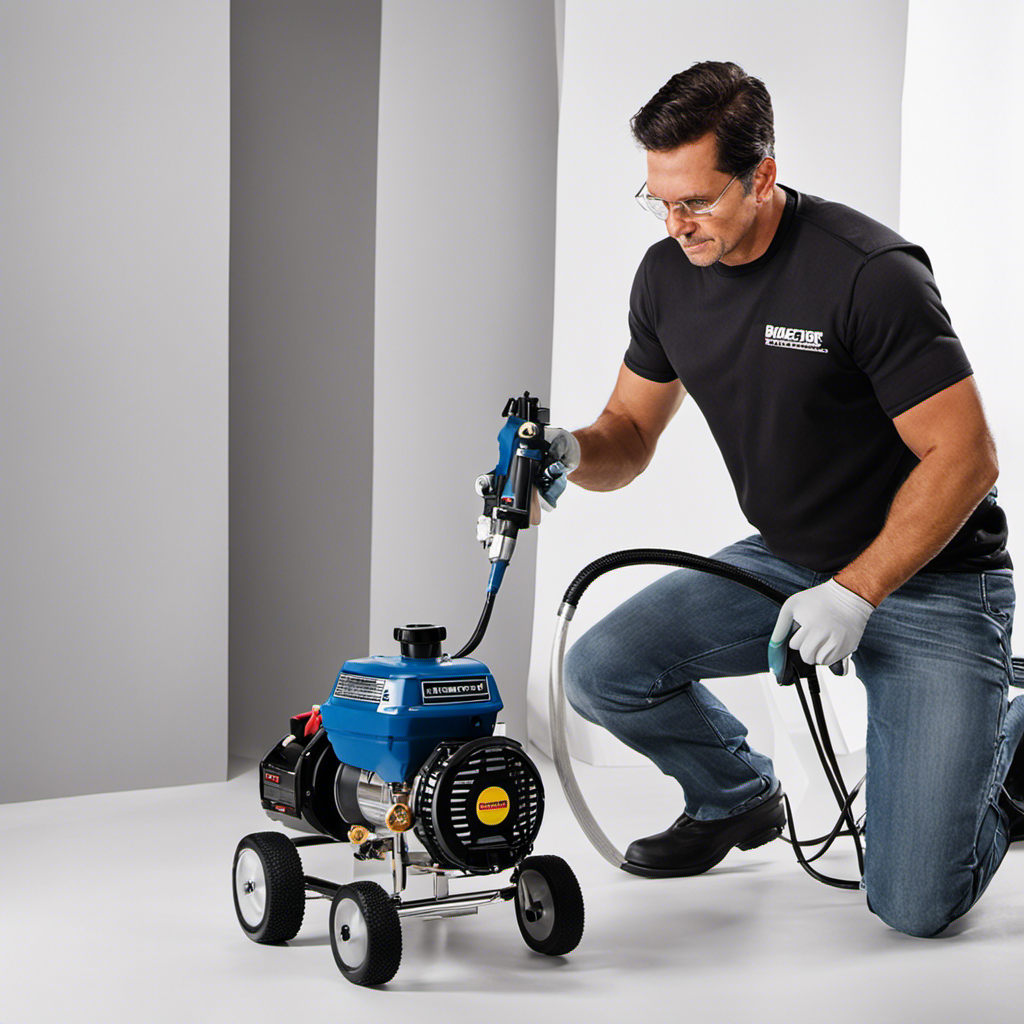
Before attaching the hose to the airless sprayer, the user should tighten the hose connection to prevent leaks or pressure loss. Proper hose attachment is crucial for a successful priming process.
To troubleshoot hose leaks, the user should follow these steps:
- Inspect the hose for any debris or obstructions before attaching it.
- Check the hose for any signs of damage and replace if necessary.
- Use Teflon tape on threaded ends of the hose for a secure seal.
- Follow the manufacturer’s instructions for attaching the hose to the sprayer.
By following these guidelines, the user can ensure a tight and secure hose connection, minimizing the risk of leaks or pressure loss during the priming process.
Troubleshooting hose leaks promptly will help maintain optimal pressure and achieve the desired results.
Adjusting Pressure for Optimal Priming
The user can adjust the pressure on the airless sprayer to achieve optimal results during the priming process. The importance of pressure adjustment in airless paint sprayer priming cannot be overstated. It directly affects the quality and efficiency of the priming job.
To achieve optimal pressure during the priming process, here are a few tips to keep in mind.
Firstly, if experiencing low pressure, increase the pressure setting. Conversely, if experiencing high pressure, decrease the setting.
It is also crucial to check for clogs or blockages in the nozzle if the spray is inconsistent. Additionally, adjusting the pressure and distance from the surface can help avoid overspray.
Lastly, ensure the suction tube and filter are clean and free from debris to maintain optimal pressure.
Monitoring Priming Progress
To ensure a successful priming process, the user should closely monitor the progress as the pump runs for a few minutes. This allows them to address any issues that may arise and achieve a smooth and even priming coat.
Here are some tips for achieving a smooth and even priming coat:
-
Importance of regular maintenance:
- Regularly clean and inspect the sprayer to prevent clogs and ensure optimal performance.
- Check and replace any worn or damaged parts that may affect the priming process.
-
Proper pressure adjustment:
- Adjust the pressure control knob to the recommended setting for priming.
- Avoid overspray by adjusting the pressure and maintaining the proper distance from the surface.
-
Troubleshooting:
- Keep a close eye on the progress and address any leaks, blockages, or inconsistencies in the spray.
- Verify that the suction tube is properly submerged in the paint container to maintain optimal pressure.
-
Cleaning and storage:
- Thoroughly clean the sprayer after priming to prevent clogs and damage.
- Store the sprayer in a clean, dry place to maintain its longevity.
Troubleshooting Priming Issues
Users can troubleshoot any issues that arise during the priming process by checking for blockages, ensuring proper paint viscosity, and inspecting the suction tube.
When encountering paint blockages, users should first check the spray tip for any obstructions and clean it if necessary. If the issue persists, they can inspect the suction tube for any clogs or debris that may be hindering the paint flow.
Additionally, users should ensure that the paint viscosity is appropriate for the sprayer, as paint that is too thick can cause low pressure.
Proper Cleaning and Storage of the Airless Paint Sprayer
After troubleshooting any priming issues, it is important to properly clean and store the airless paint sprayer to ensure its longevity and optimal performance. Here are some proper storage techniques and cleaning solutions for sprayer maintenance:
- Thoroughly flush the sprayer with water or a cleaning solution to remove any remaining paint.
- Clean the nozzle and components, paying attention to areas with accumulated paint.
- Dry all components thoroughly to prevent rust or damage.
- Store the sprayer in a clean, dry place, and consider using a protective cover or case to keep it dust-free.
Frequently Asked Questions
What Are Some Common Problems That Can Occur When Priming an Airless Paint Sprayer?
When priming an airless paint sprayer, some common problems that can occur include low pressure, clogged spray tips, inconsistent spray patterns, and leaks in hoses or connections.
To troubleshoot these issues, check for blockages in the nozzle, ensure proper suction tube and filter cleanliness, adjust the pressure settings, and tighten any loose connections.
Regular maintenance, such as cleaning and storing the sprayer properly, can also prevent problems and ensure a smooth primer finish.
Can I Use a Different Type of Paint for Priming Than What I Will Be Using for the Actual Painting?
Using different paints for priming and painting can have its pros and cons.
On one hand, using the same type of paint ensures consistency in color and texture.
However, using a different paint for priming can provide better adhesion and coverage, especially if the surface requires special preparation.
It’s important to consider the compatibility of the paints and follow the manufacturer’s recommendations.
Ultimately, the decision depends on the specific project and desired outcome.
How Often Should I Clean and Maintain My Airless Paint Sprayer?
Cleaning frequency and proper maintenance are essential for prolonging the lifespan of an airless paint sprayer. To ensure optimal performance, it is recommended to clean the sprayer after each use. Thoroughly flushing the sprayer with water or a cleaning solution will remove any paint residue and prevent clogs.
Additionally, regularly inspecting and replacing worn or damaged parts, such as the nozzle and hose, will help maintain the sprayer’s efficiency. Following the manufacturer’s guidelines for maintenance will ensure the sprayer remains in good working condition.
Is It Necessary to Wear Protective Goggles or a Mask While Priming With an Airless Paint Sprayer?
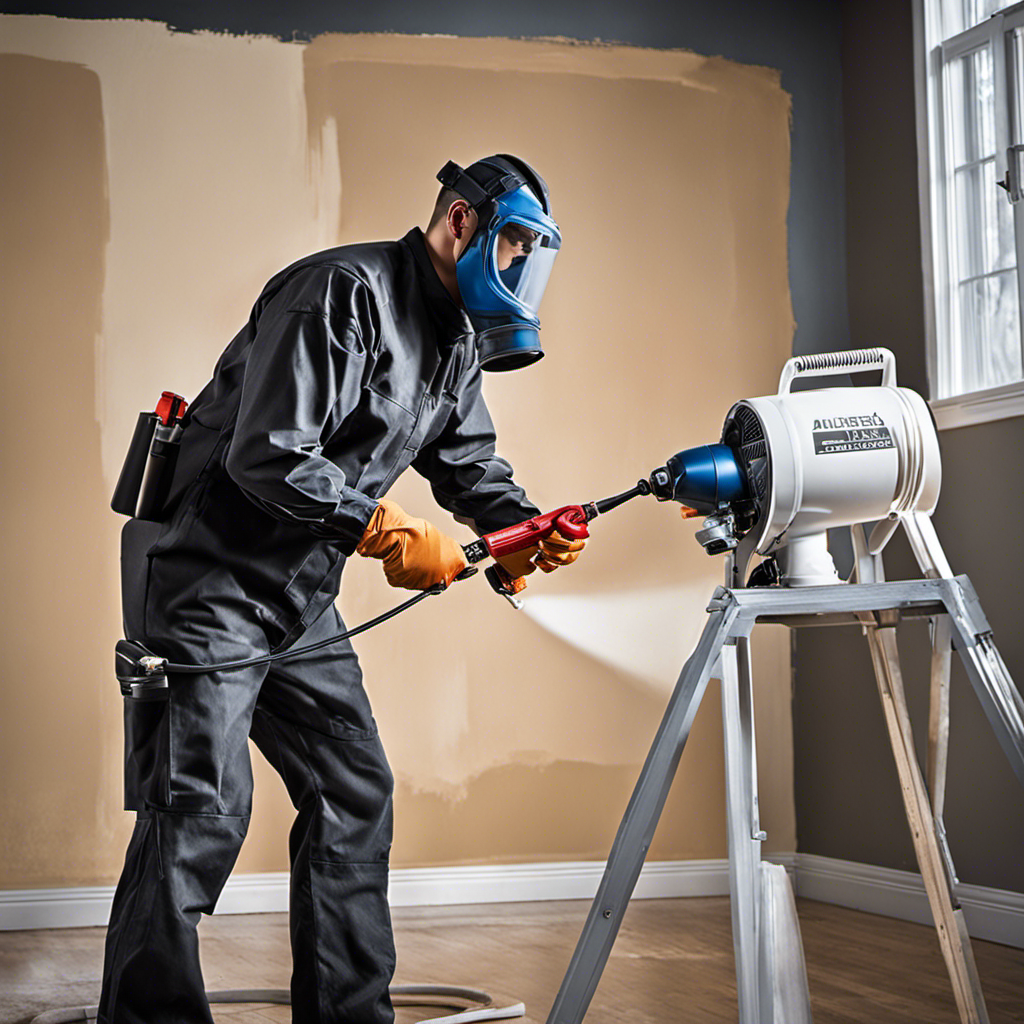
It is necessary to wear protective goggles and a mask while priming with an airless paint sprayer. The high-pressure spray can cause paint particles to become airborne, posing a risk to your eyes and respiratory system.
Protective equipment, such as goggles and a mask, create a barrier between you and these particles, ensuring your safety.
Always prioritize safety precautions when using any type of painting equipment to prevent potential injuries or health hazards.
Can I Use the Same Hose for Different Types of Paint, or Should I Have Separate Hoses for Water-Based and Oil-Based Paints?
Yes, it’s recommended to use separate hoses for different types of paint when using an airless paint sprayer. Using the same hose for water-based and oil-based paints can lead to cross-contamination and affect the quality of your paint job.
By having separate hoses, you can ensure that each type of paint is applied correctly and without any issues.
It’s important to properly clean and store each hose to maintain their effectiveness and prevent any clogs or blockages.
Conclusion
In conclusion, mastering airless paint sprayer priming requires several steps. First, proper preparation is essential, including choosing the right paint and wearing protective clothing. Next, troubleshooting any issues that arise is crucial to ensure optimal results. Gathering all the necessary materials and cleaning the sprayer thoroughly are also important steps. Attaching the hose securely using Teflon tape and adjusting the pressure for perfection should not be overlooked. Monitoring progress diligently is key to achieving the desired outcome. Finally, maintaining the sprayer by cleaning and storing it properly is necessary for long-term use. By following these steps, painters can prime like professionals.
Remember to choose the right paint, wear protective clothing, and clean the sprayer thoroughly. Attach the hose securely using Teflon tape, adjust the pressure for perfection, and monitor progress diligently. Troubleshoot any issues that arise and clean and store the sprayer properly. With these techniques, painters can prime like professionals.
Franz came aboard the Paint Sprayer Zone team with a background in both journalism and home renovation. His articulate writing style, combined with a passion for DIY projects, makes him an invaluable asset. Franz has a knack for breaking down technical jargon into easy-to-understand content, ensuring that even the most novice of readers can grasp the complexities of paint sprayers.
