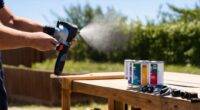
To use a paint sprayer for small touch-ups and details, start by choosing a model with adjustable settings for precision and ergonomics. Prepare your workspace by covering everything and cleaning surfaces thoroughly. Thin your paint if needed, and set up the sprayer with the appropriate nozzle. Practice on a scrap surface, then use slow, controlled movements, overlapping slightly for even coverage. Protect nearby areas and clean your sprayer thoroughly afterward. For expert tips, keep exploring the process step by step.
Key Takeaways
- Select a detail sprayer with adjustable settings and a suitable nozzle for precision work.
- Prepare surfaces thoroughly by cleaning, sanding, and masking areas with painter’s tape.
- Thin paint appropriately and test spray on scrap to ensure smooth, controlled application.
- Use slow, steady movements with overlapping passes for even coverage and sharp edges.
- Clean and maintain your sprayer after use to prevent clogs and ensure optimal performance.
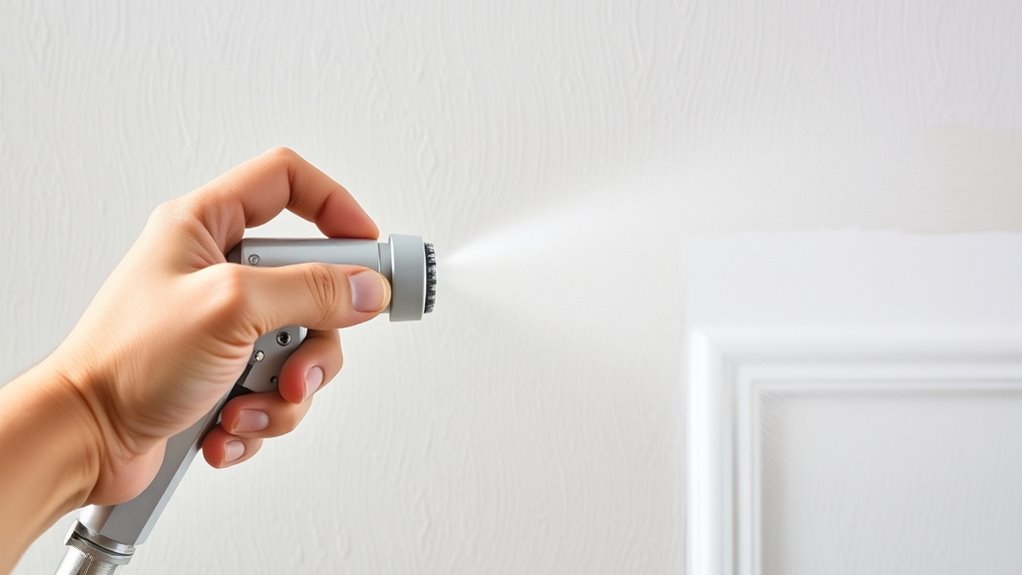
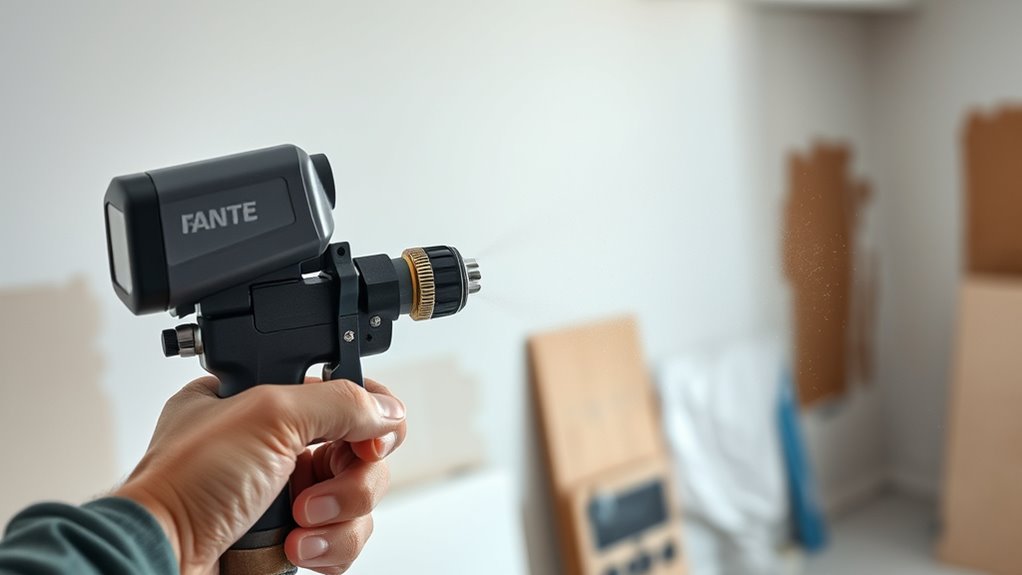
Choosing the Right Paint Sprayer for Small Projects
When tackling small projects, selecting the right paint sprayer can make a big difference in the quality and ease of your work. Start by considering your paint color selection—lighter, more opaque colors often require a sprayer with adjustable settings for precision. An ergonomic sprayer design is vital, especially if you’ll be working for extended periods, as it reduces fatigue and improves control. Look for models with comfortable grips, lightweight construction, and easy-to-adjust flow controls. For small projects, handheld or detail sprayers are ideal due to their maneuverability and precision. The right choice ensures smooth, even coverage and minimizes overspray. Additionally, understanding the best heat pump features can help you choose equipment that offers better control and efficiency for your project environment. Being aware of airless spray technology can also help you select a device that provides consistent results and easier cleanup. Incorporating powerful persuasive words into your instructions or signage can further enhance the clarity and effectiveness of your project communication. Selecting a sprayer with precision control is essential for achieving the detailed finish required in small touch-ups and intricate work, ensuring your project looks professional and polished. Moreover, considering Kia Tuning options can inspire creative ways to customize and refine your work environment, making your project space more enjoyable and personalized. Taking these factors into account helps you pick a sprayer that fits your project size, gives you better results, and makes the process more comfortable.
Preparing Your Workspace and Surfaces
Before you start spraying, it’s vital to prepare your workspace and surfaces to guarantee a smooth, professional finish. Begin by organizing your workspace to minimize clutter and ensure good ventilation. Clear the area of any obstacles and cover nearby furniture or flooring with drop cloths. Proper surface preparation is essential; clean surfaces thoroughly to remove dust, grease, or old paint, and sand rough spots for a smooth finish. Use painter’s tape to protect trim, outlets, and adjacent surfaces. This step prevents overspray and ensures sharp edges. Taking these precautions makes your spray job easier and results in a cleaner, more professional look. Well-organized space and properly prepared surfaces set the foundation for successful small touch-ups and detailed work. Additionally, maximizing space and organization can help you keep your workspace tidy and efficient throughout the project. To further improve your results, consider paint sprayer technology that offers adjustable settings for different surface types and detail work. Being aware of water park features can inspire you to create fun, colorful patterns or accents in your projects, adding a playful touch. Moreover, understanding industry trends can help you select the best tools and techniques for your specific project needs.
Selecting the Appropriate Paint and Thinning if Necessary
Choosing the right paint is key to achieving a professional finish with your sprayer. You need to contemplate color matching to ensure the touch-up blends seamlessly with the existing surface. Select paint that’s compatible with your project material—oil-based or latex, depending on your surface. If the paint is too thick, thinning may be necessary for smooth spraying. Use the appropriate solvent, like water for latex or mineral spirits for oil-based paints, and add it gradually to reach the right consistency. Always test the paint’s flow and coverage before spraying your main area. Properly chosen and prepared paint reduces clogging and uneven application, saving you time and effort. Additionally, understanding environmental considerations can help you choose eco-friendly paints that minimize impact on the surrounding ecosystem. When selecting paint, consider VOC levels to ensure a healthier indoor environment during and after application. Being aware of paint formulation can also influence how well the paint adheres and dries, leading to a more durable finish. Incorporating appropriate thinning techniques can further enhance the sprayability of your paint, especially for small touch-ups. It is also beneficial to consider specialized paints designed for touch-ups, as they often provide better blending and finish quality.
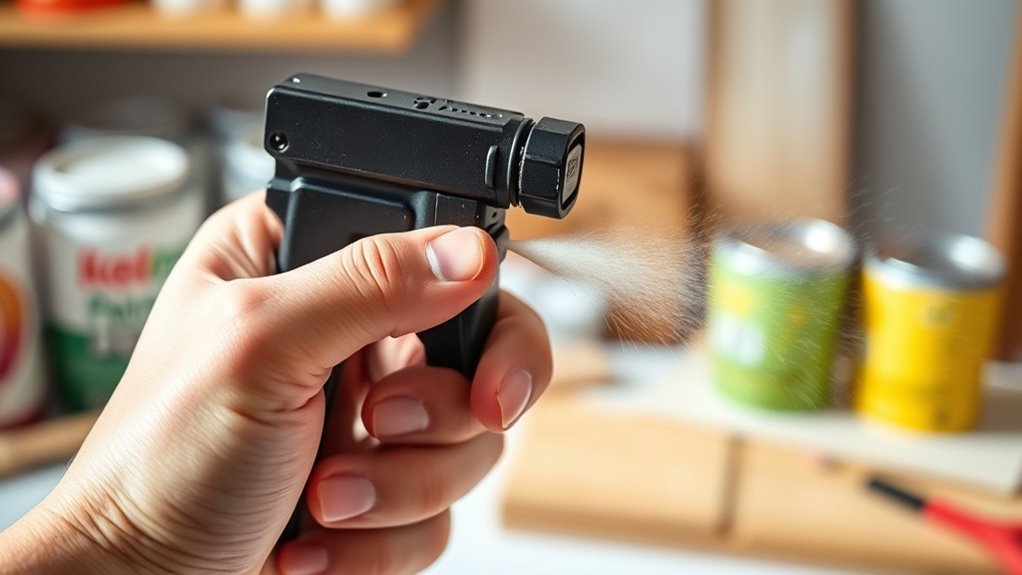
Setting Up Your Paint Sprayer Properly
Setting up your paint sprayer correctly is essential for achieving a smooth and even finish. Proper setup guarantees ideal paint thickness and the right nozzle selection, which directly affect the quality of your touch-ups. Start by checking the manufacturer’s instructions for your specific sprayer model. Adjust the paint flow to match the desired thickness, avoiding runs or drips. Choose a nozzle size appropriate for detail work—smaller nozzles for fine touches, larger for broader areas. Ensure the sprayer is clean and securely assembled. Here are key steps to consider:
- Verify nozzle size matches project needs
- Adjust paint flow for ideal thickness
- Test spray pattern on a scrap surface
- Secure all connections tightly
- Clear any blockages before starting
- Be mindful of safety precautions to prevent accidents and injuries during operation. Additionally, understanding paint formulations and their compatibility with your sprayer can improve application results. Being aware of proper maintenance practices also helps extend the lifespan and performance of your equipment. This setup minimizes overspray and maximizes control.
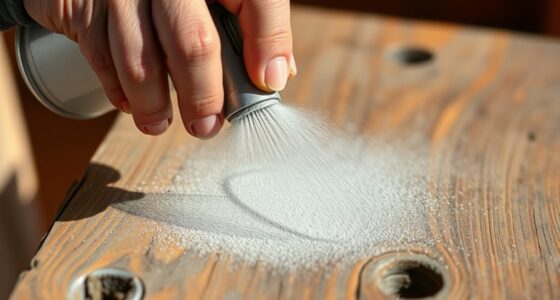
Practicing on a Scrap Surface Before Starting
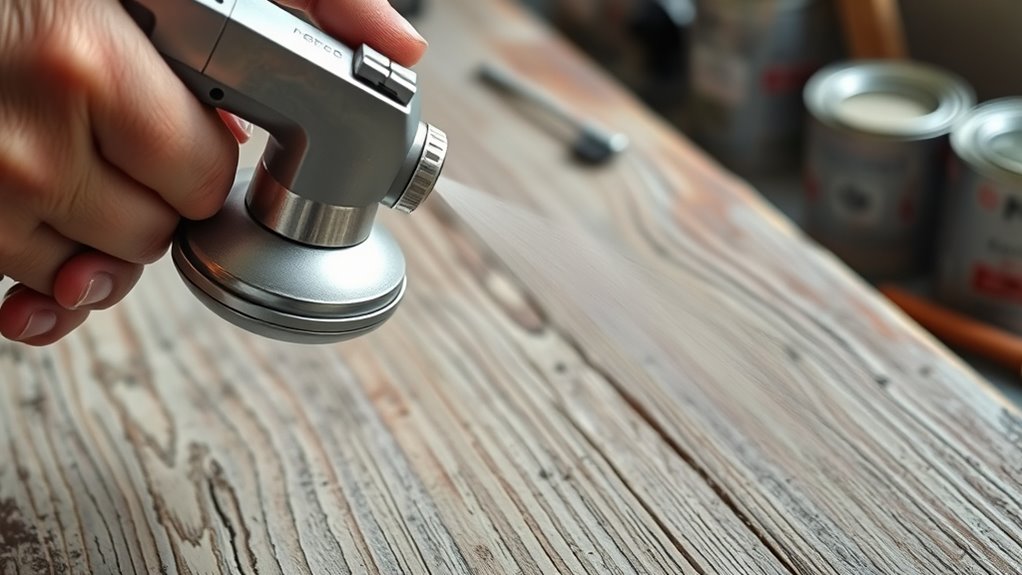
Practicing on a scrap surface is a crucial step to guarantee your paint sprayer is working correctly and to help you get comfortable with your technique. Use this opportunity to refine your brush techniques, adjusting your spraying distance and speed for even coverage. Focus on consistent motion to prevent drips and uneven areas. During practice, test color matching by blending your paint to match the existing surface, ensuring a seamless touch-up. Experiment with different angles and pressures to see how they affect the spray pattern. This preparation helps you build confidence and reduces mistakes during the actual job. Remember, a few minutes of practice can save you time and material, resulting in a cleaner, more professional finish. Additionally, understanding the industrial manufacturing process can provide insights into how professional equipment operates, leading to better control and results in your DIY projects.
To further improve your technique, observe how specialized equipment functions during operation to better mimic professional results.
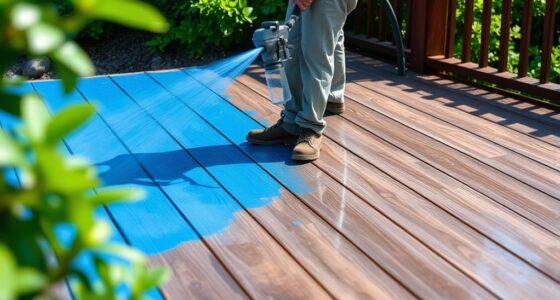
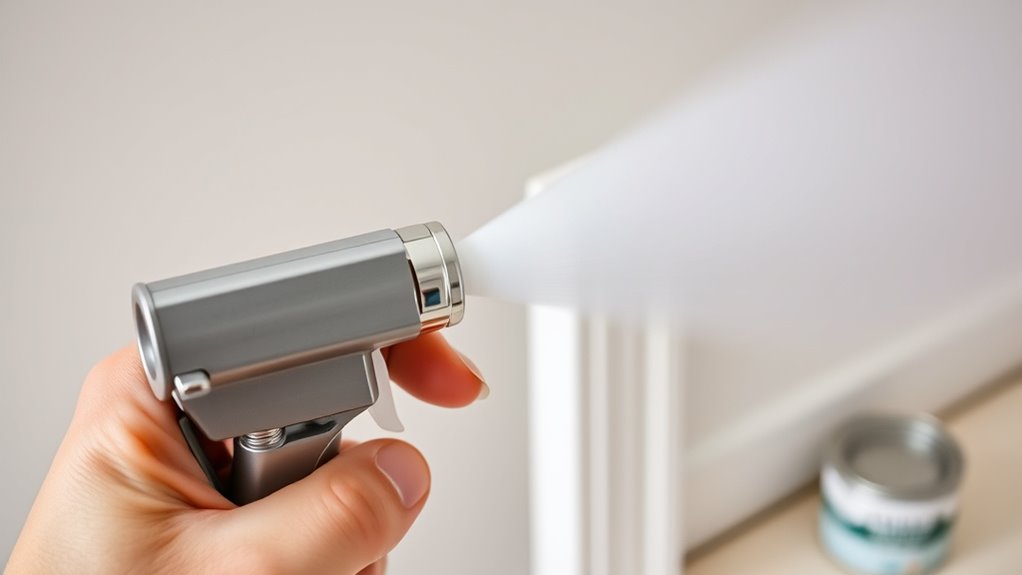
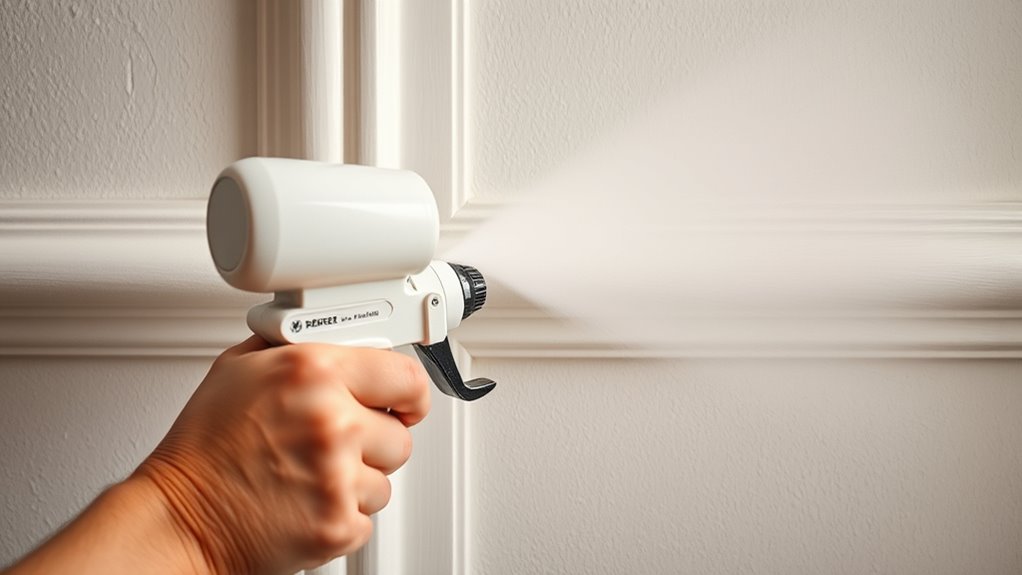
Applying Paint With Controlled Movements for Precision
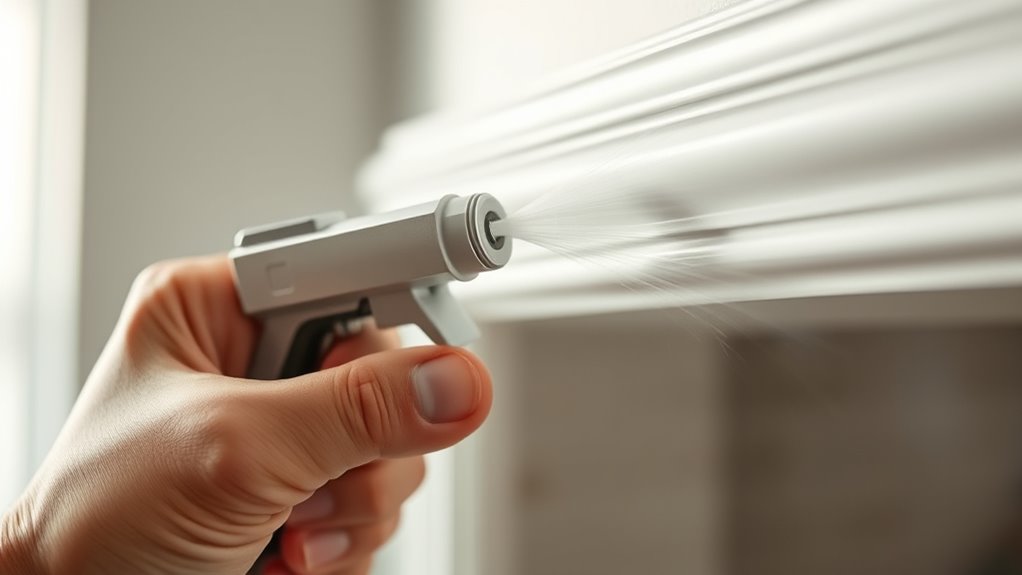
To achieve a smooth, professional finish, applying paint with controlled movements is essential. Your goal is to maintain a steady hand and consistent spray pattern, which enhances brush techniques and minimizes drips. Keep your movements slow and deliberate, overlapping each pass slightly to ensure even coverage. Focus on controlling the spray pattern by adjusting your distance from the surface and the spray nozzle. Use smooth, continuous strokes, avoiding stopping mid-motion to prevent uneven layers. Here are some tips to refine your technique:
- Maintain a consistent distance from the surface
- Keep your wrist steady for smooth movements
- Adjust spray pattern width for detail work
- Use light, even pressure on the trigger
- Follow the surface’s contours for precision
Managing Overspray and Protecting Surrounding Areas
Managing overspray and protecting surrounding areas is essential to keep your workspace clean and ensure a professional-looking finish. Use masking techniques, such as painter’s tape and drop cloths, to shield surfaces you don’t want painted. Proper masking not only prevents accidental overspray but also makes cleanup easier. To further prevent overspray, adjust your sprayer’s pressure settings and maintain a consistent distance from the surface. Keep a steady hand and move the sprayer smoothly to avoid uneven coating and overspray drift. Cover furniture, floors, and nearby objects thoroughly before starting. Additionally, understanding best anime movies can inspire creative projects or provide entertainment during breaks. Being aware of digital literacy programs helps seniors develop confidence in using smartphones for playful communication. Mastering sprayer techniques can significantly improve your precision and efficiency during touch-up work. Incorporating advanced automation concepts from industries like logistics can help you optimize your spraying process and reduce waste. Utilizing professional services can also provide expert guidance for complex or large-scale touch-up projects. By combining effective masking techniques with overspray prevention strategies, you’ll maintain a clean workspace and achieve crisp, precise results in your touch-up projects.
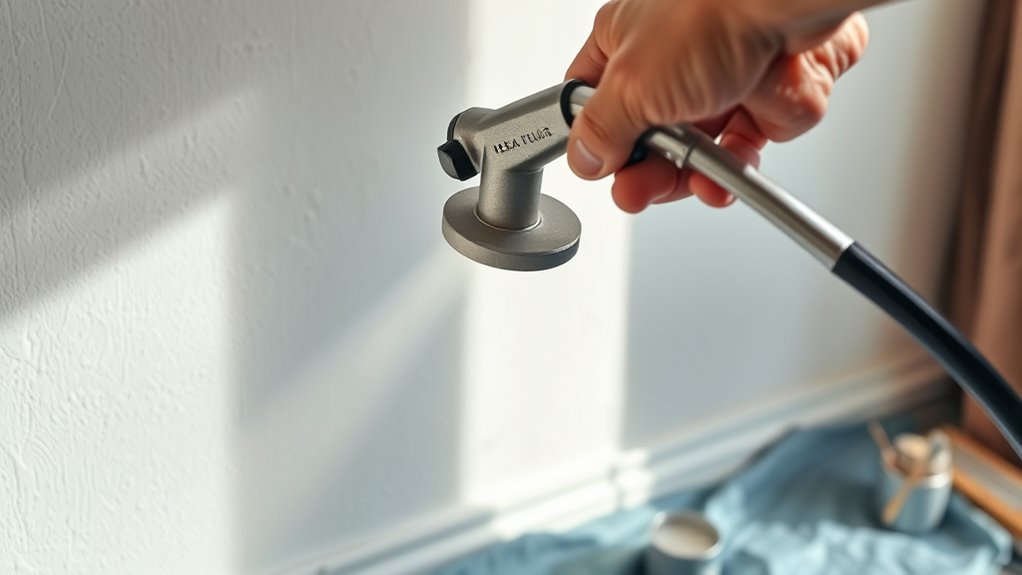
Cleaning and Maintaining Your Sprayer After Use
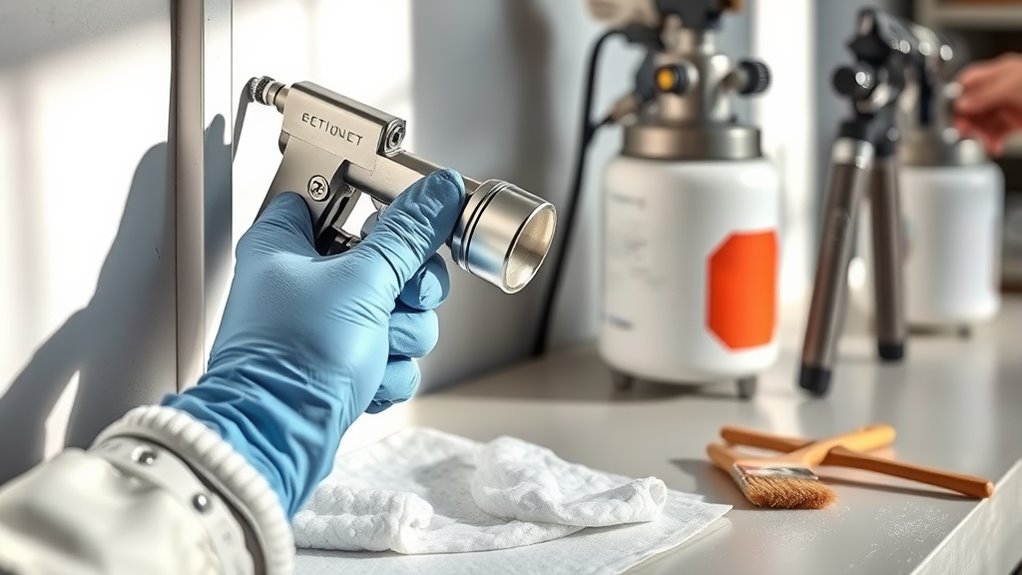
After finishing your painting project, it’s important to clean your sprayer thoroughly to keep it in good working condition. Proper cleaning prevents clogs, extends the lifespan of your equipment, and guarantees peak performance for future use. Start by disassembling your spray gun and removing paint from all paint sprayer accessories. Use appropriate cleaning tools like brushes and cleaning brushes to scrub away residual paint. Rinse parts with suitable solvents or water, depending on the paint type. Be sure to check and clean the nozzle, filter, and fluid passages. Regular maintenance routines, including filter replacement, help you avoid costly repairs and ensure consistent, professional results. Store your sprayer in a dry, protected area. Regular maintenance helps you avoid costly repairs and guarantees consistent, professional results. Remember, a clean sprayer is a reliable sprayer. Additionally, consulting best vacuum guidelines can help you keep your workspace dust-free, ensuring a cleaner environment during your painting projects.
Tips for Achieving Flawless Touch-Ups and Fine Details
To get perfect touch-ups and fine details, start with proper prep techniques like cleaning surfaces thoroughly and masking areas you want to protect. Then, focus on precise spray control by adjusting your sprayer’s settings and maintaining a steady hand. These steps help guarantee your finishes are smooth, even, and flawless.
Proper Prep Techniques
Achieving flawless touch-ups and fine details with a paint sprayer starts with proper preparation. Begin by thoroughly cleaning and sanding the surface to ensure maximum adhesion. Apply a suitable primer to create a smooth, uniform base that enhances paint coverage and durability. Proper surface preparation minimizes imperfections and prevents overspray issues. Consider the following tips:
- Remove dust, grease, and loose debris before painting
- Sand uneven areas for a smoother finish
- Apply primer evenly with a brush or roller
- Allow primer to dry completely before spraying
- Mask surrounding areas to protect from overspray
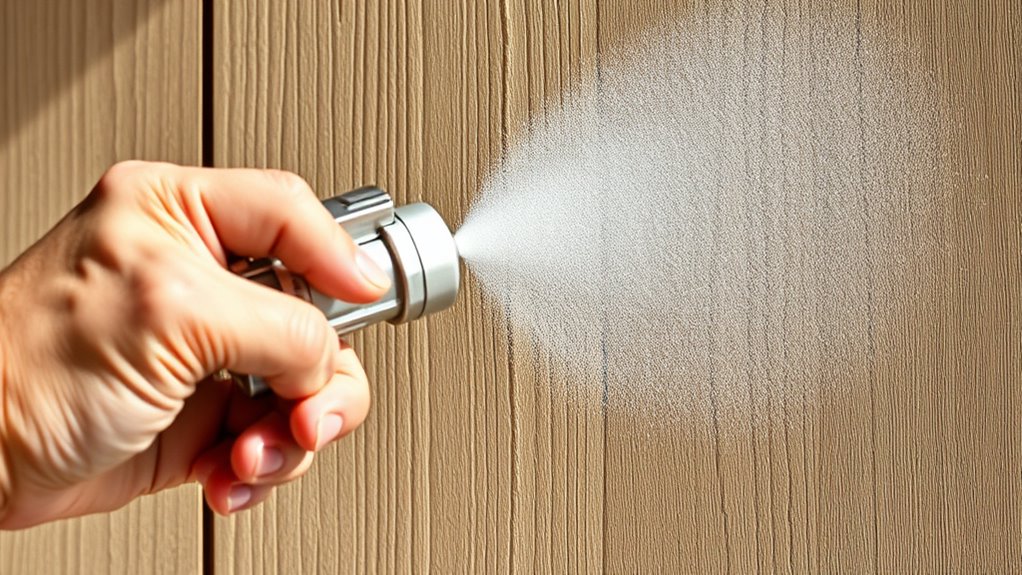
Precise Spray Control
Mastering precise spray control is essential for flawless touch-ups and fine details with a paint sprayer. To achieve this, focus on maintaining a consistent spray pattern, which ensures even coverage and prevents drips. Adjust your distance from the surface; holding the sprayer too close can cause uneven application, while too far reduces control. Your trigger control is key—apply short, steady pulls to avoid overspray and uneven lines. Practice steady, overlapping passes to maintain uniformity. Use a light touch and keep your hand steady to prevent overspray or missed spots. For small areas, start with a test spray on scrap material to fine-tune your technique. With consistent trigger control and attention to your spray pattern, you’ll produce professional-looking touch-ups and detailed finishes.
Frequently Asked Questions
Can I Use a Paint Sprayer for Small, Intricate Projects Like Furniture Details?
Yes, you can use a paint sprayer for small, intricate projects like furniture details. To achieve precise results, use brush techniques to touch up tricky spots and control the spray pattern. Make sure your paint is compatible with the sprayer, thinning it if necessary for smooth application. Practice on scrap material first, and work slowly to avoid over-spraying. This approach gives you detailed, professional-looking results on small projects.
How Do I Adjust Spray Patterns for Precision in Tight Spaces?
To achieve precision control in tight spaces, you need to master spray pattern adjustment. Start by adjusting the nozzle to narrow the spray for detailed work. Test the pattern on scrap material, then fine-tune the settings until you get a consistent, controlled spray. Keep your movements steady, and use short, controlled strokes. This way, you’ll get accurate, clean lines and smooth touch-ups without overspray or drips.
What Safety Precautions Should I Follow When Doing Small Touch-Ups?
When doing small touch-ups, you should wear protective gear like gloves and a mask to prevent inhaling fumes or getting paint on your skin. Make sure to work in well-ventilated areas by opening windows or using fans, which helps reduce paint fumes. Always follow safety instructions on the paint and sprayer, and take breaks if you feel dizzy or overwhelmed. Your safety is key to a successful project.
Is It Possible to Switch Between Different Paint Types Mid-Project?
Sure, you can switch paint types mid-project—if your patience, paint consistency, and compatibility are as flexible as a gymnast. But beware: incompatible paints can clog your sprayer or ruin your masterpiece. Always clean your equipment thoroughly, and check if the new paint matches the previous one’s consistency and chemistry. Otherwise, you’ll end up with drips, uneven coats, or a project that looks like it was painted by a confused chameleon.
How Do I Troubleshoot Common Issues Like Uneven Spray or Clogging?
If you experience uneven spray or clogging, start by checking your sprayer maintenance. Clean the nozzle and filters thoroughly to prevent clogs, and make sure your paint consistency isn’t too thick—thin it if needed. Adjust the pressure settings to improve spray quality, and always test on a scrap surface first. Regular maintenance and proper paint preparation help keep your sprayer functioning smoothly, resulting in a professional finish.
Conclusion
Using a paint sprayer for small touch-ups and details can save you time and deliver a smooth finish. With proper preparation and practice, you’ll achieve professional-looking results. Did you know that using a sprayer can reduce painting time by up to 50% compared to brushes or rollers? Keep your sprayer well-maintained, and don’t rush the process. With patience and the right techniques, you’ll master precise touch-ups that make your projects look flawless.

A seasoned painter with over 15 years in the industry, Mike transitioned from hands-on painting projects to the digital world of paint sprayers. His extensive experience gives him a unique perspective on what users truly need when it comes to painting tools. As the Editor in Chief of Paint Sprayer Zone, Mike ensures that every piece of content not only provides value but also reflects the realities of painting — the challenges, the joys, and the intricate details.