
To paint your deck with an airless sprayer, start by thoroughly cleaning and freehand sanding the surface for smoothness. Select the right sprayer and nozzle, then stir your primer and paint well. Adjust the spray pressure and maintain a steady, 12-inch distance, overlapping each pass by about 50%. Keep the spray perpendicular to the surface for even coverage, and so you can finish with a professional look, continue exploring detailed techniques and tips.
Key Takeaways
- Prepare the deck surface by cleaning, removing debris, and repairing damages for optimal paint adhesion.
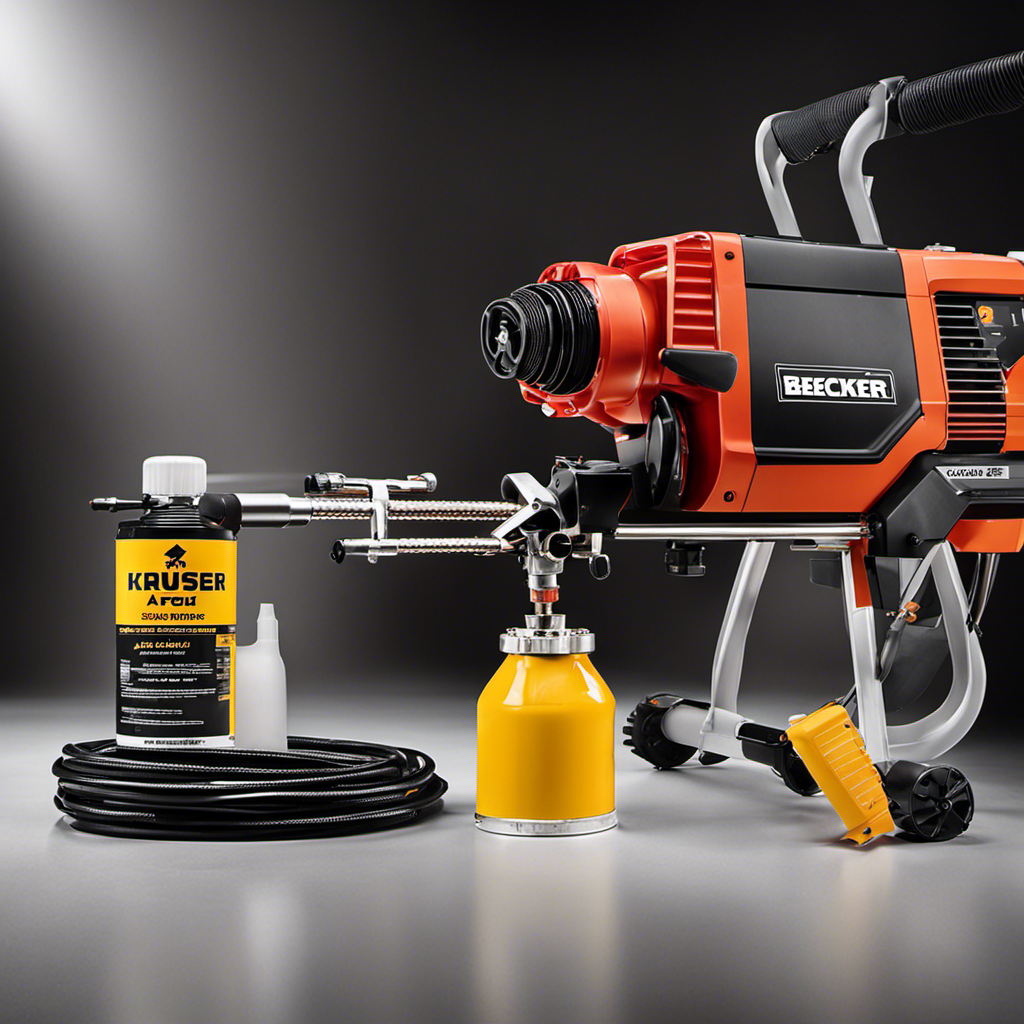
- Choose a suitable airless sprayer with ¾ to 1 HP and a 415 or 515 nozzle for even coverage.
- Thin the paint if necessary and stir thoroughly before application to ensure consistency.
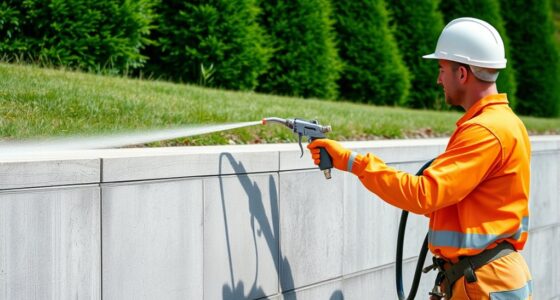
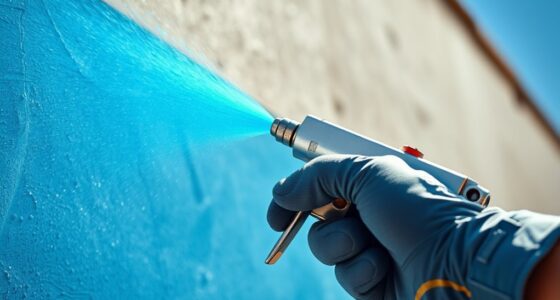
- Apply primer and paint in even, overlapping passes at about 12 inches from the surface, maintaining perpendicular spray.
- Finish with a protective sealant and perform regular maintenance to extend durability and appearance.
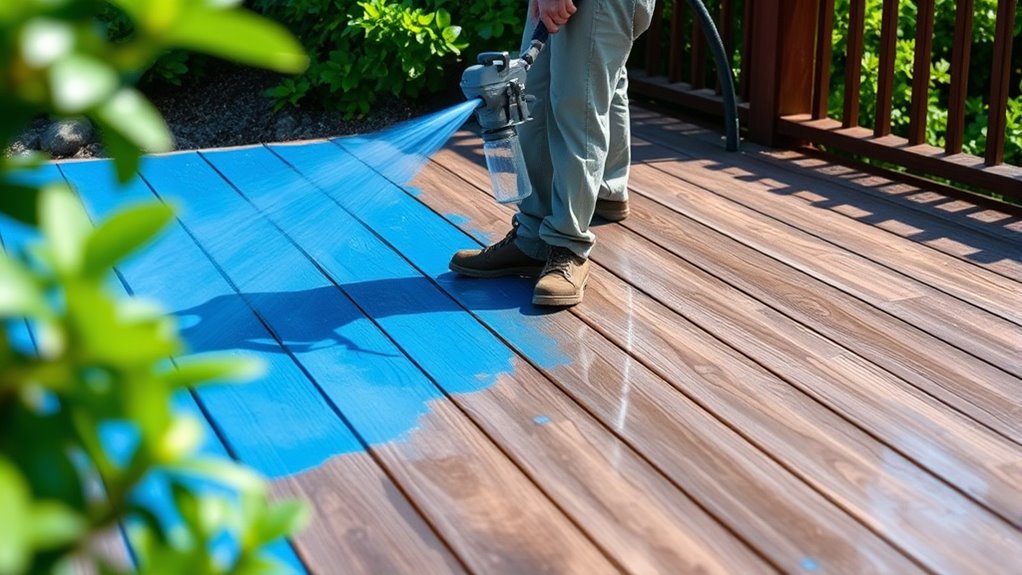
Preparing Your Deck Surface
Before you start painting, it’s essential to prepare your deck surface properly. Start by inspecting the deck’s texture; remove any loose paint, splinters, or debris to ensure a smooth surface. Clean the deck thoroughly with a power washer or stiff brush and a deck cleaner to eliminate dirt, mold, and old paint that can interfere with adhesion. Pay attention to weather considerations—avoid painting in direct sunlight, extreme heat, or high humidity, as these conditions can affect how the paint bonds and dries. Allow the surface to dry completely before proceeding. Proper preparation helps your paint adhere better and results in a more durable, even finish. Additionally, giving thought to your project’s timing can optimize results, especially if you’re considering remote hackathons to gather ideas or collaborate virtually. Recognizing the importance of surface conditions can also contribute to a more successful painting process. Ensuring optimal paint adhesion is crucial for a long-lasting finish. Taking these steps ensures your deck is ready for a seamless paint application with your airless sprayer. It’s also helpful to check out new coating technologies that might improve the durability of your finish. Incorporating advanced protective coatings can further enhance weather resistance and longevity.
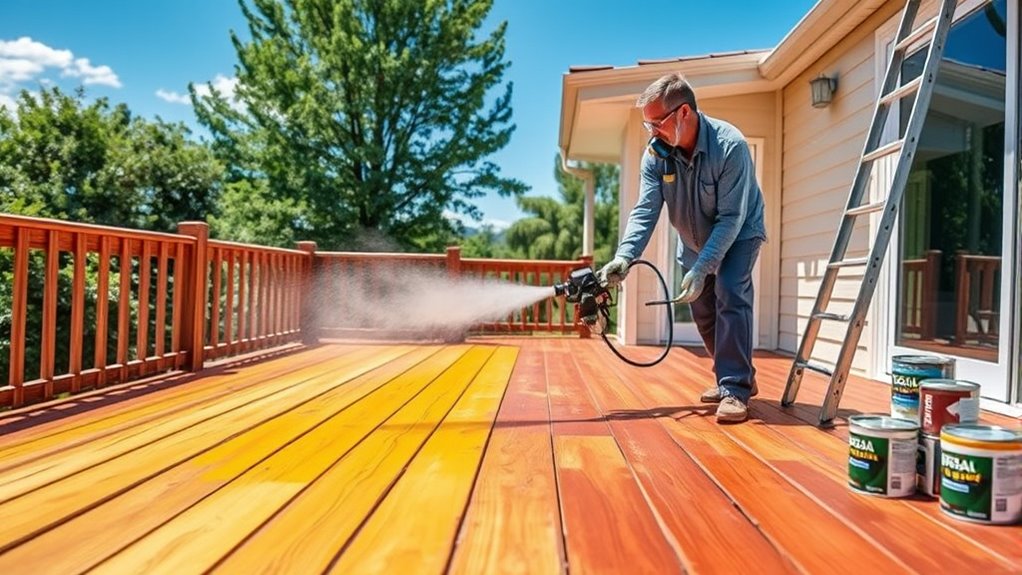
Selecting and Setting Up Your Airless Sprayer

Choosing the right airless sprayer is essential for achieving a smooth, even finish on your deck. First, consider the sprayer’s horsepower; a higher horsepower (around ¾ to 1 HP) provides the power needed for thicker paints and larger surfaces. Next, focus on nozzle size selection—most decks require a 415 or 515 tip for optimal coverage without over-spraying. Additionally, understanding proper maintenance of your sprayer can extend its lifespan and ensure consistent performance. To set up your sprayer effectively:
Choose an airless sprayer with ¾ to 1 HP and a 415 or 515 tip for optimal deck coverage.
- Select a nozzle size based on your paint type and deck surface.
- Adjust the pressure settings to match the nozzle and paint thickness.
- Guarantee the sprayer’s horsepower can handle continuous operation without overheating or clogging.
- Regularly inspect and clean the sprayer components to prevent clogs and ensure consistent spray quality. Proper cleaning and maintenance can also prevent damage to sprayer components and improve longevity.
- Using a compatible coating ensures the paint flows smoothly and adheres well, avoiding issues like uneven application or drips.
- Being aware of deck surface preparation can further improve the final finish and durability of your paint job.
Proper selection and setup will give you a professional finish with minimal hassle.
Applying Primer and Choosing the Right Paint
Once your sprayer is set up properly, the next step is to prepare your deck surface with primer and select the right paint. Start by choosing a high-quality primer suited for wood and follow the manufacturer’s instructions for application. Proper paint mixing is essential; stir thoroughly to ensure even color and consistency. When applying primer or paint, use brush techniques to catch edges and corners before spraying. This ensures a smooth, even finish. Here’s a quick guide:
| Step | Tip |
|---|---|
| Primer Application | Use even strokes, don’t overspread |
| Paint Mixing | Stir well before pouring |
| Brush Techniques | Focus on edges and tricky spots |
| Choosing the Paint | Opt for durable, exterior-grade paint |
Additionally, selecting appropriate paint formulations can enhance the durability and appearance of your deck. Understanding the importance of surface preparation ensures a better adhesion and longer-lasting results. Proper surface preparation, such as cleaning and sanding, helps improve paint adhesion and overall finish quality. This approach guarantees a solid base for your deck’s long-lasting finish.
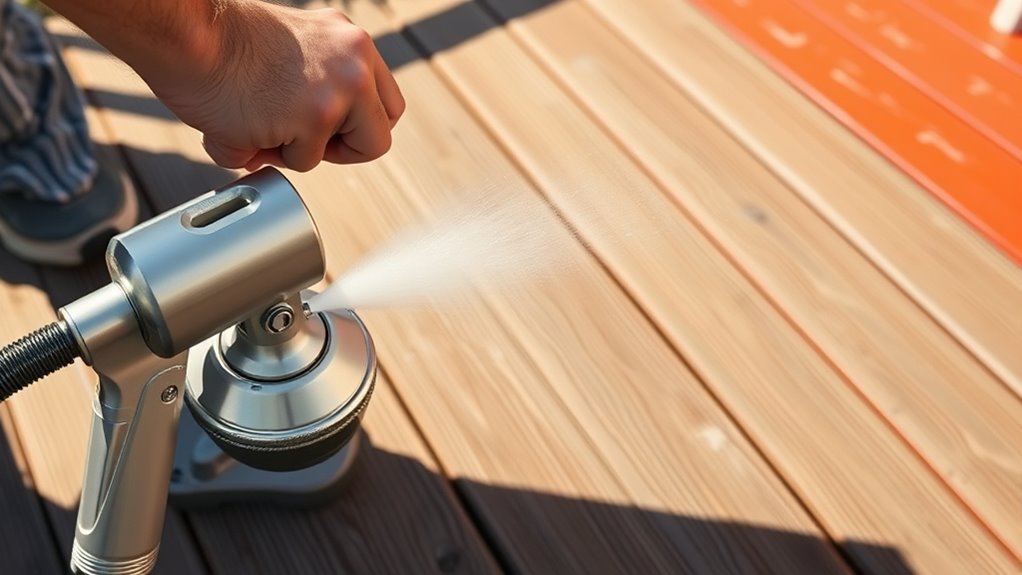
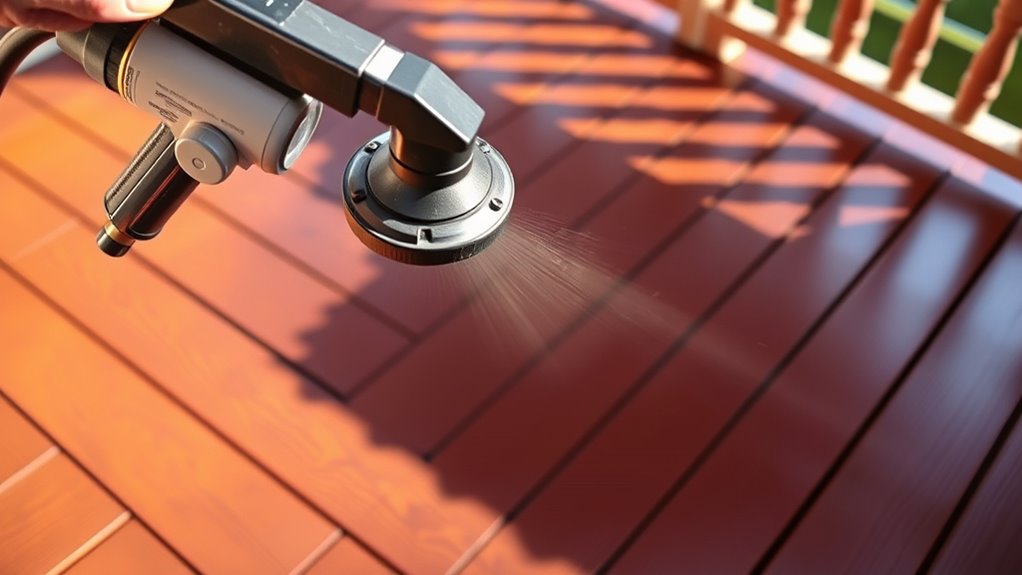
Techniques for Spraying the Deck Evenly
To achieve a smooth, even finish when spraying your deck, it’s essential to maintain consistent movement and proper technique throughout the process. Keep your spray pattern steady, overlapping each pass by about 50% to prevent streaks. Use brush techniques to smooth out any missed spots or drips immediately. Focus on controlling your spray pattern, keeping it perpendicular to the surface, and avoid staying in one spot too long to prevent runs. Proper technique also involves understanding spray pattern adjustment, which can significantly affect coverage quality. Adjusting your tip size appropriately based on the project ensures optimal coverage and finish. Additionally, regularly checking your equipment for proper maintenance helps ensure consistent spray quality. An often-overlooked aspect is selecting the right airless sprayer for your project size and type, which can make a considerable difference in ease of application. Here are key tips:
- Maintain a consistent distance from the surface, around 12 inches.
- Use smooth, overlapping strokes to ensure even coverage.
- Adjust your spray pattern for different angles and edges.
Following these steps helps you achieve a professional, even finish.
Tips for Handling Common Challenges During Painting
Even with careful technique, challenges can arise when spraying your deck, but addressing them promptly keeps your project on track. One common issue is inconsistent spray patterns, which can often be fixed by adjusting your brush or nozzle settings. Make sure your brush adjustment is correct to ensure smooth, even paint flow. Additionally, pay close attention to paint consistency; if the paint is too thick, it may clog the spray tip, causing uneven coverage or sputtering. Thin the paint as needed and stir thoroughly before spraying. If you notice drips or runs, slow your pace and adjust your distance from the surface. Regularly check your equipment and make quick adjustments to maintain a steady, even application, preventing minor issues from becoming major setbacks. Monitoring your equipment maintenance ensures optimal performance and reduces the likelihood of spraying problems. Proper cleaning routine after each use also plays a vital role in preventing clogs and ensuring consistent spray quality. Incorporating regular inspections of your spray components can help you identify potential issues early and maintain consistent spray patterns. A thorough understanding of state tax implications can help you plan effectively for future projects and expenses, especially if you are working as a freelancer or small business owner. Incorporating proper storage techniques can further extend the life of your equipment and keep it ready for future projects.
Finishing Touches and Maintenance After Painting
Once you’ve finished painting your deck, applying a protective sealant helps lock in the new finish and extends its lifespan. Regular cleaning and prompt repairs keep your deck looking great and prevent minor issues from becoming major problems. Staying on top of maintenance guarantees your investment stays beautiful and durable for years to come. Additionally, understanding deck maintenance can help you keep your outdoor space in excellent condition and avoid costly repairs. Incorporating proper protective finishes can further shield your deck from weather damage and UV rays, ensuring long-term beauty and durability. Being aware of early signs of damage allows for timely interventions that can save you money and effort in the long run.
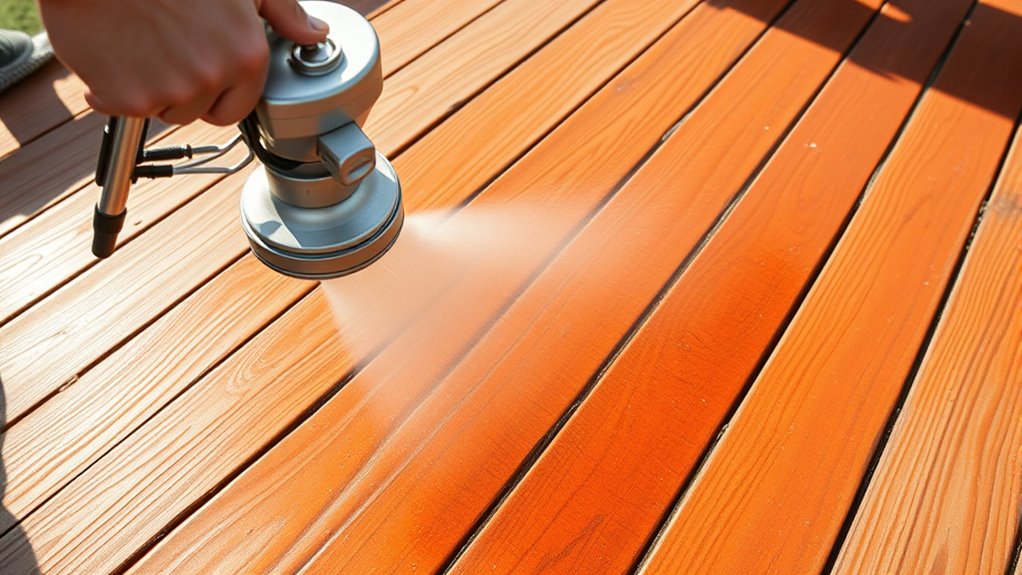
Applying Protective Sealant
After you finish painting your deck, applying a protective sealant is essential to preserve the new finish and extend its lifespan. A good sealant improves sealant durability and enhances color, making your deck look fresh longer. To guarantee the best results:
- Choose a sealant compatible with your paint type for maximum protection.
- Apply evenly with an airless sprayer, following manufacturer instructions.
- Allow sufficient drying time before walking on the deck to prevent damage.
- Using the right application techniques ensures an even coat and optimal protection.
Proper application of a sealant locks in vibrant colors and shields your deck from moisture, UV rays, and wear. Remember, the right sealant enhances both the appearance and longevity of your deck, saving you time and money on future repairs.
Regular Cleaning and Repairs
Maintaining your freshly painted deck involves regular cleaning and timely repairs to keep it looking its best. Clean the surface regularly with a gentle broom or hose to remove dirt and debris that can dull the finish. For stubborn stains, use a mild deck cleaner, making certain you don’t damage the paint or compromise the deck aesthetics. Inspect for chips, cracks, or peeling paint, and promptly repair these areas to prevent further damage and preserve color coordination. Regular upkeep helps your deck stay vibrant and inviting, extending its lifespan. By staying on top of cleaning and repairs, you’ll maintain the deck’s visual appeal and ensure it remains a beautiful, functional outdoor space that complements your home’s overall look.
Frequently Asked Questions
How Long Does It Typically Take to Paint a Deck With an Airless Sprayer?
Painting a deck with an airless sprayer usually takes a few hours, depending on its size and your experience. You’ll want to think about the drying time afterward, which can range from 24 to 48 hours. With proper paint coverage, you’ll get a smooth finish faster. Efficient spraying speeds up the process, but be sure to follow manufacturer instructions for ideal results and durability.
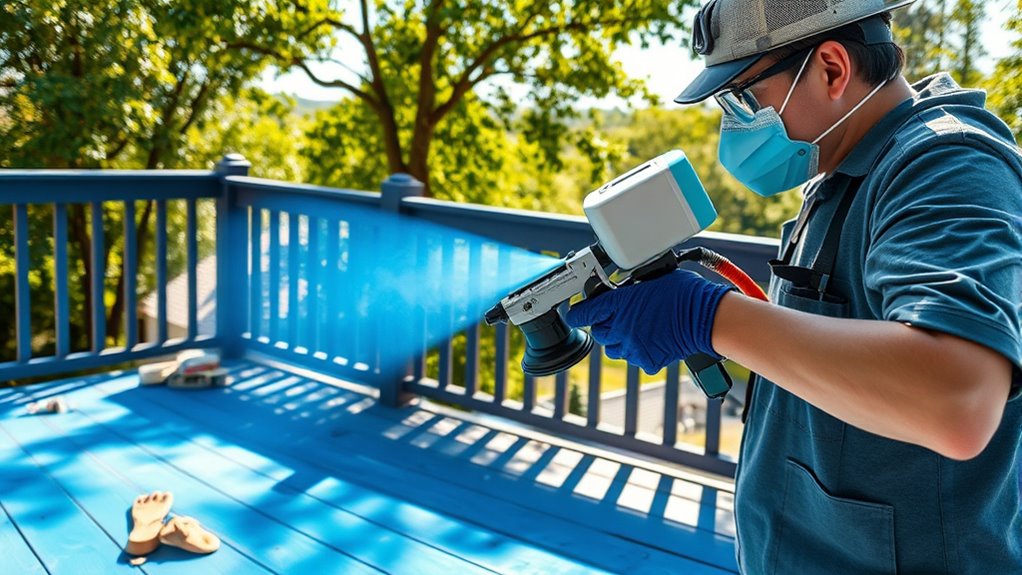
What Safety Gear Should I Wear When Using an Airless Sprayer?
Thinking about safety gear? You should definitely suit up like a paint superhero! Wear protective clothing to avoid splatters turning you into a walking paint swatch. Don’t forget respiratory protection—those fumes aren’t a party, after all. Safety goggles shield your eyes from rogue droplets, and gloves keep your hands paint-free. With the right gear, you’ll conquer your deck project without turning into a colorful mess.
Can I Use the Same Sprayer for Staining and Sealing My Deck?
You can use the same sprayer for staining and sealing your deck, but you need to prioritize sprayer maintenance and thorough cleaning between uses. Check paint compatibility to guarantee your stain and sealant won’t clog or damage your equipment. Proper maintenance prevents cross-contamination and ensures smooth application. Always follow manufacturer guidelines for cleaning and switching materials to keep your sprayer in excellent condition and achieve professional results.
How Do I Clean the Sprayer After Completing the Project?
After finishing your project, you need to clean the sprayer for proper equipment maintenance. First, turn off the sprayer and disconnect it from the power source. Then, flush the system with water or the appropriate cleaning solution, ensuring you remove all residue from the nozzle and hose. This residue removal prevents clogs and keeps your sprayer in good shape for future use. Always follow the manufacturer’s cleaning instructions for best results.
What Environmental Conditions Are Best for Painting a Deck?
You should paint your deck when humidity levels are low, ideally between 40-50%, to guarantee proper drying and adhesion. Choose a day with little to no wind, as strong gusts can cause overspray and uneven application. Mild temperatures, around 50-85°F, are best to prevent paint from drying too quickly or too slowly. Avoid painting in direct sunlight to prevent premature drying and streaking.
Conclusion
Now that you’ve mastered the art of spray painting your deck, your space will shine like a freshly painted masterpiece. Remember, patience and technique are your paintbrush’s best friends, guiding you smoothly through each step. With your deck now a canvas of vibrant color, it’s ready to withstand the seasons ahead. Think of your efforts as planting seeds for lasting beauty—your deck will reward you with a stunning, durable finish that’s the envy of all.

A seasoned painter with over 15 years in the industry, Mike transitioned from hands-on painting projects to the digital world of paint sprayers. His extensive experience gives him a unique perspective on what users truly need when it comes to painting tools. As the Editor in Chief of Paint Sprayer Zone, Mike ensures that every piece of content not only provides value but also reflects the realities of painting — the challenges, the joys, and the intricate details.