
To deal with dried paint in your sprayer, start by disassembling the components carefully and using the right solvents based on your paint type. Quickly clean nozzles and filters to prevent buildup, and store the sprayer properly after every use by flushing out residual paint and keeping all parts dry. Following these steps and routine maintenance helps prevent future clogs and keeps your sprayer in top shape—more tips wait for you if you keep exploring.
Key Takeaways
- Disassemble the sprayer and soak affected parts in an appropriate solvent to loosen dried paint.
- Use brushes or scrapers to gently remove residual paint from nozzles and internal components.
- Flush the system thoroughly with compatible cleaning solvents after each use to prevent paint buildup.
- Store the sprayer with minimal residual paint, keeping it sealed and clean to avoid drying and clogs.
- Regularly inspect, clean, and replace filters and seals to maintain optimal performance and prevent paint drying inside.
Tools and Materials Needed for Effective Cleaning
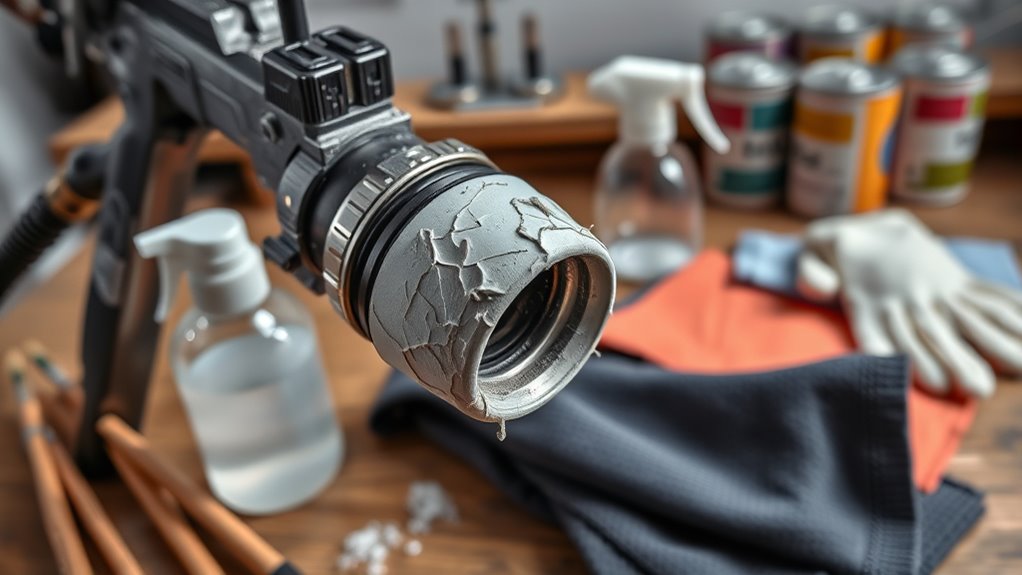
To effectively clean dried paint from your sprayer, you’ll need a few essential tools and materials. A stiff-bristled brush is indispensable for using brush techniques to loosen and scrub away stubborn paint residues. An air compressor is also essential, as it helps blow out paint from nozzles, hoses, and hard-to-reach parts, ensuring a thorough clean. You’ll want safety gear like gloves and eye protection to keep yourself safe during the process. Additionally, have cleaning solvents or paint thinners on hand, depending on your paint type, to break down dried paint effectively. A container for soaking parts and lint-free cloths will help you wipe down components. Gathering these tools and materials upfront makes the cleanup smoother and more efficient. Incorporating data-driven strategies can help you develop a more effective cleaning method tailored to your specific sprayer and paint type. Understanding Volkswagen Tuning can also inspire you to customize your equipment for better cleaning performance and maintenance. Moreover, using environmentally friendly cleaning solutions can minimize harmful chemical exposure and promote sustainable practices. Properly choosing the right cleaning agents based on paint type can significantly improve your cleaning results and prolong your equipment’s lifespan.
Step-By-Step Guide to Removing Dried Paint From Your Sprayer
To remove dried paint from your sprayer, start by carefully disassembling its components to access all the affected parts. Next, choose the right solvents to loosen and dissolve the paint without damaging your equipment. Following these steps guarantees a thorough cleaning and helps keep your sprayer in good shape. For best results, consider using exfoliating agents like glycolic acid-based solutions to break down any residual build-up. Additionally, employing proper filtration during painting can prevent future clogs and make cleanup easier. Using appropriate cleaning tools, such as brushes and scrapers designed for paint removal, can further enhance the effectiveness of your cleanup process.
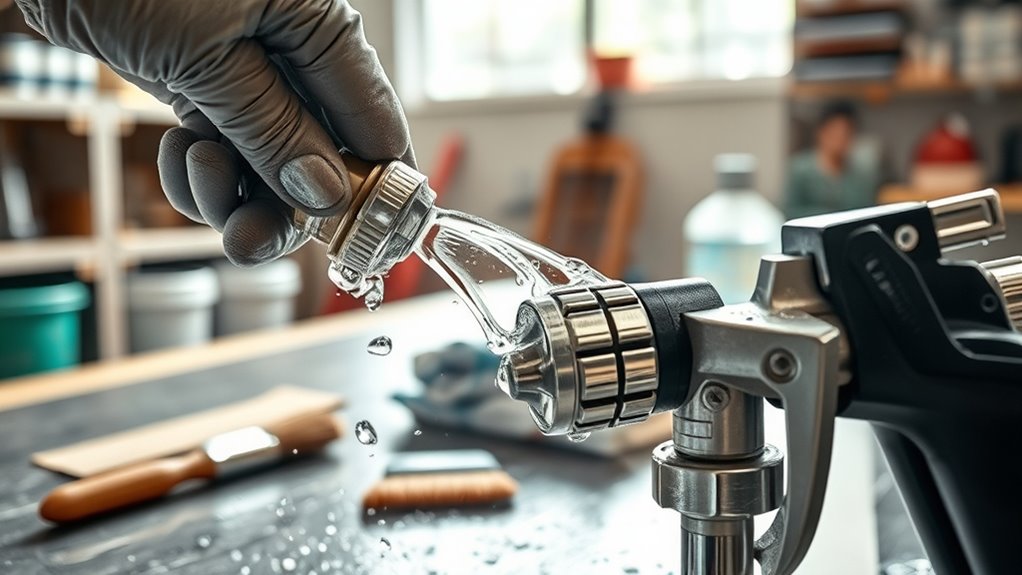
Disassemble Components Carefully
Before you start disassembling your sprayer, make certain you have the right tools and workspace ready. Disassemble components carefully to avoid damaging delicate parts. Take your time and follow manufacturer instructions to ensure effective paint removal techniques without causing harm. Rushing can lead to broken seals or misaligned pieces, making future cleaning harder. Use a parts tray to keep everything organized and prevent loss. Remember, patience is key to successful disassembly. Here’s a quick overview:
| Step | Action | Tip |
|---|---|---|
| 1 | Remove the nozzle | Handle gently to avoid damage |
| 2 | Detach the gun and hose | Keep track of small parts |
| 3 | Unscrew the pump assembly | Use appropriate tools |
| 4 | Take apart the filters | Clean thoroughly afterward |
| 5 | Inspect components | Look for cracks or warping |
Additionally, inspecting the internal components for clogged passages can help prevent future paint flow issues. Regular maintenance and proper cleaning can also extend the lifespan of your sprayer, ensuring it functions efficiently for years to come. Performing routine inspections can identify potential problems early, saving time and repair costs. Being aware of common paint residue buildup can aid in developing effective cleaning strategies to keep your equipment in top condition. Incorporating preventative maintenance into your routine ensures consistent performance and reduces downtime.
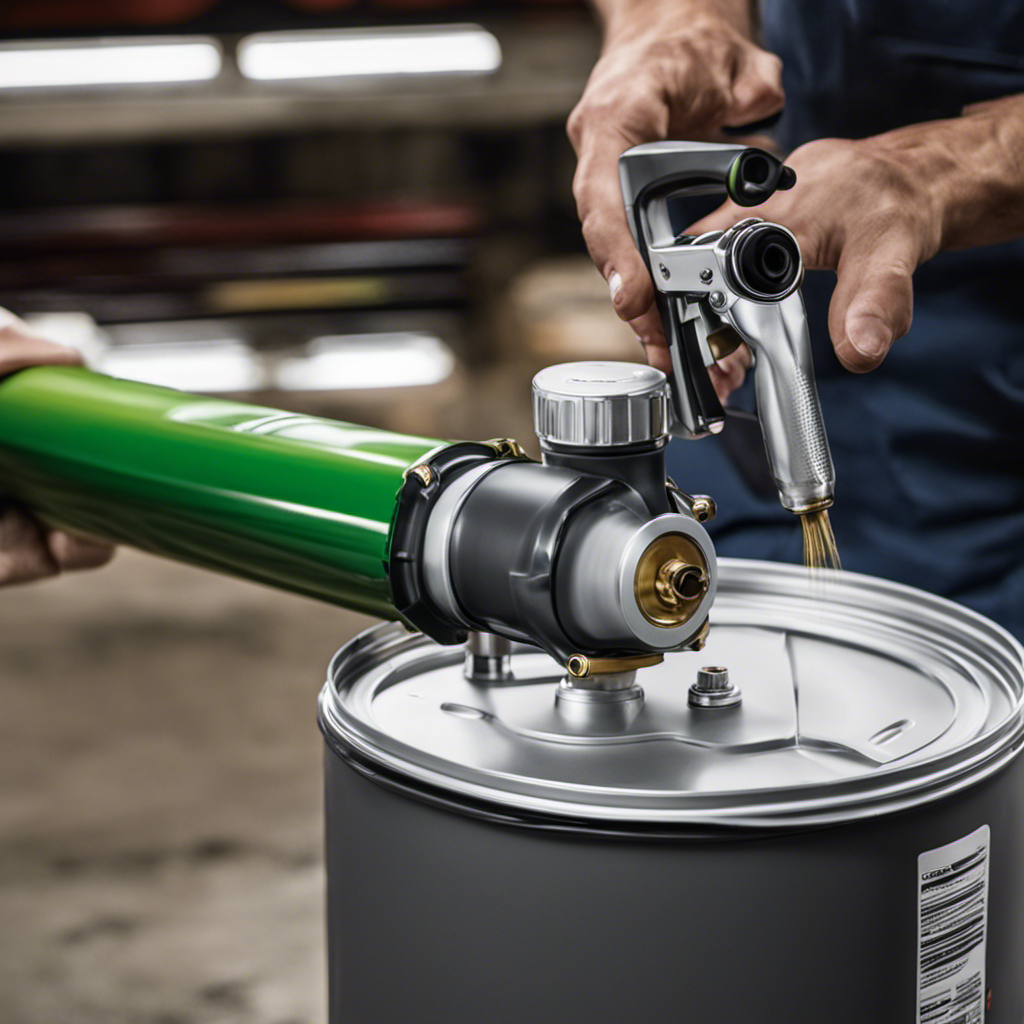
Use Appropriate Solvents
Using the right solvents is essential for effectively removing dried paint from your sprayer. Start by considering solvent selection based on the type of paint you used. For oil-based paints, mineral spirits or odorless mineral spirits work best, while water-based paints often require simple water or mild cleaners. Always check paint compatibility to avoid damaging your sprayer’s components. If you’re unsure, test a small amount of solvent on a hidden area first. Proper solvent choice guarantees thorough cleaning without harming seals or parts. Being cautious not to use incompatible solvents, as they can cause corrosion or deterioration. Using the correct paint type identification helps determine the most effective solvent for cleaning your sprayer. Additionally, understanding projector technology and how different solvents interact with materials can further optimize your cleaning process. Being aware of tuning modifications in your equipment can also influence the choice of cleaning agents, ensuring longevity and performance. Selecting solvents that are compatible with industrial manufacturing processes can help maintain the integrity of your equipment over time. Incorporating proper maintenance techniques can also extend the lifespan of your sprayer and prevent future issues. By selecting the appropriate solvent, you make the cleaning process faster, safer, and more effective, helping your sprayer stay in top condition for future projects.
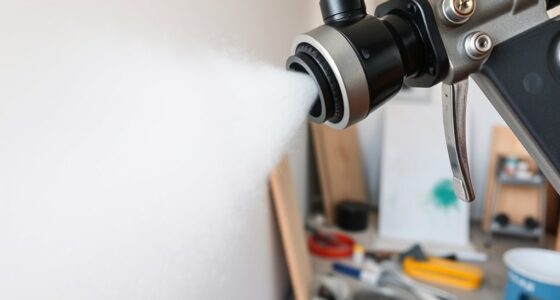
Tips for Preventing Paint From Drying Out Inside Your Equipment
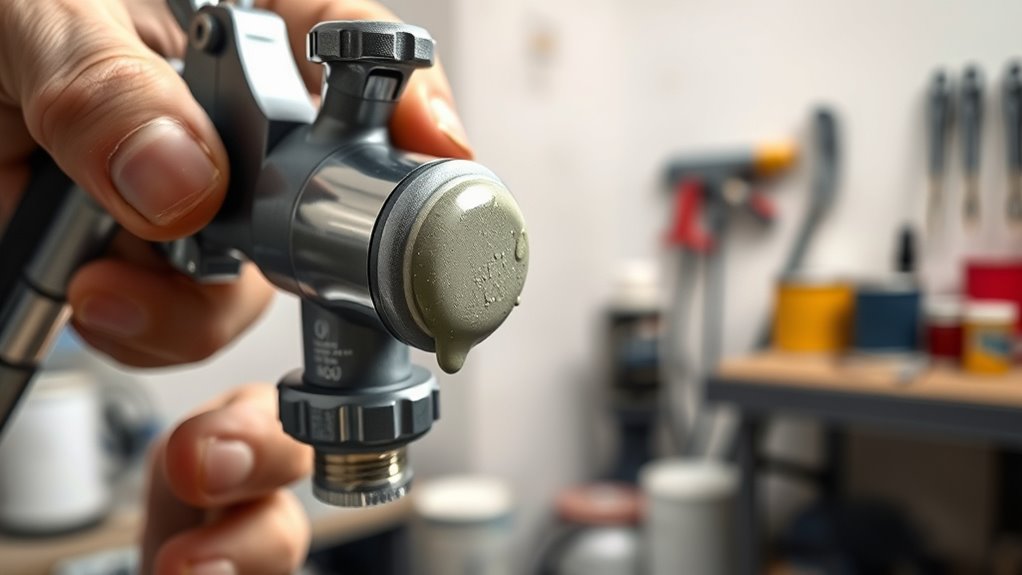
One of the best ways to prevent dried paint from clogging your sprayer is to keep it properly sealed when not in use. This minimizes air exposure, slowing down paint drying inside the equipment. To further prevent blockages, perform regular nozzle maintenance, ensuring nozzles stay clear and functional. Using a paint remover designed for sprayer parts can also help loosen any residual paint before storage. Additionally, always clean your sprayer thoroughly after each use to avoid buildup. Proper appliance maintenance plans can also extend the life of your equipment by ensuring it remains in good working condition. Regularly inspecting your equipment and understanding Water on Water techniques can further improve your maintenance routine and prolong the lifespan of your sprayer. Being familiar with paint chemistry can also help you select the right cleaning agents and prevent issues related to incompatible substances. Here’s a quick reminder:
| Tip | Benefit |
|---|---|
| Keep sealed when stored | Prevents paint from drying inside the equipment |
| Regular nozzle checks | Maintains proper spray pattern and avoids clogs |
| Use paint remover | Eases removal of dried paint, saving time and effort |
| Proper digital literacy | Ensures effective maintenance and troubleshooting of equipment |
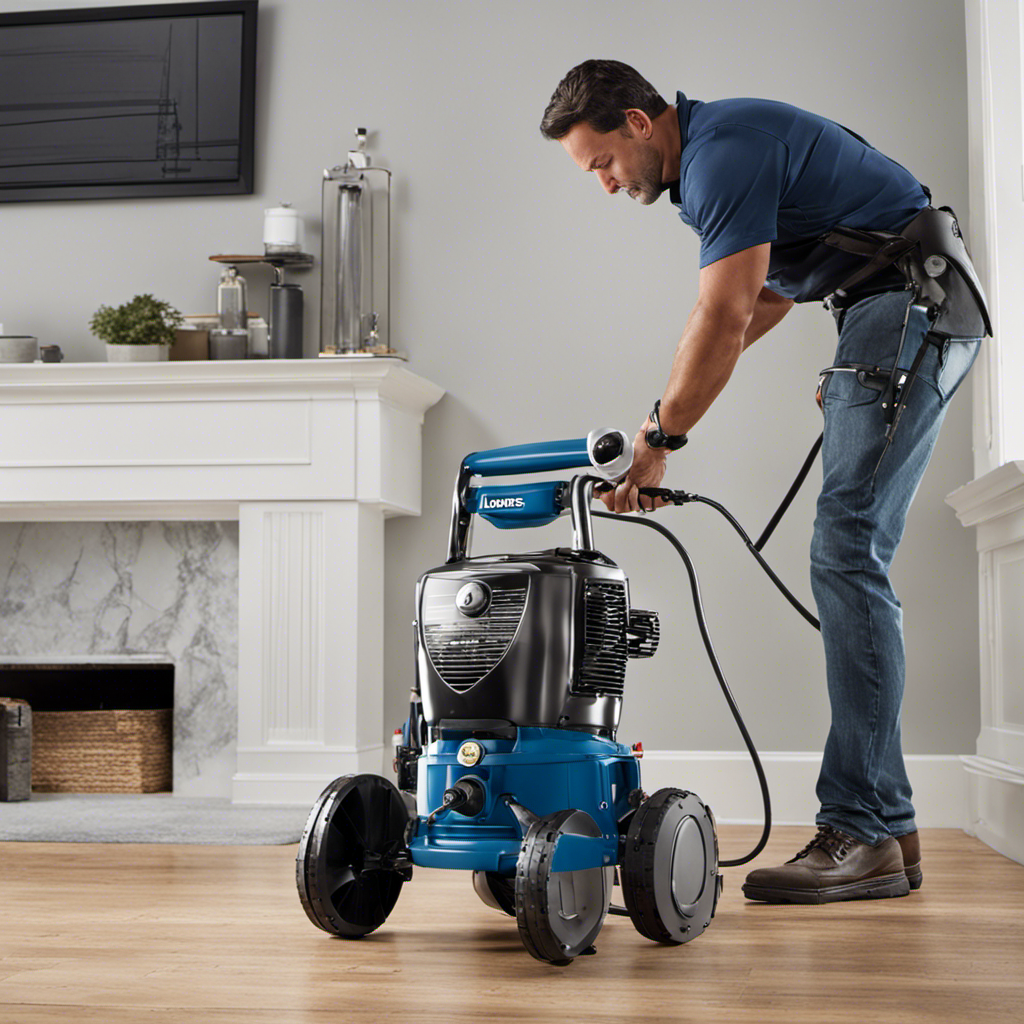
Best Practices for Regular Maintenance and Storage of Your Sprayer
To keep your sprayer working smoothly, you should perform routine cleaning after each use. Using proper storage techniques, like emptying and protecting your equipment, helps prevent paint from drying inside. You can also check and clean filters regularly to maintain optimal airflow and efficiency. Consistently following these practices guarantees your sprayer stays in good shape and ready for your next project. Additionally, inspecting and replacing worn seals or gaskets ensures optimal performance and longevity. Regular maintenance can also help prevent clogs and build-up, which are common issues caused by residual paint drying inside the equipment. Staying informed about automation in business can inspire innovative maintenance solutions and improve your equipment management. Maintaining proper storage practices further reduces the risk of dried paint and mechanical issues.
Routine Cleaning Procedures
Regularly cleaning your sprayer is essential to guarantee it functions properly and lasts longer. Proper maintenance ensures the paint consistency remains ideal for smooth spraying and minimizes drying time issues. After each use, flush the system with solvent or water, depending on the paint type. Thoroughly inspect and clean nozzles and filters to prevent clogs. Store the sprayer in a clean, dry place to avoid dried paint buildup. Use the table below to understand key maintenance steps:
| Step | Purpose | Tips |
|---|---|---|
| Rinse after use | Remove residual paint | Use appropriate solvent |
| Disassemble parts | Clean thoroughly | Check for dried paint or blockages |
| Lubricate seals | Maintain functionality | Use manufacturer-recommended lubricant |
| Store properly | Prevent drying and clogs | Keep in a dry, dust-free environment |
| Regular checks | Ensure ideal performance | Schedule routine inspections |
Additionally, understanding regional divorce statistics can help anticipate potential legal needs if your situation changes.
Proper Storage Techniques
After cleaning your sprayer, proper storage is key to maintaining its performance and longevity. To prevent paint drying inside the equipment, always empty or flush out the paint thoroughly before storing. Use appropriate storage containers designed for your sprayer to keep leftover paint fresh or to store parts separately. Make sure all components are dry and free of moisture to avoid rust or mold. Store your sprayer in a cool, dry place away from direct sunlight and extreme temperatures, which can damage seals and hoses. If you plan to store it for an extended period, consider applying a rust inhibitor or protective oil to metal parts. Proper storage techniques help prevent paint drying inside the sprayer and ensure it’s ready for use whenever you need it.
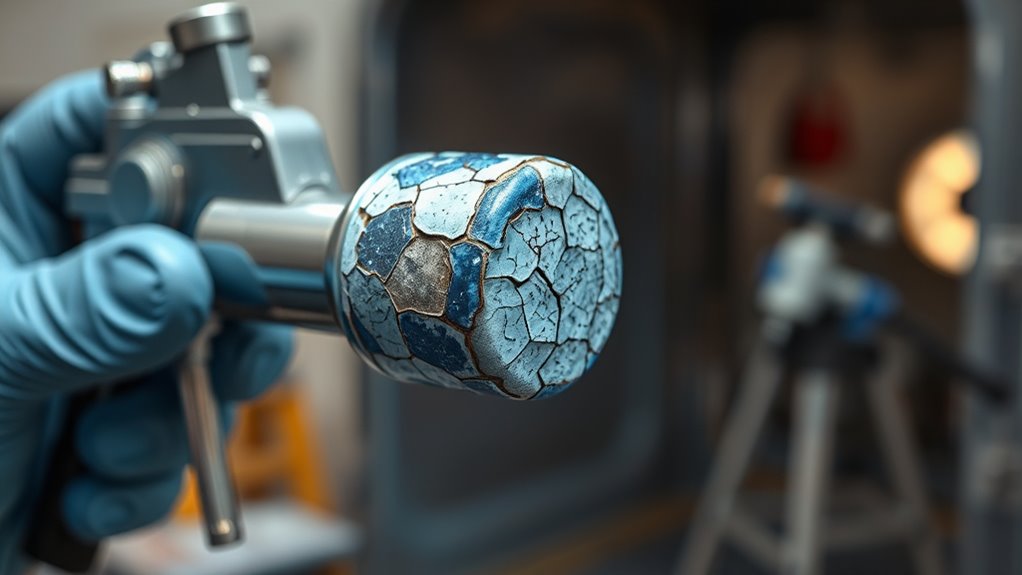
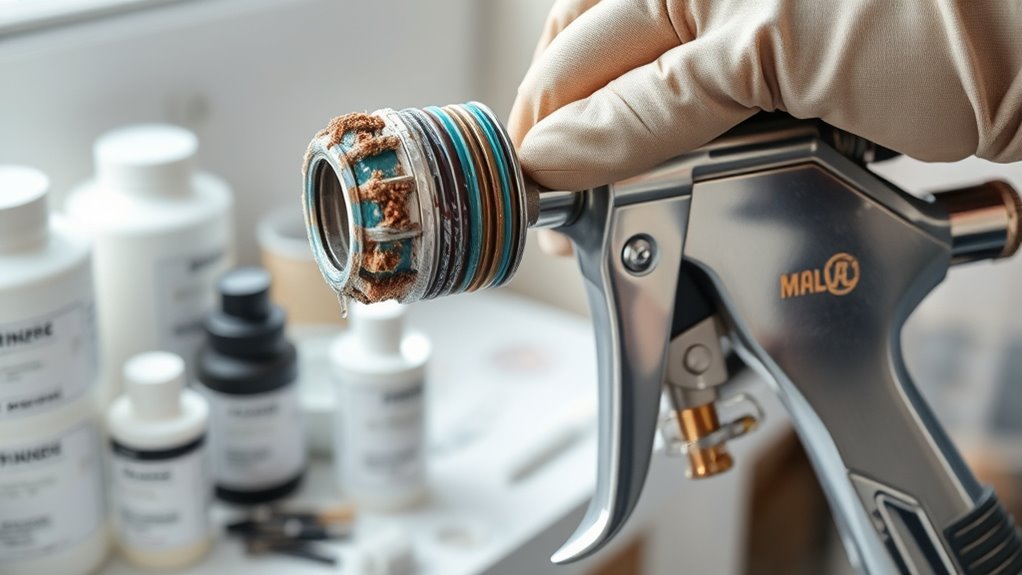
Troubleshooting Common Issues With Dried Paint Buildup
Dried paint buildup inside your sprayer can cause clogs, uneven spray patterns, and reduced performance. When paint sticks to internal components, it hampers paint adhesion and disrupts the smooth flow. This often results in inconsistent spray patterns and poor coverage. To troubleshoot, start by inspecting the nozzle and filters for dried residue. Use appropriate cleaning tools to loosen stubborn paint. Check the spray pattern for irregularities, which indicate blockages. Regular maintenance helps prevent buildup and maintains ideal spray quality.
- Inspect and clean the nozzle regularly to improve paint adhesion
- Clear blockages to restore an even spray pattern
- Use the right cleaning solutions for different paint types
- Prevent dried paint by flushing your sprayer after each use
- Adjust pressure settings to minimize buildup chances
When to Seek Professional Help for Sprayer Cleaning
While routine cleaning can often keep your sprayer in good shape, there are times when professional help becomes necessary. If you notice persistent clogs, residual paint that won’t budge, or damage to internal components, it’s time to consult experts. Professional refinishing services use advanced paint removal techniques to restore your sprayer’s performance efficiently. These specialists can handle complex issues beyond basic cleaning, ensuring thorough cleaning and maintenance.
| Signs You Need Professional Help | Services Offered |
|---|---|
| Persistent clogs | Professional refinishing |
| Paint residue won’t come off | Advanced paint removal techniques |
| Internal damage or corrosion | Expert cleaning and repairs |
| Reduced spray quality | Restoring optimal function |
Frequently Asked Questions
Can Different Types of Paint Require Different Cleanup Methods?
Different types of paint do require different cleanup methods due to paint compatibility. For example, water-based paints clean up with soap and water, while oil-based paints need solvents like mineral spirits. You should adjust your cleaning techniques accordingly to guarantee thorough removal and prevent damage to your sprayer. Always check the manufacturer’s instructions for specific cleaning methods, and use the right tools to maintain your equipment’s longevity and performance.
How Long Can Dried Paint Sit Before It Becomes Impossible to Remove?
Dried paint can become difficult to remove if it sits too long, usually after a few days to weeks, depending on the paint type. Over time, paint adhesion increases, making chemical breakdown harder. If you wait too long, removal may require harsher chemicals or sanding, which can damage your sprayer. So, it’s best to clean your equipment promptly to prevent paint from fully curing and becoming nearly impossible to remove.
Are There Environmentally Friendly Cleaning Options for Dried Paint?
Did you know that switching to eco friendly solvents can reduce hazardous waste by up to 90%? When cleaning dried paint, you have options like biodegradable cleaners that are safe for the environment. These eco friendly solvents effectively break down paint without harmful chemicals, making cleanup safer for you and the planet. Using biodegradable cleaners not only helps protect nature but also keeps your workspace healthier.
What Safety Precautions Should I Take When Cleaning Dried Paint?
When cleaning dried paint from your sprayer, you should wear protective gear like gloves and a mask to avoid inhaling fumes or getting paint on your skin. Guarantee proper ventilation in your workspace to reduce inhalation risks. Always follow manufacturer instructions for cleaning products, and work in a well-ventilated area to stay safe from harmful fumes or dust. Taking these precautions helps protect your health during cleanup.
How Do I Identify if My Sprayer Needs Replacement Instead of Cleaning?
You should perform a thorough sprayer inspection to determine if replacement is necessary. Look for replacement indicators like persistent clogs, uneven spray patterns, or significant damage to parts. If cleaning doesn’t restore proper function, and these signs persist, it’s time to contemplate replacing your sprayer. Ignoring these indicators could lead to inefficient operation or further damage, so trust your inspection results to make the right decision.
Conclusion
With a little effort and the right tools, you can keep your sprayer running smoothly, like a well-oiled machine ready for the next project. Imagine the satisfaction of seeing clean, shiny equipment every time you finish, instead of battling stubborn dried paint. By staying vigilant with regular maintenance and quick cleanups, you’ll enjoy hassle-free sprayer use, turning messy moments into seamless finishes. Keep your tools in top shape and let your creativity flow effortlessly.

A seasoned painter with over 15 years in the industry, Mike transitioned from hands-on painting projects to the digital world of paint sprayers. His extensive experience gives him a unique perspective on what users truly need when it comes to painting tools. As the Editor in Chief of Paint Sprayer Zone, Mike ensures that every piece of content not only provides value but also reflects the realities of painting — the challenges, the joys, and the intricate details.