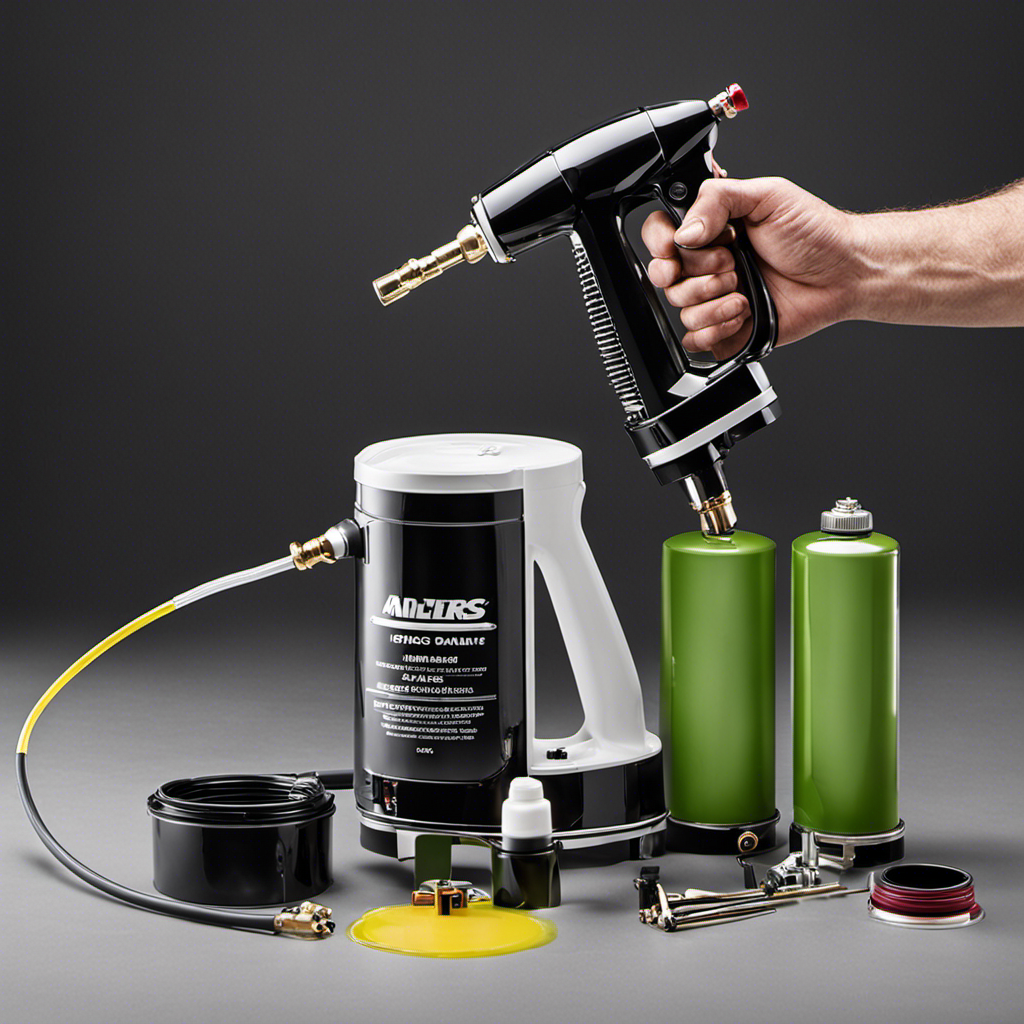
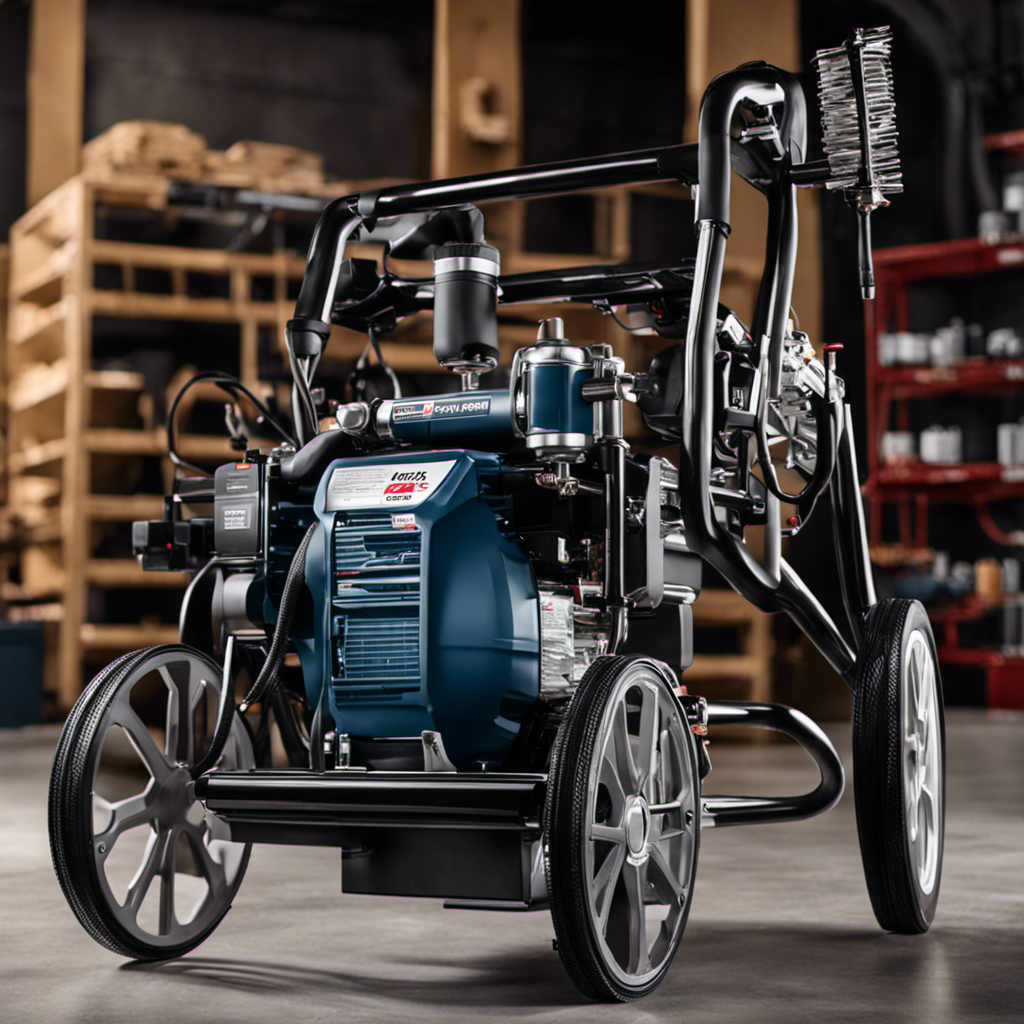
Regular maintenance of your airless sprayer is essential to ensure its longevity and peak performance. To keep your sprayer in top condition, it is important to thoroughly clean it and remove any dried paint.
By following these essential maintenance tips, you can ensure that your sprayer continues to deliver excellent results. In this article, we will explore the importance of regular maintenance, proper storage techniques, and effective cleaning methods to remove dry paint.
With the right supplies and techniques, you can extend the lifespan and performance of your airless sprayer.
Key Takeaways
- Regular cleaning and maintenance of the sprayer extends its lifespan and ensures optimal functionality
- Properly disassemble and store the sprayer parts in a clean, dry space to prevent paint accumulation
- Use protective caps or covers to shield the sprayer from dust and debris during storage
- Following these steps will maintain the lifespan and performance of your airless sprayer
Importance of Regular Maintenance for Airless Sprayers
Regular cleaning and maintenance of the sprayer extends its lifespan and ensures optimal functionality, making it essential for users to prioritize the upkeep of their airless sprayers. The importance of regular maintenance for airless sprayers cannot be overstated.
Neglecting to clean and maintain the sprayer can lead to paint accumulation, clogged nozzles, and reduced performance. Regular maintenance, such as disassembling and storing the sprayer parts in a clean, dry space, prevents paint buildup and ensures smooth operation.
Additionally, using protective caps or covers shields the sprayer from dust and debris during storage, further prolonging its lifespan. By taking the time to properly clean and maintain their airless sprayers, users can maximize performance, minimize downtime, and ultimately save on repair and replacement costs.
Proper Storage Techniques to Prevent Paint Accumulation
To prevent paint accumulation, it’s important to properly disassemble and store the sprayer parts in a clean, dry space. This ensures that the sprayer remains in optimal condition for future use. Here are some proper storage techniques to prevent paint accumulation:
| Storage Technique | Description |
|---|---|
| Clean and Dry | Before storing the sprayer, make sure to clean all parts thoroughly to remove any paint residue. Ensure that all components are completely dry to prevent moisture buildup. |
| Protective Caps or Covers | Use protective caps or covers to shield the sprayer from dust and debris during storage. This helps to keep the sprayer clean and prevents paint from accumulating on the exposed parts. |
| Organized Storage | Store the disassembled parts in an organized manner to prevent damage. Use containers or compartments to keep each part separate and easily accessible. |
Using Protective Caps or Covers for Sprayer Protection
Using protective caps or covers is an effective way to shield the sprayer from dust and debris during storage, ensuring its cleanliness and preventing any potential damage.
-
Protection: Protective caps or covers provide a physical barrier that keeps dust, dirt, and debris away from the sprayer, minimizing the risk of clogs and malfunctions.
-
Longevity: By keeping the sprayer protected from environmental elements, such as sunlight and moisture, protective caps or covers help prolong its lifespan and maintain its performance.
-
Convenience: Using protective caps or covers makes it easier to store the sprayer without the need for extensive cleaning before each use.
When choosing the right protective cap or cover for your sprayer, consider the following tips:
-
Size: Ensure that the cap or cover fits snugly over the sprayer to provide maximum protection.
-
Material: Look for caps or covers made from durable and weather-resistant materials, such as heavy-duty nylon or PVC.
-
Easy Access: Opt for caps or covers that allow easy access to the sprayer’s controls and parts, making it convenient to use when needed.
Extending the Lifespan and Performance of Your Airless Sprayer
Proper storage and regular maintenance are essential for the longevity and optimal performance of an airless sprayer. To prevent paint clogs and maintain the spray pattern, it is important to clean and maintain the sprayer regularly.
After each use, disassemble the sprayer parts and clean them thoroughly using warm soapy water or a cleaning solution designed for paint residue removal. Scrub off any dried paint using a brush or sponge, making sure to reach all the nooks and crevices. Rinse the parts with clean water and dry them completely before reassembling.
Additionally, store the sprayer in a clean, dry space. Use protective caps or covers to shield it from dust and debris.
Following these maintenance practices will ensure the longevity and optimal performance of your airless sprayer.
Gathering the Necessary Supplies for Effective Cleaning
Gather all the necessary supplies, such as a bucket, warm soapy water, cleaning brush, small wire brush, toothbrush, wrench, and safety gloves, to effectively clean and remove any dry residue from the sprayer.
Use warm soapy water to soak the sprayer parts and loosen the dried paint.
Create a vinegar solution to dissolve stubborn paint.
Apply a paint remover for dried paint removal.
These cleaning supplies are essential for effectively cleaning the sprayer and removing dry paint.
Soaking the sprayer parts in warm soapy water will help loosen the dried paint, making it easier to remove.
Using a vinegar solution or paint remover can dissolve stubborn paint.
Once the paint is loosened, a small wire brush or toothbrush can be used to scrub off the remaining residue.
Remember to wear safety gloves and use a wrench when necessary.
Removing Excess Paint From the Sprayer: Warm Water Soak
To remove excess paint from the sprayer, one can start by soaking the sprayer parts in warm soapy water. This method offers several benefits for cleaning an airless sprayer.
Warm water helps to loosen the dried paint, making it easier to remove. The soap helps to break down any grease or oil residue that may be present on the parts. Additionally, warm water is gentle on the sprayer components, reducing the risk of damage.
It is important to thoroughly clean the sprayer after each use to prevent paint accumulation during storage. This can be achieved by disassembling the sprayer parts and storing them in a clean, dry space. Using protective caps or covers can also shield the sprayer from dust and debris, further preventing paint buildup.
Removing Excess Paint From the Sprayer: Vinegar Solution
After attempting to remove excess paint from the airless sprayer using a warm water soak, another effective method is to use a vinegar solution. This solution can be compared to using a paint remover specifically designed for dried paint. Here are some alternative cleaning solutions for removing paint residue:
-
Vinegar Solution: Create a mixture of vinegar and water to dissolve the stubborn dried paint.
-
Paint Remover: Apply a paint remover that is specifically designed for dried paint to effectively remove the paint residue.
-
Alternative Solutions: Consider using alternative cleaning solutions such as rubbing alcohol or specialized cleaning solutions made for removing paint residue.
Using these cleaning techniques, along with the previous warm water soak method, will help ensure thorough cleaning and removal of the dried paint from the sprayer.
Removing Excess Paint From the Sprayer: Paint Remover
The user can effectively remove excess paint from the sprayer by applying a specialized paint remover designed for dried paint.
When it comes to removing dried paint from the sprayer, using paint thinner is a common and effective method. Paint thinners are solvents that can dissolve and break down dried paint, making it easier to remove.
There are different types of paint removers available on the market, each with its own set of advantages and disadvantages. Some paint removers are more aggressive and fast-acting, while others are gentler and safer to use.
It is important to compare different types of paint removers to find the one that best suits your needs and the type of paint you are trying to remove.
Always follow the manufacturer’s instructions when using paint removers and take necessary safety precautions.
Removing Excess Paint From the Sprayer: Wire Brush
Using a wire brush, the user can easily scrub off any remaining dried paint from the sprayer. This technique is particularly effective for stubborn paint spots that may have not been fully removed with other cleaning methods.
When using a wire brush or a sponge to scrub off dried paint, it is important to follow the proper technique. First, apply gentle pressure while scrubbing to avoid damaging the surface of the sprayer or any delicate parts.
Second, use circular motions to effectively loosen and remove the dried paint.
Finally, rinse the area with clean water to ensure that all traces of paint are completely removed.
Removing Excess Paint From the Sprayer: Solvent Flush
To effectively dissolve any dried paint residue, users can flush the sprayer with a solvent like mineral spirits. However, some individuals may prefer to explore alternative methods for a solvent flush.
These alternatives can help prevent paint buildup in the sprayer and maintain its optimal performance. One option is to use denatured alcohol as a solvent, as it can effectively dissolve dried paint without causing damage to the sprayer.
Another alternative is to use a mixture of warm water and dish soap, which can break down the dried paint and make it easier to remove. Additionally, some users have found success with using vinegar or a vinegar and water solution to dissolve dried paint residue.
These solvent flush alternatives can be effective in removing dried paint and preventing buildup in the sprayer.
Soaking the Sprayer Parts in Warm Soapy Water
One effective method for removing excess paint from sprayer parts is by soaking them in warm soapy water. This technique is highly effective in loosening the dried paint and making it easier to remove.
Here are some benefits of using warm soapy water for soaking sprayer parts:
-
Effectiveness of vinegar solution: In addition to warm soapy water, a vinegar solution can be used to dissolve stubborn dried paint. The acidity of vinegar helps break down the paint, making it easier to clean.
-
Gentle on sprayer parts: Warm soapy water is a gentle solution that won’t harm the sprayer parts. It effectively removes paint without causing any damage or corrosion.
-
Easy and cost-effective: Using warm soapy water is a simple and affordable solution for cleaning sprayer parts. It requires minimal effort and resources while providing excellent results.
Using Cleaning Solutions or Alternatives for Paint Residue
Warm soapy water, vinegar, and rubbing alcohol are effective alternatives for dissolving and removing dried paint residue from the sprayer parts. When it comes to cleaning solutions vs. vinegar, many people wonder which is more effective for removing paint residue. To help you make an informed decision, let’s explore these non-traditional options in a table format:
| Cleaning Solutions | Vinegar | Rubbing Alcohol |
|---|---|---|
| Effectiveness | High | Moderate |
| Cost | Affordable | Affordable |
| Availability | Widely available | Widely available |
| Dissolves dried paint | Yes | Yes |
| Odor | Mild | Strong |
While both cleaning solutions and vinegar can effectively remove dried paint residue, cleaning solutions tend to be more effective and have a milder odor. However, vinegar is a more affordable alternative and still gets the job done. Rubbing alcohol falls somewhere in between, providing moderate effectiveness. Ultimately, the choice between cleaning solutions and vinegar depends on your preferences and priorities.
Scrubbing off Dried Paint With Brushes, Sponges, or Scrub Pads
Using a brush, sponge, or scrub pad, they thoroughly scrub off the dried paint from the sprayer parts. This step is essential in maintaining the functionality and longevity of an airless sprayer.
Here are three key points to consider when scrubbing off dried paint:
-
Using different types of brushes: Different brushes have varying bristle stiffness, allowing for efficient removal of dried paint from different surfaces and crevices. Stiffer brushes are effective for stubborn paint spots, while softer brushes are suitable for delicate surfaces.
-
Benefits of using sponges: Sponges are gentle on the sprayer parts and can be used to clean delicate areas without causing damage. They are effective in removing paint residue without scratching or leaving marks on the surface.
-
Scrub pads for smaller parts: Nylon scrub pads or toothbrushes are ideal for cleaning smaller parts of the sprayer. These pads provide a more targeted and thorough cleaning, ensuring that all dried paint is removed.
Frequently Asked Questions
Can I Use Any Type of Cleaning Solution to Soak the Sprayer Parts in Warm Soapy Water?
Yes, any type of cleaning solution can be used to soak the sprayer parts in warm soapy water. However, it is best to use a cleaning solution made specifically for removing paint residue. Alternatively, vinegar or rubbing alcohol can be used to dissolve the dried paint.
It is important to let the sprayer parts soak in the warm soapy water for at least 30 minutes before scrubbing off the dried paint using a brush or sponge.
Thorough cleaning of the sprayer parts is essential for optimal performance.
How Often Should I Clean and Maintain My Airless Sprayer?
Cleaning frequency and best cleaning practices are essential for maintaining an airless sprayer’s optimal performance. Regular cleaning ensures the longevity of the sprayer and prevents paint accumulation, which can affect its functionality.
It is recommended to clean and maintain the sprayer after each use to prevent dried paint buildup. This involves disassembling and soaking the sprayer parts in warm soapy water or a cleaning solution specifically designed for paint removal. Thoroughly scrubbing off any dried paint and rinsing the parts with clean water is also crucial.
Is It Necessary to Wear Safety Gloves While Cleaning the Sprayer?
Yes, it’s necessary to wear safety gloves while cleaning the sprayer.
Safety gloves provide protection for the hands against any chemicals or solvents used during the cleaning process. They also help prevent any potential skin irritation or allergic reactions.
The use of safety gloves is an important safety measure to ensure the well-being of the person handling the sprayer and to minimize any potential risks or accidents that may occur.
Can I Use a Power Washer to Remove Dried Paint From the Sprayer?
Using a pressure washer to remove dried paint from the sprayer is not recommended. The forceful water pressure can damage the delicate components of the sprayer and affect its functionality.
It is best to stick to the techniques mentioned in the article for cleaning a paint sprayer effectively. Soaking the sprayer parts in warm soapy water, using a cleaning solution, and scrubbing off the dried paint with a brush or sponge are the recommended methods for thorough cleaning.
What Should I Do if There Are Still Traces of Dried Paint After Scrubbing With a Brush or Sponge?
If there are still traces of dried paint after scrubbing with a brush or sponge, there are effective techniques for removing stubborn paint stains from an airless sprayer.
One option is to use a paint remover specifically designed for dried paint.
Another option is to soak the sprayer parts in warm soapy water or a mixture of vinegar and water to dissolve the remaining paint.
Scrubbing with a wire brush or using a solvent flush with mineral spirits can also help remove any lingering paint residue.
Conclusion
In conclusion, regular maintenance is crucial for the longevity and optimal performance of an airless sprayer. By properly cleaning and removing excess paint, you can prevent paint accumulation and ensure smooth operation.
Using protective caps or covers during storage will further protect the sprayer from damage.
By following these essential maintenance tips, you can extend the lifespan of your airless sprayer and maintain its efficiency.
Remember, a well-maintained sprayer is like a well-oiled machine, ready to tackle any painting project with ease.
So, keep your sprayer clean and enjoy flawless results every time.
Drenched in creativity and armed with a fountain pen, Isolde weaves words as gracefully as a painter strokes their canvas. A writer for Paint Sprayer Zone, her passion for colors, textures, and spaces finds a harmonious blend with her profound knowledge of painting tools and techniques.
Having grown up in a family of artists, Isolde’s tryst with paints began early. While her relatives expressed themselves on canvas, Isolde found her medium in words. She dedicated herself to chronicling the world of painting, understanding the nuances of each tool, and the artistry behind every spritz of a paint sprayer.
