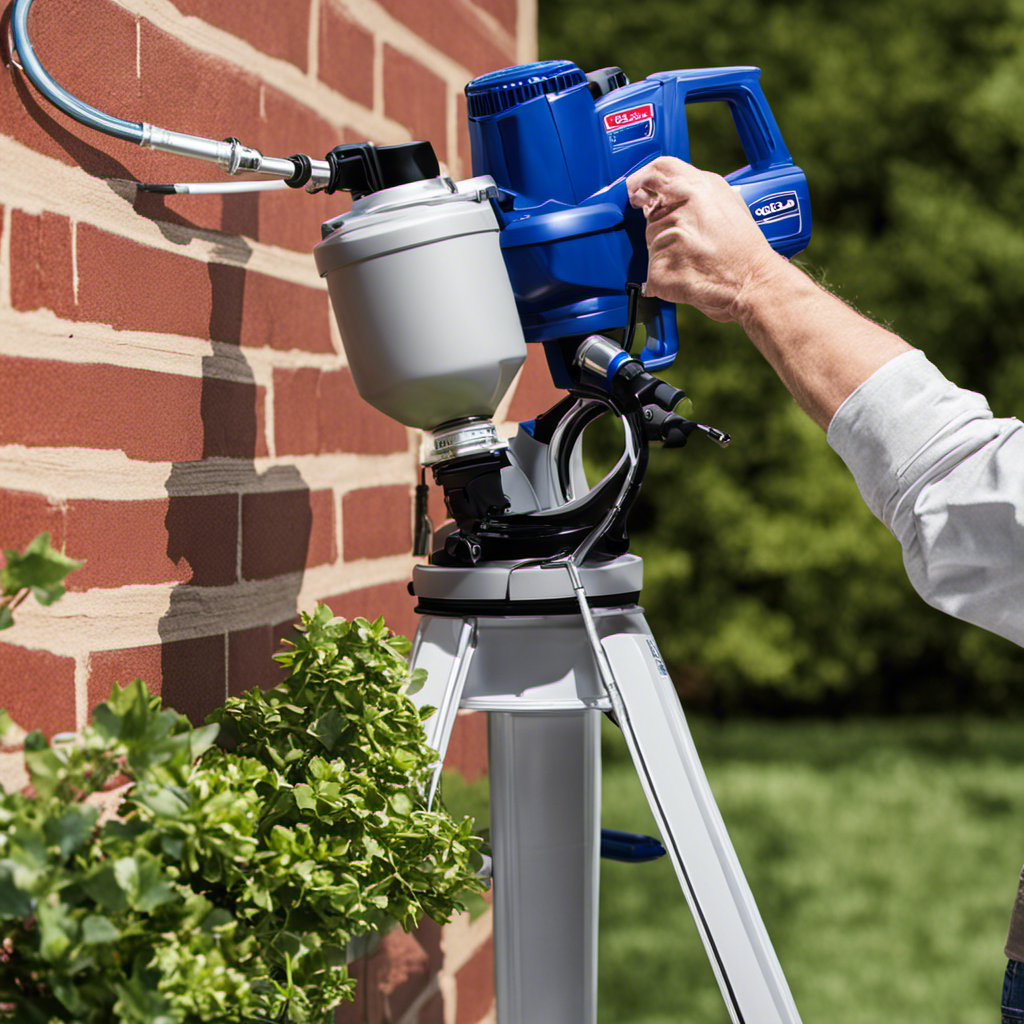
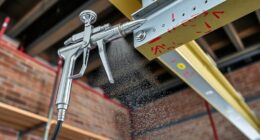
Selecting the right oil and taking care of your paint sprayer is crucial for getting the best results and ensuring it lasts a long time. As the saying goes, ‘prevention is better than cure.’ By using the proper oil and consistently maintaining your sprayer, you can avoid problems like clogs and inconsistent spray patterns.
This article will provide you with the knowledge and detailed information you need to ensure your paint sprayer stays in top shape. So, let’s dive in and learn how to choose the right oil and keep your sprayer running smoothly.
Key Takeaways
- Choosing the right oil designed for airless paint sprayers is crucial for optimal performance and longevity.
- Regularly cleaning and inspecting the sprayer, as well as performing routine maintenance, helps to maintain its condition.
- Neglecting maintenance can lead to clogs, uneven spray patterns, and decreased performance.
- Thoroughly clean the sprayer before storage to prevent clogs.
Importance of Choosing the Correct Oil
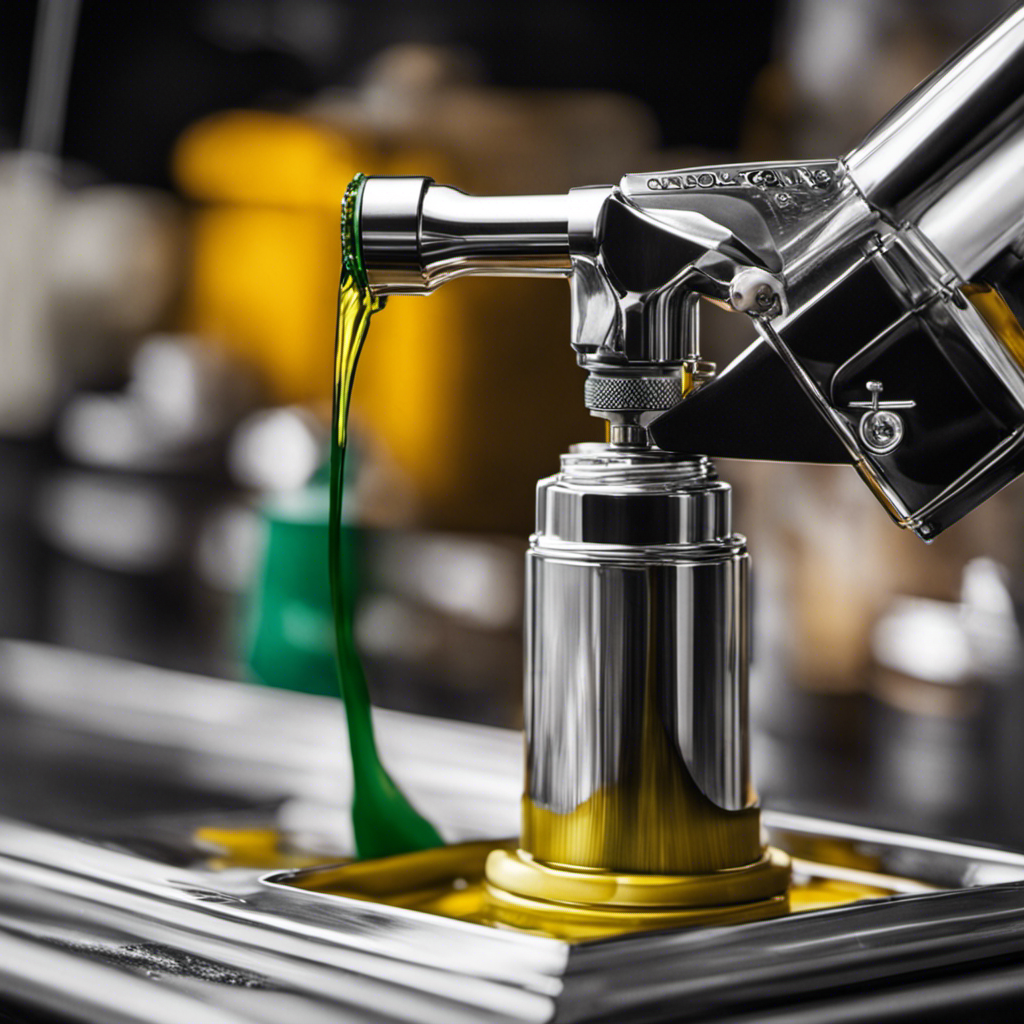
Choosing the right oil for optimal performance and longevity is crucial when maintaining a paint sprayer. Using a high-quality oil specifically designed for airless paint sprayers offers numerous benefits.
Firstly, high-quality oil helps to lubricate the internal components, reducing friction and wear. This ensures smooth operation and extends the lifespan of the sprayer.
Secondly, it helps to prevent clogs and blockages by keeping the sprayer’s internal passages clean and clear.
When choosing oil, it is important to avoid common mistakes such as using the wrong type of oil or using low-quality oil. Using the wrong type of oil can lead to performance issues and damage to the sprayer. Low-quality oil may not provide the necessary lubrication and protection, leading to premature wear and decreased performance.
Therefore, it is essential to choose a high-quality oil specifically formulated for airless paint sprayers to ensure optimal performance and longevity.
Benefits of Regular Maintenance
Performing regular maintenance on the airless paint sprayer is essential for ensuring its longevity and optimal performance. There are several benefits to regularly maintaining your spray paint equipment.
Firstly, it helps prevent clogs and ensures a consistent spray pattern. By cleaning the sprayer thoroughly after each use, you can remove any paint residue that may cause clogs in the nozzle or other components.
Secondly, regular maintenance also helps identify any potential issues before they become major problems. By inspecting and lubricating the oil reservoir, checking connections, and addressing any leaks promptly, you can prevent further damage and keep your sprayer in top condition.
Lastly, proper maintenance extends the lifespan of your paint sprayer, saving you money in the long run. By following these simple tips for maintaining your spray paint equipment, you can ensure that it performs at its best and lasts for years to come.
Cleaning and Inspecting Your Paint Sprayer
Regularly cleaning and inspecting the paint sprayer is essential to ensure proper functionality and prevent any potential issues. Here are some cleaning techniques and common paint sprayer issues to be aware of:
-
Clean the sprayer thoroughly after each use to avoid clogs. Neglecting maintenance can lead to clogs, uneven spray patterns, and decreased performance.
-
Regularly check and lubricate the oil reservoir to reduce wear. Address any leaks promptly to prevent further issues.
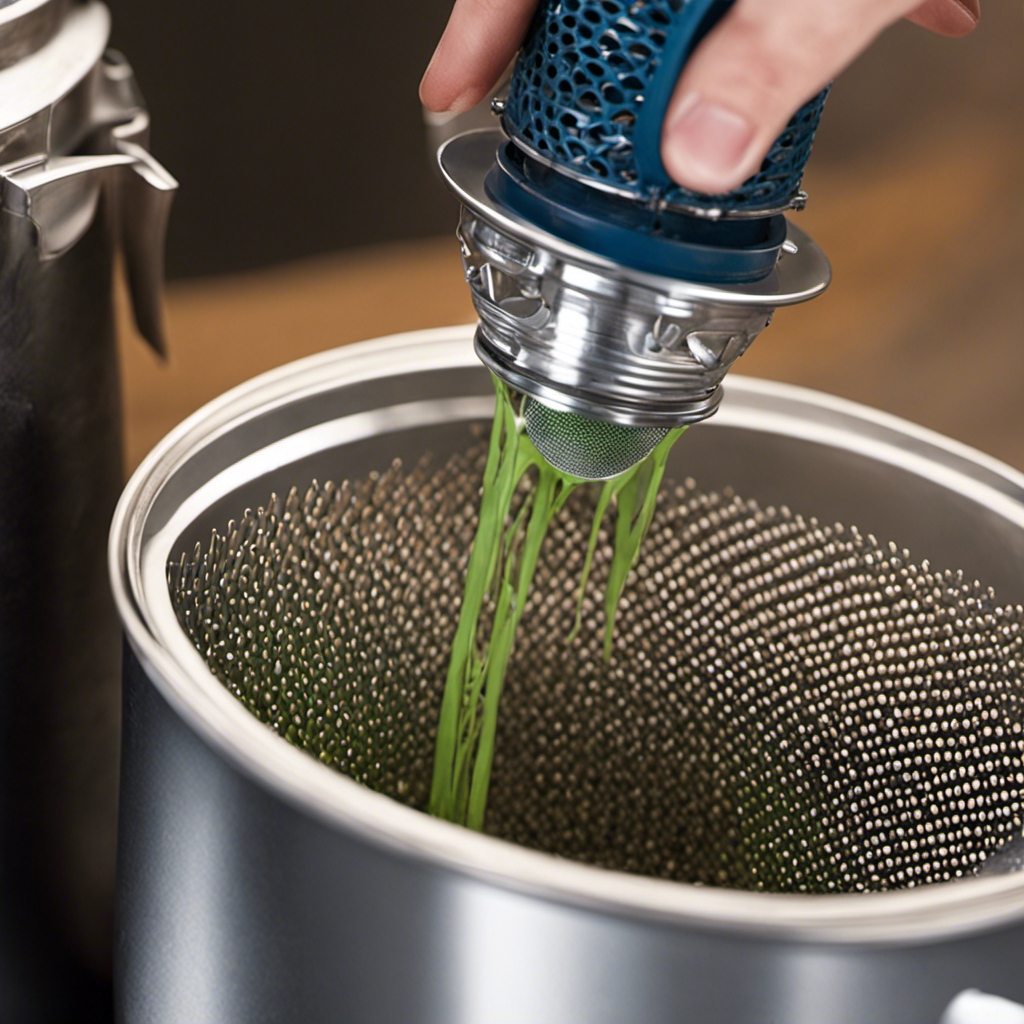
To clean the sprayer, start by flushing the system with water to remove any remaining paint or debris. Disassemble the sprayer and clean each part individually, paying close attention to the nozzle and filters. Inspect the parts for any signs of damage or wear and replace as needed.
Routine Maintenance for Optimal Performance
To ensure optimal performance, it is important to regularly check and lubricate the oil reservoir of the paint sprayer. Regular maintenance offers numerous benefits, including improved longevity and consistent performance.
By regularly inspecting the sprayer, you can troubleshoot and address common oil leaks before they become major issues. Monitoring oil levels and checking all connections and fittings can help prevent oil contamination and potential leaks. Promptly addressing any leaks will prevent further damage and ensure the sprayer continues to function properly.
Routine maintenance also involves cleaning the sprayer after each use to avoid clogs and uneven spray patterns. By following these maintenance procedures, you can keep your paint sprayer in optimal condition and avoid costly repairs or replacements.
Thoroughly Cleaning the Sprayer After Use
After each use, it is essential to thoroughly clean the sprayer to prevent clogs and maintain optimal performance. Proper cleaning after using the sprayer offers several benefits:
- Keeps the sprayer in good condition for longer use
- Prevents clogs that can disrupt the spray pattern
- Ensures consistent and even application of paint
- Extends the lifespan of the sprayer by preventing damage from built-up paint residue.
To prevent clogs in the paint sprayer, here are some helpful tips:
- Use the appropriate cleaning solution recommended by the manufacturer.
- Remove any excess paint from the sprayer before cleaning.
- Disassemble the sprayer and clean each part individually.
- Pay extra attention to the nozzle, as it is prone to clogs.
Consequences of Neglecting Maintenance
Neglecting maintenance can result in clogs, uneven spray patterns, and decreased performance of the paint sprayer. Regular maintenance is crucial to keep your sprayer in optimal condition. Failing to perform routine maintenance can have serious consequences and lead to costly repairs. Troubleshooting oil leaks or spills is another important aspect of maintenance. Checking all connections and fittings regularly can prevent oil contamination. Monitoring the oil level for sudden decreases can indicate a leak that needs to be addressed promptly. By following proper maintenance procedures, such as cleaning the sprayer thoroughly after each use and lubricating the oil reservoir, you can prevent oil leaks and spills. Taking the time to properly maintain your paint sprayer will not only extend its lifespan but also ensure consistent and high-quality results.
| Neglecting Maintenance Consequences | Troubleshooting Oil Leaks or Spills |
|---|---|
| Clogs | Check all connections and fittings |
| Uneven spray patterns | Monitor oil level regularly |
| Decreased performance | Address leaks promptly |
Gathering Supplies for Oil Replacement
When gathering supplies for replacing the oil in the sprayer, it is important to have the recommended type of oil and any necessary tools on hand. This ensures a smooth and efficient oil replacement process.
Here are some key oil replacement techniques to keep in mind:
- Gather the necessary supplies, including the right type of oil designed for airless paint sprayers.
- Prepare your sprayer by cleaning it thoroughly and following proper maintenance procedures.
- Locate the oil reservoir, typically near the bottom of the sprayer, close to the motor.
- Remove the oil cap and carefully pour the recommended amount of oil into the opening.
Preparing the Sprayer for Oil Maintenance
To prepare the sprayer for oil maintenance, the user should thoroughly clean the equipment and follow the proper maintenance procedures. This step is crucial to ensure the longevity and optimal performance of the sprayer.
Start by disassembling the sprayer and removing any paint residue or debris. Clean the filters, nozzles, and all other components using a mild detergent and water. Rinse thoroughly and allow them to dry completely before reassembling.
It is important to follow the manufacturer’s instructions for maintenance, including lubricating any necessary parts and checking for any signs of wear or damage.
Locating and Accessing the Oil Reservoir
After preparing the paint sprayer for oil maintenance, the next step is to locate and access the oil reservoir. This is where the oil will be poured to lubricate the internal components of the sprayer.
To do this, follow these simple steps:
- Look for the oil reservoir, which is typically located near the bottom of the sprayer, close to the motor.
- Once you have located the reservoir, find the oil cap. It is usually a twist-off cap that secures the opening of the reservoir.
- Twist the oil cap counterclockwise to remove it from the reservoir.
- With the cap removed, you can now carefully pour the recommended amount of oil into the opening.
It is important to prevent oil contamination during this process. Ensure that the area is clean and free from any debris or dirt that could mix with the oil. By locating the oil cap and taking necessary precautions, you can prevent oil contamination and ensure smooth operation of your paint sprayer.
Adding the Recommended Amount of Oil
The user pours the recommended amount of oil into the opening of the oil reservoir after removing the cap. This step is crucial for maintaining the performance and longevity of the paint sprayer. By using the right type of oil designed for airless paint sprayers, the user can prevent oil contamination and ensure smooth operation. To provide a visual representation of ideas, here is a table outlining the steps for adding oil to the sprayer:
| Steps for Adding Oil |
|---|
| 1. Gather necessary supplies |
| 2. Prepare sprayer for maintenance |
| 3. Locate oil reservoir |
| 4. Remove oil cap |
| 5. Pour recommended amount of oil |
After adding the oil, it is important to properly dispose of any used materials. This includes disposing of the oil cap, any oil-soaked rags or paper towels, and following local oil disposal regulations. Preventing oil contamination and ensuring proper disposal of used materials are key steps in maintaining a paint sprayer and prolonging its lifespan.
Checking and Lubricating the Oil Reservoir
The user checks and lubricates the oil reservoir regularly to reduce wear and ensure optimal performance of the airless paint sprayer. Checking oil levels is crucial to prevent any potential issues and maintain the sprayer’s functionality.
By regularly inspecting the oil reservoir, the user can identify any leaks or spills that may lead to oil contamination. To prevent oil contamination, it is important to follow proper maintenance procedures and address any leaks promptly.
Additionally, the user should monitor the oil level regularly for sudden decreases, indicating a leak. By taking these preventive measures, the user can ensure that the paint sprayer operates smoothly and efficiently, without any interruptions caused by oil-related problems.
Troubleshooting Oil Leaks or Spills
To troubleshoot oil leaks or spills, the user should regularly check all connections and fittings to prevent contamination. Common causes of oil leaks in paint sprayers can include loose or damaged fittings, worn seals, or cracks in the oil reservoir.
To prevent oil spills during maintenance, it is important to follow a few key tips. First, make sure to always have a designated area for maintenance where spills can be contained and easily cleaned up. Additionally, use absorbent materials such as rags or paper towels to quickly soak up any spills that do occur.
Regularly inspecting and maintaining the sprayer can help identify and address potential issues before they lead to oil leaks or spills. By taking these preventative measures, users can keep their paint sprayers running smoothly and avoid costly clean-up and repairs.
Distributing the Oil and Cleaning Up Excess
After troubleshooting oil leaks or spills, the next step in maintaining your paint sprayer is to distribute the oil and clean up any excess. This is an important part of the maintenance process to ensure the sprayer operates smoothly and efficiently. Here are the steps to follow:
- Begin by flushing the system with water to remove any remaining oil.
- Once the oil is flushed out, clean and reassemble the sprayer.
- Make sure there are no traces of oil left before using the sprayer again.
- In case of spills, use absorbent materials like rags or paper towels to soak up the excess oil.
It’s essential to dispose of used materials properly, following local oil disposal regulations. By following these steps, you can maintain the performance and longevity of your paint sprayer.
Frequently Asked Questions
How Often Should I Replace the Oil in My Paint Sprayer?
The frequency of oil replacement in a paint sprayer depends on various factors such as usage, manufacturer’s recommendations, and the type of oil used. Regular maintenance is crucial for optimal performance and longevity.
It is recommended to consult the sprayer’s manual for specific guidelines on oil replacement. Properly maintaining your paint sprayer includes choosing the right oil designed for airless sprayers, cleaning the sprayer thoroughly after each use, and performing routine maintenance to prevent clogs and ensure optimal functioning.
What Type of Oil Is Recommended for Airless Paint Sprayers?
Choosing the right oil for airless paint sprayers is crucial for optimal performance and longevity. Regularly maintaining your paint sprayer is essential to keep it in optimal condition. Clean the sprayer thoroughly after each use to avoid clogs and decreased performance.
Neglecting maintenance can lead to uneven spray patterns and other issues. To put oil in the sprayer, gather the necessary supplies and locate the oil reservoir. Troubleshoot potential oil leaks or spills by checking connections and monitoring the oil level.
Distribute the oil by running the sprayer and clean up any excess oil. Properly store the sprayer to prevent clogs and damage.
Can I Use Any Type of Oil for My Sprayer, or Does It Need to Be Specific to Airless Paint Sprayers?
Using any type of oil for a paint sprayer is not recommended. It is crucial to choose the right oil specifically designed for airless paint sprayers. Using the wrong oil can lead to clogs, uneven spray patterns, and decreased performance.
Regularly maintaining your paint sprayer, including checking and lubricating the oil reservoir, is essential to prevent issues and ensure optimal performance. Proper maintenance procedures should also be followed to troubleshoot and prevent oil leaks.
How Can I Prevent Oil Leaks in My Paint Sprayer?
To prevent oil leaks in a paint sprayer, there are several preventive measures and troubleshooting techniques you can follow.
First, regularly check all connections and fittings to ensure they are tight and secure.
Monitor the oil level regularly for sudden decreases, which may indicate a leak.
Address any leaks promptly to prevent further issues.
Additionally, following proper maintenance procedures, such as cleaning and lubricating the oil reservoir, can help troubleshoot and prevent oil leaks.
Are There Any Specific Maintenance Procedures I Should Follow to Troubleshoot Oil Leaks?
To troubleshoot oil leaks in a paint sprayer, there are specific maintenance procedures that can be followed.
First, it’s important to check all connections and fittings to prevent oil contamination.
Regularly monitoring the oil level can help detect sudden decreases, indicating a leak.
Promptly addressing any leaks is crucial to prevent further issues.
It’s also important to follow proper maintenance procedures and ensure a clean and secure oil reservoir to avoid spills.
Conclusion
In conclusion, choosing the right oil and maintaining your paint sprayer is essential for its optimal performance and longevity.
Just like a well-oiled machine, the sprayer requires regular cleaning, inspection, and routine maintenance to prevent issues and ensure a smooth and even spray.
Taking the time to clean the sprayer thoroughly after each use, adding the recommended amount of oil, and checking and lubricating the oil reservoir are crucial steps.
Troubleshooting oil leaks promptly, distributing the oil evenly, and cleaning up any excess are also important.
By following these practices, you can keep your sprayer running smoothly, just like a finely tuned instrument.
Drenched in creativity and armed with a fountain pen, Isolde weaves words as gracefully as a painter strokes their canvas. A writer for Paint Sprayer Zone, her passion for colors, textures, and spaces finds a harmonious blend with her profound knowledge of painting tools and techniques.
Having grown up in a family of artists, Isolde’s tryst with paints began early. While her relatives expressed themselves on canvas, Isolde found her medium in words. She dedicated herself to chronicling the world of painting, understanding the nuances of each tool, and the artistry behind every spritz of a paint sprayer.
