Yes, you can spray paint a ceiling with a paint sprayer for fast, even coverage that’s tough to achieve with brushes or rollers. Choose the right sprayer type—HVLP for detailed work or airless for large areas—and prepare your space by covering furniture and sealing edges. Using proper technique, consistent pressure, and correct paint viscosity will help you avoid drips and achieve a smooth finish. Keep safety in mind, and you’ll have a professional look—continue to explore the best methods and tips for success.
Key Takeaways
- Yes, ceiling surfaces can be effectively painted using various types of paint sprayers such as HVLP, airless, or LVLP.
- Proper surface assessment and preparation ensure smooth, even application and minimize issues like drips or uneven coverage.
- Correct spraying technique, including steady movement and appropriate distance, is essential for a professional finish.
- Workspace protection and equipment maintenance help prevent overspray and ensure safety during ceiling spraying.
- Allow sufficient drying time between coats and follow manufacturer instructions for optimal results.
Understanding Different Types of Paint Sprayers
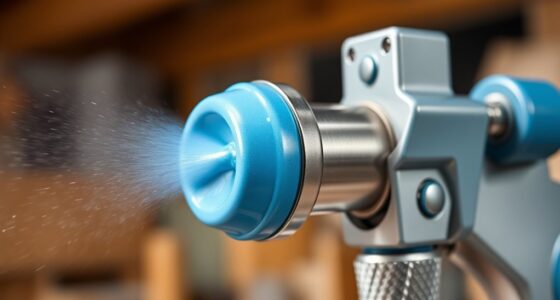
Choosing the right paint sprayer is essential for achieving a smooth ceiling finish. Different sprayers, like HVLP, airless, and LVLP, serve various needs. HVLP sprayers provide fine control, perfect for detailed work, but require steady sprayer maintenance to prevent clogging. Airless sprayers cover large areas quickly, making them ideal for ceilings, but they can be messier and need careful paint storage to avoid spills. LVLP sprayers are lightweight and efficient, suitable for smaller projects or touch-ups. When selecting a sprayer, consider your project’s size and complexity. Proper paint storage ensures your paint stays fresh and prevents clogging or drying out, maintaining ideal spray performance. Understanding these types helps you choose the right tool for a professional-looking ceiling finish. Additionally, contrast ratio plays a significant role in determining the quality of the finished surface, especially if you’re also considering painting or finishing techniques that rely on color depth and shading. Being aware of cybersecurity vulnerabilities related to painting tools or tech-enabled equipment can help prevent potential disruptions during your project. Selecting the appropriate paint sprayer type can also improve application efficiency and reduce material waste, leading to a more polished final result. Furthermore, considering the integration of AI-enabled tools can sometimes enhance precision and efficiency in modern painting projects. Recognizing the importance of proper maintenance ensures your sprayer operates smoothly and lasts longer.
Assessing the Suitability of Your Ceiling Surface

Before you start spraying, it’s important to evaluate the condition of your ceiling surface. Check the ceiling’s texture—smooth, popcorn, or textured—and determine if it’s suitable for spray painting. Some textures, like popcorn, can be tricky to spray evenly and may require special techniques or tools. Also, gauge moisture levels; a damp ceiling can cause paint to bubble or peel, so ensure the surface is dry before beginning. Look for signs of water damage, mold, or existing peeling paint, as these issues can affect adhesion and finish quality. If your ceiling has high moisture or irregular texture, consider repairs or surface prep before spraying. Properly assessing these factors ensures a smooth, durable finish and prevents costly mistakes. Additionally, understanding the surface’s paint adhesion properties can help in selecting the right primer and paint type for a long-lasting finish. Moreover, being aware of the surface texture can influence your choice of spray equipment and technique, ensuring an even coat. Recognizing potential surface imperfections can help you address issues beforehand, leading to a more professional-looking result. Being aware of vetted products for surface preparation and painting tools can also improve the overall outcome and efficiency of your project. Furthermore, considering the personal development techniques like goal setting and mindfulness can help you stay focused and patient during your painting project, leading to better results.
Preparing the Area for Spray Painting
Before you start spray painting, you need to prepare the area properly. Clear the workspace of any furniture or objects and cover surrounding surfaces to protect them from overspray. Make sure you have all the supplies ready so you can work efficiently and avoid interruptions. Additionally, consider the decor style of your space to ensure the paint application complements the overall design. Using self watering plant pots as inspiration, think about how your paint choices can enhance the aesthetic and functionality of your environment. Being aware of local cultural traditions can also help you choose colors and themes that resonate well with your space’s ambiance. If you’re planning to work on a ceiling, ensure your gear shifting techniques are adapted to your workspace to prevent drips and uneven coverage. Incorporating sample libraries and sound effects can also inspire creative ideas for finishing touches or accents in your project.
Clear the Workspace
To guarantee a smooth spray painting process, you need to clear the workspace thoroughly. Remove furniture, decor, and any items that could obstruct your movement or get paint on them. Cover floors and remaining fixtures with drop cloths to catch overspray. Good ventilation tips are essential; open windows and use fans to improve airflow and reduce fumes. This not only keeps the area safe but also helps the paint dry faster. Additionally, understanding best spray techniques can significantly improve your finishing results. Be mindful of paint disposal—dispose of leftover paint and used materials properly, following local regulations. Proper workspace preparation is crucial for effective spray painting. Clearing the workspace minimizes accidents and overspray, making your project safer and more efficient. Taking these steps ensures you achieve a professional finish while keeping your environment clean and safe. Remember that having the right return policies in place for your tools and supplies can save you time if adjustments are needed during your project. For optimal results, consider proper surface preparation to ensure the paint adheres well and lasts longer.
Protect Surrounding Areas
Once you’ve cleared the workspace and protected the floors, it’s time to focus on safeguarding surrounding areas from overspray. Use drop cloths to cover walls, furniture, and fixtures nearby. Secure the cloths with masking tape to keep them in place and prevent paint from seeping through gaps. Make sure to drape the cloths loosely so they don’t touch the ceiling or other surfaces you don’t want painted. Pay special attention to edges and corners, ensuring all areas within spray reach are well-covered. This step minimizes cleanup and keeps your space neat. Additionally, considering the trustworthiness of Patchology can help you understand the importance of using quality tools and products for a flawless finish. Taking the time to properly protect your surroundings ensures a smooth painting process and professional-looking results.
Gather Necessary Supplies
Are you ready to gather all the supplies you’ll need for spray painting the ceiling? Having everything on hand guarantees a smooth process. You’ll need your spray gun, paint, drop cloths, masking tape, and safety gear. Don’t forget paint mixing techniques—properly mixing the paint prevents uneven coverage and clogs. Regular spray gun maintenance keeps your tool working efficiently, reducing splatters and drips. Here’s a quick checklist:
| Supplies | Purpose | Tips |
|---|---|---|
| Spray gun | Applying paint evenly | Clean after use |
| Paint | Color and coverage | Mix thoroughly |
| Drop cloths | Protect floors and furniture | Secure edges |
| Masking tape | Precise edges | Use carefully |
Gathering these supplies sets you up for a successful ceiling spray job. Additionally, understanding paint characteristics can help you choose the right type for a smooth finish. For optimal results, ensuring proper surface preparation is essential before applying paint.
Choosing the Right Paint and Consistency
Choosing the right paint and guaranteeing the correct consistency are vital steps for a smooth ceiling spray job. Start by selecting a high-quality paint suited for ceilings, considering the desired finish and color selection to match your room’s decor. Thinner paints work best with spray equipment, so mix your paint to achieve a smooth, pourable consistency—usually similar to milk. If you plan to create texture patterns, choose a paint that holds texture well without running or dripping. Proper consistency prevents clogging and uneven coverage, making application easier and more professional-looking. Remember, the right paint and consistency help achieve an even coat, minimize drips, and ensure your ceiling looks flawless after spraying. Additionally, understanding paint consistency is essential for optimal spray application and finish quality. Ensuring the proper paint viscosity helps prevent clogs and uneven spray patterns, resulting in a more professional finish.
Techniques for Even Coverage and Avoiding Drips
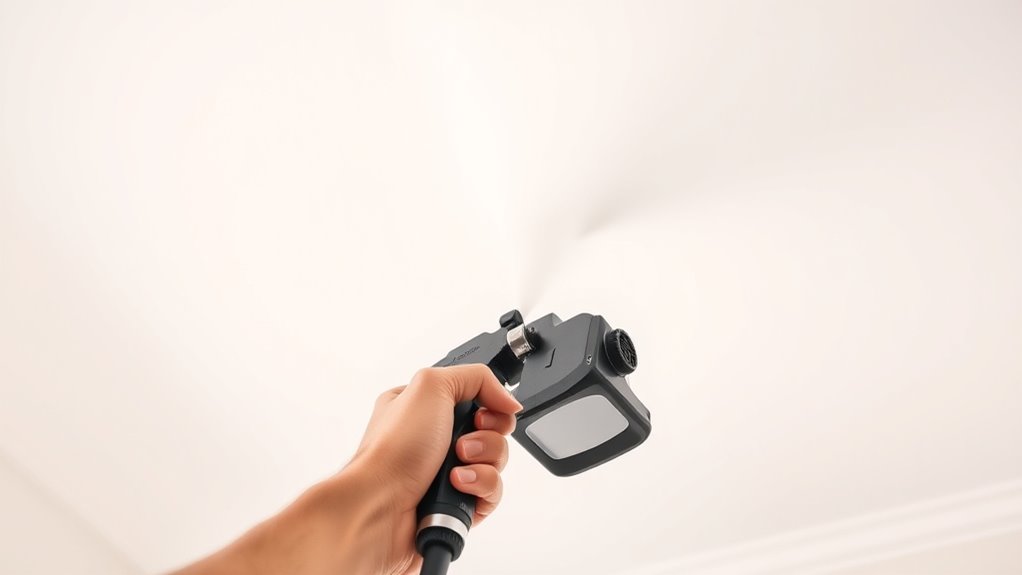
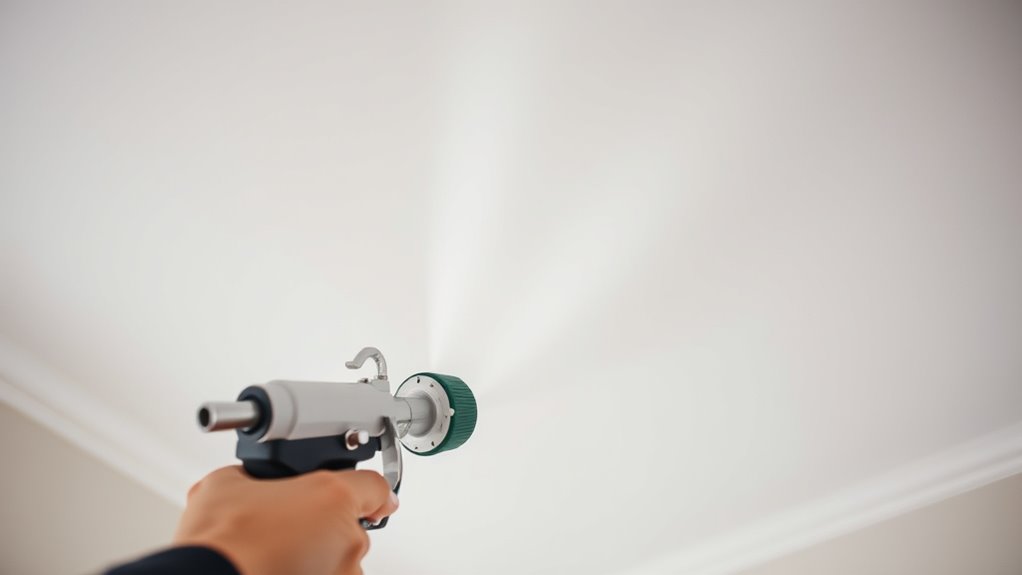
To achieve even coverage, hold the spray gun about 12 inches from the ceiling and move steadily in smooth, overlapping passes. Keep your finger steady on the trigger to prevent uneven layers and minimize drips. If you notice drips forming, pause and gently smooth them out with a brush or cloth before continuing.
Proper Spray Technique
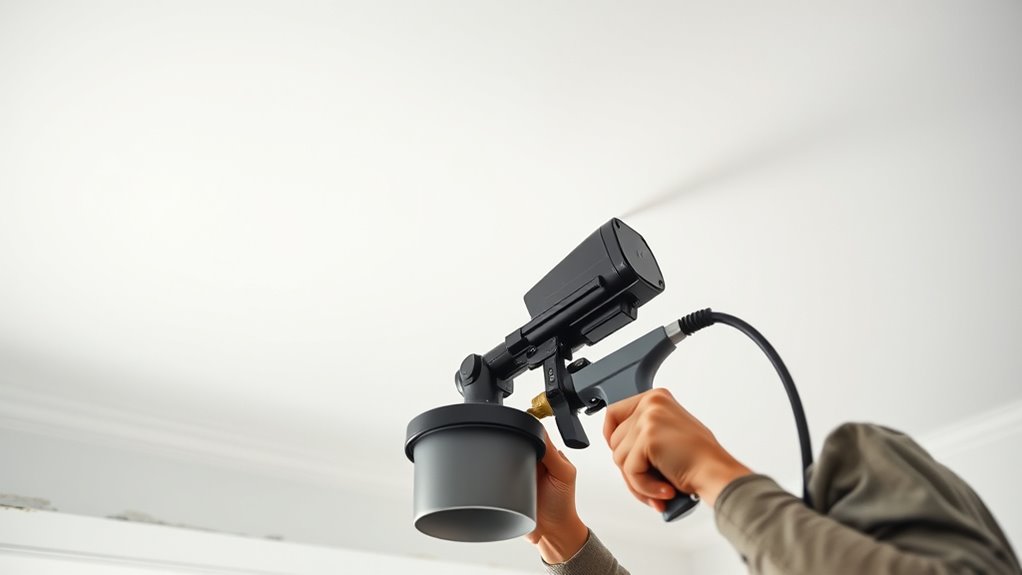
Mastering proper spray technique is essential for achieving even ceiling coverage and preventing drips. Start by maintaining a consistent distance from the surface—usually 6 to 12 inches—and keep your spray pattern steady. Use smooth, overlapping strokes to ensure uniform coverage, avoiding heavy spots that can cause drips. Incorporate brush techniques by practicing how to control your wrist movement to avoid uneven lines. Adjust your spray pattern to suit the ceiling size; a wider pattern covers more area quickly, reducing streaks. Keep your hand steady and move at a consistent pace to prevent uneven buildup. Regularly check your coverage and adjust your technique as needed to stay on course, ensuring a smooth, professional finish.
Managing Drips Effectively
Controlling drips starts with paying close attention to your spray technique and adjusting as you go. Keep your spray distance consistent, move smoothly, and avoid lingering in one spot. To prevent excess paint, thin your paint if necessary and apply multiple light coats rather than one heavy layer. Watch for areas where paint might pool or drip, especially as paint begins to dry. Proper color selection can also help hide minor imperfections.
- Maintain even strokes and steady speed
- Keep a consistent distance from the ceiling
- Use light, overlapping passes
- Adjust spray pressure for better control
- Allow paint to dry properly between coats before inspecting for drips
Managing drips ensures a smooth finish and prevents touch-ups later.
Managing Overspray and Protecting Surroundings
Managing overspray is essential to prevent paint from settling on unintended surfaces and causing messes. To minimize overspray, use precise brush techniques for touch-ups and edges before spraying. Select your colors carefully, avoiding complex shades that may require additional coats and increase overspray risk. Cover furniture, floors, and adjacent walls with drop cloths or plastic sheeting to protect them. Use masking tape on trim and fixtures to keep paint confined. Adjust your sprayer’s pressure and spray pattern to control the spray radius. Work in steady, controlled passes, maintaining a consistent distance from the ceiling. Proper planning and preparation help contain overspray, making cleanup easier and ensuring your environment stays protected throughout the project.
Safety Precautions When Using a Paint Sprayer
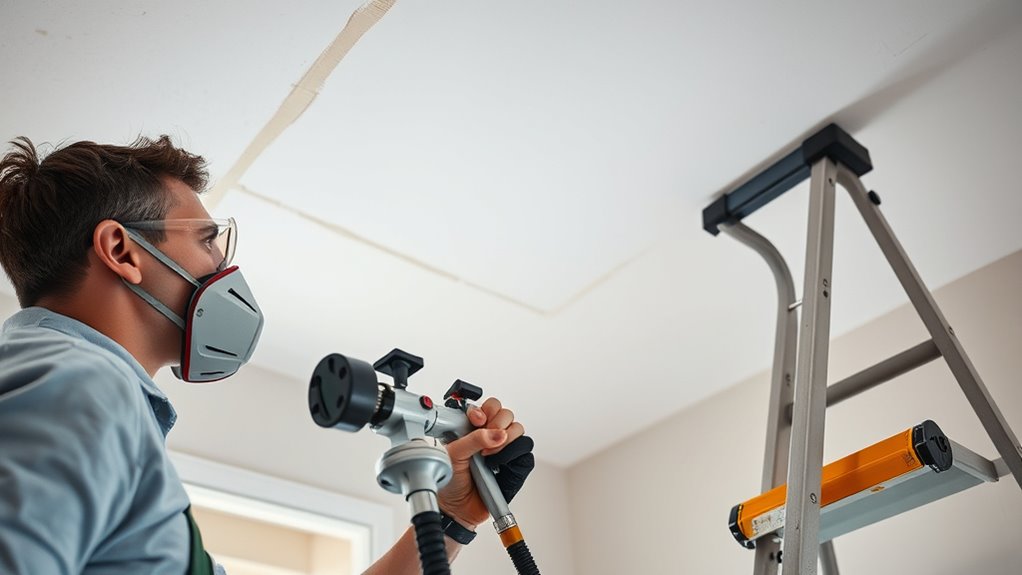
When using a paint sprayer, you need to handle your equipment carefully to stay safe. Wearing the right protective gear, like masks and goggles, is essential to avoid inhaling fumes or getting paint in your eyes. Make sure you understand how to operate your tools properly to prevent accidents and guarantee a smooth painting process.
Proper Equipment Handling
Before starting to spray paint your ceiling, it’s essential to understand the safety precautions involved in handling your equipment. Proper equipment handling ensures smooth application and minimizes risks. Always check your paint sprayer for leaks or damage before use. Use steady brush techniques to control spray patterns and avoid overspray. When preparing your paint, carefully follow paint mixing instructions to achieve the right consistency. Keep your workspace well-ventilated to reduce fumes. Be mindful of the pressure settings to prevent accidents. Regularly clean your equipment to prevent clogs. Handle hoses and cords carefully to avoid tripping. Remember, safety first helps you achieve a professional finish without mishaps.
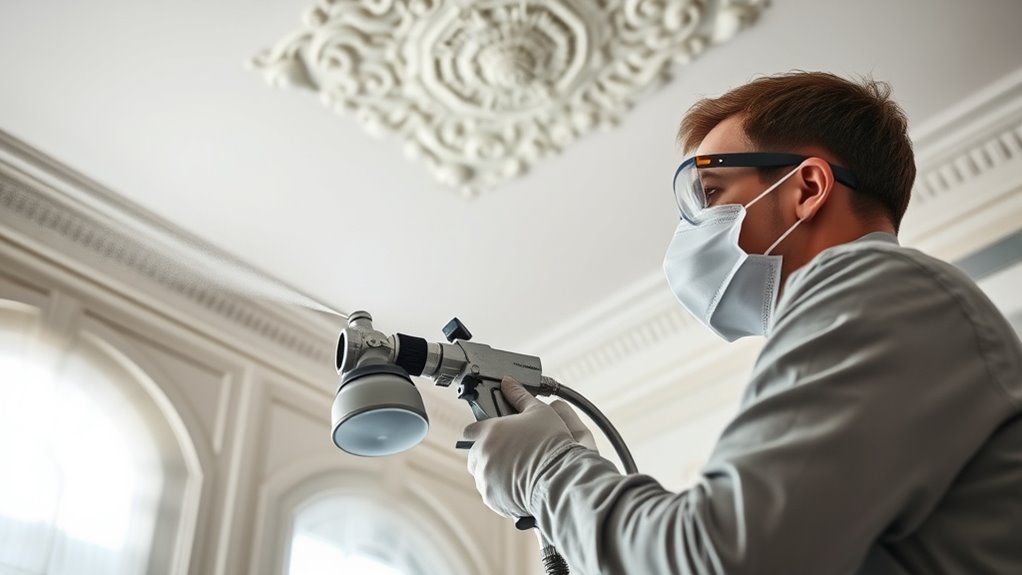
Protective Gear Essentials
Protective gear is essential for safely using a paint sprayer, as it shields you from harmful fumes, overspray, and potential splashes. Wearing the right safety equipment minimizes health risks and keeps you protected during the painting process. A respirator or mask is vital to filter out airborne particles and fumes, preventing respiratory issues. Safety goggles or glasses protect your eyes from splatters and overspray, while gloves safeguard your skin from paint and chemicals. Consider wearing a long-sleeved shirt and coveralls to avoid skin contact. Proper protective gear not only enhances your safety but also improves your confidence and focus while working. Always check your safety equipment before starting, ensuring it fits well and is in good condition. Prioritizing safety gear is key to a safe, successful ceiling spray painting project.
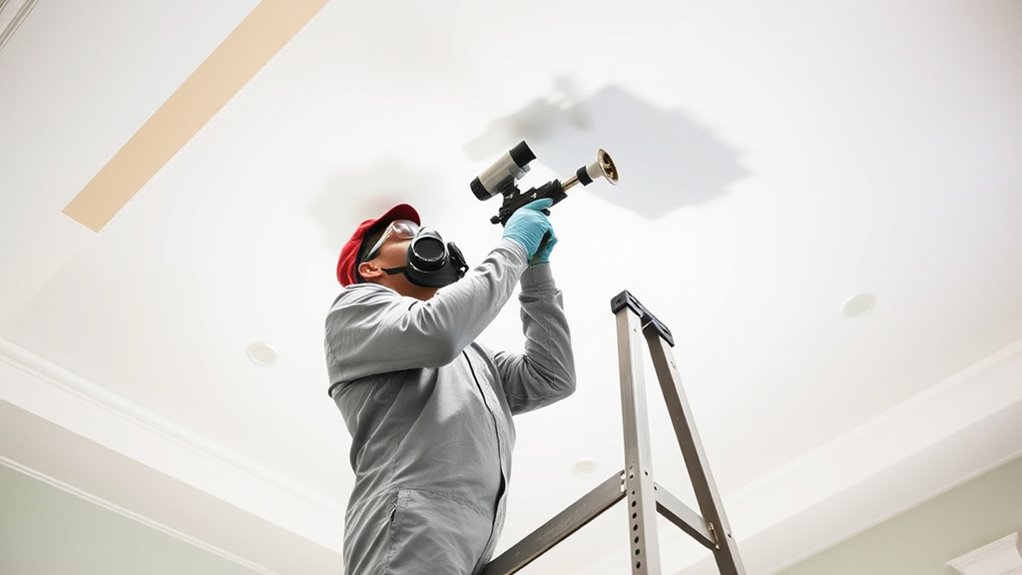
Step-by-Step Process for Spray Painting a Ceiling

Spray painting a ceiling requires careful preparation and technique to guarantee a smooth, even finish. First, ensure your ceiling texture allows for good paint adhesion; smooth surfaces work best. Begin by masking off walls and fixtures, then clean the ceiling thoroughly. Prepare your paint and spray gun, testing on a scrap surface. Hold the sprayer about 12 inches from the ceiling and use steady, overlapping strokes to avoid drips. Maintain a consistent speed to prevent uneven coverage. Keep a wet edge to blend each pass seamlessly. Regularly check your progress, adjusting your technique as needed. Remember, patience is key for an even coat. With careful execution, you’ll achieve a professional-looking ceiling finish that enhances your space.
Common Challenges and How to Overcome Them

One common challenge when spray painting ceilings is uneven coverage, which often results from inconsistent spray technique or improper preparation. To avoid this, maintain a steady distance and overlapping strokes. Color matching can also be tricky, especially if you’re blending new paint with existing ceiling shades; test small areas first to ensure a seamless match. Additionally, improper drying can cause streaks or sags, so don’t rush the process. Allow each coat to dry completely before applying the next, and avoid over-spraying, which can lead to drips. If you notice uneven spots, lightly sand and touch up with a brush. By following these tips, you’ll minimize common issues and achieve a more uniform, professional-looking finish.
Tips for Achieving a Professional Finish

Achieving a professional finish when spray painting ceilings requires attention to detail and proper technique. To do this effectively, focus on consistent spray patterns, maintain steady movement, and keep the nozzle at the right distance. Prioritize color matching to ensure the new paint blends seamlessly with existing walls or ceilings, avoiding noticeable differences. Proper paint disposal is also essential—dispose of leftover paint responsibly to prevent environmental harm.
Here are some tips to elevate your results:
- Use painter’s tape to create clean edges
- Keep the spray gun at a consistent distance
- Practice on a scrap surface first
- Regularly clean your equipment for smooth spraying
- Match paint shades precisely and dispose of unused paint properly
Frequently Asked Questions
Can I Use a Spray Painter on Textured or Popcorn Ceilings?
You can use a spray gun on textured or popcorn ceilings, but you need to take into account ceiling texture compatibility. Use the right spray gun techniques, such as maintaining consistent distance and angle, to avoid damaging the texture. A high-quality sprayer with adjustable settings helps control the spray. Test on a small area first, ensuring the spray pattern won’t ruin the ceiling’s appearance. Proper preparation and technique are key for a smooth finish.
How Long Does It Typically Take to Spray Paint a Ceiling?
Time often seems to slip away when you’re painting a ceiling, but with a sprayer, it’s a bit more predictable. Typically, it takes about 1-3 hours to spray paint a ceiling, depending on size and prep. Remember, drying time between coats matters—allowing for 2-4 hours to guarantee proper adhesion. Multiple coats may extend your project, but patience pays off for a smooth, professional finish.
Is It Possible to Achieve a Smooth Finish With a Spray Gun?
You can definitely achieve a smooth finish with a spray gun by practicing proper spray gun techniques and maintaining the right paint consistency. Keep the gun steady and at a consistent distance from the surface, using smooth, overlapping strokes. Thinning your paint properly guarantees it sprays evenly without drips or splatters. With patience and the right technique, you’ll get a professional-looking, smooth ceiling finish every time.
What Are the Most Common Mistakes Beginners Make When Spray Painting Ceilings?
Imagine your ceiling as a blank canvas waiting to come alive, but beginners often trip over brush strokes and paint drips. You might rush, creating uneven coats, or hold the spray too close, causing runs. To avoid these pitfalls, maintain even pressure, keep a consistent distance, and practice proper technique. Think of it as dancing with your sprayer—smooth, steady movements guarantee a flawless finish instead of a splattered mess.
How Do I Clean and Maintain My Paint Sprayer After Use?
To keep your paint sprayer in top shape, follow these cleaning tips and maintenance checklist. After use, disassemble the parts and rinse them with the appropriate solvent, depending on your paint type. Use a brush to remove any residual paint, and guarantee no clogs remain. Regularly lubricate moving parts, store the sprayer in a dry place, and check for worn components. Proper maintenance extends your sprayer’s lifespan and ensures smooth operation.
Conclusion
Spraying your ceiling with a paint sprayer can be quick, efficient, and results-driven. With the right preparation, technique, and safety precautions, you can achieve a smooth, even finish that looks professional. Focus on choosing the right equipment, applying consistent strokes, and addressing challenges promptly. Embrace patience, prioritize safety, and practice your technique. Ultimately, your effort will be rewarded with a beautifully transformed ceiling that reflects your skill and attention to detail.

Franz came aboard the Paint Sprayer Zone team with a background in both journalism and home renovation. His articulate writing style, combined with a passion for DIY projects, makes him an invaluable asset. Franz has a knack for breaking down technical jargon into easy-to-understand content, ensuring that even the most novice of readers can grasp the complexities of paint sprayers.