To fix paint sprayer leaks and drips, start by inspecting seals, gaskets, and hoses for damage or wear, then replace any worn parts. Tighten loose fittings and clear clogs from the nozzle to guarantee smooth operation. Adjust the pressure to prevent over-pressurization and test the sprayer on a scrap surface. Regular maintenance and using quality parts help prevent future issues. Keep going to find out more tips for a leak-free spray.
Key Takeaways
- Inspect and replace worn seals, gaskets, and damaged hoses to prevent leaks.
- Tighten fittings and connections securely without overtightening.
- Clean and clear spray tips and nozzles to avoid blockages causing drips.
- Adjust pressure gradually and test spray pattern to ensure consistent, drip-free operation.
- Use high-quality, compatible parts and perform regular maintenance for reliable performance.

Paint Sprayer, 700W Cordless Electric Spray Paint Gun with 1400ml Container, Easy to Clean, 2×4000mAh Battery, LED Light, 3 Modes & 6 Nozzles, Paint Sprayer for House Painting Fence Wall Cabinet & DIY
【Cordless & Portable Design for Unrestricted Movement】Powered by two 4000mAh batteries (Maximum working time 25 minutes/battery), this paint...
As an affiliate, we earn on qualifying purchases.
Identifying Common Causes of Leaks and Drips
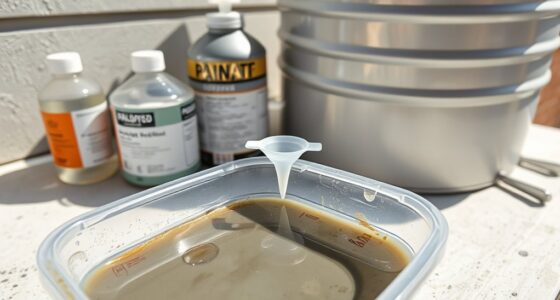
Leaks and drips in your paint sprayer often stem from simple issues that are easy to overlook. One common cause is poor paint quality, which can clog or cause inconsistent flow, leading to leaks or drips. Additionally, improper assembly or loose fittings can disrupt the sprayer’s seal, affecting your user experience by making your work messier and less efficient. Worn or damaged seals and gaskets can also be culprits, but these often develop over time and require inspection. Make sure all components are tightly secured and compatible with your paint type. Regular maintenance and understanding common causes of equipment failure can help prevent ongoing issues. Using proper cleaning techniques after each use can significantly extend the lifespan of your sprayer and prevent leaks. Being aware of equipment compatibility can also help avoid mismatched parts that might cause leaks or drips. Additionally, addressing wear and tear proactively ensures your sprayer remains in optimal condition. Proper pressure adjustment is also crucial to prevent over-pressurization that can lead to leaks. By understanding these simple causes, you’ll improve both the spray pattern and your overall experience, ensuring smoother operation and better results. Recognizing these issues early saves time and prevents further damage.

HomeRight C800971 Super Finish Max, Includes 3 Brass Spray Tips, 3 Spray Patterns, Easy to Clean HVLP Paint Sprayer, Great for Furniture, Cabinets, Trim & More, Sprays Stains, Sealers & Latex Paints
PAINT SPRAYER FOR COUNTLESS DIY PROJECTS: The HomeRight Super Finish Max paint sprayer offers the ultimate DIYing experience....
As an affiliate, we earn on qualifying purchases.
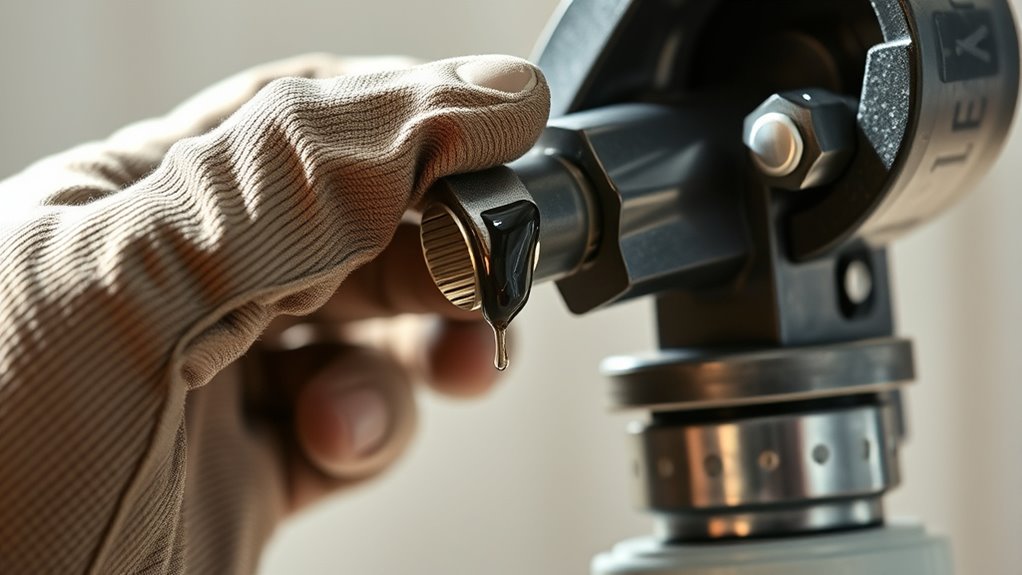
Checking and Replacing Worn or Damaged Seals
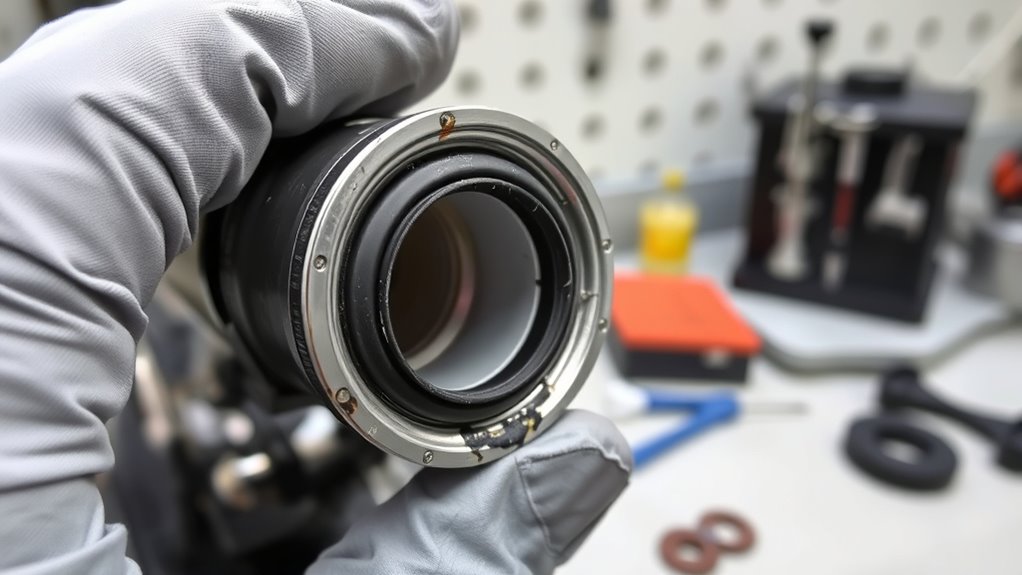
Since worn or damaged seals often cause leaks and drips, it’s important to inspect them regularly. Begin with a thorough seal inspection, looking for cracks, brittleness, or tears. If you notice any damage or signs of wear, seal replacement is necessary to prevent further leaks. Carefully remove the old seals, ensuring you don’t damage neighboring parts. Clean the seal area before installing new seals to ensure a proper fit. Use the correct size and type of seal recommended by your sprayer manufacturer. After replacing the seals, run a test spray to check for leaks. Regular seal inspection and timely seal replacement keep your paint sprayer functioning smoothly and prevent persistent leaks. Additionally, understanding the types of seals used in sprayers can help you select the best replacement parts for longevity and performance. Proper maintenance and knowledge of industry standards can extend the lifespan of your equipment. Regularly consulting manufacturer guidelines can also help ensure you follow the correct procedures for your specific sprayer model. Incorporating AI safety measures in maintenance practices can further enhance the reliability of your sprayer.

VONFORN Paint Sprayer, 700W HVLP Spray Gun with Cleaning & Blowing Joints, 4 Nozzles and 3 Patterns, Easy to Clean, for Furniture, Cabinets, Fence, Walls, Door, Garden Chairs etc. VF803 Yellow
【4 Nozzles & 3 Spray Patterns】VONFORN 700W paint sprayer includes 4 nozzle sizes (1.0mm, 1.5mm, 2.0mm, 3.0mm) to...
As an affiliate, we earn on qualifying purchases.
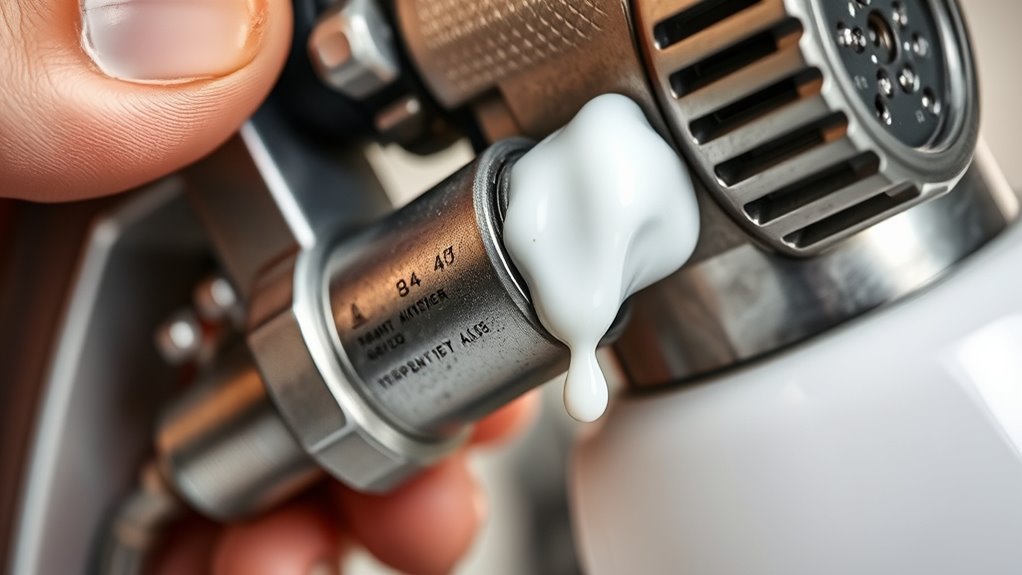
Inspecting and Cleaning the Spray Tip

Inspecting and cleaning the spray tip is essential for maintaining ideal spray performance. A clogged or damaged nozzle can cause uneven application and drips. To guarantee proper nozzle cleaning and spray tip function, follow these steps:
- Turn off the sprayer and release pressure before removing the spray tip.
- Examine the spray tip for clogs, paint buildup, or damage.
- Use a brush or needle to clear any debris from the nozzle opening.
- Soak the spray tip in solvent if paint is hardened or stubborn, then rinse thoroughly.
- Regular nozzle cleaning prevents leaks and drips caused by blockages. Keep your spray tip in good condition for smooth, even spraying and optimal results. Ensuring the proper pressure settings and tip size is also crucial for avoiding drips and achieving a professional finish. Proper maintenance of your spray equipment helps extend its lifespan and ensures consistent performance. Additionally, inspecting the nozzle condition regularly can help identify early signs of wear that may lead to leaks. Incorporating sound science principles, such as checking for vibrations or irregularities, can also help detect issues early and improve overall projector performance.

InoKraft NEO Airless Paint Sprayer Kit for House Painting, DIY Beginners' Choice with Accessories Storage Space, Lightweight Design, Quick Clean for Home Interior and Exterior Furniture and Fences
【Your DIY Partner】Upgrade your DIY projects with the NEO airless paint sprayer-significantly faster than handheld electric HVLP paint...
As an affiliate, we earn on qualifying purchases.
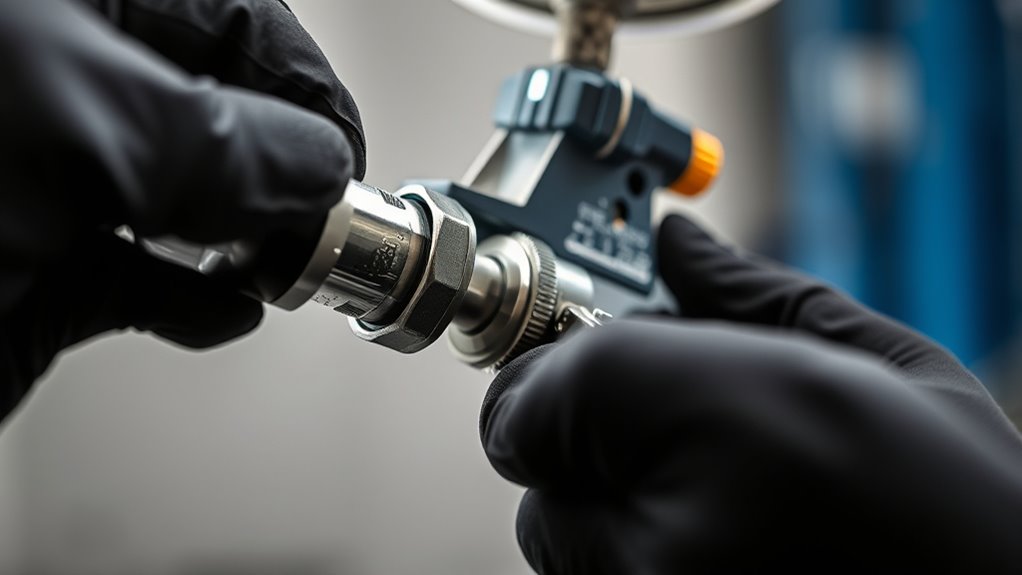
Tightening Loose Connections and Fittings
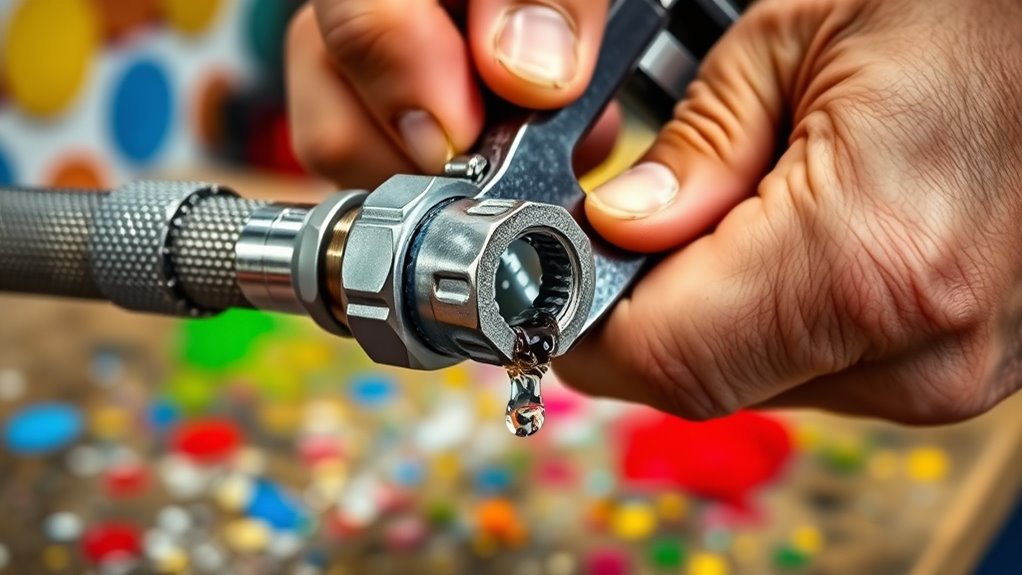
Loose connections and fittings are common causes of paint sprayer leaks and drips. When these parts aren’t tightened properly, paint can escape during spraying, affecting your paint color and finish. Check all connections, including the hose, nozzle, and fluid inlet, and tighten them securely with the appropriate tools. Be careful not to overtighten, as this can damage fittings or cause leaks later. While adjusting, ensure your spray technique remains consistent; inconsistent pressure can worsen leaks. Properly tightened fittings promote a steady spray pattern and even paint application. After tightening, test your sprayer on a scrap surface to confirm the leak is gone. Keeping connections tight helps you maintain control over the spray and achieve a professional-looking paint job. Additionally, regularly inspecting fittings and connections can help prevent future leaks and ensure smooth operation. Using the correct replacement parts for your sprayer model can also reduce the risk of leaks and improve performance. Regular maintenance and proper assembly are essential for preventing leaks and ensuring consistent results.
Clearing Clogs and Blockages in the Nozzle

Even with tight connections, clogs in the nozzle can cause uneven spray patterns and drips. A nozzle obstruction disrupts airflow, leading to inconsistent coverage. To clear blockages, follow these steps:
- Turn off your sprayer and disconnect it from power.
- Remove the nozzle carefully and inspect for dried paint or debris.
- Use a thin brush or needle to gently clear any obstruction.
- Rinse the nozzle with clean water or solvent, ensuring no residue remains.
- Regular cleaning and maintenance, including preventive care, can help avoid future clogs and ensure smooth operation. Incorporating proper maintenance practices can extend the life of your equipment and prevent costly repairs.
- In addition, understanding Kia Tuning can help you optimize your vehicle’s performance, much like maintaining your spray equipment ensures consistent results. Regular inspection of components and understanding Mazda Tuning techniques can also improve your equipment’s longevity and efficiency.
If the clog persists, soak the nozzle in solvent to dissolve stubborn buildup. Regular cleaning prevents future airflow disruption, ensuring smooth operation and even spray patterns. Always handle the nozzle gently to avoid damage.
Adjusting Pressure Settings for Optimal Flow
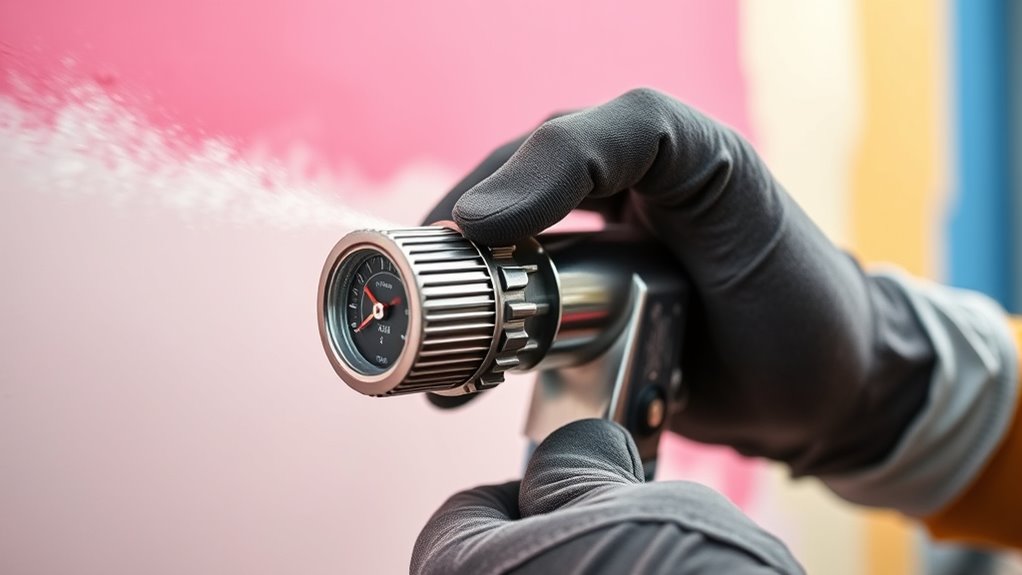
To get the best spray, you need to set the correct pressure on your sprayer. Once you’ve adjusted it, test the spray pattern to see if it’s even and consistent. Fine-tuning these settings guarantees smooth flow and reduces drips or leaks. Additionally, ensure that your headphone jack is securely connected to prevent any unintended spray interruptions. Regularly checking your pressure gauge can help maintain optimal flow and prevent over-pressurization that may cause leaks. Monitoring home security systems can also alert you to any potential malfunctions that might affect your equipment.
Set Correct Pressure
Properly setting the pressure on your paint sprayer is essential for achieving a smooth, even finish and preventing drips. Start by adjusting the pressure dial to match the paint type and project needs. Here’s how to do it:
- Begin with low pressure for fine paint mixing and detailed work.
- Gradually increase pressure until you see a consistent spray pattern without splattering.
- Test on a scrap surface to check for drips or uneven flow.
- Adjust as needed to balance flow and coverage, especially when color matching or working with different paint viscosities.
Setting the correct pressure ensures your paint flows smoothly, reducing leaks and drips. Proper pressure also helps you control the spray pattern, making your project more efficient and professional-looking.
Test Spray Pattern
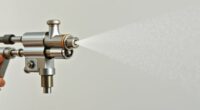
Once you’ve adjusted the pressure, it’s important to test your spray pattern to guarantee ideal flow and coverage. A proper spray pattern ensures your paint consistency remains smooth and even, preventing drips or overspray. Hold the sprayer about 6-12 inches from a test surface and activate it. Observe the spray pattern—look for a consistent, fan-shaped flow without gaps or uneven edges. If the pattern is irregular or splattering, adjust the pressure slightly and test again. Fine-tuning the pressure helps achieve an even coat and maximum paint flow. Remember, an ideal spray pattern delivers uniform coverage, making your project smoother and more professional-looking. Regular testing allows you to catch issues early and maintain the best spray pattern for your specific paint and surface.
Replacing or Repairing Damaged Hoses
Start by carefully inspecting your hose connections for leaks or damage. If you find any cracks or worn spots, replace the hose immediately with compatible parts. Ensuring all connections are secure and using the right replacement hoses helps prevent future leaks and drips.
Inspect Hose Connections Carefully
Inspecting hose connections carefully is essential to identify leaks or damage that could cause drips during operation. Check each connection point for signs of wear, cracks, or looseness that compromise hose durability and connection security. To ensure peak performance, follow these steps:
- Tighten any loose fittings securely but avoid overtightening.
- Look for cracks or splits in the hose material that may weaken durability.
- Replace any hoses showing visible damage or excessive wear.
- Use appropriate washers or gaskets to improve connection security if needed.
Replace Damaged Hoses Promptly
Damaged hoses can quickly compromise your paint sprayer’s performance and lead to leaks or uneven spraying. When you notice cracks, bulges, or leaks, replace the hose promptly to maintain proper operation. A damaged hose can disrupt paint flow, making calibration tricky and affecting your spray pattern adjustment. Before installing a new hose, double-check that it’s compatible with your sprayer model. Properly fitting hoses ensure consistent pressure and prevent leaks. After replacing, calibrate your sprayer again to optimize spray pattern and coverage. Regularly inspecting hoses and swapping out damaged ones keep your equipment functioning smoothly, reducing the risk of drips and uneven application. Prompt replacement is essential for achieving professional results and extending your sprayer’s lifespan.
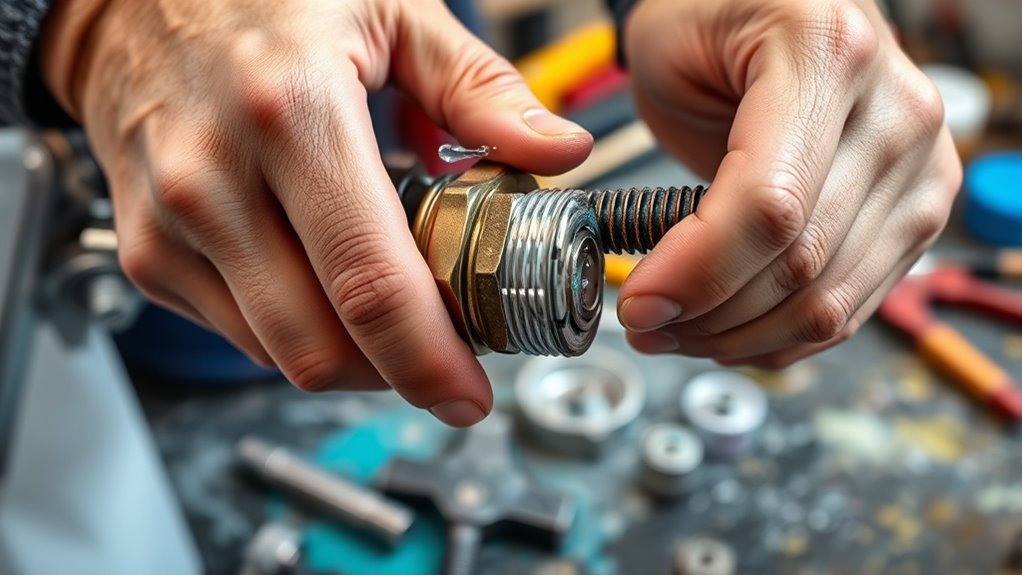
Use Compatible Replacement Parts
Using compatible replacement parts is essential to guarantee your paint sprayer operates smoothly and avoids leaks. When selecting replacement options, verify the parts match the specifications of your sprayer. Here’s what to consider:
- Check the model number and brand to find compatible parts.
- Opt for high-quality replacement options to prevent future leaks.
- Inspect connectors and seals for perfect fit and compatibility.
- Avoid generic or cheap parts that may not meet your sprayer’s standards.
Performing Regular Maintenance for Longevity
Regular maintenance is key to ensuring your paint sprayer works efficiently and lasts longer. By cleaning and inspecting it regularly, you prevent clogs, leaks, and uneven spray patterns. Proper upkeep helps you achieve a smooth spray technique and consistent paint color application, saving you time and frustration. Use this table to keep your sprayer in top shape:
| Maintenance Task | Emotional Benefit |
|---|---|
| Clean all parts thoroughly | Confidence in your work |
| Check for wear and tear | Pride in the finished project |
| Lubricate moving components | Smooth operation, stress-free use |
| Store properly after use | Longevity and reliable performance |
Stay proactive with maintenance, and your sprayer will deliver flawless results every time.
Preventative Tips to Avoid Future Leaks and Drips
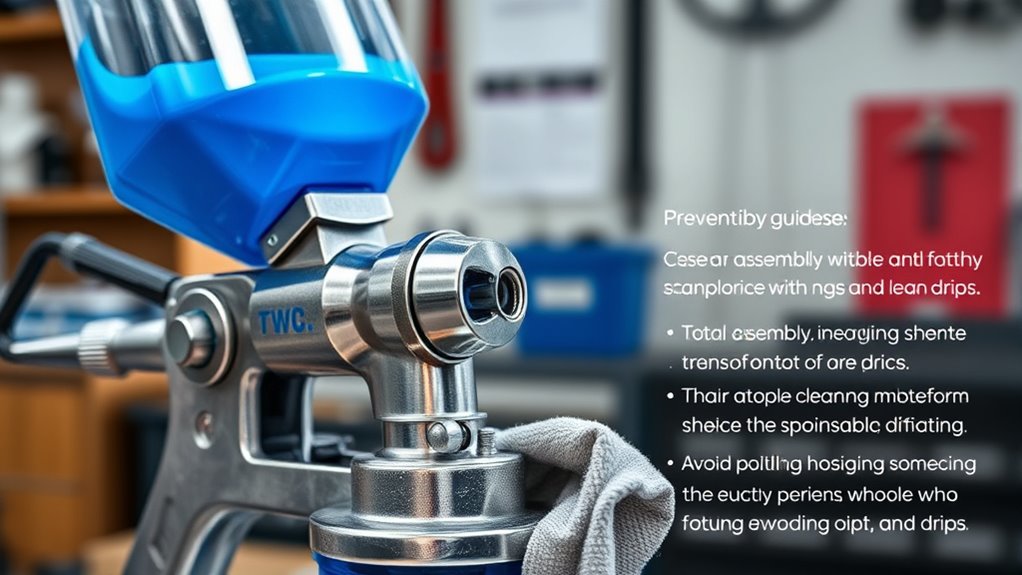
Maintaining your paint sprayer through consistent care can considerably reduce the chances of leaks and drips down the line. To prevent issues, follow these tips:
Regular maintenance of your paint sprayer helps prevent leaks and drips, ensuring smooth, flawless results.
- Always clean your sprayer thoroughly after each use, especially around the paint color and nozzle, to prevent buildup that causes leaks.
- Use proper finishing techniques, like avoiding over-spraying or applying too thick coats, which can stress components and lead to drips.
- Check seals and connections regularly, replacing worn parts promptly to maintain a secure fit.
- Store your sprayer in a clean, dry place and follow manufacturer guidelines for longevity. These preventative steps ensure smooth operation and help you achieve flawless paint application without leaks or drips.
Frequently Asked Questions
How Do I Identify the Source of Unexpected Paint Leaks During Spraying?
When you notice unexpected paint leaks during spraying, check the paint flow and seal integrity first. Look for drips or pooling around connections, hoses, and the spray gun itself. Make certain the seals are tight and not damaged, as compromised seals can cause leaks. Adjust the paint flow to see if that reduces drips. Identifying these issues quickly helps you pinpoint the source and fix leaks effectively, ensuring smooth spraying.
What Safety Precautions Should I Take When Repairing a Paint Sprayer?
When repairing a paint sprayer, you should prioritize safety by wearing personal protective equipment like gloves, goggles, and a mask to prevent chemical exposure and paint splatters. Confirm proper ventilation in your workspace to reduce inhalation risks. Always read the manufacturer’s safety instructions and handle cleaning solvents or chemicals with care, following chemical safety guidelines. Taking these precautions helps protect you from potential hazards during repairs.
Can Using Different Paint Types Cause Sprayer Leaks or Drips?
Using different paint types can definitely cause sprayer leaks or drips if they’re not compatible. Always check paint compatibility before switching and follow proper cleaning procedures to prevent clogging or damage. Improper cleaning between uses can lead to residue buildup, causing leaks. Make sure you thoroughly clean your sprayer after each use, especially when changing paint types, to keep it functioning smoothly and avoid leaks or drips.
How Often Should I Perform Maintenance on My Paint Sprayer?
Maintaining your paint sprayer maximizes its performance and prolongs its lifespan. You should follow a regular maintenance schedule, ideally cleaning your sprayer after every use. The cleaning frequency depends on your projects but aim to clean thoroughly after each session. Additionally, perform periodic inspections to identify issues early. By sticking to a consistent maintenance schedule, you ensure smooth spraying, prevent leaks, and keep your equipment in premier condition.
Are There Specific Brands or Models More Prone to Leaks?
You might notice that some brands are more prone to leaks due to their brand reliability and model durability. Cheaper, lower-quality brands often have less durable components, increasing leak risks, while trusted brands like Graco or Wagner tend to offer better durability and fewer issues. Always research specific models’ reviews and warranty coverage to guarantee you choose a reliable option that minimizes leaks and drips during use.
Conclusion
By following these simple steps, you can effectively fix leaks and drips in your paint sprayer and keep it working smoothly. Regular maintenance and quick troubleshooting will save you time and money in the long run. Are you ready to take control of your sprayer’s performance and avoid messy surprises? With a little effort, you’ll enjoy flawless finishes and hassle-free painting projects every time.

Franz came aboard the Paint Sprayer Zone team with a background in both journalism and home renovation. His articulate writing style, combined with a passion for DIY projects, makes him an invaluable asset. Franz has a knack for breaking down technical jargon into easy-to-understand content, ensuring that even the most novice of readers can grasp the complexities of paint sprayers.