
To troubleshoot spray tails at edges, start by cleaning the edges thoroughly with the right solvents to remove dirt or oils. Keep your spray gun maintained and free of clogs by regular flushing and checking filters. Adjust your technique by maintaining a steady distance of 6-12 inches and overlapping passes to promote even coverage. Control your environment to reduce humidity and temperature fluctuations. If you’re ready to fine-tune your process and eliminate tails, you’ll find helpful tips ahead.
Key Takeaways
- Ensure edges are thoroughly cleaned and free of dirt, oil, or dust before spraying.
- Regularly clean and maintain spray gun filters and nozzles to prevent clogs.
- Maintain proper gun distance (6-12 inches) and use overlapping, steady passes for even coverage.
- Control environmental conditions like humidity and temperature to reduce condensation and contamination.
- Properly prepare surfaces and follow recommended techniques to minimize edge contamination and tails.
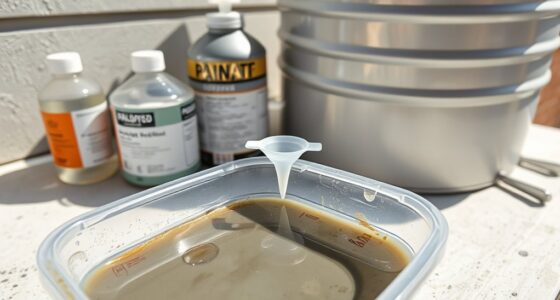
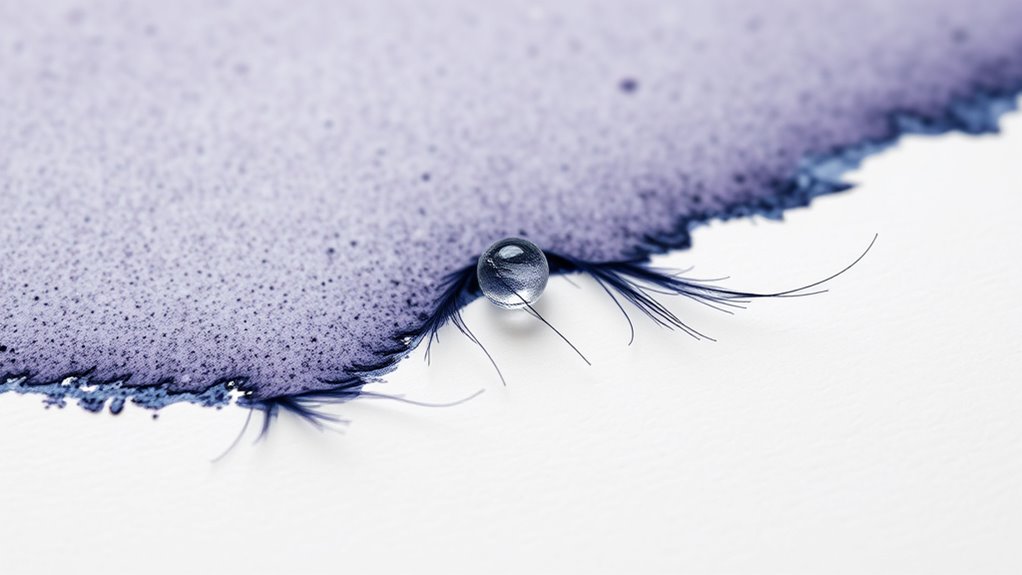
Spray tails at edges can be frustrating to deal with, especially when they don’t spray evenly or stick properly. These tails, often called fingers, can ruin the finish and waste material, so understanding what causes them is essential. One common culprit is edge contamination. When the edges of your workpiece have dirt, oil, or dust, they interfere with the spray pattern, resulting in uneven coverage and the formation of unwanted tails. Before you start spraying, make sure to thoroughly clean the edges and surrounding areas. Use appropriate solvents or cleaning agents to remove any contaminants, and ensure the surface is dry. Proper surface preparation minimizes edge contamination and helps achieve a cleaner, more consistent spray. Regular maintenance, including cleaning filters and inspecting hoses, also ensures the sprayer operates efficiently and reduces issues like tails.
Edge contamination causes uneven spray and tails; clean thoroughly to improve finish and efficiency.
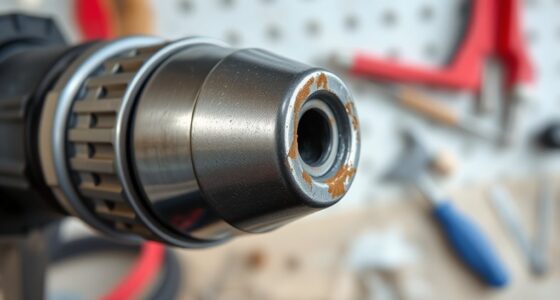
Another frequent issue is spray gun clogging. When your spray gun becomes clogged, it disrupts the flow of paint or coating material, creating irregular spray patterns and tails at the edges. Clogging can occur from dried paint residue, debris, or incompatible material in the gun’s nozzle or filters. To prevent this, always clean your spray gun thoroughly after each use. Regular maintenance, including flushing the gun with solvent and inspecting the nozzle and filters for debris, keeps it in prime condition. If you notice uneven spray or tails, check for clogs first, as clearing them often restores a smooth, even spray pattern.
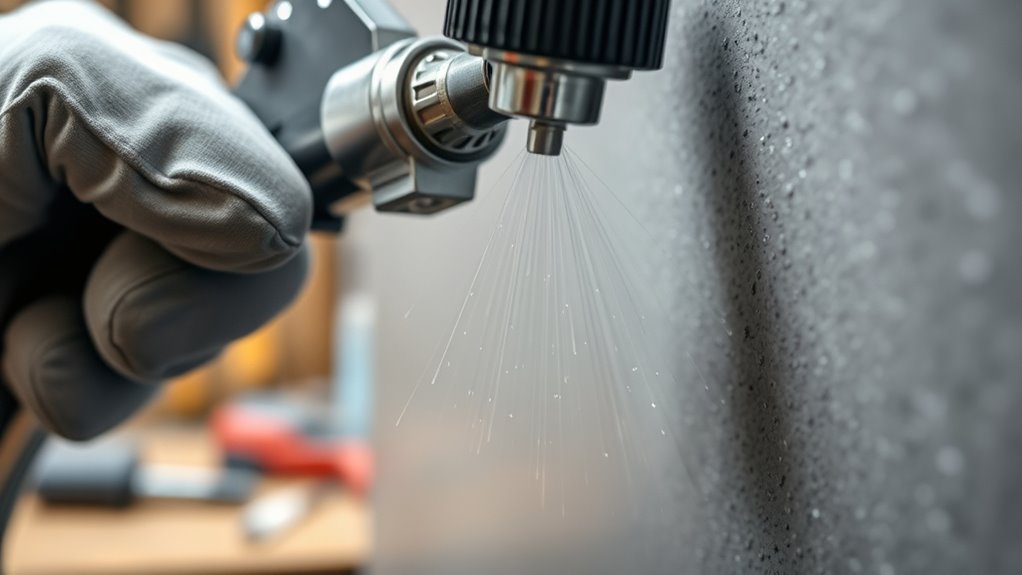
Adjusting your spray technique can also reduce spray tails. Keep the gun at the right distance from the surface—usually about 6 to 12 inches—so the spray is even and controlled. Moving too close can cause excessive buildup at the edges, leading to tails, while moving too far away can result in insufficient coverage. Consistent, overlapping passes help ensure uniform coverage without pooling or tails. If you see tails forming at the edges, slow down your movement, and try to maintain a steady, perpendicular angle to the surface. This reduces the chances of excess material accumulating at the edges, which often results in tails.
Temperature and humidity also influence spray quality. High humidity can cause condensation on edges, leading to contamination and poor adhesion, while temperature fluctuations can affect paint consistency and spray behavior. Adjust your environment or the material temperature accordingly to maintain suitable spray conditions. When you combine proper surface cleaning, regular gun maintenance, technique adjustments, environmental control, and airless spray equipment upkeep, you’ll find that spray tails become less frequent and easier to manage.

Neiko Tooluxe 31209L Air Spray Gun Cleaning Kit (22 Piece)
[COMPLETE]: Full set with 22 pieces for cleaning and maintenance of any air spray paint gun to ensure…
As an affiliate, we earn on qualifying purchases.
As an affiliate, we earn on qualifying purchases.
Frequently Asked Questions
Can Spray Tails Occur With All Types of Ink?
Spray tails can occur with all types of ink, but ink chemistry and printhead design influence how often you see them. Some inks, especially those with high viscosity or specific solvents, are more prone to spray tails. Additionally, if your printhead isn’t designed to handle certain ink chemistries, it can cause uneven ink flow, leading to spray tails. Adjusting ink formulation or upgrading your printhead might help reduce this issue.
How Do Environmental Factors Affect Spray Tail Formation?
Environmental factors are like invisible hands shaping your print quality. High humidity can cause spray tails to become more pronounced, making ink flow uneven, while low humidity reduces ink spread, minimizing tails. Ambient temperature also influences ink viscosity; warmer temperatures thin the ink, increasing the risk of tails, whereas cooler temperatures thicken it, helping to control spray tail formation. Adjusting your environment helps keep spray tails at bay.
Are There Specific Printer Models Prone to Spray Tails?
Certain printer models are more prone to spray tails due to compatibility and model-specific issues. You might notice these artifacts more often with older or budget printers that lack advanced print head controls or precise ink management. To reduce spray tails, verify your printer is compatible with your materials, and keep firmware updated. If problems persist, consider upgrading to a model known for better print head precision and edge control capabilities.
What Maintenance Routines Prevent Spray Tails at Edges?
To prevent spray tails at edges, you should regularly calibrate your cutter to guarantee clean cuts and maintain consistent ink viscosity, which helps ink flow smoothly without spreading. Keep your printer’s maintenance schedule up-to-date by cleaning print heads and checking for clogs. Properly calibrated cutters and ideal ink viscosity reduce excess ink and improve edge precision, minimizing spray tails and delivering sharper, cleaner prints.
Can Spray Tails Be Fixed Without Stopping Production?
Can spray tails be fixed without stopping production? Absolutely, but it’s like trying to fix a ship while sailing—demanding precision. You can make adjustments to ink viscosity and printhead alignment on-the-fly, which often reduces spray tails during run-time. However, for a long-term solution, stopping the machine for detailed calibration is best. Quick tweaks help manage issues temporarily, but don’t forget regular maintenance to prevent recurrence.

Psyqtsuary Disposable Paint Strainer 40 Pcs Hvlp Filter Paint Filters Gravity Spray Filter Universal Size Paint Filter Strainer Fine Mesh Suitable for Most Gravity Feed Sprayer
Abundant Quantity: Get 40 pieces of disposable HVLP filters in total, each measuring 11 mm x 30 mm,…
As an affiliate, we earn on qualifying purchases.
As an affiliate, we earn on qualifying purchases.
Conclusion
Now that you understand the common causes of spray tails at edges, you can identify the issues, adjust your technique, and prevent future problems. You can check your equipment, control your spray, and refine your application process. You can troubleshoot with confidence, fix with precision, and perfect your results. Remember, consistent attention and careful adjustments lead to success. Keep practicing, stay patient, and soon you’ll master clean, sharp edges every time.

5Pcs Electric Paint Sprayer Nozzles Set – 1.0/1.5/1.8/2.0/2.5mm Metal Replacement Spray Tips for Airless HVLP Gun, Home DIY Wall Painting Accessories
Durable Metal Construction – Made with high-quality iron and brass components for strength and wear resistance. The sturdy…
As an affiliate, we earn on qualifying purchases.
As an affiliate, we earn on qualifying purchases.

VEVOR 13-Gallon Air Compressor, 2HP, 4.6 SCFM@90PSI, Oil-Free Tank, 66dB Quiet Operation, Ideal for Tire Inflation, Woodworking, Auto Repairs, and Spray Painting (Maximum Pressure 125 PSI)
Built to Last: The 13-gallon large-capacity tank paired with a 2HP motor delivers fast air buildup in under…
As an affiliate, we earn on qualifying purchases.
As an affiliate, we earn on qualifying purchases.

Franz came aboard the Paint Sprayer Zone team with a background in both journalism and home renovation. His articulate writing style, combined with a passion for DIY projects, makes him an invaluable asset. Franz has a knack for breaking down technical jargon into easy-to-understand content, ensuring that even the most novice of readers can grasp the complexities of paint sprayers.